2) Inserire le due Micro-SIM nelle apposite slot esterne con
il bordo tagliato rivolto verso l’interno. N.B. Se utilizzate il
con una sola Micro-SIM, essa dovrà
essere inserita nella slot 1.
1) IMPORTANTE: Inserire le Micro-SIM
con spento.
Vi consigliamo di utilizzare le Micro-SIM senza
codice PIN, tuttavia il è in
grado di gestire le schedeimpostate con il PIN.
3) Scaricare l’App weBBoat Plus nel
vostro dispositivo (solo uno) da
App Store (per i dispositivi Apple)
e da Google Play (per i dispositivi
Android).
4) Collegare il dispositivo alla rete Wi-Fi del
(A). A p rire l’App
eselezionare il tasto
menù in altoasinistra(B). Cliccare su
PANNELLO DI CONTROLLO e compilare il
modulo di registrazione (C). Nota: alla prima
accensione larete wifi si chiam a
“Glomex_weBBoat” e non ha pwd.
Si consiglia, dopo i settaggi iniziali,
di modificare dal menu il nome della rete
e la pwd (vedi punto 6).
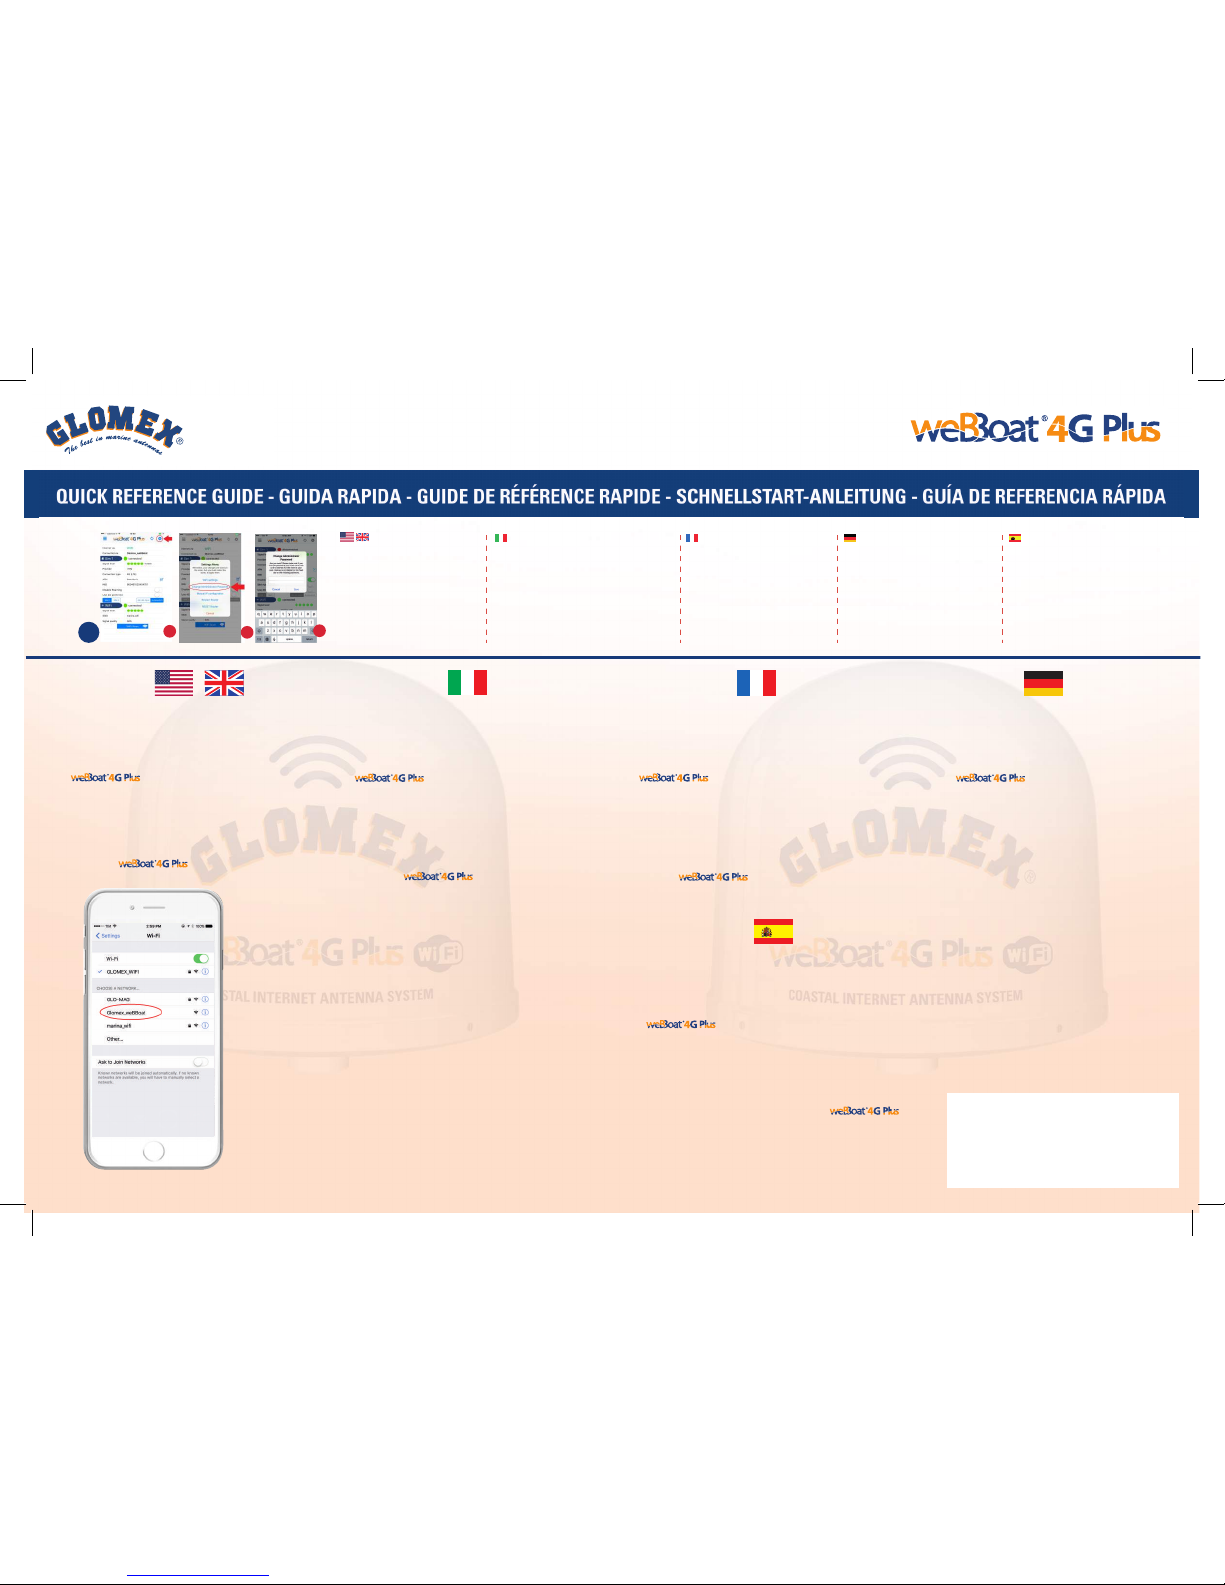
4) Connect your device to the
Wi-Fi network (A). Open t he A p p
and select the menu button
(B). Click CONTROL PANEL and fill inthe
registration form (C).
Note: when starting for the first timethe WiFi
network is called "Glomex_WeBBoat" and have
no password. We adviseyou, after the initial
setup, to modify the nameofthenetwork and
to indicate a password. (See n°6).
5) Cliccare su CONFIGURAZIONE INIZIALE(A), inserire la
password amministratore: admin01(B), cliccare su OK e
Accetta e vai. Scegliere il Paese e l’APN della Micro-SIM 1
inserita nel (C) e cliccare su Procedere.
Se è stata inserita una seconda Micro-SIM ripetere
l’operazione altrimenti cliccare Saltare. Aquesto punto, se
disponibile, selezionare la rete Wi-Fi esterna a cui collegare
il . Se non disponibile cliccare Saltare.
Dopo aver effettuato i sopracitati passaggi avrete una
schermata riassuntiva (D). Seavete fatto le scelte corrette
selezionare Salva altrimenti cliccare Arresta.
6) Cliccando
PANNELLO DI CONTROLLO
del menù
(A) si apre la schermata incui sono riportate
tutte le informazioni relative al segnale, alle
schede SIM e all’APN inuso. Per cambiare la
scheda SIM inuso cliccare sul pulsante
corrispondente (B);
l’operazione può richiedere alcuni minuti.
Per attivare l’autoswitch 4G/WiFi selezionare
il relativo tasto sul Pannello di controllo (C). A
questo punto è possibile navigare in internet
con il vostro fino a circa
20 miglia dalla costa.
6) Clicking CONTROL PANEL (A) you will
see all the information related to the
signal, the SIMcards and the APN
in use. To change the SIM card in
use click on the corresponding
button (B);
this may take several minutes. To
enable the4G/WiFi Autoswitch,
select that Autoswitch button (C).
Now you can surf the internetwith
your weBBoat 4G Plus up to,
approximately, 20 miles from the
coast and you can use up to
2 Micro-SIMCards.
2
1
3
4
5
6
7
A
6) En cliquant sur
TABLEAU DE CONTRÔLE
(A),
vous verrez toutes les informations relatives
au signal, les cartes SIM et l'APN en cours
d'utilisation. Pour changer lacarte SIM en
cours d'utilisation, cliquez sur le bouton
correspondant (B); cela peut prendre plusieurs
minutes. Pour activer l’Autoswitch 4G/WiFi,
sélectionnez le bouton AutoSwitch (C).
Maintenant, vous pouvez surfer surInternet
avec votre weBBoat 4G Plus jusqu'à
environ 20 miles dela côte et vous pouvez
utiliser jusqu'à 2 cartes Micro-SIM.
6) Um das Passwort zu ändern, gehen Sie auf
Setup. Wählen Sie oben rechts die Schaltfläche
mit drei Punkten (A) und klickenSie auf
Passwort ändern (B). Geben Sie nun das neue
Kennwort in beiden Feldern ein (C).
WICHTIG: vergessen Sie nicht das neue
Passwortund bewahren Sie es an einem
sicheren Ort auf.
6) Al hacer clic en PANEL DE CONTROL (A), verá todala información
relacionada con el señal, las tarjetas SIM y de la APN en uso.
Para cambiar latarjeta SIM en uso, haga clic en el botón
correspondiente (B); Esto puede tomar varios minutos.
Para permitir el Auto-Conmutador 4G/WiFi, seleccione el botón
Auto-Conmutador (C). Ahora se puede navegar por Internet
consu hasta, aproximadament e , a
20 millas de lacostay sepuede utilizar hasta 2 tarjetas micro-SIM.
3) Download the weBBoat Plus App to
your device (only one) from App Store
(for Apple devices) and from Google
Play (for Android devices).
3) Télécharger l’App weBBoat Plus de
votre appareil (un seul) sur l’App Store
(pour les appareils Apple) ou Google
Play (pour les appareils Android).
3) Laden Sie die weBBoat Plus-App auf Ihr
Smartphone/Pad. Die passende App für
Apple-Geräte finden Sie im App Store und
für Android-Geräte bei Google Play.
3) Descargar el weBBoat Plus App sobre el dispositivo
(sólo uno) desde App store (para los dispositivo Apple)
Y de Google Play (para los dispositivos Android).
1) IMPORTANT: Insert the Micro-SIM cards
with off. We recommend
using the Micro-SIM without PIN code,
however weBBoat 4G Plus is able to
works with Micro-SIM card with PIN.
2) Insert the two Micro-SIM cards in the
external slot withthecut edge facing
inwards. IMPORTANT: If you use the
with a single Micro-SIM,
please insert it in slot 1.
D
1) IMPORTANT: Insérez les cartes Micro-SIM
avec Plus éteint. Nous vous
recommandons d'utiliser lamicro-SIM sans
code P IN, cependant
fonctionne aussi avec les cartes Micro-SIM
avec un code PIN.
1) WICHTIG: Bevor Sie die Micro-SIM-Karten in den
Kartenslot stecken, müssen Sie die
ausschalten (Betriebsspannung ausschalten).
Wirempfehlen die Verwendung von Micro-SIM ohne
PIN-Code, allerdings unterstützt die
auch Micro-SIM-Karte mit PIN-Code.
1) IMPORTANTE: Inserte las tarjetas micro-SIM con
Plus apagado. Se recomienda utilizar
el micro-SIM sincódigo PIN, sinembargo
funciona tambien con la tarjeta
micro-SIM con el PIN.
2) Insérez les deux cartes Micro-SIMdans la prise
externe avec le bord coupé vers l'intérieur.
IMPORTANT: Si vous utilisez le
avec une seule micro-SIM, insérez la dans
l'emplacement numéro 1.
2) Stecken Sie die beiden Micro-SIM-Karten so in die
Kartenslots, dass die abgeschrägte Seite zur
Antennenmitteweist. WICHTIG: Wenn Sie die
nurmit einerMicro-SIM-Karte
betreiben, stecken Sie diese bitte in den Kartenslot 1.
2) Introducir las dos tarjetas micro-SIM en la ranura
externa con el borde cortado hacia dentro.
IMPORTANTE: Si utiliza elcon un solo
micro-SIM, por favor, insertarlo en la ranura 1.
4) Connectez votre appareil au réseau Wi-Fi du
(A). Ouvrez l'A p p
et sélectionnez lebouton de
menu (B). Cliquez sur TABLEAU DE CONTRÔLE
et remplissez le formulaire d'inscription (C).
Note : au premierdémarrage le réseau wifi
s’appelle “Glomex_WeBBoat” et n’as pas de
motde passe. Nous vous conseillons, après la
configuration initiale, de modifier le nom du
réseau etd’indiquerun motde passe. (voirpoint n°6).
4) Verb inden Sie I hr Ge rät mitd em
weBBoat 4G Plus Wi-Fi-Netzwerk (A).
Öffnen Sie die App weBBoat 4G Plus und
wählen Sie die Menü-Taste (B). Klicken Sie
auf Setupundfüllen Siedas Anmeldeformular
aus (C).
4) Conectar el dispositivo a la red Wi-Fi de
(A). Abre la App
y seleccione el botón demenú (B). Haga clicen
PANEL DE CONTROL y rellenar el formulario de
inscripción(C). Nota: al primer arranque la red
wifi sellama "Glomex_WeBBoat" y no tiene
contraseña. Le aconsejamos, después dela
configuracióninicial, modificar el nombre dela
red e indicar una contraseña. (Ver punzado n°6).
5) Click CONFIGURATION WIZARD (A), insert the
requested password: admin01 (B), click OKand
agree and proceed. Choose the country and the
correct APN of the Micro-SIM Card 1, inserted in
(C) and click Next. If there is a
second Micro-SIM Card on ,
repeat this instruction, otherwise click Skip.
Then, if available, select the external Wi-Fi
network to connect the .
If there is not an external WiFi network, click Skip.
After that, you will have a summary screen (D).
If you have made the correct choices select
Save, otherwise click Quit.
5) Cliquez sur CONFIGURATION INITIALE (A), Entrez
le mot depasse: admin01(B) et cliquez surOKet
Accepter et continuer. Choisissez lepays et l'APN
correct de la carteMicro-SIM 1, inséré dans le
(C) et cliquez sur Suivant. S'il y a
une deuxième carte Micro-SIM surrépétez cette
opération, sinon cliquez sur Ignorer. Ensuite, si
présent, sélectionnez le réseau Wi-Fi externe pour
connecter le. S'il n'y a pas un
réseau WiFi externe, cliquez surIgnorer. Après
cela, vous aurez un écran de résumé (D). Si vous
avez fait les bons choix, sélectionnez Enregistrer,
sinon cliquez surAnnuler.
5)
Klicken Sie auf die Schaltfläche Konfigurations-Assistent (A)
und klicken Sie auf GO. Wählen Sie das Land und die korrekte
APN der Micro-SIM-Karte , welche im Kartenslot 1 der
steckt (B). Klicken Sie aufWeiter. Wenn die
mit einerzweiten Micro-SIM-Karte betrieben
werden soll, wiederholen Sie diesen Vorgang, andernfalls klicken
Sie auf Überspringen. Dann, wenn verfügbar, wählen Sie das
externe Wi-Fi-Netzwerk um die Plusdamitzu
verbinden. Wenn kein externes WiFi-Netzwerk verfügbarist,
klicken Sie aufÜberspringen. Danacherhalten Sie einen
Übersichtsbildschirm (C).
Wenn Sie die richtige Auswahl vorgenommen haben, wählen
Sie Speichern, andernfalls klicken Sie auf Beenden.
5) Hagaclic en PRIMERA CONFIGURACIÓN (A) y
introduzca la contraseña solicidata: admin01 (B) y
haga clicenOKy Aceptar y continuar. Elijael país
y la correcta APN de lat arj eta micro-SIM1,
insertada en el (C) y haga clic en
Siguiente. Si hay una segunda tarjeta micro-SIM en
el , repetir esta instrucción, delo
contrario haga clic en Omitir. Entonces, si está
disponible, seleccione la red Wi-Fi externa para
conectar el . Si no hay u n a red
Wi-Fi externa, haga clicen Omitir. Después de eso,
tendrá una pantalla de resumen (D). Si ha tomado las
decisiones correctas selecciona Guardar, de lo contrario
haga clic en Interrumpe.
BC
B C
C
BOTTOM OF RADOME
CUT EDGE OF
MICRO-SIM CARD
SLOT FORTHE FIRST
MICRO-SIM CARD
SLOT FORTHE SECOND
MICRO-SIM CARD
A
AB
7) Per modificare la SSID e la password della rete
WiFi occorre premere il tasto opzioni (A) e
cliccare su Impostazioni WiFi (B). Selezionando
questa opzione è possibile personalizzare il
nome della rete Wi-Fi generata dal
weBBoat 4G Plus (SSID) e la relativa password
(consigliamo di impostare la codifica psk2) (C).
Premere quindi Memorizza impostazioni Wi-Fi
per salvare le nuove impostazioni.
N.B. non utilizzare spazi o caratteri speciali nel
nome della rete Wi-Fi e nella password.
Al termine di tale procedura è necessario
ricollegare il proprio dispositivo alla nuova
rete Wi-Fi del weBBoat 4G Plus.
7) To change the SSID and WiFi
password of weBBoat 4G Plus you
must click on option button (A) and
select WiFi setting (B). If you select
this option, you can personalise the
name of the Wi-Fi network generated
by weBBoat 4G Plus (SSID) and its
password (we recommend setting
code psk2) (C). Now press save Wi-Fi
setting to save the new settings.
NOTE: do not use spaces or special
characters in the name of the Wi-Fi
network and password.
Then please reconnect your device to
the new Wi-Fi network of
weBBoat 4G Plus.
7) Pour changer le SSID et la mot de passe du réseau
Wi-Fi vous devez cliquer le bouton « Options » (A)
et selectioner « Paramètres WiFi » (B). Cette option
vous permet de personnaliser le nom et le mot de
passe du réseau Wi-Fi généré par weBBoat 4G Plus
(SSID) (nous recommandons de choisir le code
psk2) (C). Cliquez sur « save Wi-Fi setting » pour
enregistrer les nouveaux paramètres.
NOTE : évitez les espaces ou caractères spéciaux
dans le nom du réseau Wi-Fi et le mot de passe.
Puis reconnectez votre appareil au réseau
Wi-Fi de weBBoat 4G Plus.
7) Das Menü des (A) wird angezeigt, wenn die
Optionstaste gedrückt wird. Mit VORGABEN
WI-FI (B) können Sie den Namen des von
weBBoat 4G Plus (SSID) erzeugten Wi-Fi-Netzwerks
und dessen Passwort personalisieren (wir
empfehlen Einstellcode psk2) (C). Drücken die
Wi-Fi anwenoungenspeichern, um die Änderungen
zu übernehmen.
ANMERKUNG: Vermeiden Sie die Verwendung
von Leertaste und Sonderzeichen im Wi-Fi-
Netzwerknamen und Passwort.
Schließen Sie dann Ihr Gerät erneut an das
neue Wi-Fi-Netzwerk der weBBoat 4G Plus.
7) Para personalizar le SSID y la contraseña pulsa
el botón de opciones (A) y si se selecciona
“Configuracion WiFI” (B). Ahora se puede
personalizar el nombre de la red Wi-Fi creada por
la weBBoat 4G Plus (SSID) y su contraseña (se
recomienda ajustar el código PSK2) (C).
A continuación, pulse guardar parámetros Wi-Fi
para guardar la nueva configuración.
NOTA: no utilice espacios o caracteres especiales
en el nombre de la red Wi-Fi y la contraseña.
A continuación, conectar nuevamente el
dispositivo a la nueva red Wi-Fi de la
weBBoat 4G Plus.
C
AB
ADMINISTRATOR 1 ONLY - 1 SOLO AMMINISTRATORE - ADMINISTRATEUR - SEULEMENT 1 - NUR ADMINISTRATOR 1 - ADMINISTRATOR 1 SOLO DOWNLOAD THE USERMANUAL US
VERSION: