GMR maskiner a/s Page 10
STENSBALLE / NESBO sweepers
User manual
GB
Handling and assembly
Noise Sweepers produced by GMR maskiner are extremely quiet. The noise
level depends on the type of tractor and is typically between 74 and
85 dB (A). The noise level is indicated in the tractor’s user manual.
Handling
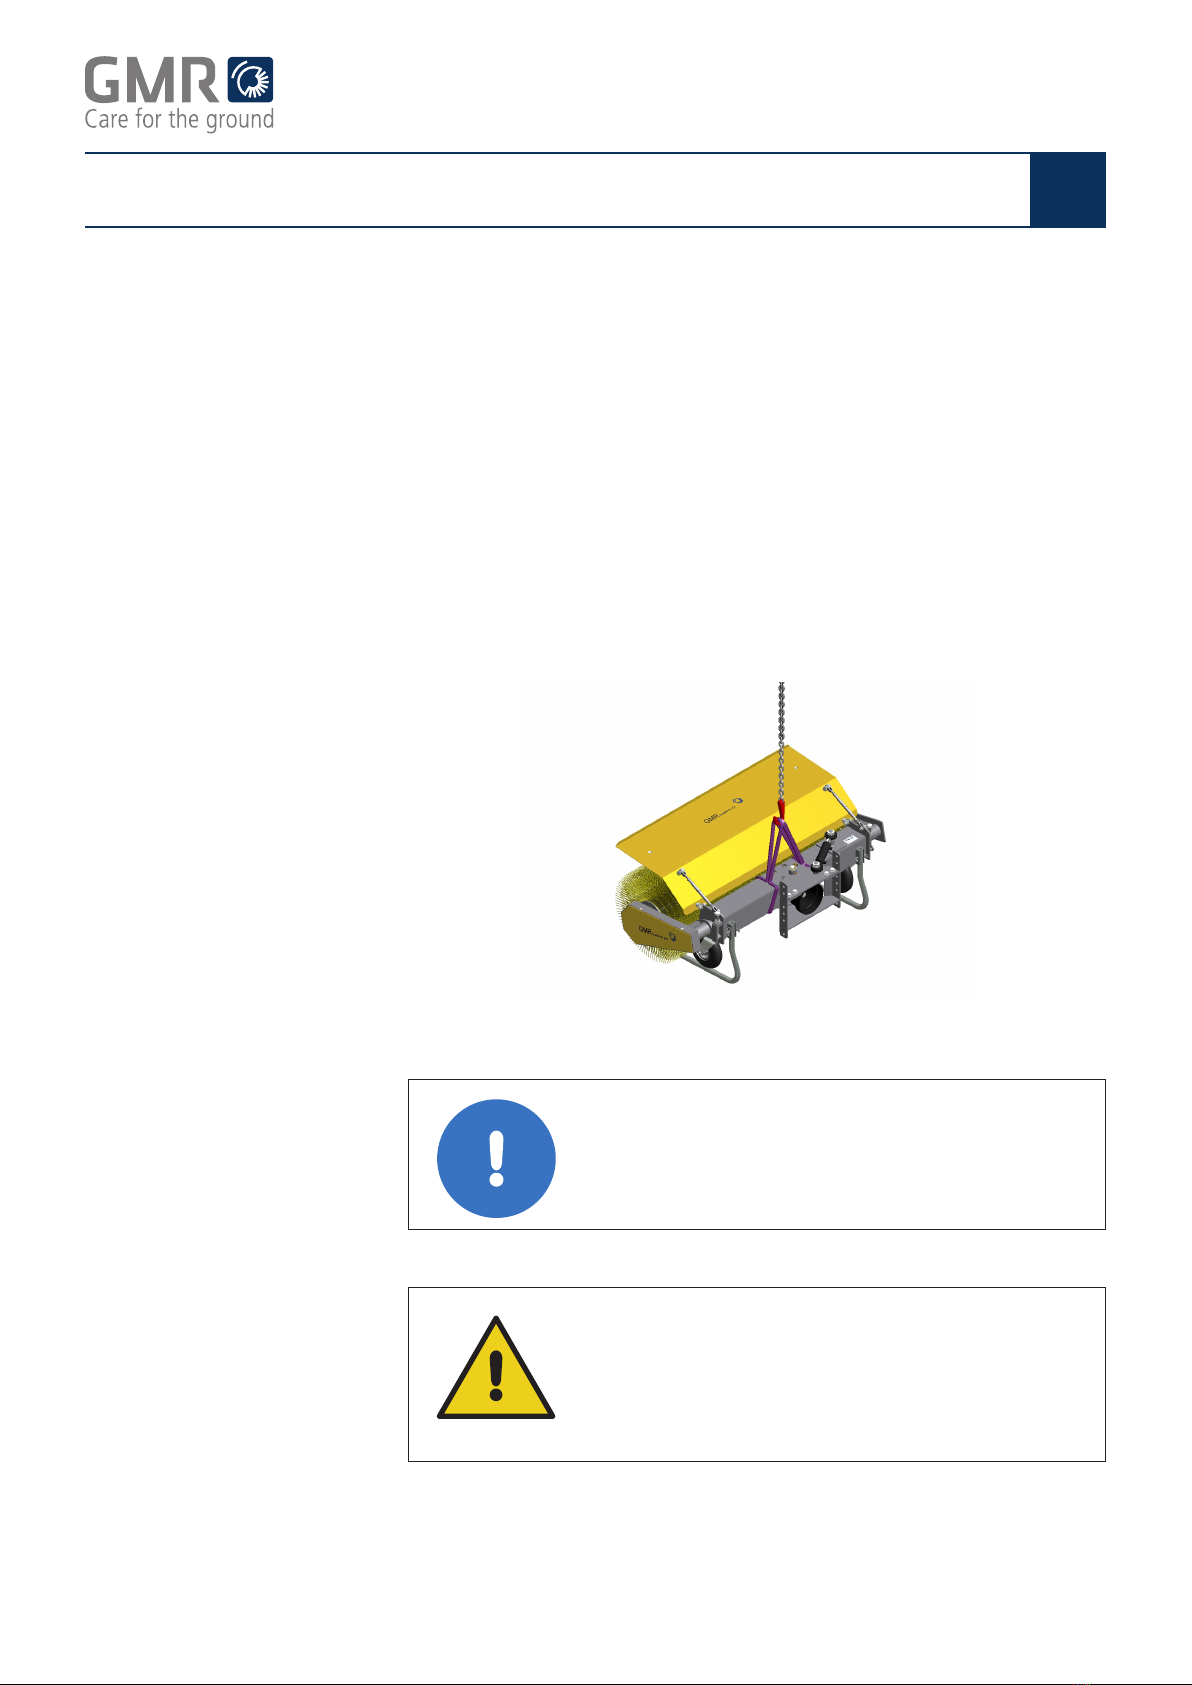
Fig. 1
Hearing protectors If the tractor operator is disturbed by noise, we recommend the use of
hearing protectors or similar.
All sweepers are equipped with 2 support legs. When the support legs
are tted, the sweeper remains in a stable position when disconnected.
Use a crane to move, transport or carry out maintenance.
The crane must always lift in the centre of the main beam.
See Fig. 1.
CAUTION
Risk of damage to brushes/brush rolls
Make sure that the support legs are tted when the
machine is being lifted with the crane.
WARNING
Safety zone
When lifting the machine, everyone must keep a
distance of min. 3 metres from the machine as there
may be unintended movements.
If the machine is lifted by crane for maintenance, the sweeper must be
safely supported before work is carried out under the machine.