Goldair GMX300 User manual

OPERATING INSTRUCTIONS
Stand Mixer
Model GMX300

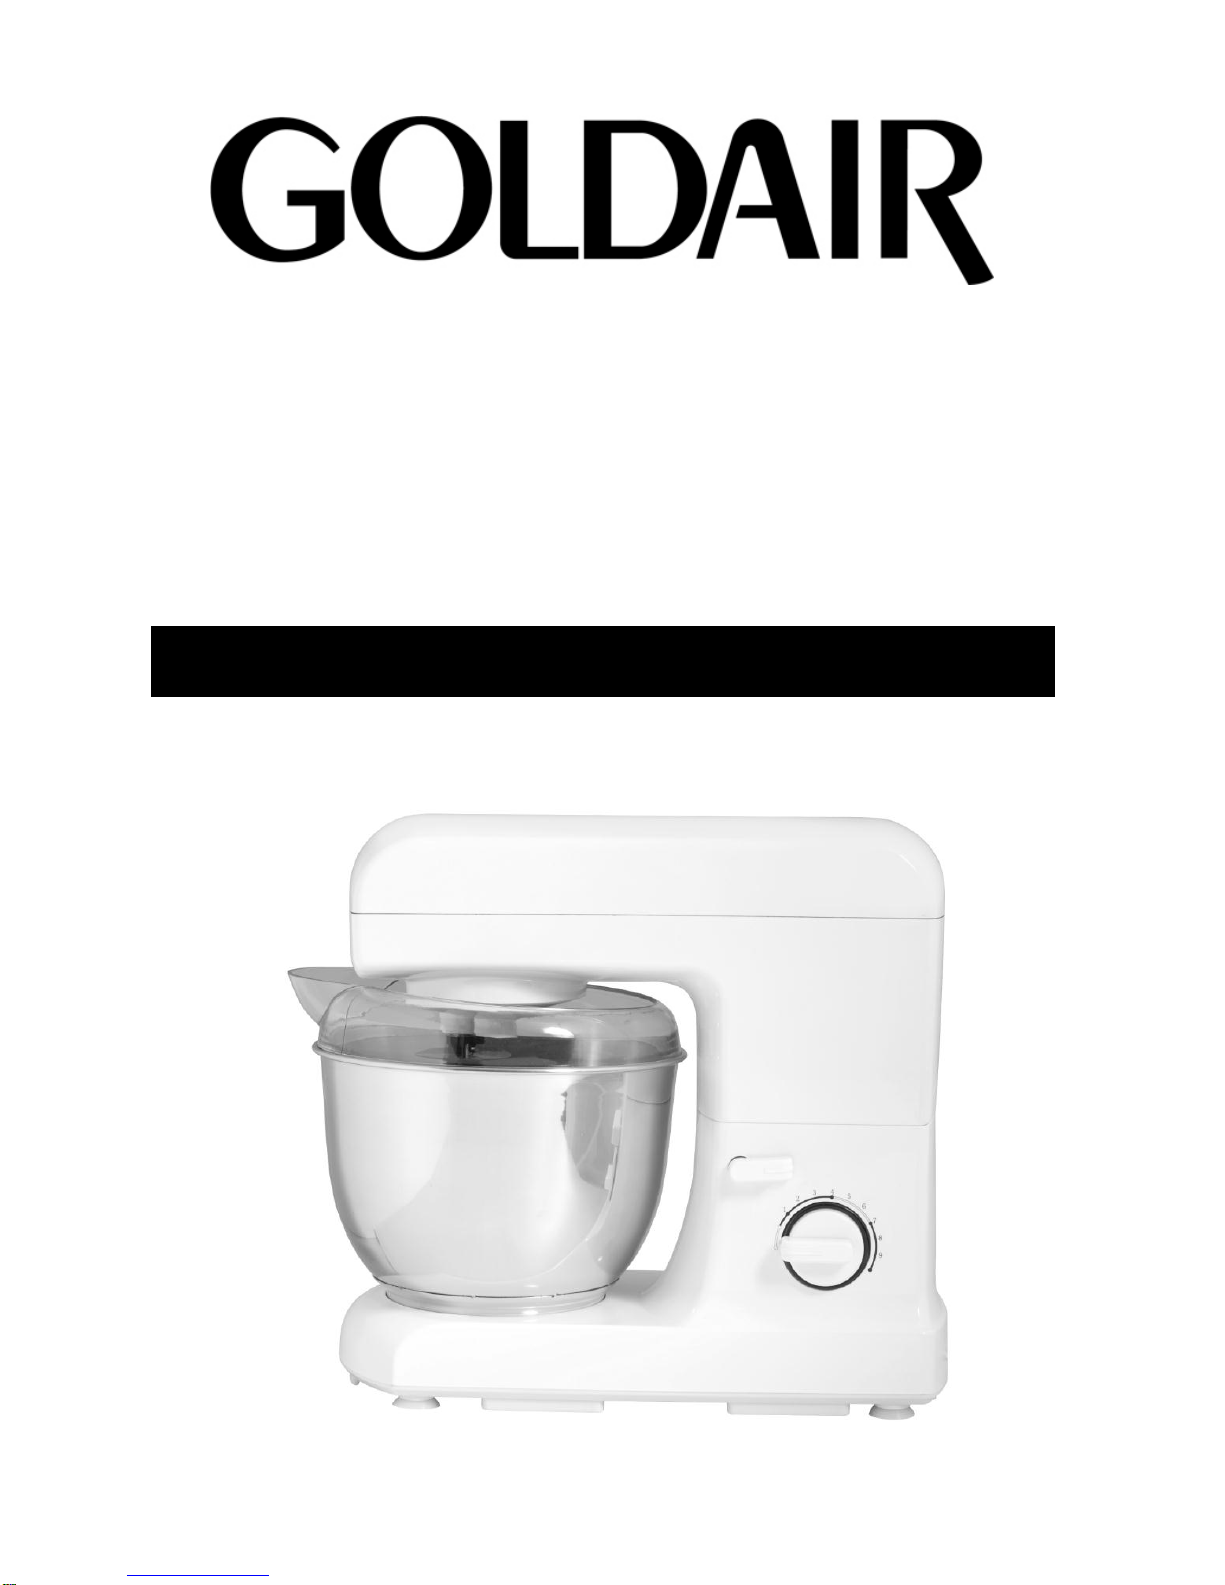
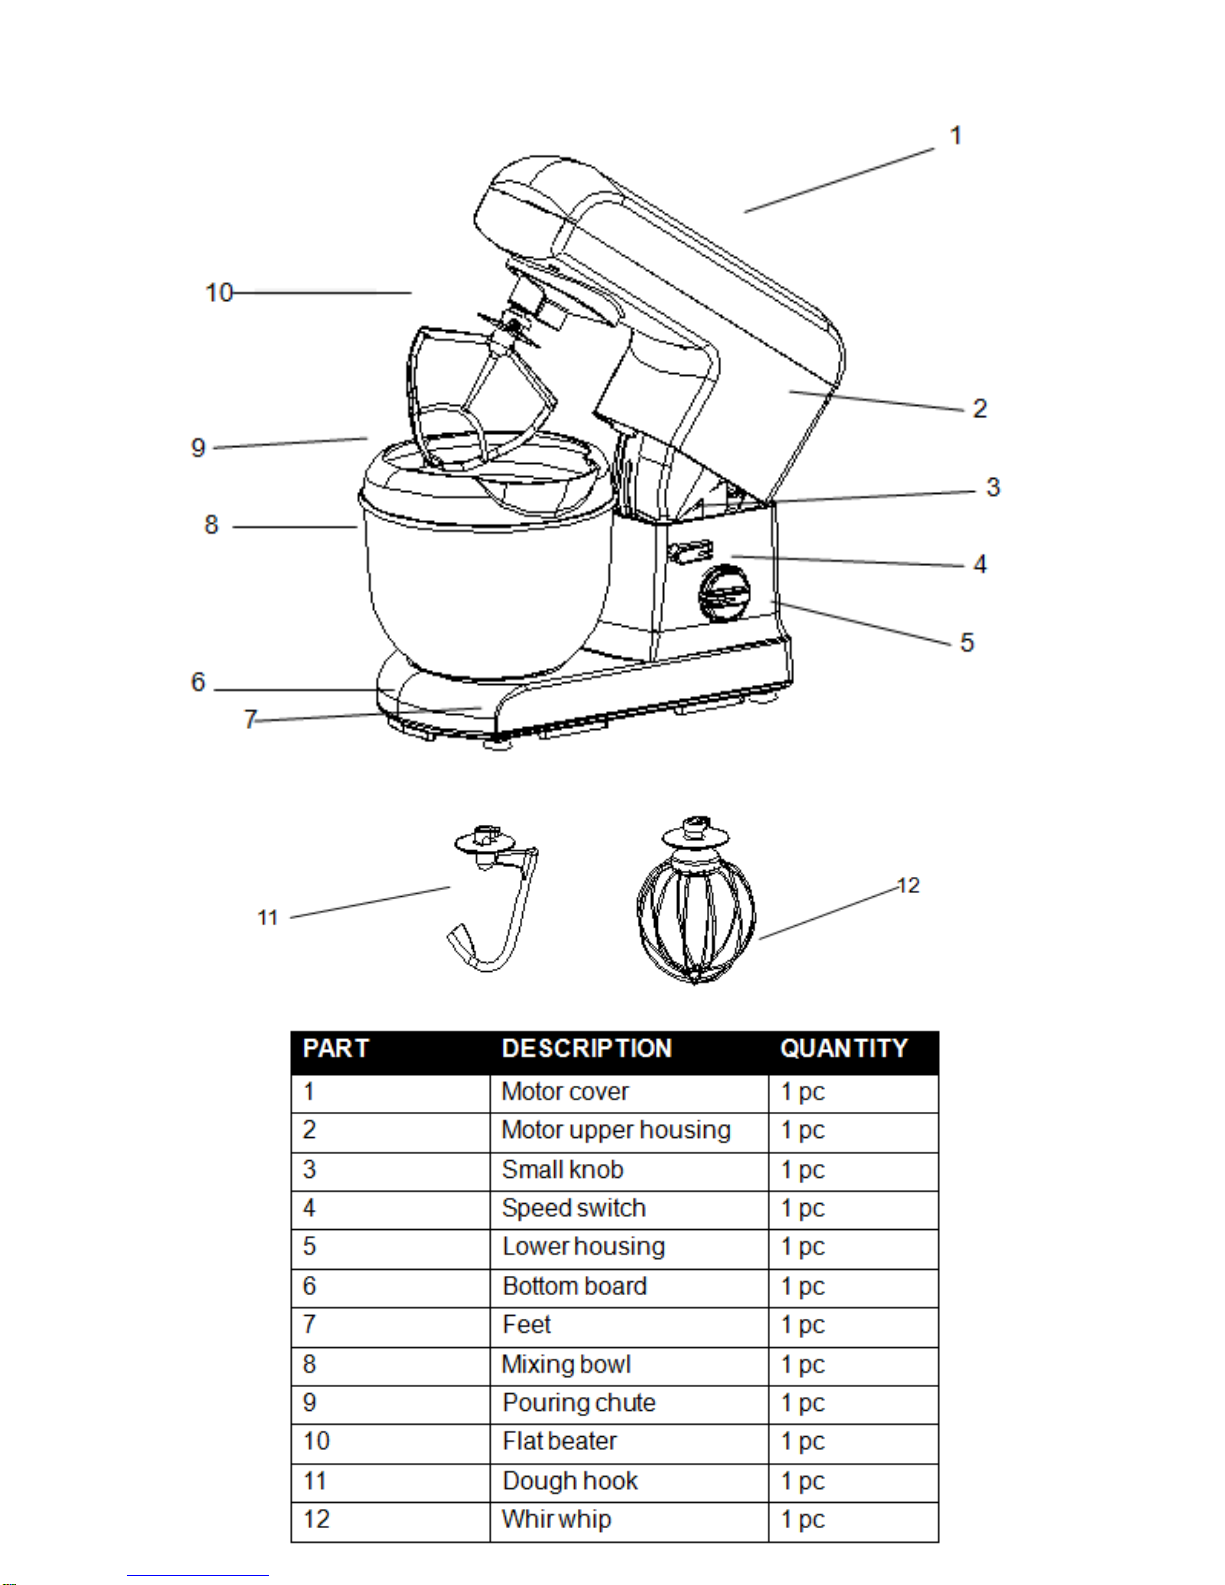
GENERAL CARE AND SAFETY GUIDE
Please read all instructions carefully before using this appliance and keep them for
future reference.
1, Always remove and safely discard any packaging material and promotional labels
before using the stand mixer for first time.
2, After use and before cleaning, switched off and unplug before fitting or removing
tools and/or attachments.
3, Remove and safely discard the protective cover fitted to the power plug of this
appliance to eliminate a choking hazard for children.
4, Children should be supervised to ensure that they do not play with the appliance.
5, When any appliance is used by or near children, close supervision is necessary.
6, During operation, do not place the stand mixer near the edge of a bench or table.
Ensure the surface is level, clean and free of water and other substances. The
vibration during operation may cause the appliance to move.
7, Do not put the stand mixer on or near a hot gas or electric burner, or where it
could touch a heated oven.
8, Always ensure the stand mixer is completely assembled before operation. And
need follow the instructions provide in this book closely.
9, Avoid contact with moving parts and fitted attachments during operation. In order
to reduce the risk of injury to persons and/or damage to the mixer, always keep
hands, hair, clothing, as well as spatulas and other utensils, away from beaters
during operation.
10, Should an object such as a spoon or spatulas fall into the bowl while mixing,
immediately ensure the Speed Control Dial is in the “Off”, turn the stand mixer off,
unplug at the power outlet and remove the object.
11. Do not use attachments other than those provided with the stand mixer. Use only
the beater whisk and dough hood supplied with the mixer. Otherwise it may cause
fire, electric shock or injury.
12. Do not operate the appliance continuously on heavy loads for more than 3
minutes.
13. Do not exceed the maximum capacities listed in this use and care instruction
book.
14. Do not use the stand mixer if it is damaged or if there is anything abnormal. Have
the stand mixer checked and serviced before resuming use.
15, Before disassembling, ensure the motor and beater, whisk or dough hook have
completely stopped.
16, Always remove the beater, whisk or dough hook from the bench mixer before
cleaning.
17, Do not use outdoors.
18, To protect against the risk of electric shock do not push the power unit in water or
other liquid.
19, This appliance is not intended for use by persons (including children) with
reduced physical, sensory or mental capabilities, or lack of experience and
knowledge, unless they have been given supervision or instruction concerning use of
the appliance by a person responsible for their safety.
20, If the supply cord is damaged, it must be replaced by the manufacturer, its
service agent
or similarly qualified persons in order to avoid a hazard.

COMPONENTS

PREPARATION
Before beginning assembly of product, make sure all parts are present. Compare parts
with package contents list. And all parts are to be thoroughly cleaned before using for
the first time.
No need any tools for assembly.
ASSEMBLY INSTRUCTIONS
1, Place the mixer base on a level, dry surface. The mixer motor head should be in the
horizontal position. (Fig.1)
2, Depressing the small knob (4) and raise the mixer motor head until it locks into place.
(Fig.2)
3, To Place the mixing bowl according to the direction on the base. Turn clockwise to
secure. (Fig.3)
4, Put the pouring chute on the bowl,(Fig.4) fix and make it matching with bow
properly.(Fig.5)

5. Attach Accessory –Place flat mixing paddle, wire whisk or dough hook into the
accessory power port. Turn counterclockwise until it locks. Turn clockwise to remove.
(Fig.6 & Fig.7)
6. Lower Mixer Head –Pull up the small knob again and fully lower the mixer head.
(Fig.8)
Note: You do not need to remove pouring chute to change accessories.
OPERATING INSTRUCTIONS
To Turn Stand Mixer On
Turn switch to desired speed - 1 through 9 each and Max: 1 to 4 for kneading, 4 to 7 for
mixing, and 7-9 and Max for whipping.
To Turn Stand Mixer Off
Turn switch to “OFF” position.
Note: The Maximum quantity of mixture is 800g.
This machine has protecting installation, so it will be stop
automatically after 10 minutes operation.

CLEANING AND MAINTENANCE
1, Before cleaning, please unplug your Stand Mixer and make sure it cool
down.
2, For the Power Unit, Wipe with a damp cloth and dry. Never use
abrasives or immerse in water.
3, Bowl: Wash by hand and dry thoroughly or put in dishwasher. Never use
a wire brush, steel wool or bleach.
4, Tools: Top rack not dishwasher-safe; only can wash by hand and dry
thoroughly.
SUPPORT AND TECHNICAL ADVICE
North Shore City, Auckland, New Zealand
Monday –Friday 8am-5pm
Phone: 0800 232 633
Website: www.goldair.co.nz

Your Goldair product has been inspected and tested and is guaranteed subject to the
following for a period to two years from the date of purchase against defects in
workmanship and materials. During this period, such defects will be rectified by
repair or replacement of the product purchased. Your product contains no user
serviceable components and this warranty becomes invalid if in our opinion the
product has been misused, abused, incorrectly installed, tampered with, connected
to an electrical supply not corresponding with the name plate specification, or
subjected to power surges. The warranty does not include any labour or other
associated expense that may be involved in removal or installation of the product.
Normal wear and tear is expressly excluded.
If your Goldair product fails to operate satisfactorily, please return it to the retailer
from whom it was purchased. To obtain a repair or replacement product under this
warranty, you will need to produce satisfactory evidence of date of purchase. The
completed warranty and purchase receipt must be presented with the product. The
warranty should be filled out at the time of purchase. It is in your interest to make
sure this is done.
If the product is to be replaced (cannot be repaired) then that replacement will be of
the same or similar product or accessory excluding packaging, instruction card etc.
Where a replacement product is supplied, this shall be guaranteed for the balance of
the original warranty period.
Any model that is no longer available will be replaced by a model of a value and with
such features as we consider appropriate in the circumstances. Goldair Ltd is not
responsible for freight forwarding charges, losses or damage in transit.
If service is required after the warranty period has expired, the product should be
returned to a qualified electrical technician. Service outside of the warranty period
will be at your cost.
Consumers GuaranteeAct (1993).
In accordance with the above act consumers are advised that: The manufacturer
does not undertake that repair facilities and parts are necessarily available for this
product.
If any of the provisions of the foregoing are contrary to any relevant legislation, then
that provision shall be deemed to be excluded from the warranty and the rest of the
provisions will continue to apply.
TWO YEAR WARRANTY
IMPORTANT: PLEASE RETAIN THIS WARRANTY CARD
NAME:
ADDRESS:
PURCHASED FROM:
SUBURB:
DATE OF PURCHASE:
NAME OF PRODUCT:
MODEL No:
Table of contents
Other Goldair Mixer manuals