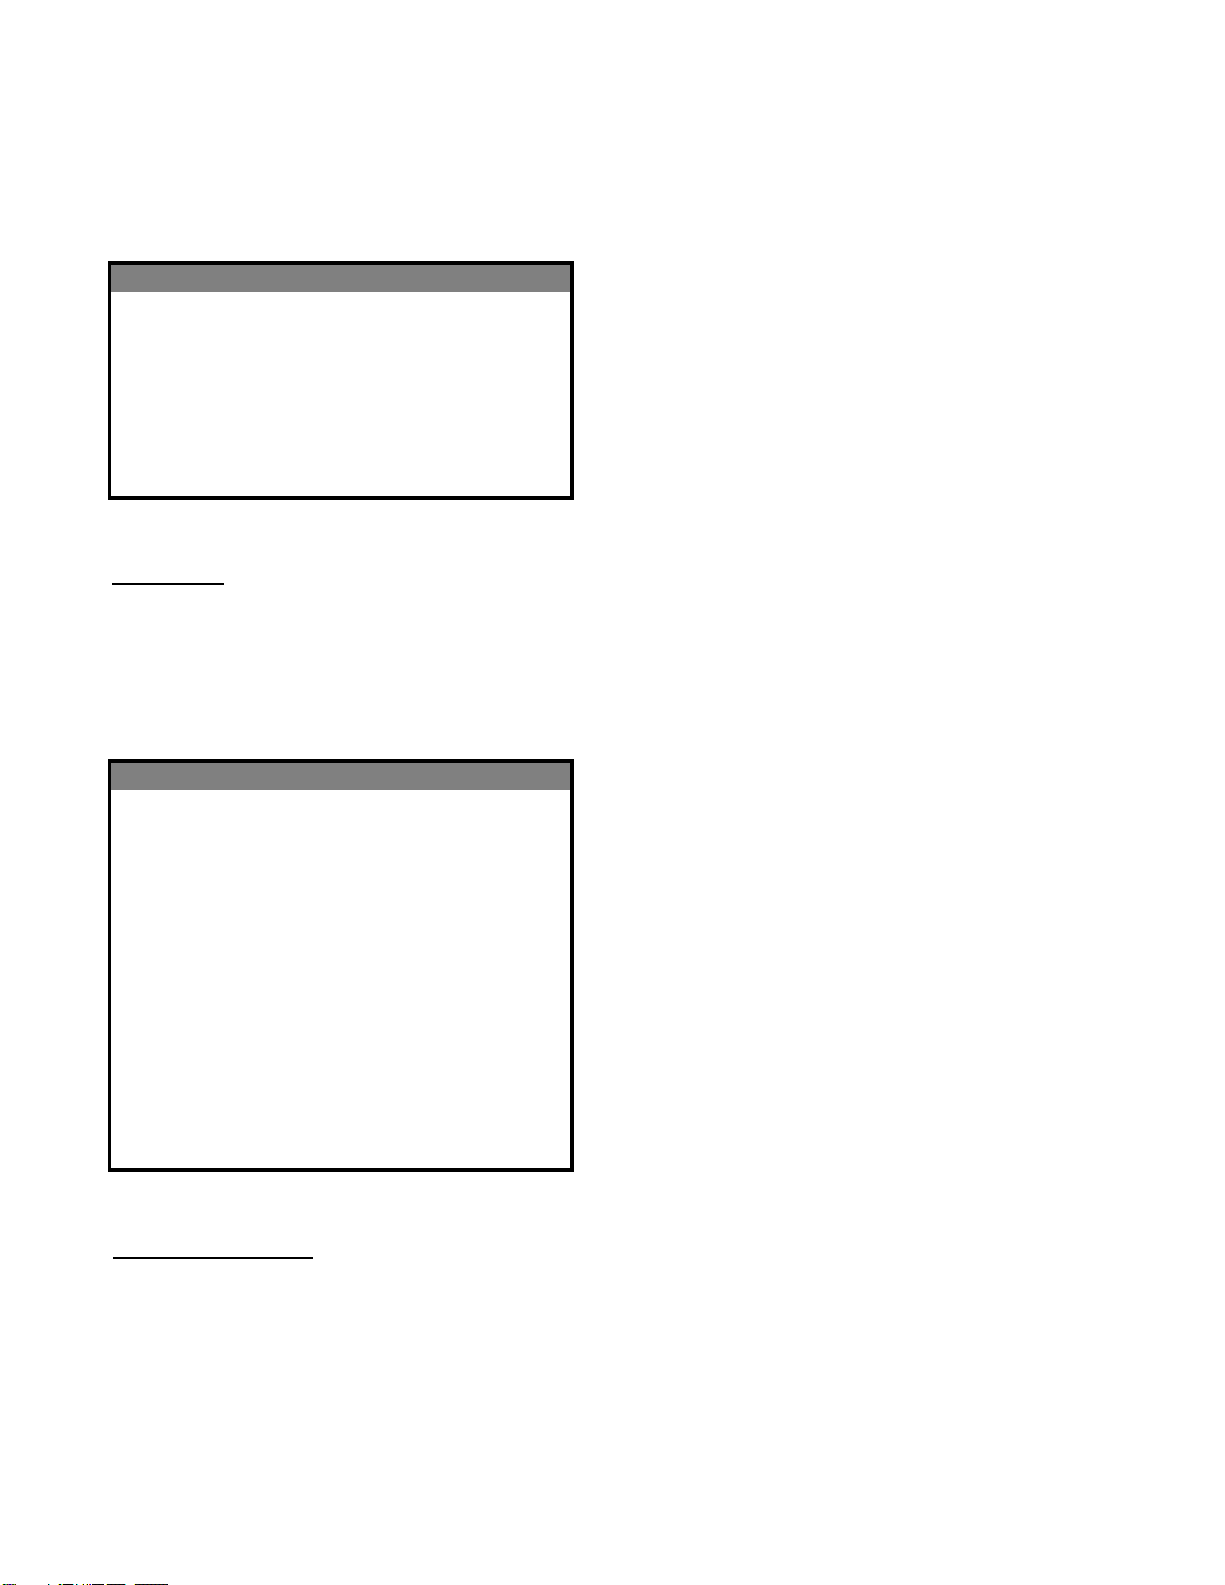
LANGUAGE ENGLISH English or Chinese
BRIGHT NORMAL Normal, Bright or Gloom
MIX NORMAL Light, Normal or Heavy
BACKGROUND GRADUAL Gradual, Normal or Mix
SIGNAL SOURCE AV AV, SV or TV
COLOR SYSTEM AUTO Auto, PAL, NTSC, PAL N, PAL M
or SECAM
MONITOR TYPE 4:3 4:3, 16:9 or 16:10
800x600 60-75Hz, 1024x768 60-75Hz
DISPLAY RATIO 800X600 60Hz 1280x720 60-75Hz, 1280-1024 60-75Hz,
1440x900 60-75, 1600x900 60, 1680x1050 60
POP MODE CENTER Center, Top Left, Bot Left, Top Right, Bot Right
BROWSE MODE 9 PIC 4 PIC, 9 PIC, 16 PIC
AUTO, 800x600 60-75Hz, 1024x768 60-75Hz
VGA RATIO AUTO 1280x720 60-75Hz, 1280-1024 60-75Hz,
1440x900 60-75, 1600x900 60, 1680x1050 60
DISPLAY MODE
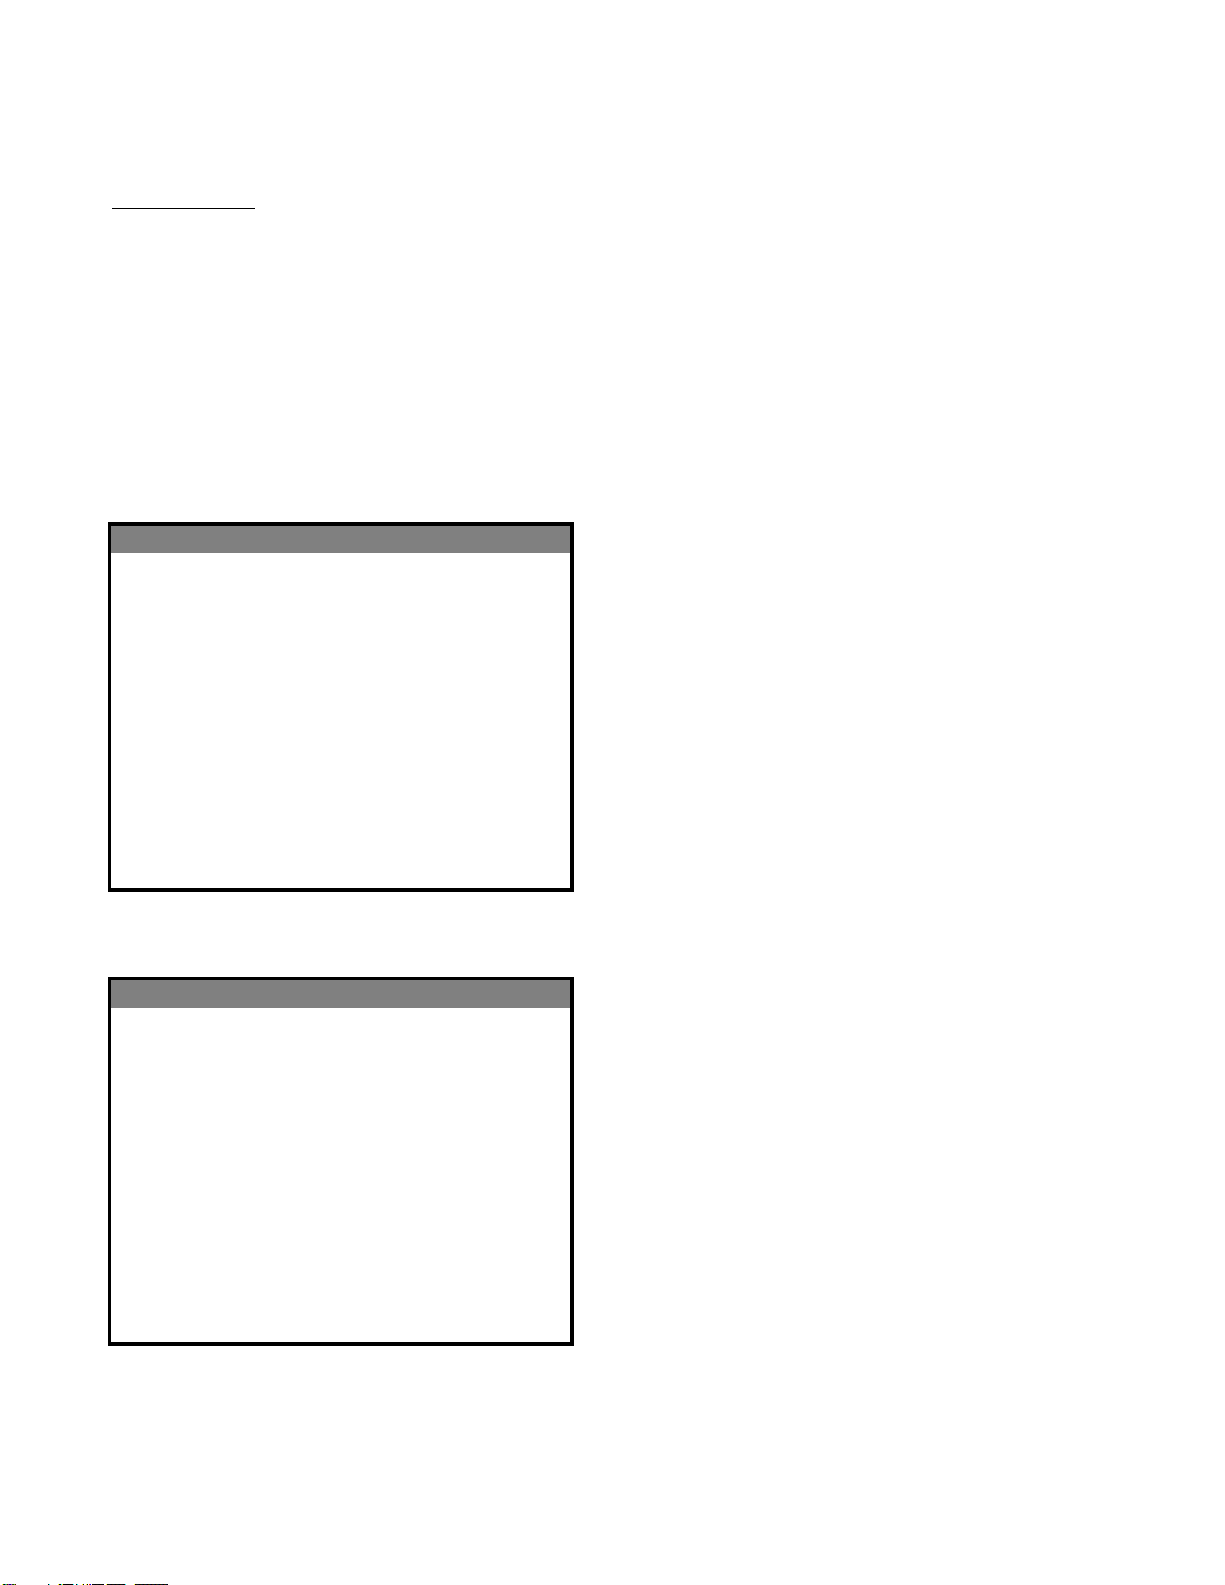
OSD Settings:
Language: This selection will adjust which language the OSD is seen in. (English or Chinese)
Bright: This selection will adjust the brightness of the OSD.
Mix: If using the Mix Background this will adjust how dark the OSD is over the background.
Background: This will adjust the background of the OSD, Gradual=Light to dark, Normal=Blue
background, Mix=OSD is clear and the displayed picture can be seen through the OSD.
Pg. 5