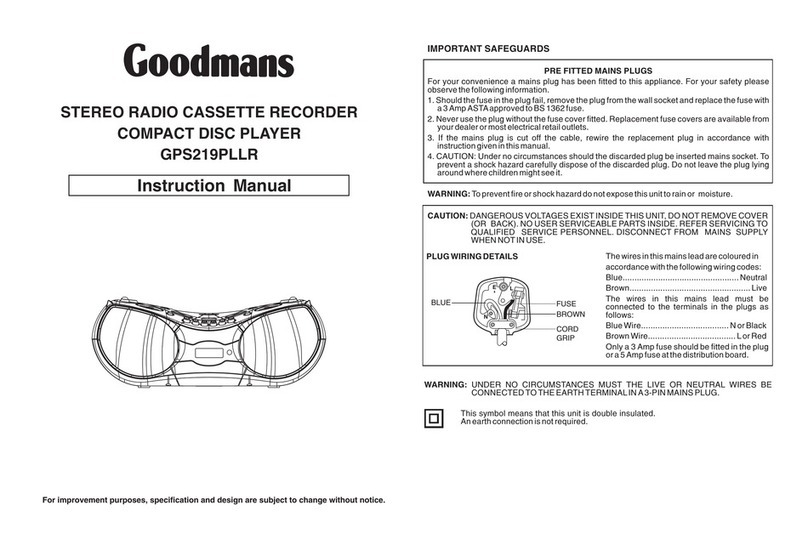
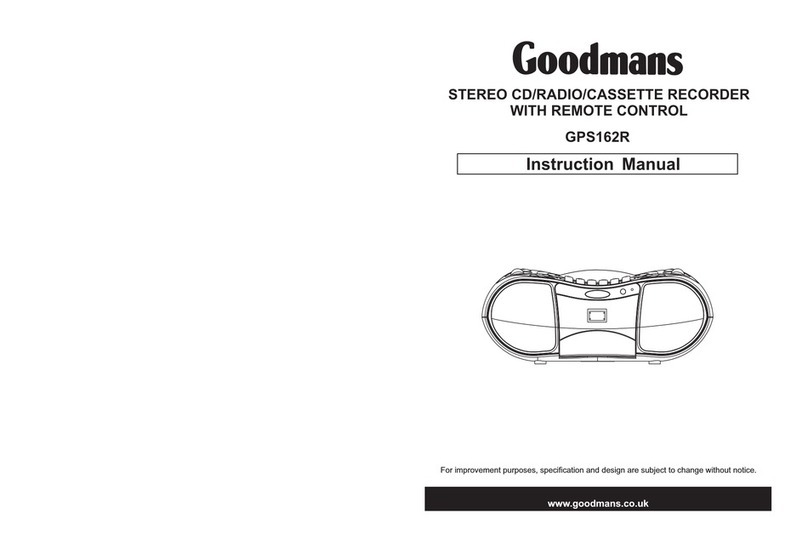
Goodmans GPS186DABX User manual

User Guide
GPS186DABX
FM/DAB Radio CD Cassette Recorder
CXDAB202.book Page 1 Wednesday, July 19, 2006 3:37 PM

GPS186DABX
2
Introduction
Thank you for purchasing this GOODMANS FM/DAB Radio CD
Cassette Recorder, herein after referred to as CD Player which has
been designed and manufactured to give you many years of
trouble-free service.
You may already be familiar with using a similar product but please take
time to read these instructions which have been written to ensure you
get the very best from your purchase.
Safety is Important
To ensure your safety and the safety of others, please read the Safety
precautions before
you operate this product.
Keep this information in a safe place for future reference.
WARNING! THIS PRODUCT UTILISES A CLASS 1 LASER. USE
OF CONTROLS, ADJUSTMENTS OR PROCEDURES NOT
LISTED IN THIS USER GUIDE MAY RESULT IN HAZARDOUS
RADIATION EXPOSURE.
CXDAB202.book Page 2 Wednesday, July 19, 2006 3:37 PM

FM/DAB Radio CD Cassette Recorder
3
Contents
CXDAB202.book Page 3 Wednesday, July 19, 2006 3:37 PM
Introduction ............................................................................................ 2
Safety is Important ................................................................................. 2
Contents .................................................................................................. 3
Safety Precautions ................................................................................. 5
Getting Started ....................................................................................... 7
In the Box ...................................................................................................7
Power Supplies ..........................................................................................7
Function Selector .......................................................................................9
Adjusting the Sound ...................................................................................9
Headphones ...............................................................................................9
Bass Boost .................................................................................................9
Identification of Controls ..................................................................... 10
Front View ................................................................................................10
Rear View .................................................................................................10
Side View .................................................................................................10
Remote Control ........................................................................................11
Display Screens .......................................................................................11
What is Digital Radio ........................................................................... 12
Playing the DAB Radio ........................................................................ 13
Switching On for the First Time ................................................................13
Changing DAB Stations ...........................................................................14
Scanning for DAB Stations .......................................................................14
Secondary Services .................................................................................14
Storing DAB Presets ................................................................................15
Selecting a Preset DAB Station ...............................................................15
System Reset ...........................................................................................15
Changing the DAB Station Information ....................................................16
Signal Strength .........................................................................................17
Station Order ............................................................................................17
Manual Tune ............................................................................................ 18
Dynamic Range Compression .................................................................19
Software Version ......................................................................................19
Language Type ........................................................................................20
To Turn the Radio Off ..............................................................................20
Playing the FM Radio ........................................................................... 21
To Turn the Radio On ..............................................................................21
Manual Tune ............................................................................................ 21
Auto Tune .................................................................................................21
Storing FM Presets ..................................................................................22
Playing FM Presets ..................................................................................22
To Turn the Radio Off ..............................................................................22
Aerial ........................................................................................................22
Playing CDs .......................................................................................... 23
Loading CDs ............................................................................................23
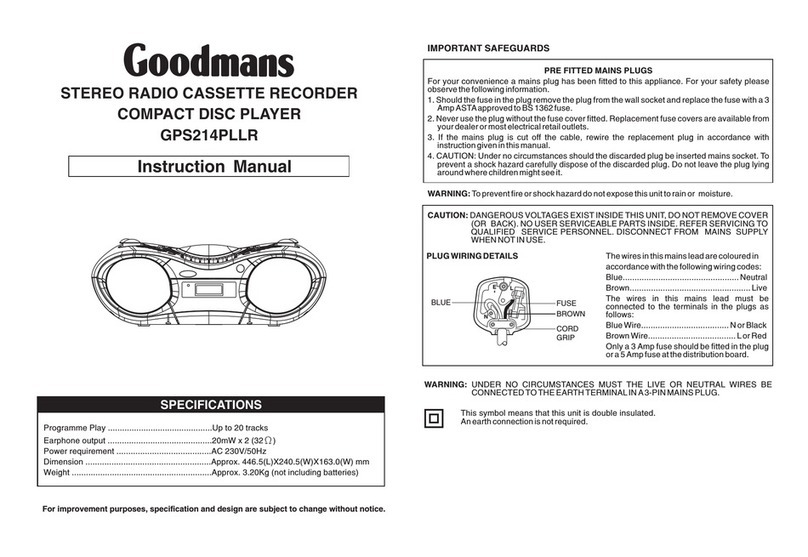
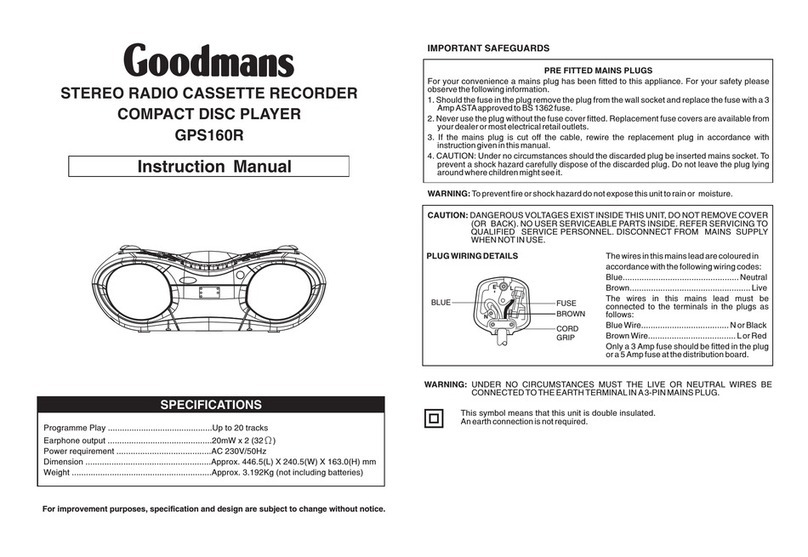
GPS186DABX
4
Error Compensation .................................................................................23
Playing .....................................................................................................23
Programmed Track Selection ...................................................................24
Repeat Disc Play ......................................................................................25
Using the Cassette Recorder .............................................................. 26
Playing a Cassette Tape ..........................................................................26
Recording .................................................................................................26
Help and Advice ................................................................................... 29
Care and Maintenance ......................................................................... 30
Handling and Cleaning CDs .....................................................................30
Cleaning the CD Player ............................................................................31
Cleaning the Optical Lens ........................................................................31
Cassette Tape Care .................................................................................32
Guarantee ............................................................................................. 34
Technical Specifications ..................................................................... 34
CXDAB202.book Page 4 Wednesday, July 19, 2006 3:37 PM

FM/DAB Radio CD Cassette Recorder
5
Safety Precautions
WARNING! ENSURE THAT YOU READ ALL OF THE SAFETY
INSTRUCTIONS BEFORE USING YOUR CD PLAYER.
CXDAB202.book Page 5 Wednesday, July 19, 2006 3:37 PM
Power Source
• The CD Player is supplied from either:
230V 50Hz mains supply.
12V (8 x C size (LR14) batteries) (Batteries not included).
CR2025 (3V Lithium battery for Remote Control)
Safety Considerations
• Position the power lead and other connected leads so that they are
not likely to be walked on, pinched or where items can be placed on
or against them.
• Do not use the CD Player in humid or damp conditions.
• Do not place water filled items, such as a vase, on top of the CD
Player.
• Ensure that naked flame sources, such as candles are not placed
on top of the CD Player.
Cleaning
• Ensure that the mains supply is disconnected before the CD Player
is cleaned.
• Do not use any liquids or aerosol cleaners, as this may damage the
CD Player.
• The CD Player should be cleaned with a soft, damp cloth.
Ventilation
• Do not cover any ventilation slots on the CD Player, as this may
cause it to overheat.
• Never allow children to insert foreign objects into holes or slots on
the CD Player.

GPS186DABX
6
Servicing
• There are no user serviceable parts in the CD Player.
• When servicing, refer to qualified service personnel.
• Consult your dealer if you are ever in doubt about the installation,
operation, or safety of your CD Player.
How do I dispose of this product?
When your CD Player has reached the end of its life, contact
your local council regarding available recycling or disposal
options. Do not dispose of electrical products in the general
waste.
Please ensure that used batteries are disposed of safely.
Laser Safety
WARNING! THIS CD PLAYER USES A CLASS 1 LASER. ONLY
QUALIFIED SERVICE PERSONNEL SHOULD ATTEMPT
REPAIR.
EXPOSURE TO THE LASER BEAM CAN DAMAGE YOUR
EYESIGHT. UNDER NORMAL WORKING CONDITIONS THE CD
PLAYER IS SAFE. IF, HOWEVER, THE CD LID INTERLOCK IS
BROKEN OR DEFEATED IN SOME WAY OR IF THE
ENCLOSURE IS REMOVED, THERE IS A DANGER OF
INVISIBLE LASER RADIATION. IN THESE CIRCUMSTANCES,
AVOID DIRECT EXPOSURE TO THE BEAM AND RETURN THE
UNIT FOR REPAIR BY QUALIFIED PERSONNEL.
CXDAB202.book Page 6 Wednesday, July 19, 2006 3:37 PM

FM/DAB Radio CD Cassette Recorder
7
Getting Started
Remove the CD Player carefully from the box. You may wish to store
the packaging for future use.
Read these instructions before use.
CXDAB202.book Page 7 Wednesday, July 19, 2006 3:37 PM
In the Box
You should have the following items in the box:
• CD Player
•
•
•
Pull the Battery Holder out in the direction as shown.
Remove the old battery.
Insert a CR2025 3V Lithium battery into the battery
holder with the “+” side facing up.
• Mains Lead
• Remote Control
•UserGuide
If any of these items is missing, please contact Product Support:
Telephone: 0871 230 1777
E-mail: support@goodmans.co.uk
Internet: www.goodmans.co.uk
Power Supplies
You can operate the CD Player from two power sources:
•Mainslead
• Batteries
Mains Lead
Replacing the Remote Battery
To operate from the mains supply, plug the mains lead into the socket
Notes:- To activate the remote control, remove the little
tag sticking out of the battery compartment by
pulling on it. Once the tag is removed the remote
will be ready for use.
on the rear of the CD Player and insert the mains plug into a mains
supply socket.

GPS186DABX
8
Inserting the CD Player Batteries
To insert the batteries:
• Turn the CD Player upside down.
• Push the battery cover retaining clips in the direction of the arrows
as shown below and remove the cover.
• Insert eight ‘C’ (LR14) size batteries ensuring you follow the
polarity as shown below.
• Refit the battery compartment cover.
• We recommend the use of Ever Ready Energizer Batteries.
CXDAB202.book Page 8 Wednesday, July 19, 2006 3:37 PM

FM/DAB Radio CD Cassette Recorder
9
Function Selector
• Set the FUNCTION selector to CD, the CD LED display will
flash ‘- -’ for about 20 seconds then display ‘No’ to indicate no disc
loaded.
•SettheFUNCTION Selector to Tuner, the Radio LCD display will
illuminate and play the previously set station (FM or DAB).
•PresstheFM/DAB button to select FM or DAB Radio broadcasts.
• Set the FUNCTION Selector to Tape to enable the cassette
recorder or to turn the CD Player OFF.
Adjusting the Sound
Turn the rotary VOLUME control knob counterclockwise to increase the
volume and clockwise to decrease the volume.
Headphones
A pair of headphones with a 3.5mm diameter stereo plug and 8-32 ohm
impedance, is required. Plug the headphones into the headphone
socket on the top of the CD Player.
When headphones are connected, the speakers are automatically
disconnected.
Bass Boost
To increase the bass heard from the CD Player, press the X-BASS
button. To return to normal bass, press the X-BASS button again.
NOTE: When not in use, disconnect the mains plug from the mains
power supply.
CXDAB202.book Page 9 Wednesday, July 19, 2006 3:37 PM

GPS186DABX
10
Identification of Controls
Front View
Rear View
X-BASS
FM/DAB
Carry Handle
Program (CD)
Headphone
Socket
Left Speaker
Reset
Preset
Open CD
Compartment
CD
Compartment
LED Display
(CD)
Right Speaker
Scan
LCD Display (Radio)
Repeat (CD)
Forward Skip
Reverse Skip
Stop
Play/Pause
Display
Scroll Up
Scroll Down
Select
Pause
Stop/
Eject
F.Fwd
Rew.
Play
Record
Cassette Door
Telescopic Aerial
Mains Supply Socket
Aerial Retaining Clip
CXDAB202.book Page 10 Wednesday, July 19, 2006 3:37 PM
Side View
Volume Function Selector

FM/DAB Radio CD Cassette Recorder
11
Display Screens
Remote Control
LCD Display (Radio)
2-Line Display
IR SENSOR
Play/Program
Indicator
LED Display (CD)
Repeat Indicator
2-Digit Display
Display
CXDAB202.book Page 11 Wednesday, July 19, 2006 3:37 PM
Reset
Select
Preset
Battery
Compartment
FM/DAB
Scroll up
Scan
Scroll down

GPS186DABX
12
What is Digital Radio
DAB (Digital Audio Broadcasting) is the next generation of radio.
DAB was developed in Europe by a consortium of broadcasters and
manufacturers.
DAB uses digital compression techniques to transform the source
material, i.e. music and speech, into digital code before it is transmitted.
The code consists of electronic ‘ones and zeros’ called binary digits or
bits. The binary code is then multiplexed or grouped together to create
a superior signal, when compared with the older analogue system, with
the following key benefits:
• Near CD quality sound
Because DAB is binary coded, the receiving equipment is only
expecting to receive a series of ones and zeros, so any other inter-
ference is ignored, resulting in very high quality audio.
• Interference free reception
Analogue systems suffer from an effect called ‘multipath distortion’.
This is caused because radio waves do not behave in an orderly
fashion, but bounce and reflect off buildings etc. DAB sees this as
an advantage and uses the direct and reflected signals to actually
reinforce the end result.
• No need to re-tune
A single DAB frequency can be used to cover the whole of the UK,
so solving many of the problems experienced with the earlier
analogue system. DAB radios can automatically tune-in all of the
available stations in your area.
CXDAB202.book Page 12 Wednesday, July 19, 2006 3:37 PM

FM/DAB Radio CD Cassette Recorder
13
Playing the DAB Radio
Switching On for the First Time
Set the FUNCTION switch to Tuner and press the FM/DAB button to
select DAB.
When the DAB radio is switched on for the first time, the radio searches
for all available digital channels from 11B to 12D.
The LCD display shows the screen below.
The bar graph indicates the progress of the search. As the search
progresses the number of stations found will increase.
Once the scan is complete, the radio will then select the first available
station. All other stations are listed in numerical then alphabetical order.
The station list is retained in the memory so the next time you select the
DAB radio, the station search does not take place. The radio will simply
tune to the last station played. While this is happening the LCD display
shows the screen below.
NOTE: If you are using batteries to power the unit and the
DAB radio fails to initiate when it is switched on, (display
remains blank) check that the batteries are not exhausted.
NOTE: If there are no stations found, check that the aerial is
extended and that adequate DAB coverage exists in your area.
CXDAB202.book Page 13 Wednesday, July 19, 2006 3:37 PM
Searching... 11B
0
Tuning...
Service Name
11B
8

GPS186DABX
14
Changing DAB Stations
Press the SCROLL or button to scroll up or down through the
available stations. The station names will appear on the LCD display.
When the desired station is displayed, press the SELECT button. The
DAB radio will automatically tune to that station.
Scanning for DAB Stations
Due to the nature of DAB radio, additional stations and services
regularly become available. If you wish to see if there have been any
new DAB stations introduced in your area you can initiate a search.
Press the SCAN button to activate a local search for stations. This will
take approximately 10 seconds. The screen below will be shown in the
LCD display.
Once complete, the station list will be updated.
If you are using your DAB radio outside of the UK then a wider search
can be initiated by pressing and holding down the SCAN button for
approximately two seconds. In this case a full scan is performed which
will take approximately one minute.
Secondary Services
Occasionally, you may see a ‘>’ symbol after the station name. This
indicates that there are secondary services available. These services
allow broadcasters to create ‘part-time’ channels, which are available
when they are transmitting their main signal. To access a secondary
service, you must tune in when a station is actually broadcasting, this
allows your DAB radio to store the station in its memory.
At the time of writing, not many secondary services are available in the
UK. This situation will change as more DAB stations start broadcasting.
CXDAB202.book Page 14 Wednesday, July 19, 2006 3:37 PM
Searching... 11B
8

FM/DAB Radio CD Cassette Recorder
15
Storing DAB Presets
You can preset up to 10 DAB stations for easy access.
Tune to the station you wish to preset.
Press the PRESET button, the display shows the station name in the
first line or PRESET # EMPTY, where # is the preset number.
Use the SCROLL or button to scroll through the presets. When the
desired preset is shown, press and hold the SELECT button until the
display shows PRESET # STORED.
Selecting a Preset DAB Station
To play a preset station previously saved:
Press the PRESET button, the display shows the station name in the
first line or PRESET # EMPTY, where # is the preset number.
Use the SCROLL or button to scroll through the presets. When the
desired station name is shown, press the SELECT button to listen to the
station.
System Reset
In the unlikely event that your CD Player locks-up, you can delete all of
the preset stations and return it to its factory settings as follows.
Press and hold the MENU button until the following screen is displayed.
Release the MENU button.
The LCD display will show GOODMANS and will start to scan for
available DAB stations. Once the scan is complete, the DAB radio will
automatically tune to the first available station.
NOTE: If you have already saved a FM station in a preset location,
it will be overwritten with the new station.
CXDAB202.book Page 15 Wednesday, July 19, 2006 3:37 PM
System Reset

GPS186DABX
16
Changing the DAB Station Information
It is possible to change the information that is displayed on the second
line of the LCD display when listening to a DAB station. By Pressing
DISP button, there are seven different types of information that can be
displayed. These are:
Programme Type
This is a description of the type of
programme provided by the DAB
station and is provided by the
broadcaster.
Network Information
This displays the name of the network
that is transmitting the DAB signal.
Signal Strength
This displays the signal strength of
the DAB signal. It can be used as
gauge of signal quality. The stronger
the signal strength, the higher the
quality of signal.
Scrolling Information
This displays programme information,
provided by the broadcaster, which
scrolls across the display.
Press
DISP
Press
DISP
Press
DISP
Press
DISP
Press
DISP
CXDAB202.book Page 16 Wednesday, July 19, 2006 3:37 PM
BBC Radio 5 Live
Phone In
BBC Radio 5 Live
BBC National DAB
BBC Radio 5 Live
14:19 12-07-2005
Service8 DAB
BBC Radio 5 Live
DLS Scrolling
Time and Date
This displays the time and date and is
provided by the broadcaster, so it will
be accurate.

FM/DAB Radio CD Cassette Recorder
17
CXDAB202.book Page 17 Wednesday, July 19, 2006 3:37 PM
Manual Tune
It is possible to manually tune to a specific channel / frequency and add
this to the station list.
To manually add a specific channel / frequency to the station list, press
and hold the SELECT button. The LCD display changes as shown below:
The first line of LCD display shows the channel and frequency
information.
Use the SCROLL or button to scroll through the available
channels. The LCD display changes as shown below.
12B 225.648MHz
12B
Tuning...
225.648MHz

GPS186DABX
18
CXDAB202.book Page 18 Wednesday, July 19, 2006 3:37 PM
If DAB signal is present in this channel, network information will be
shown at the second line of the LCD display.
The first service in the network service will be selected. If the SELECT
button is pressed, the current service and network service name shall
be displayed together with a manual tuning indicator.
Subsequent presses of Scroll Up/Down button will step through all
the service on the current network service, wrapping round at the end.
If the SELECT button is pressed, the unit will return to the selected
service.
It is possible to view the software version, transmission rate and audio
type used by the CD player. To view the software version, press and
hold the DISPLAY button. The LCD display as shown below:
Press the DISPLAY button will display the transmission and audio
type of the service which the unit is tuning to.
Software Version, Transmission Rate and Audio Type
12B
BBC DAB
225.648MHz
BBC1
BBC DAB
MAN
BBC
software v1.00
DAB
BBC
Stereo 256Kbps
DAB

FM/DAB Radio CD Cassette Recorder
19
CXDAB202.book Page 19 Wednesday, July 19, 2006 3:37 PM
Channel Information
When the unit is tuned to a particular DAB service, the channel
information can be displayed by pressing and holding the SELECT
button (Manual Tune function). The LCD display changes as shown
below:
Press the SELECT button twice to exit the manual tune function.
To Turn the Radio Off
Set the FUNCTION switch to Tape (power off).
12B
BBC DAB
225.648MHz

GPS186DABX
20
CXDAB202.book Page 20 Wednesday, July 19, 2006 3:37 PM
Playing the FM Radio
To Turn the Radio On
Set the FUNCTION switch to Tuner.
Press the FM/DAB button to select FM, the display will show the
previously set FM frequency.
Manual Tune
To manually tune to a station press the SCROLL or button.
Each press of a SCROLL button will increase or decrease the
frequency by 0.05MHz.
An example display is shown below.
Auto Tune
To automatically tune to the next available station press the SCAN
button to begin the search.
The station found will play, the display will show it’s frequency.
An example display is shown below.
To force a SCAN to start searching up or down the frequency band
press the SCROLL or button respectively prior to pressing the
SCAN button.
98.80MHz FM
101.90MHz FM
Table of contents
Other Goodmans Cassette Player manuals

Goodmans
Goodmans GPS223MP3 User manual

Goodmans
Goodmans MICRO 1411S User manual

Goodmans
Goodmans GPS214PLLR User manual

Goodmans
Goodmans GPS219PLLR User manual

Goodmans
Goodmans GPS163R User manual

Goodmans
Goodmans GCR300 User manual

Goodmans
Goodmans MICRO1461 User manual

Goodmans
Goodmans GPS160R User manual

Goodmans
Goodmans GPS222MP3 User manual

Goodmans
Goodmans GPS162R User manual