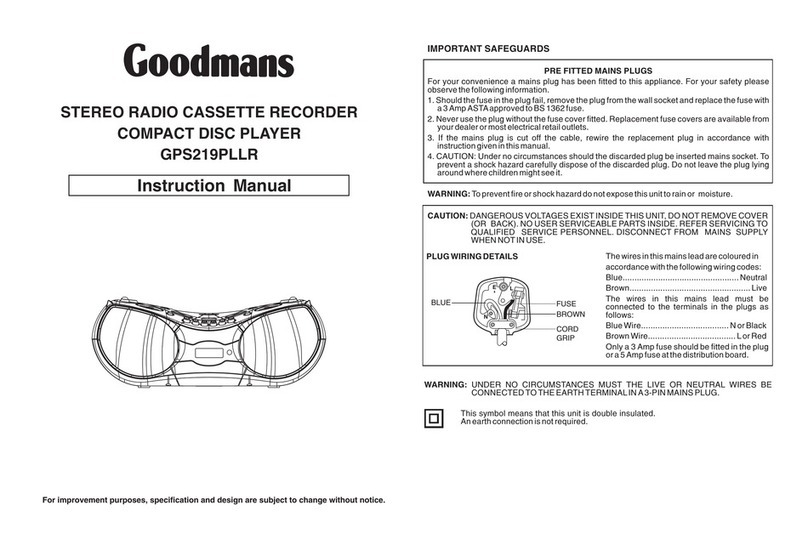
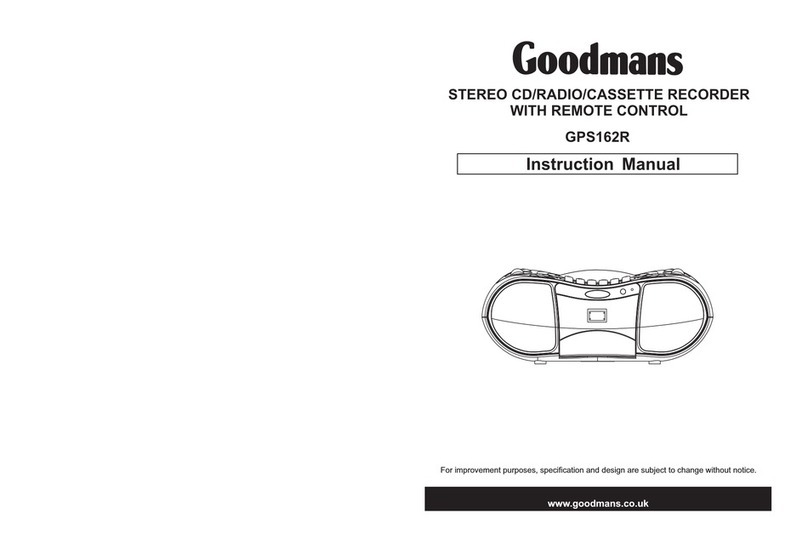
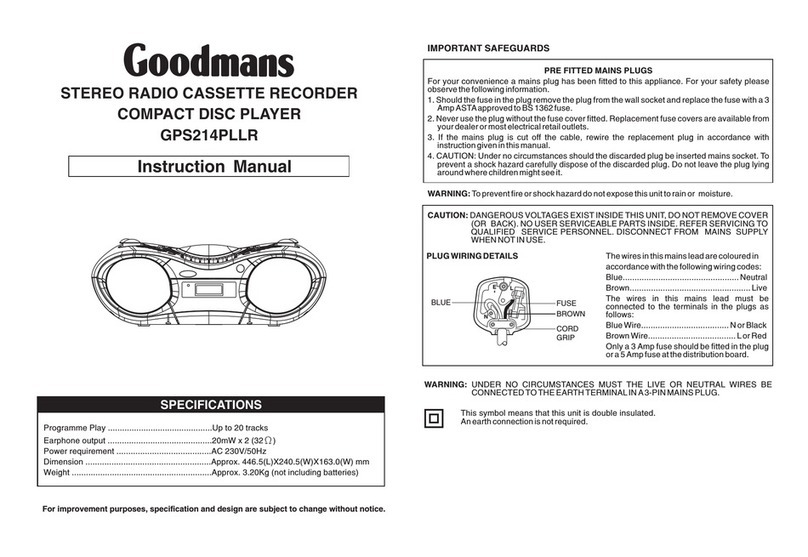
Goodmans GPS223MP3 User manual

PORTABLE CD/MP3 DISC PLAYER
STEREO RADIO CASSETTE RECORDER
GPS223MP3

Electrical In formation
This appliance is fitted with a BS1363/A 13 AMP PLUG. If it is not suitable for your supply sockets
it must be removed and replaced with an appropriate plug. If the plug becomes damaged and/or
needs to be replaced please follow the wiring instructions below. The plug removed must be
disposed of immediately. It must not be plugged into a supply socket as this will be an electrical
hazard. If the fuse needs to be replaced it must be of the same rating and ASTA approved to
BS1362. If the plug is changed, a fuse of the appropriate rating must be fitted in the plug, adapter
or at the distribution board. If the fuse in a moulded plug is replaced, the fuse cover must be
refitted before the appliance can be used.
Wiring instructions
The supply cable will be either 2-core or 3-core. Follow the appropriate wiring instructions given
below. In both cases ensure that the outer sheath of the cable is firmly held by the cable clamp.
1

CAUTION
CLASS 1 LASER PRODUCT
Use of Controls or adjustments or performance of procedures other than those specified herein
may result in hazardous radiation exposure.
LASER SAFETY
This unit employs a laser, only qualified service personnel should attempt repair.
DANGER: INVISIBLE LASER RADIATION WHEN OPEN AND INTERLOCK
FAILED OR DEFEATED. AVOID DIRECT EXPOSURETOBEAM.
CAUTION: HAZARDOUS LASER RADIATION WHEN OPEN AND
INTERLOCKDEFEATED.
CAUTION
CLEANING: Always disconnect unit from mains supply before attempting to clean it. Use soft
cloth moistened with soapy water, wipe gently. Do not use solvents or abrasive
materials.
SOME DO'S AND DONT'S ON THE SAFEUSE OF EQUIPMENT
This equipment has been designed and manufactured to meet European safety standards but like
any electrical equipment, care must be taken if you are to obtain the best results and safety is to
be assured.
Do read the operating instructions before you attempt to use the equipment.
Do ensure that all electrical connections (Including the mains plug, extension leads and
interconnections between pieces of equipment) are properly made in accordance with the
manufacturer's instructions. Switch off and withdraw the mains plug when making or changing
connections.
Do consult your dealer if you are ever in doubt of the installation, operating, or safety of your
equipment.
Don't continue to operate the equipment if you are in any doubt about it working normally, or if it is
damaged in any way- switch off, withdraw the mains plug and consult your dealer.
Don't remove any fixed covers as this may expose dangerous voltages.
Don't leave equipment switched on when it is unattended unless it is specifically stated that it is
designed for unattended operation or has a standby mode. Switch off using the switch on the
equipment and made sure that your family knows how to do this. Special arrangements may need
to be made for infirm or handicapped people.
Don't listen to headphones at high volume, as such use can permanently damage your hearing.
Don't obstruct the ventilation of the equiment, for example with curtains or soft furnishings.
Overheating will cause damage and shorten the life of the equipment.
Don't allow electrical equipment to be exposed to rain or moisture.
Above all
yNever let anyone, especially children, push anything into holes, slots or any other opening as
this could result in a fatal electric shock.
yNever guess or take chances with electrical equipment of any kind.
yIt is better to be safe than sorry!
WARNING: TO REDUCE THE RISK OF FIRE OR ELECTRIC SHOCK, DO NOT EXPOSE THIS
APPLIANCE TO RAIN OR MOISTURE, DANGEROUS HIGH VOLTAGES ARE
PRESENT INSIDE THE ENCLOSURE, DO NOT OPEN THE CABINET, REFER
SERVICING TOQUALIFIEDPERSONNELONLY.
2

Your hearing is very important to you and to us so please take care when operating this
equipment. The following guidelines are provided for your information.
ESTABLISH A SAFE SOUND LEVEL
yOver time your hearing will adapt to continuous loud sounds and will give the impression that
the volume has in fact been reduced. What seems normal to you may in fact be harmful. To
guard against this BEFORE YOUR HEARING ADAPTS set the volume at a low level.
ySlowly increase the level until you can hear comfortably and clearly and without distortion.
yDamage to your hearing is accumulative and is irreversible.
yAny ringing or discomfort in the ears indicates that the volume is too loud.
yRemember listening for prolonged period of time at high volume levels will harm your hearing.
Once you have established a comfortable listening level, DO NOT INCREASE
THE SOUND LEVEL FURTHER.
The following list of typical sound levels may assist you in recognizing just how loud you have set
the volume level.
DECIBEL
Level dB Example
30dB Quiet library, soft whisper.
40 Living room, fridge freezer bedroom away from traffic.
50 Normal conversation, quiet office, light traffic.
60 Electric sewing machine.
70 Vacuum cleaner, hair dryer, noisy restaurant.
THE FOLLOWING NOISE CAN BE HARMFUL UNDER CONSTANT EXPOSURE
80dB Average city traffic, alarm clock buzzer at 1 Metre, food mixer.
90 Motorcycle, heavy goods vehicle, petrol lawn mower.
100 Pneumatic drill, chain saw, garbage truck,
120 Rock band concert, thunderclap, fast train passing by.
140 THRESHOLD OF PAIN Gunshot, jet plane taking off.
180 Rocket Launching pad.
3

4
Power Sources.............................................5
Player Maintenance......................................5
Disc Cleaning, Power failure........................6
Location of Controls......................................7
Location of display indicators………………..8
Radio operation.............................................9
CD/MP3 playback........................................10
Cassette operation......................................12
Care of cassette tapes.................................14
To record from the built-in radio...................15
To record from MP3/CD...............................16
Listening with headphone/earphone............17
Product specifications..................................17
To prevent fire or shock hazard, do not
expose the unit to rain or moisture.
To avoid electrical shock, do not open the
cabinet. Refer servicing to qualified personnel
only.
1. As the laser beam used in this compact
disc player is harmful to the eyes, do not
attempt to disassemble the casing.
2. Stop operation immediately if any liquid or
solid object should fall into the cabinet.
Unplug the unit and have it checked by
qualified personnel.
3. Do not touch the lens or poke at it. If you do,
you may damage the lens and the player
may not operate properly.
4. Do not put anything in the safety slot. If you
do, the laser diode will be ON when the lid
is still opened.
5. This unit employs a laser. The use of
controls or adjustments or performance of
procedures other then those specified
herein may result in exposure to hazardous
radiation.

5
Insert the plug of AC power cord into wall
outlet and the connector into the AC supply
socket on the rear of the unit. Battery power
will be disconnected automatically.
Remove the Battery Compartment Cover and
insert 6 pcs UM-1 (Size D ) batteries, replace
the cover.
NOTE:
ENSURE BATTERIES ARE CORRECTLY
INSTALLED OBSERVING THE POLARITY
AS SHOWN.
NOTE:
Old batteries may swell and leak. To avoid
damage to your instrument, remove the
batteries when the unit is to be stored for long
periods of time, or if the batteries become
exhausted (the Power Indicator will be faded
if the batteries are exhausted). And if radio
sound is low or distorted, your batteries
probably need replacing.
Clean the heads frequently to remove dust and tape residue. Dirt on the heads will impair the
sound quality of both recording and playback.
The simple method is to use a head-cleaning cassette, which is available at most audio stores.
Follow the instructions supplied with the cleaning cassette.

6
1. To handle a disc use only one of the two
manners illustrated.
Note: Do not touch the rainbow – coloured
Side.
2. To wipe a disc, use only a soft cloth. Do not
use or thinner which will damage the disc.
The disc should always be wiped in a
straight line from the center to the edge. It
should never be wiped in a circular motion.
3. Never place the disc on other equipment or
near any heat source. Avoid positions
where the disc would be subjected to direct
sunlight for long periods.
1. Electronic products should never be
subjected to extreme temperatures nor
high humidity to ensure good performance
and a long life-time. The portable stereo
should not be placed in bathing areas, or
around stoves and radiators, etc. Always
leave sufficient space around the unit for
ventilation.
2. If necessary, only clean the cabinet of the
unit with a soft dampened piece of cloth (be
sure the AC power cord is unplugged from
the outlet) Never use a polish or a strong
detergent for cleaning since this can
damage the finish of the cabinet.

1. CASSETTE DOOR
2. CD PROGRAM BUTTON
3. HANDLE
4. CD STOP BUTTON
5. SPEAKERS
6. CD SKIP BACKWARD BUTTON
7. +10 MP3 BUTTON
8. VOLUME CONTROL
9. POWER INDICATOR
10. CD DISPLAY
11. FM STEREO INDICATOR
12. TUNING CONTROL
13. CD REPEAT BUTTON
14. CD SKIP FORWARD BUTTON
15. CD PLAY/PAUSE BUTTON
16. CASSETTE RECORD KEY
17. CASSETTE PLAY KEY
18. CASSETTE REWIND KEY
19. CASSETTE F.FWD. KEY
20. CASSETTE STOP/EJECT KEY
21. CASSETTE PAUSE KEY
22. CD DOOR
23. FUNCTION SWITCH
24. BAND SWITCH
25. DIAL SCALE
26. FM TELESCOPIC AERIAL
27. BATTERY COMPARTMENT COVER
28. AC SOCKET
29. PHONES SOCKET
30. CD DOOR OPEN/CLOSE BUTTON
7

1. TRACK NUMBER: The current track number.
2. MP3: Inserted CD is MP3 CD.
3. CD: Inserted CD is a standard AUDIO CD.
4. PLAY: Playback/Playback is paused.
5. PROG: Playback mode is set to PROGRAMMED PLAYBACK.
6. RPT: Playback mode is set to REPEAT mode.
8

9
1. Slide the FUNCTION switch to the RADIO.
2. Select the desired band with the BAND
switch.
3. Tune to the desired station by rotating the
TUNING control and the tuning scale as a
guide to current frequency.
4. The built-in MW aerial and external FM
TELESCOPIC aerial are directional.
yWhen receiving an FM broadcast, fully
extend the TELESCOPIC aerial and
position for the best reception.
yFor MW broadcasts, rotate the whole set
until the best reception is heard.
5. Adjust the volume level to a comfortable
listening level.
6. To turn off the radio, slide the FUNCTION
switch to the TAPE position.
NOTES:
yIf a particular FM (STEREO) station is
weak, or you hear too much background
noise, try moving the position of the band
selector switch to the FM (MONO) position.
This can often result in a much clearer
reception.
yWhen the band selector switch is set to
FM STEREO and a stereo broadcast is
being received, the FM STEREO indicator
on the top of the unit will be lit.

1. Make sure the power is connected, slide
the FUNCTION switch to CD/MP3 position,
POWER indicator will light.
2. Load a disc into the CD compartment.
Close the CD door, the disc will begin to
spin, and "---" is shown on the display.
3. After the disc is read successfully, the
DISPLAY shows track number (CD disc).
Press Play/Pause button to begin playback.
The playback starts from track 1, “PLAY” is
shown in the display. Adjust the VOLUME
control to the desired volume level.
4. To pause playback, press the CD
PLAY/PAUSE button again.
yTo interrupt playback, press
PLAY/PAUSE button. “PLAY” will flash in
the display.
yTo resume playback, press
PLAY/PAUSE button again, “PLAY” will
remain steady on in the display.
5. To stop playback, press STOP button, the
total number of tracks is shown in the
display.
6. To turn off the player, slide the FUNCTION
switch to TAPE position.
To select a desired track
yPress SKIP FORWARD /SKIP
BACKWARD button repeatedly in stop
mode or during playback until the desired
track is shown on the display.
yPress PLAY/PAUSE button to start play.
10

11
Up to 20 tracks can be stored in the memory
for playback in any order.
1. In stop mode, press PROGRAM button to
enter program setting, “ ” is
shown in the display.
2. Press FORWARD SKIP button to select
the first desired track to be programmed.
3. Press PROGRAM button to enter. The
display shows “ ” appears in the
display.
4. Repeat steps 2 & 3 to store other desired
tracks until all tracks programmed.
5. Press PLAY/PAUSE button to start
playback from the first programmed track.
6. Press STOP button to stop program
playback.
To Erase the Memory (Program)
1. Press STOP button when the disc is
stopped, or
2. Open the CD compartment lid, program
will be erased.
To Repeat a Single Track
1. .Press REPEAT button once in play,
"RPT" will flash in the display. The current
track will be played repeatedly until the
STOP button is pressed
2. To cancel repeat play, press REPEAT
button twice. "RPT" is no longer shown in
the display.
To repeat all the Tracks
1. Press REPEAT button twice in play, "RPT"
is shown steadily in the display, all tracks
on the disc will be played repeatedly until
the STOP button is pressed.
2. To cancel repeat play, press REPEAT
button once. "RPT" is no longer shown in
the display.

Press the +10 MP3 button to skip 10 tracks
each time. For example, to select track 45,
press +10 MP3 button 4 times, then press the
SKIP FORWARD button five times, the
display will show the track number.
Press the RECORD key to make a recording from CD, RADIO or the Internal Microphone.
Note:
If a recordable cassette is inserted when the RECORD button is pressed, the PLAY button will be
depressed at the same time. The record key will not go down if the cassette is protected; see
"Protecting recordings from being erased."
Press the PLAY button to start playing a cassette.
Press the REWIND button to quickly rewind a tape. Press STOP/EJECT to release the button at
the end of the tape.
Press the FAST FORWARD button to quickly advance the tape. Press STOP/EJECT to release
the button at the end of the tape.
Press the STOP/EJECT button to stop playback, recording, rewinding or Fast forwarding. In stop
mode press the button to eject the cassette.
Press the PAUSE button to pause playback or recording. To resume press the button again.
Note: In Pause mode the cassette motor is still engaged and therefore to prevent damage tapes
should not be left paused for a long period of time.
The Cassette mechanism has a built-in automatic stop. During Playing/Recording, the unit will
automatically stop when the end of the tape is detected.
12

1. Open the cassette door by pressing the
cassette STOP/EJECT button.
2. Insert a cassette with the exposed tape
facing upwards and the full reel on the right
(unit plays from right to left) into the tracks
on the inside of the cassette door.
3. Close the cassette door.
4. Set the function switch to the TAPE
position.
5. Press the cassette PLAY button to start the
tape playing.
6. Adjust the VOLUME CONTROL to a
comfortable listening level.
7. To stop the tape playing, press the
STOP/EJECT button. Press the button
again to open the cassette door and eject
the tape.
Note:
During playback, when the end of the tape is
reached the PLAY button will pop up and play
will stop. To play the other side of the tape,
remove the cassette, turn the cassette over
so that the full reel is on the right, replace the
cassette and press the PLAY button.
13

14
Loose tape may jam or get tangled in the
cassette recorder. With a hexagonal pencil
or a similar tool, gently turn the pencil to
tighten the tape, as shown opposite.
If the spool feels tight when taking up slack
tape as described above, this may be due to
ridges on the spool of tape. Tight spools can
lead to uneven playback speed or tape
tangling. In most cases the ridges can be
removed by fast winding the cassette from
one end to the other and back again.
Avoid the use of C120 tapes with this unit.
To prevent recordings from being erased
accidentally, break out the tab(s) with a
screwdriver. When the edge with the
exposed tape is facing away from you, the
tab that protects the side that is uppermost is
on your right, as shown opposite.
To record on a protected cassette, seal the
open slots with adhesive tape.

1. Slide the FUNCTION switch to the RADIO
position and tune to the desired station.
2. Load a cassette into the cassette
compartment, with the full reel on the right.
3. Press the cassette RECORD button until it
locks in the down position PLAY button is
depressed at the same time) and recording
will start.
4. To end the recording press the cassette
STOP EJECT button. If this button is not
pressed the recording will stop
automatically when the end of the tape is
reached.
5. To listen to your recording, move the
FUNCTION switch to the TAPE position,
press the cassette REWIND button until
the start point of the recording is reached
and then press the PLAY button. Use the
VOLUME control to adjust the playback
level to your personal taste.
Note:
On each end of the tape there is a tape
leader and no recording will take place over
this portion of the tape. If you wish recording
to take place as soon as the RECORD button
is pressed, please ensure that the leader is
wound past the record head.
15

1. Slide the FUNCTION switch to the CD
(MP3) position.
16
2. Load a cassette into the cassette
compartment with the full reel on the right.
3. Insert the compact disc to be recorded
from and close the CD door.
4. Press the cassette PAUSE button on the
tape deck.
5. Press the cassette RECORD and PLAY
buttons so they lock in the down position.
(The unit is now in recording standby
mode).
6. Start the CD playing by pressing the CD
PLAY PAUSE button.
7. Press the cassette PAUSE button again
and then recording begins.
8. To end the recording, press the cassette
STOP/EJECT button.
9. Press the CD STOP button and then
move the FUNCTION switch to the TAPE
position.
10. To listen to your recording, press the
REWIND button to return to the point
where the recording started and then
press the PLAY button.

For private listening without disturbing others,
you may enjoy the music with
headphone/earphone, set the Volume
Control to minimum level, plug the
headphone/earphone into Phones socket,
adjust the Volume Control to your listening
preference. When the headphone is
connected the set's speakers will
automatically turn off.
CAUTION:
Listening at high power for a long periods
could damage your hearing.
GENERAL
Power requirements AC 230V/50Hz
DC 9V UM-1 X 6 PCS
Power consumption AC 15 Watts
Dimensions Approx.300mm(W)x235mm(D)x155mm(H)
Operation temperature +5 oC – +35
oC
RECEIVER SECTION
Receiving Bands MW/FM
Tuning Range MW 540 – 1600 KHz
FM 87.5 – 108 MHz
COMPACT DISC SECTION
Optical Pickup 3 – Beam Laser
Frequency Response 100Hz – 16KHz
CASSETTE SECTION
Recording System 2 Tracks 2 Channel (Stereo)
Bias System DC Bias
Frequency Response 125 – 6.3 K H z
Wow And Flutter 0.35% WRMS (JIS)
AUDIO SECTION
Power output 1.5 Watts x 2
Headphone Impedance 4 ~ 32 Ohms
ACCESSORIES
Instruction Booklet 1
Please note: Due to the continual improvement of our products, specifications are subject to
change without notice.
17
Table of contents
Other Goodmans Cassette Player manuals

Goodmans
Goodmans GPS214PLLR User manual

Goodmans
Goodmans GPS162R User manual

Goodmans
Goodmans MICRO1461 User manual

Goodmans
Goodmans GPS160R User manual

Goodmans
Goodmans GPS186DABX User manual

Goodmans
Goodmans MICRO 1411S User manual

Goodmans
Goodmans GPS222MP3 User manual

Goodmans
Goodmans GCR300 User manual

Goodmans
Goodmans GPS219PLLR User manual

Goodmans
Goodmans GPS163R User manual