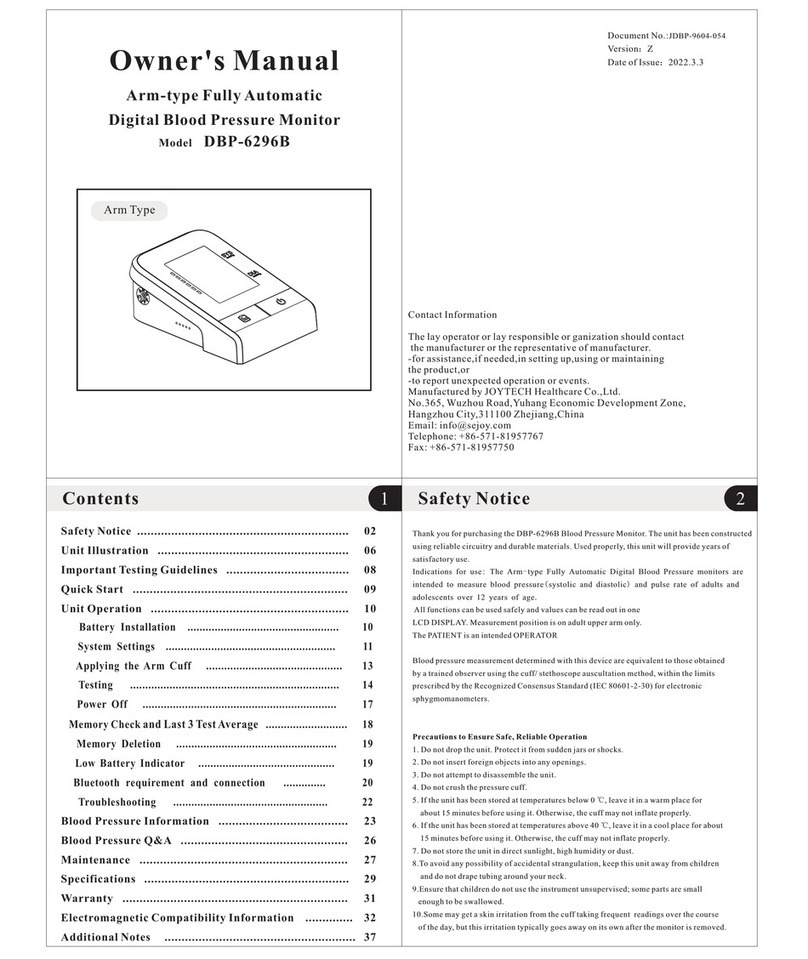
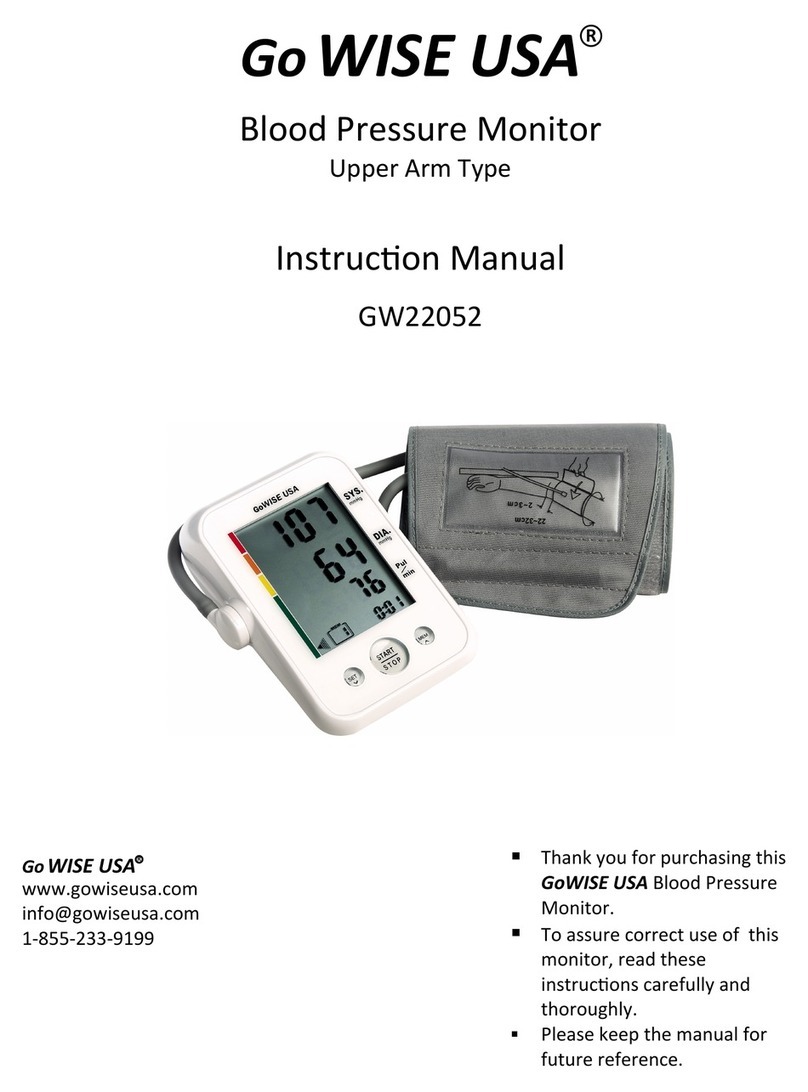
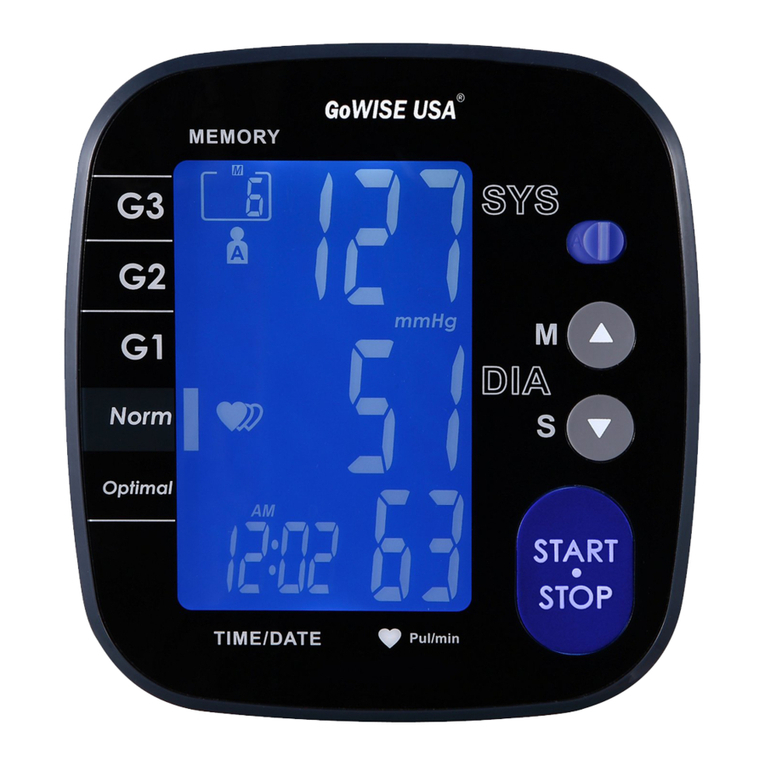
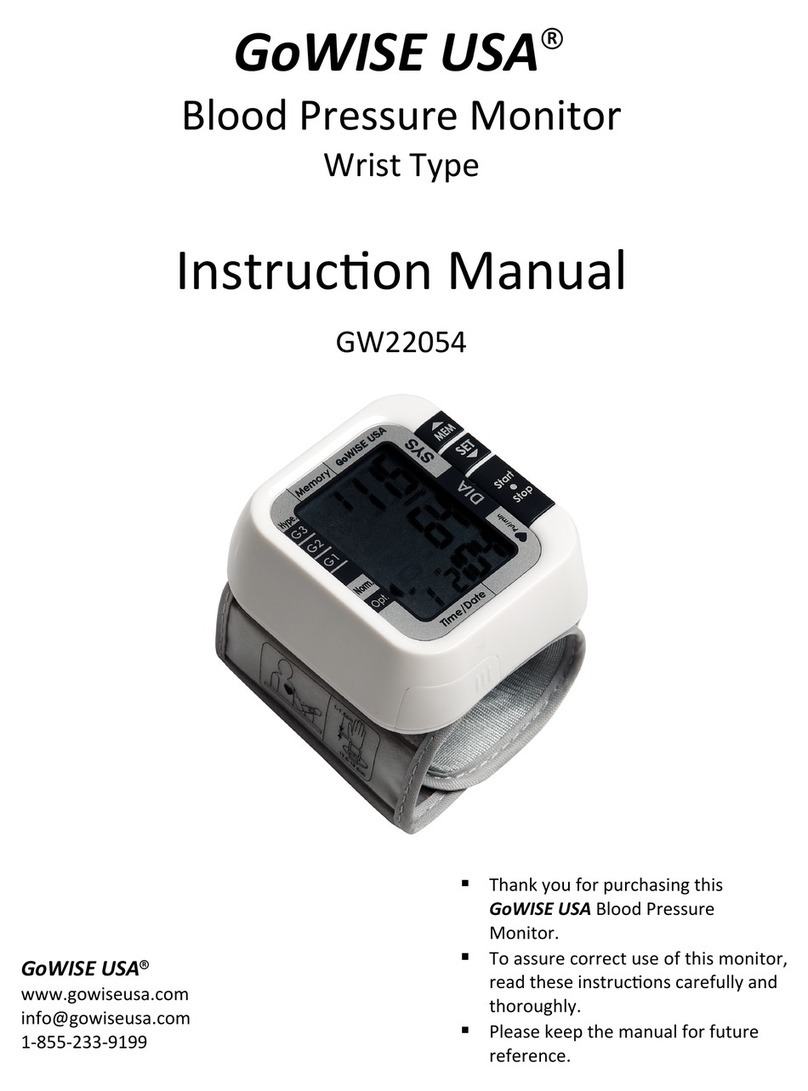
GoWISE USA GW22059 User manual

GoWISE USA
R
Blood Pressure Monitor
Wrist Type
Instruction Manual
GW22059
GoWISE
USA
R
www.gowiseusa.com
1‐855‐233‐9199
Thank you for purchasing this
GoWISE USA® Blood Pressure
Monitor.
To assure correct use of this monitor,
read these instructions carefully and
thoroughly.
Please keep the manual for future
reference.

2
CONTENTS
INTRODUCTION
•
Features ................................................................ 3
•
LCDdisplay ...............................................................4
•
Productsymbols ....................................... ................... 4
•
Productcomponents .......................................................5
BEFORE YOU START
•
Batteries .................................................................5
•
Installing and replacing batteries . . . . . . . ......................................5
•
Oscillometric Measuring method . . . . . . . . . . . . . . . . . . . . . . . . . ................... 6
•
Settingdate,timeandmeasurementunit .....................................6
MEASUREMENT
•
Positioningthewristcuff ................................................... 8
•
Startameasurement ...................................................... 9
OPERATION OF RECORDS
•
Recallrecords .............................................................10
•
Deleterecords .............................................................
11
INFORMATION FOR USER
•
Tipsforoperation ......................................................... 12
•
Maintenance ............................................................. 13
ABOUT BLOOD PRESSURE
•
Whataresystolicpressureanddiastolicpressure? .............................. 13
•
What is the standard blood pressure classification? ............................. 14
•
Why does my blood pressure fluctuatethroughout theday? ......................15
•
Why is the blood pressure reading I got at the hospital different from home? . . . . . . . 15
•
Doesitmatterwhichwrist isusedtotakemybloodpressure? ....................15
TROUBLESHOOTING .......................................................... 16
SPECIFICATIONS ..............................................................17
WARRANTY&CONTACTINFORMATION ...........................................
18

3
INTRODUCTION
Thank you for s gthisGoWISE USA Blood Pressure Monitor. It features blood
pressure measurement, pulse rate measurement, auto‐save results, and a long life of reliable
service.
Measurements taken by GW22059 are equivalent to those obtained by a trained
observer using the cuffand stethoscope n method.
This manual contains important safety and care n as well as step‐by‐step
s for using the product. Read the manual carefully and thoroughly before using the
product.
Features:
•
Systolic and Diastolic blood pressure
•
Pulse rate
•
Blood
Pressure
•
Irregular Heartbeat Dete
•
2Users
•
90 Memory Recall for each User
•
Wrist Cuff range of 5.3”to8.5”circumference
•
Large digital LCD V.A. display
•
Measurement
a
ppear
s durin
g
•
Voice Function and Positioning System
CAUTION
This device is intended for adult use only.
This device is intended for non‐invasive measuring of arterial blood pressure. It is not intended
for use on extremi es other than the wrist or for fluctua s other than obtaining a blood pressure
measurement.
Do not confuse self‐monitoring with self‐diagnosis—this unit allows you to monitor your blood
pressure. Always consult a physician before beginning or ending a medical treatment.
If you are taking medi ,consultyourphysiciantodetermine the most appropriate me to
measure your blood pressure. Never change a prescribed nwithout gyourphysician.
This unit is not suitable for c nuous monitoring during medical emergencies or o
The unit will ydeflate, when the cuffpressure exceeds 40 kPa (300 mmHg). Should
the cuffnot deflate when pressure exceeds 40 kPa (300 mmHg), detach the cufffrom wrist and press
the
START/STOP on to stop
To avoid measurement errors, carefully read this manual before using the product.
The equipment is not AP/APG equipment and is not suitable for use in the presence of a
flammable anesthe c mixture with air or with oxygen or nitrous oxide.
Inspect the monitor and accessories for proper working n before each use. Store them
carefully to avoid damage. (See more n in the Maintenance nofthismanual.)

4
LCD display
Position Symbol
Inflation/Deflation Symbol
or WHO Indication
Average Value Symbol
Memory&Times
Irregular Heartbeat Symbol
User Symbol
Date/Time
Low Battery
Indication
Systolic Blood
Pressure
Diastolic Blood
Pressure
Heartbeat Symbol
Pulse
Unit Indication
Product symbols
SYMBOL DESCRIPTION EXPLANATION
Systolic
blood
pressure
High pressure
result
Diastolic
blood
pressure
Low pressure
result
BPM
Motion will result in inaccurate
measurements
Memory
If “M” shows, the displayed
measurement values
is from the
memory.For instructions,refer
to Page
9
Movement
error
symbol
Shocking will result in
inaccurate
Low
batte
ry
Batteries are low and need to be
replaced
kPa Measurement
unit of the blood
pressure
(1kPa=7.5mmHg)
mmHg Measurement
unit the blood
pressure
(1mmHg=0.133kPa)
Time(hour:minute)
Currently
time
Grade
The grade of the blood
pressure

5
Product components
Batteries
Batteries: 2 x AAA batteries
The installment and replacement of batteries
1. Slide off the battery cover.
2. Install the batteries by matching the correct polarity, as shown.
3. Replace the cover.
Body & Cuff
Voice
Display
Battery Compartment
Wrist Cuff
Setting Button
Start/Stop Button
Memory Button
Power
2 AAA Alkaline
Batteries Storage Case
+
+
-
-
+
-
-

6
Replace batteries when anyof the following occur:
•
The shows on display
•
The display dims
•
The display does not light up
CAUTION
•Use two identical 1.5V alkaline batteries. (AAA/LR03).
•Do not use rechargeable batteries.
•Replace both of the batteries if the symbol of low battery appears on the display.
•Never leave any low battery in the battery compartment because they may leak and cause damage to
the unit.
Oscillometric Measuring method
This product uses the Oscillometric Measuring method to detect blood pressure. Before every
measurement, the unit establishes a “zero pressure” equivalent to the air pressure. Then it starts g
the
wrist cuff, meanwhile, the unit detects pressure s generated by
beat
‐to‐beat e, which
is used to determine the systolic and diastolic pressure, and also pulse rate.
The device also compares the longest and the shortest e intervals of detected pulse waves to
mean e interval, and then calculates standard . The device displays a warning signal with
the reading to indicate the detection of irregular heartbeat when the difference of th e intervals is
over 25%.
HOW TO SET UP YOUR BLOOD PRESSURE MONITOR
It is important to set the clock before using your blood pressure monitor, so that a e stamp
can be assigned to each record that is stored in the memory. (year:
2009
‐2030)
SETTING THE DATE AND TIME
1. After the batteries are installed, all the information will appear on the display. After two
seconds, the year will flash on the display.
2. Press the “MEM” button to change the years. Once you have reach the desired year, press the
“SET” button to save it at that year.
The year can be set between 2009 – 2030 and it will return to 2009 when you have reached the
2030.
3. After the year has been set, the month and day will appear on the screen with the month
flashing. Press the “MEM” button to change the month setting. Once you have reached the
desired month, press the “SET” button. When the month has been set, the day will be flashing,
take the same steps to set the day setting.
MEM
BP213
SET
BP213
MEM
BP213

7
4. After the month and day has been set, the time setting will appear on the screen with the hour
flashing. Press the “MEM” button to change the hour (NOTE: Time is in 24 hour format).Press
the “SET” button once you have reached the desired hour. After hour has been set, the minute
setting will be flashing, take the same steps to set the minute setting.
SETTING THE UNIT OF MEASUREMENT
You can set up your monitor to measure pressure in either kPa or mmHg.
1. After the date and time has been set up, a “0”, with “mmHg” below, will display on the screen.
To change the unit of measurement, press the “MEM” button then press the “SET” button to
save that setting.
SETTING THE POSITIONING SENSOR
The positioning sensor is a new feature in blood pressure monitors that tells the user whether
the position of the blood pressure monitor is too high or too low. The positioning sensor symbol is
the shape of a heart with two arrows going up or down.
1. After the unit ofmeasurement has been set, the word “ON” will be displayed along with the
positioning sensor symbol will be displayed on the screen. This means that the positioning
sensor is on, press “SET” to keep the positioning sensor on. If you wish to turn the positioning
sensor off, press the “MEM” button. Press “SET” to save the setting.
SETTING THE VOICE FUNCTION
The Voice function is a new feature in our blood pressure monitor that speaks to you. It will
tell you whether the cuff is too high or too low and will read out your results.
Day SettingMonth Setting
SET MEM SET MEM SET
BP213 BP213 BP213 BP213
Minute SettingHour Setting
SET
MEM SET MEM
BP213 BP213 BP213 BP213
MEM
BP213
SET
BP213

8
1. After the positioning sensor has been set, the words “SND ON” will appear on the screen. This
means that the voice function is on, press the power button to keep the voice function on. If
you wish to turn the voice function off, press “MEM” and the words “SND OFF” will appear on
the screen. Press the to save the setting.
NOTE: If you turn the voice function on, the monitor will beep instead of speaking to you.
If you turned off the voice function and wish to turn it on, press and hold “SET” and it will take you
through the whole set up. Keep pressing “SET” until you get to the Voice function setting then press
“MEM” to turn it back on. Below the “SND ON” on the display is the volume level. After you turn the
voice function on, press “MEM” continually to turn up the volume, it can be set between levels 1 and 7,
then press the power button to save the setting.
SWITCHING USERS
This blood pressure monitor is for two users with a 90 memory recall for each.
1. After you have set up this blood pressure monitor, the monitor will be off. Press the “SET”
button and a user mark will appear. Press to confirm the user and the
MEASUREMENT
gthewristcuff
1. Remove all accessories (e.g. watch, bracelet) from your wrist. Ifyour physician has
diagnosed you with poor n in your arm, use your right wrist.
2. Roll or push up your sleeve to expose the skin.
SET MEM
SET MEM
Sound Symbol
Volume Level
Volume Level 7 Volume Level 0 Volume Level 1
Voice ON/OFF
SET MEM
MEM MEM
" "
" " monitor will turn off.

9
3. Apply the cuff to your or right wrist with your palm facing up.
4. n and fasten the wrist cuff around the lower arm about 0.8” (2cm) from wrist. Leave no
extra space between the cuffand your skin; if the cuffis too loose, the measurement will not be
accurate.
•
Rest for 5 minutes before measuring blood pressure.
•
Wait at least 3 minutes between measurements. This allows your blood nto
recover.
•
For a meaningful comparison, try to measure under similar c . For example, take daily
measurements at approximately the same time and same ,orasdirectedbya
physician.
Start a measurement
1. Choose a user then press
2. Press the to turn on the monitor. Ifthe cuffis not in the proper position, the
or symbol will also appear at the top left.
3. Once
y
ou are in t
h
e
p
ro
p
er
p
osition, t
h
e monitor wi
ll
start t
h
e measurement automatica
lly
.A
h
eart, next to t
h
etime,wi
ll
fl
as
h
once a
p
u
l
se is
d
etecte
d
.
1cm
(0.4'')
High Too High
Too Iow Iow OK
To a fit pressureContinue InflatingHeartbeat appearInflatingStart to inflate
" "
" "
remind you by either speaking to you, if the voice function is on, or beeping, if the voice function
monitor will
is off. The positioning sens

10
4. The blood pressure and pulse rate are displayed when the measurement is completed.
NOTE: I
f
the voice function is on, itwil
l
read out your results. The cuff will deflate
automatically and the measurement results are stored with the date and time for that
user. An IHB will appear in corner if an irregular heartbeat is detected.
5. Press the to power off,
otherwise it will turn off
within 2 minutes.
OPERATION OF RECORDS
Recalling records
1. Choose the user that you want to get records for then press .Press
2. Press “MEM” again and it will show you the average value ofall AM or morning readings.
3. Press “MEM” again and it will show you the average value ofall PM or afternoon/evenings
readings.
4. Press “MEM” again to display each reading you have.
NOTE: You can press the “SET” button to go back to a previous record. If the voice function is on, the
monitor will read out the records for you.
(The number of the record, date and e will be shown alternately.)
OR
OR
“IHB”display
“mmHg”displ
ay
“kPa”display
SET MEM
.......
Turn to next
SET MEM
the average value of
all measurent values
the average value of all
AM measurement values the average value of all
PM measurement values
" "
automatically
" " the "MEM"
to show the most recent record. The first record is the average value of all readings.

11
CAUTION
The most recent record (1) is shown first. Each new measurement becomes the (1) record. All
other records are pushed back one digit (e.g., 2 becomes 3, and so on), and the last record (60)
is dropped from the list.
g a record from memory
If you did not get the correct measurement, you can delete all results by following these steps:
1. When the unit is off, switch to the user you want to delete records for then press
Press "MEM" briefly to turn on the appropriate screen.Then press and hold "MEM" for
6 seconds; the display will flash "dEL no".
2.
Pres
s “MEM” and the screen will display “dEL YES” then press to delete the records.
3. If you don’t want to delete the records, press “MEM” to change the selection to “dEL no”
and press .
5. If there is no record, the display will only show hyphens.
SET
" "
" "
" "

12
INFORMATION FOR USER
Tips for measurement
For accurate readings, consider these
Wait at least 1 hour
rdinnerordrinking.
Do not measure immediately
rtea,coffee, smoking.
Wait at least 20 minutes
er taking a bath.
Do not measure in
very cold environment.
Do not measure when
talking or moving fingers.
Do not measure when you
need to discharge urine.

13
Maintenance
•
Store the monitor and accessories carefully to avoid damage.
•
In order to get the best performance from your monitor, follow these
Keep in a dry place and avoid sunshine.
Do not shake intensely or drop.
Remove dirt with dry or damp cloth.
Do not immerse in water.
Avoid dusty environment
and unstable temperature
Avoid washing the cuff.
ABOUT BLOOD PRESSURE
What are systolic pressure and diastolic pressure?
Systolic
blood discharging
Diastolic
blood entering
artery vein
press relax
When ventricles contract and pump blood out of the heart, blood pressure reaches its
maximum value, the highest pressure in the cycle is known as systolic pressure. When the
heart relaxes between heartbeats, the lowest blood pressure is diastolic pressure.

14
What is the standard blood pressure classification?
The following charts illustrate the blood pressure classification set forth by the World Health
Organization (WHO) and the International Society of Hypertension (ISH) in 1999.
Blood Level
Pressure
(mmHg)
SYS <120 120~129 130~139 140~159 160~179 >180
DIA <80 80~84 85~89 90~99 100~109 >110
CAUTION
The standard blood pressure classification provided above is for GENERAL INFORMATION ONLY.
YOU MUST CONSULT YOUR PHYSICIAN or a licensed healthcare provider to determine YOUR
NORMAL blood pressure range and the point at which you are at risk. Please do not wait until
the measurements taken with this product fall outside the optimal and standard ranges shown
above to consult with your physician or licensed healthcare provider.

15
Why does my blood pressure fluctuate throughout the day?
•
Individual blood pressure varies every day. It can also be affected by the way
you tie the cuffand your position during the measurement. For the best
results, measure your blood pressure under the same conditions every time.
•
The variations can also be affected by the type of medication you are taking.
•
Always wait at least 4‐5 minutes before taking another measurement.
Why is the blood pressure reading I got at the hospital different from
home?
•
Using different blood pressure monitors will result in different readings because the settings
and properties are not all the same.
•
In addition, blood pressure changes throughout the day due to circumstances, such as
stress or weather.
When taking your blood pressure at home, pay attention to the following:
•
Make sure the wrist cuffis positioned properly.
•
Make sure the cuffis not too tight or too loose.
•
Wait until you feel relaxed and emotionally ready.
•
Movement can affect the measurement; relax and measure again if necessary.
•
Suggestion: Take 2‐3 deep breaths before beginning. If you can, wait 4‐5 minutes noticing
when you feel calm.
Does it matter which wrist is used to take my blood pressure?
You can choose to measure either wrist, but the results will be different. For monitoring
purposes, you should measure the same wrist every time.

16
TROUBLESHOOTING
This section has a list of error messages that provide answers to questions you may have about
your blood pressure monitor. If the monitor is not working as you think it should, please check
here before calling for service.
Wrap the cuff correctly and tightly.
Inflate over again after ensuring.
Measure over again according to
correct way.
Do not move your arm and body,
and keep quiet.
When the batteries
power are too low.
The course of
inflating appears
error.
When measurement
fails.
CorrectionCauseSymbol
Replace both of the worn batteries
with two new ones.
Blood pressure varies constantly. Many
factors including stress, time of day, how
you wrap the cuff, may affect your blood
pressure. Review the sections "Proper
Way of Measurement" and "Take a
Measurement".
Check the battery installation for proper
placement of the batteries polarities.
Measurement values
appear too high or too low.
No display appears on the
display screen.
No power.
Causes and Solutions
Problem
Replace both of the worn batteries
with two new ones.

17
SPECIFICATIONS
WARNING: No modification of this equipment is allowed.
BP213
LCD Digital Display
Oscillometric Method
Measurable
Model No.
Display
Measuring Principle
Circumference of Wrist 13.5~21.5cm (5.3''~8.5'')
Electric Shock Protection
Volume Level 0~Level 7
Measurement
Range
Accuracy Pressure
Pulse
Pressure
Pulse
Pressure 0 to 299 mmHg (0~39.9 kPa)
40 to180 Pulses/min
3 Digits Display of mmHg or kPa
3 Digits Display
Memory/IHB/Heartbeat/Low Battery,etc.
3 mmHg (0.4kPa)
5% of reading
Pulse
Internal power supply appliance type B
LCD
Indication Symbol
Memory 180 (2*90) Sets Measurement Values
Automatic by Internal Pump
Automatic by Air Valve
Approx. 110g (Batteries not included)
80~105 kPa
2 AAA Alkaline Batteries
Within 2 Minutes
Memory Function
Inflation
Power Source
Rapid Air Release
Automatic
Turn
Off
Gross Weight
10~40℃ (50 ~ 104 F )
-20~60℃
(-4 ~ 140 F )
15 ~ 90% RH
(Noncondensing)
10 ~ 95% RH
(Noncondensing)
Temperature
Humidity
Temperature
Humidity
Operating
Environment
Barometric Pressure
Storage
Environment

18
WARRANTY & CONTACT INFORMATION
This product is warrantied against defects in materials and workmanship for one
year from the date purchase, when used in accordance with the instructions
provided. This warranty does not cover damages or wear resulting from accident,
misuse, abuse, commercial use, or unauthorized adjustment and/or repair.
GoWISE USA® shall not be liable for loss of use or any other incidental,
consequential or indirect costs, expenses or damages. There are no express
warranties except as listed above. This warranty gives you specific legal rights,
and you may have other rights which vary from state to state.
Should this product require service (or replacement at our option) while under
warranty, CALL 1-855-233-9199 for RETURN INSTRUCTIONS. Be sure to keep your
receipt showing the date of purchase.
GoWISE USA®
3550 W Clarendon Ave Suite #7
Phoenix, AZ 85019
www.gowiseusa.com
1-855-233-9199
Table of contents
Other GoWISE USA Blood Pressure Monitor manuals