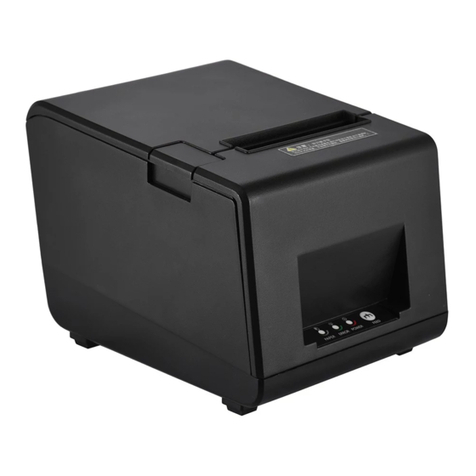
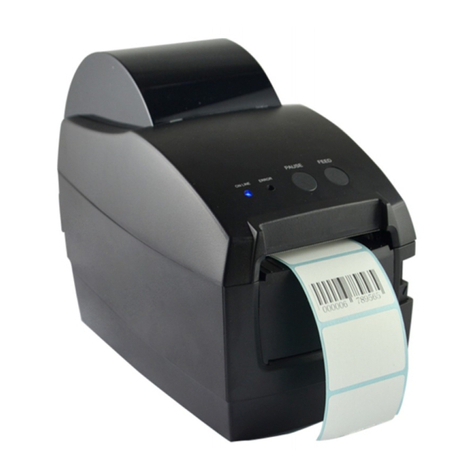
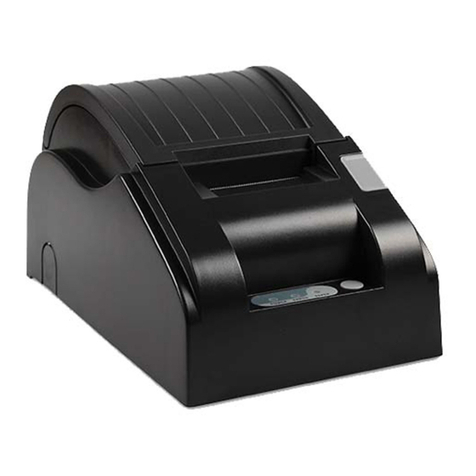
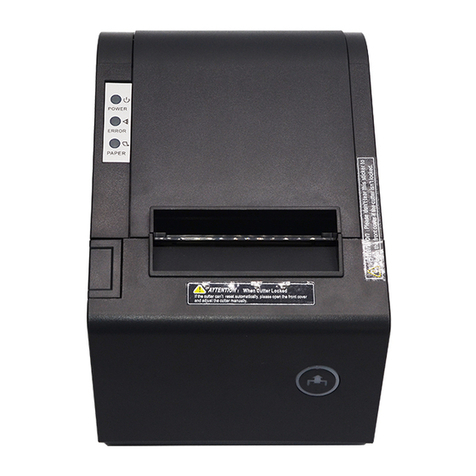
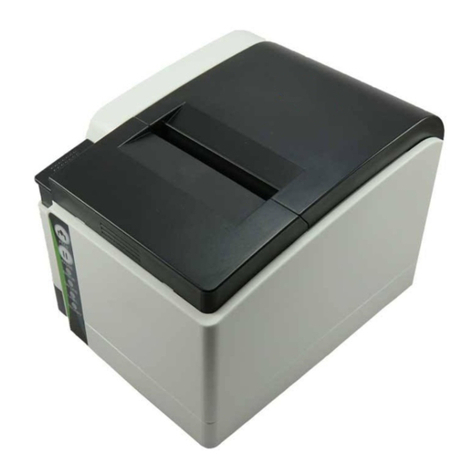
GPRINTER DT-92I User manual

2
Table Of Contents
1. INTRODUCTION............................................................................................................ 4
1.1SAFETY WARNING...................................................................................................... 4
1.2 SAFETY NOTICE......................................................................................................... 5
2.GENERAL INFORMATION............................................................................................ 5
3. PRINTER PARTS............................................................................................................6
4. PAPER INSTALLATION............................................................................................... 7
5. SPECIFICATION............................................................................................................ 9
6. QUICK START.............................................................................................................. 10
7. BASIC OPERATION....................................................................................................10
8. PRINTER CLEANING..................................................................................................15

3
1. Introduction
Thanks for choosing our new smart thermal printer DT-92I, please read this manual
carefully for using it normally.
DT-92I is a micro commercial printer with bar code and bill print function which can
support you safe reliable effective and practical print quality.
DT-92I integrated Android OS service platform with Android application support, cable
free, touching print like you control the mobile phone. No matter the user or developer, you
would experience powerful functions both in industry applications and mobile internet with
this intelligent printer.
Multi-function, dynamic frame, simple operation, thorough User experience and your
best choice.
CAUTION, NOTE
CAUTION: Must comply, otherwise human get harm and device damage.
NOTE: Important information and tips for device operation.
CAUTION: Must comply, otherwise human get harm and device damage.
NOTE: Important information and tips for device operation.
1.1 Safety warning
The print head is a heated part; please do not touch the print head and other parts
around it during or after the printing process to avoid burn.
Please do not touch the print head and other parts around it to avoid print head
damage.
Do not touch the paper tear-off knife to avoid getting harm.
Do not point to the screen by pressure energetically or put heavy things on it to avoid
work failure or screen broken.
Only the supplied AC power adapter is allowed to use, avoid device damage because
of power problem.

4
1.2 Safety notice
(1) Install the printer on the stable surface. Choose firm and level surface where avoid
vibration.
(2) Keep enough space for printer operation and maintenance.
(3) Keep printer away from water, sunshine, high lights and heat source.
(4) Do not use and store the printer under high temperature, moist and seriously polluted
environment.
(5) Avoid to put the printer in shaky areas.
(6) Condensation of moisture on the printer surface is not allowed. If failed, do not turn on
the printer until dew disappears.
(7) Connect AC power adapter to a proper power outlet. Avoid using the same outlet with
other large electric machines which generate voltage fluctuation.
(8) Please unplug the printer power cord from outlet when you do not plan to use it for a long
period of time.
(9) Do not let water or conducting material (eg. Metal) into the printer, please turn off the
power immediately if happened.
(10) Do not print when it’s out of paper, which will seriously damage the print head and
rubber roller.
(11) Make sure printer power is turned off when connecting and disconnecting with the
interfaces.
(12) When printing quality meet your needs, we recommend you set low grade print density.
(13) Do not try to disassemble, repair or remodel the printer by yourself.
(14) Do not update and upgrade the Android version of smart printer, please contact us if
need to update, otherwise may cause out of work.
(15) Please be noted that the printer will print failure when user install APP which is without
our authentication.

5
(16) Please download and install APP which our website listed.
2. General Information
2.1 Introduction
Widely use like in traffic, post, commercial activities, logistic, enterprise management
and so on. You can connect by standard USB, Ethernet Port, Bluetooth, WIFI, with the other
external equipment to get Temperature-sensitive Printing.
O2O mobile internet support and network administration, make different APP
application in different fields. Self-owned cloud system-GP Management Center makes easy
upgrade of OTA.
Print paper: Thermal Paper Rolls, thermal Paper Label Rolls, thermal Adhesive sticker
ect.
Temperature-sensitive Printing, Adjustable Speed, Selective types, build-in Print
Templates, will fully improve your print efficiency in a short time and easy operation.
2.2 Main Features
Width 20mm to 60mm thermal paper roll and sticker paper supported.
Paper auto checkout and calibrate, temperature auto controlled function.
Editing label content and printing without connecting the computer.
Module design, Android system.
WIFI, Ethernet interface Integration to choose wired, wireless network to get Internet.
Download and install printing APP software for applying to the mobile Internet.
Support to connect various USB external device (Mouse, Keyboard, barcode scanner
ect).
Cash drawer function supported.
6
Intelligent network printing function.
3、Printer Parts
1: IPS screen & touch panel 2: Top cover 3: ON/OFF button
4: Top cover open button 5: Base housing 6: Power Switch
7: Power port 8: Cash drawer port 9: Ethernet port
10: USB port1 11: USB port 2 12: USB port 3
13: USB port 4(reserved USB port for connecting to PC)
1
2
3
4
6
7
8
9
10
11
12
13
5

7
4、 Paper installation
DT-92I is compatible with ESC and TSPL commands, including Receipt mode (in
Thermal paper roll) and Label mode (in adhesive thermal paper) .
The way of changing the print mode in between Label mode and Receipt mode:
Turn off the printer power, open the DIP cover on the bottom of the printer, setting
DIP-1 to ON status is for receipt mode; DIP-1 to OFF is for label mode.
(1) Thermal paper roll installation:

8
(2) Thermal label roll installation:

9
5、Specification
Thermal label mode
Thermal receipt mode
Display
7" IPS screen , resolution: 1024*600
Operation
Five-Touch ,Capacitive Touch Panel
Operation System
Android 4.4.2(KitKat)
CPU
Quad-core ,integration GPU , 1.6GHZ
RAM
DDR3 , 1GB
DDR3 , 1GB
ROM
1~2GB
1~2GB
Flash
Built-in 8GB
Built-in 8GB
TF Card
1~32GB
1~32GB
Ethernet [standard]
100Mbps(IEEE 802.3u)
USB [standard]
4*USB2.0/DSB/OTG2.0
4*USB2.0/DSB/OTG2.0
WI-FI [standard]
Built-in WIFI(IEEE 802.11 b/g/n)
Bluetooth [standard]
Built-in Bluetooth(Bluetooth 2.0)
RS232Serial [optional]
Standard UART interface
USB Dongle Card [optional]
Support mainstream USB Dongle card ,insert into
USB port to use
Support mainstream USB Dongle card ,insert into
USB port to use
Speaker
Double track ,4Ω/3W
Double track ,4Ω/3W
Paper Type
Thermal paper roll / adhesive thermal paper,
Sticker.
Thermal paper roll / adhesive thermal paper
Paper Width
20mm~60mm(include glassine liner)
20mm~60mm
Paper Diameter
110mm max.
110mm max.
Printing Mode
Direct thermal line
Direct thermal line
Resolution
203DPI
203DPI
Print Speed Max.
127mm/s
127mm/s
Print Width Max.
56mm
48mm
Paper Cutting Way
Tear off
Tear off
Print Head Temperature
Detect
Thermal sensitive resistance
Print Headposition Detect
Microswitch
Microswitch
Paper Sensor
Photoelectricity
Photoelectricity
Code page
-
PC437, Katakana, PC850, PC860, PC863, PC865,
West Europe, Greek, Hebrew, East Europe, Iran,
WPC1252, PC866, PC852, PC858, IranII, Latvian,
Arabic, PT151,1251, PC747, WPC1257, Vietnan,
PC864, PC1001, Uygur, Thai

10
Barcode
CODE128, EAN128, ITF, CODE39, CODE93,
EAN13, EAN13+2, EAN13+5,EAN8, EAN8+2,
EAN8+5, CODABAR, UPC-A, UPCA+2, UPCA+5,
UPC-E, UPCE+2, UPC-E+5, QRCode
UPC-A , UPC-E , JAN13(EAN13) ,
JAN8(EAN8) , CODE39 , CODABAR , ITF ,
CODE93 , CODE128 , QRCode
Character Font
Font 0~Font 8
ASCII FontA: 12*24dot
GB18030, Simplified/Traditional/Korea:
24*24dot
FontB: 9*17dot
GB18030,
Simplified/Traditional/Korea: 24*24dot
Character Enlargement &
Rotation
1-10 times enlargement in horizontal and vertical
directions; Rotation printing (0°,90°,180°,270°)
1-8 times enlargement in horizontal and vertical
directions; Rotation printing(0°, 90°,180°,270 °)
Image
Single color PCX , BMP image file can be
download into Flash and SRAM of printer
BMP image file can be download into Flash of
printer
Dimension and Weight
180mmx115mmx195mm(HxWxL)
Weight: 1.3kg
Weight: 1.3kg
Rated Voltage and Current
12VDC/ 4A
12VDC 4A
Operation Temperature
5~45℃
5~45℃
Storage Humidity
20~80%RH(no condensation)
Operation Temperature
-10~50℃
-10~50℃
Storage Humidity
≤93%RH(40℃)
≤93%RH(40℃)
Safety warning
Only the supplied AC power adapter is allowed to use, avoid device damage because of
power problem.
6、Quick Start
6.1 Unpacking
Open the printer package and check the printer parts according to packing list, if any parts
are missing or damaged, please contact the local distributor.
6.2 Power cable connection
(1) Please make sure the printer power switch is OFF.

11
(2) The printer power jacks is a 3-pin socket and for 12V/4A DC power input, please plug the
DC cord connector into the printer’s power jack properly.
CAUTION:
■ When connecting or disconnecting the plug, always hold the plug but not the cord.
■ Avoid pulling the power cord, otherwise any damages may cause fire or electrocution.
■ Avoid placing the power cord around other over heated equipment to prevent power cord
melting, which may cause fire or electrocution.
■ We recommend that you unplug the printer from the power outlet if no use if for a long
period of time.
6.3 Interface connection:
Interfaces including:4*USB, Ethernet
4 USB interfaces: support to connect various USB external device (Mouse、Keyboard、
barcode scanner ect).
When you use one of USB interfaces to be out of work, please try to change other USB
interfaces. The top left USB port is reserved for connecting to PC to solve the problem
with printing failure because of control component trouble.
Ethernet interface to choose wired network to get Internet.
7、Basic operation
7.1 Turn on
1Install the paper roll correctly and then close the printer top cover.
2Turn on the printer.
3The screen will show below during the starting process.

12
7.2 Print the test page
4Select 【Gprinter】app to enter in, and then click “settings”

13
5Choose printer model【GP2120TF(label) 】(Note: if printer is taken receipt mode,
please choose printer model as【GP2120TF(Receipt) 】; the way of changing the print mode
between label mode and receipt mode: Turn off the printer, open the DIP cover on the
bottom of the printer, set DIP-1 to ON status is ESC receipt mode; DIP-1 to OFF is TSC label
mode)
6Choose USB port, and then click “connect”, set the label size and label gap
according to its actual size.

14
⑦:Click “print test page”.
NOTE:DIP Switches function Instruction
CAUTION:
Please make sure the printer power is turned OFF when changing the
DIP switch.
DIP-8
Function
ON
OFF
SW-1
Print Mode
Receipt
Label
SW-2
Beeper
No
Yes
SW-3
Density
Dark
Light
SW-4
Density
Yes
No
Language
SW-5
ON
OFF
ON
OFF
SW-6
ON
ON
OFF
OFF
Language
Alphanumeric
Korean
BIG5
GB18030
Serial
SW-7
ON
OFF
ON
OFF
SW-8
ON
ON
OFF
OFF
Baud rate
38400
115200
19200
9600

15
7.3 Screen unlocked/ dormant/ wake
When the printer is power on and IPS screen is light up, press ON/OFF button, the
screen will turn to in sleep mode.
When the screen is in sleep mode, press ON/OFF button, the screen will be light up
again.
7.4 Networks
Click “settings” to choose WIFI or Ethernet for setting wired or wireless network to get
Internet.
7.5 Upgrade
Click “Upgrade” to select online upgrade or local upgrade.
7.6 Browser
Click “Browser” and then enter in URLs to surf the internet.
7.7 File Manager
Click “File Manager” to manage the file which stored in system.
7.8 Calculator, Calendar, Clock, Gallery
Useful tool for users.
7.9 Downloads
Click “Downloads” to manage the file which download from internet.

16
7.10 OTA
It will show “ check for system updates” on the top left corner of the screen when
connect to the network, for reminding user to update system. If you need to upgrade,
click “Online Upgrade” to get the latest upgrade package, and then click “Download” to
download the upgrade package to a local disk, after the download is completed, click the
“Upgrade Now” and follow the prompts to upgrade. During the upgrade process, do not
power off or forced shutdown after the upgrade is completed, the device will
automatically restart.
CAUTION:Do not power off the printer during OTA upgrade process, otherwise
work failure.
7.11 Turn off
Back to main page, long press the ON/OFF button, and then select “turn off”.
Turn off the power switch.
If do not turn off the power switch, long press the ON/OFF button, the printer will start up
again.
8. Printer Cleaning
To ensure the printing quality, please proceed this maintenance section to keep your printer
in good conditions and extend its life.
Please use one of following material to clean your smart printer.
Cotton swab, lint-free cloth, vacuum or blower brush, 100% ethanol, LCD detergents.
The cleaning process is described as follows
Printer Parts
Method
Print Head
1. Turn off the printer power before cleaning the print head.
2. Allow the print head to cool for at least one minute.
3. Use a cotton swab and 100% ethanol to clean the print head
surface.
Platen Roller
1. Turn off the printer power.
2. Rotate the platen roller and use a cotton swab or lint-free cloth to
wipe it thoroughly with 100% ethanol.
Screen
Use LCD detergents to clean IPS screen.
Exterior
Use a cotton swab and 100% ethanol to clean it.
Interior
Use a vacuum or blower brush to clean the dust.
Note:

17
■ Always turn off the printer power before cleaning the printer.
■ Do not touch print head by hand, tweezers is not allowed to use for cleaning, otherwise the
print head and platen roller and sensor may be damaged.
■ Do not touch IPS screen using metal objects, Do not use tweezers to scratch IPS screen.
■ Please use 100% ethanol, do not use gasoline or acetone which may damage the print
head and platen roller.
■ Do the sensor calibration after cleaning the sensors.
■ Only turn on the printer and resume printing job after the ethanol volatilized.
Table of contents
Other GPRINTER Printer manuals

GPRINTER
GPRINTER A831 Manual

GPRINTER
GPRINTER BABY380 User manual

GPRINTER
GPRINTER GP-80160IVN User manual

GPRINTER
GPRINTER GP-1524D Operating and maintenance instructions

GPRINTER
GPRINTER GP-8300TC User manual

GPRINTER
GPRINTER GP-7635 series User manual

GPRINTER
GPRINTER Pro5 User manual

GPRINTER
GPRINTER GP-80250IVN User manual

GPRINTER
GPRINTER GP-2120T User manual

GPRINTER
GPRINTER GP-1124D Instruction manual