CONNECTING THE CONTROLLER
AND POWER
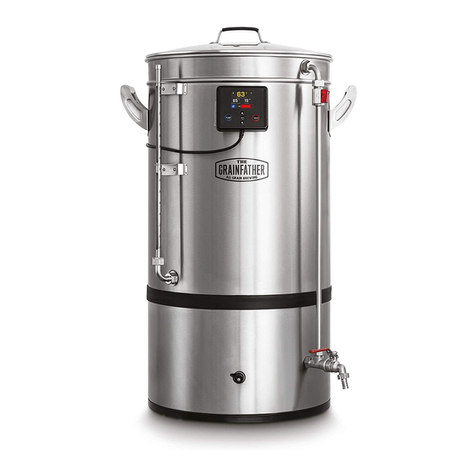
2. ATTACHING THE CONTROLLER.
TaketheGrainfathersmartcontroller(K)andM12
powercablefromitspackagingandplaceitsecurely
onthefrontbracket(Fig3).Nextremovethesmall
capfromtheM12socketlocatedatthefrontlower
sectionoftheG70unit.ThenplacetheM12cable
intothesocket,makingsurethattherightangle
connectorisfacingupwards.Finally,tightenthe
securingnut.
3. CONNECT POWER
Takethemainpowercableandplugitintothebase
atthebackoftheG70unit.Nextplugtheotherend
ofthecableintotheprofessionallyinstalled230V
15A(13AinUK)powersocket.Thecontroller
shouldnowreceivepowerandthedisplaywill
turnon.Ifthisdoesnotoccur,pleasecheckboth
theM12controllercableandthemainpower
cablearesecurelyconnected.
4. ADVANCED WIRELESS CONNECTION AND APP CONTROL
Atthispointyouwillbeabletouseyournew
GrainfatherG70andcompleteabrewusingthe
smartcontroller.However,theG70isdesignedwith
smartfeatures,wirelessconnectivityandaccessto
theGrainfatherBrewingCommunitywhichareall
accessibleaftersettingthecontrolleruponyour
localwirelessnetwork.Fordetailedinstructionson
howtodothispleaseheadtotheGrainfatheronline
store – shop.grainfather.com
FIG 3.
K
FIG 4.
SETTING UP TO BREW
5. PREPARATION, ADDING WATER
Afterallthestepsabovehavebeencompletedyou
arereadytostartabrew.Basedonyourrecipe,calculate
therequiredamountofmashwaterthenaddittotheG70.
Youcanusetheadvancedcalculatorsavailableonthe
GrainfatherCommunityMobileApporWebTools.
Note:MakesureyourG70isonastable,
atsurfacebeforeyoustart.
6. PRIMING THE PUMP
Openthetopvalveontherecirculationarmandturnthe
pumpontocirculatewaterthroughthepump.Ifnoow
occursthroughtherecirculationarm,turnthepump
o,wait1minute,andturnthepumpbackon.Ifnoow
occursafterasecondattempt,closethetopvalve,place
acontainerunderthebottomballvalve,turnthepump
onandfullyopenthebottomballvalvetohelpclearany
airtrappedinthesystem.
7. SET THE MASH/STRIKE TEMPERATURE
Usingthecontrollersettherequiredmashtemperatureand
pressthe‘Heat’buttontoinitiateheating.Placethelidon
theunittospeeduptheheatingtime.Youcanalsousethe
GrainfatherCommunityApptoconnectwiththecontroller
andrunyourbrewsessionremotelyonyourdevice.
8. ASSEMBLE THE BOTTOM GRAIN BASKET COMPONENTS
Takethebottomplate(E)withtherollededgefacing
down,insertthebottomoverowpipe(F)ontothetop
ofthebottomplate.Next,screwtheoverownut(G)
ontothebottomoverowpipeasseeninFig1.
9. INSERT THE BOTTOM COMPONENTS INTO THE GRAIN BASKET
Insertthenewlyassembledbottomcomponentsfromstep
7.intothegrainbasket,makingsureyouhaveassembled
themsothatthebottomplatehasitsrollededgesfacing
down.Nextpushthetopoverowpipe(D)securelyoverthe
bottomoverowpipe,makingsurethatthewirespringsare
orientatedatthebottomendfacingdown(Fig4).
