Grainfather G Series User manual

GSERIES
GC2 INSTRUCTION MANUAL
CHEERS, NICE
TO MEET YOU

HI, WANT
TO CHILL?
GSERIES
02

03
SAFETY INFORMATION
1. When transporting, keep level and li from the base.
2. Never tip the unit on its side or upside down.
This will void the warranty as it will damage
the electronics.
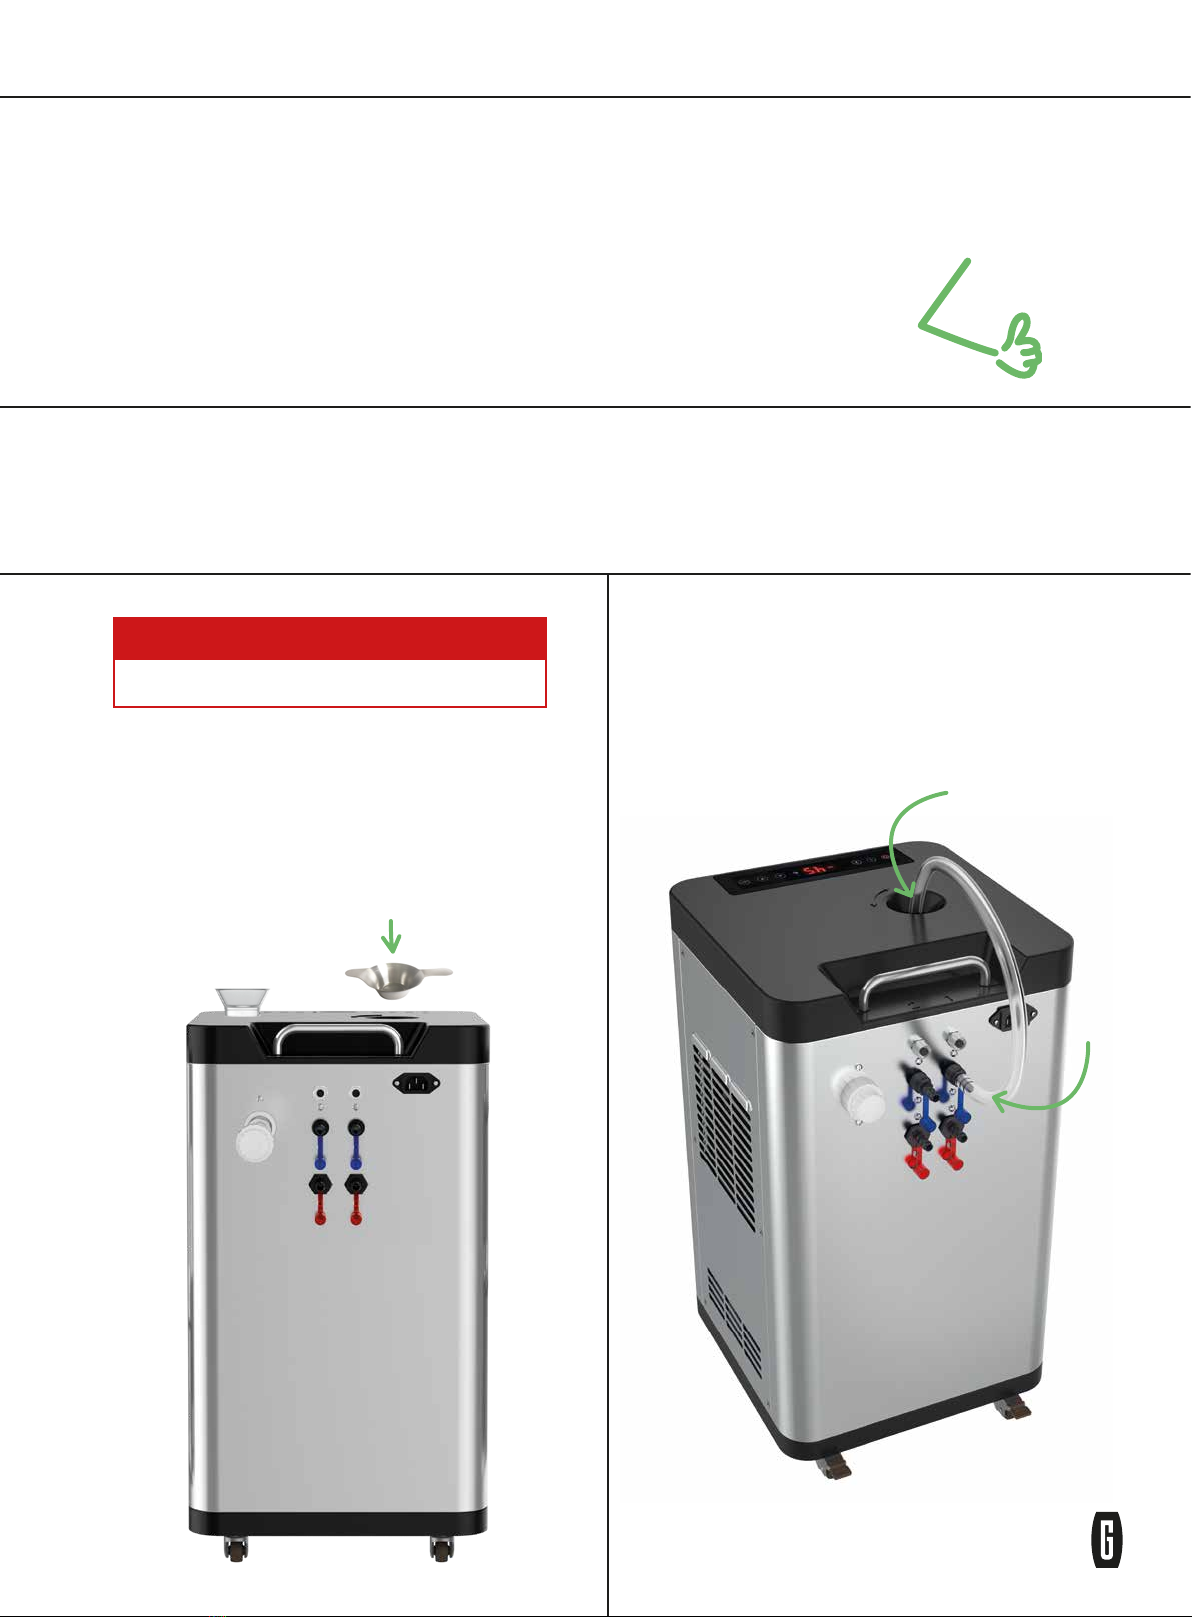
3. Always operate on a at surface in a well-ventilated
environment.
4. WARNING: Keep ventilation openings, in the
appliance enclosure or in the built-in structure,
clear of obstruction.
5. Keep the sides of the unit where the vents are
located, at least 20cm (7.9”) clear of any objects
as it requires uninterrupted airow to operate.
6. Avoid geing any liquid on the control touch panel.
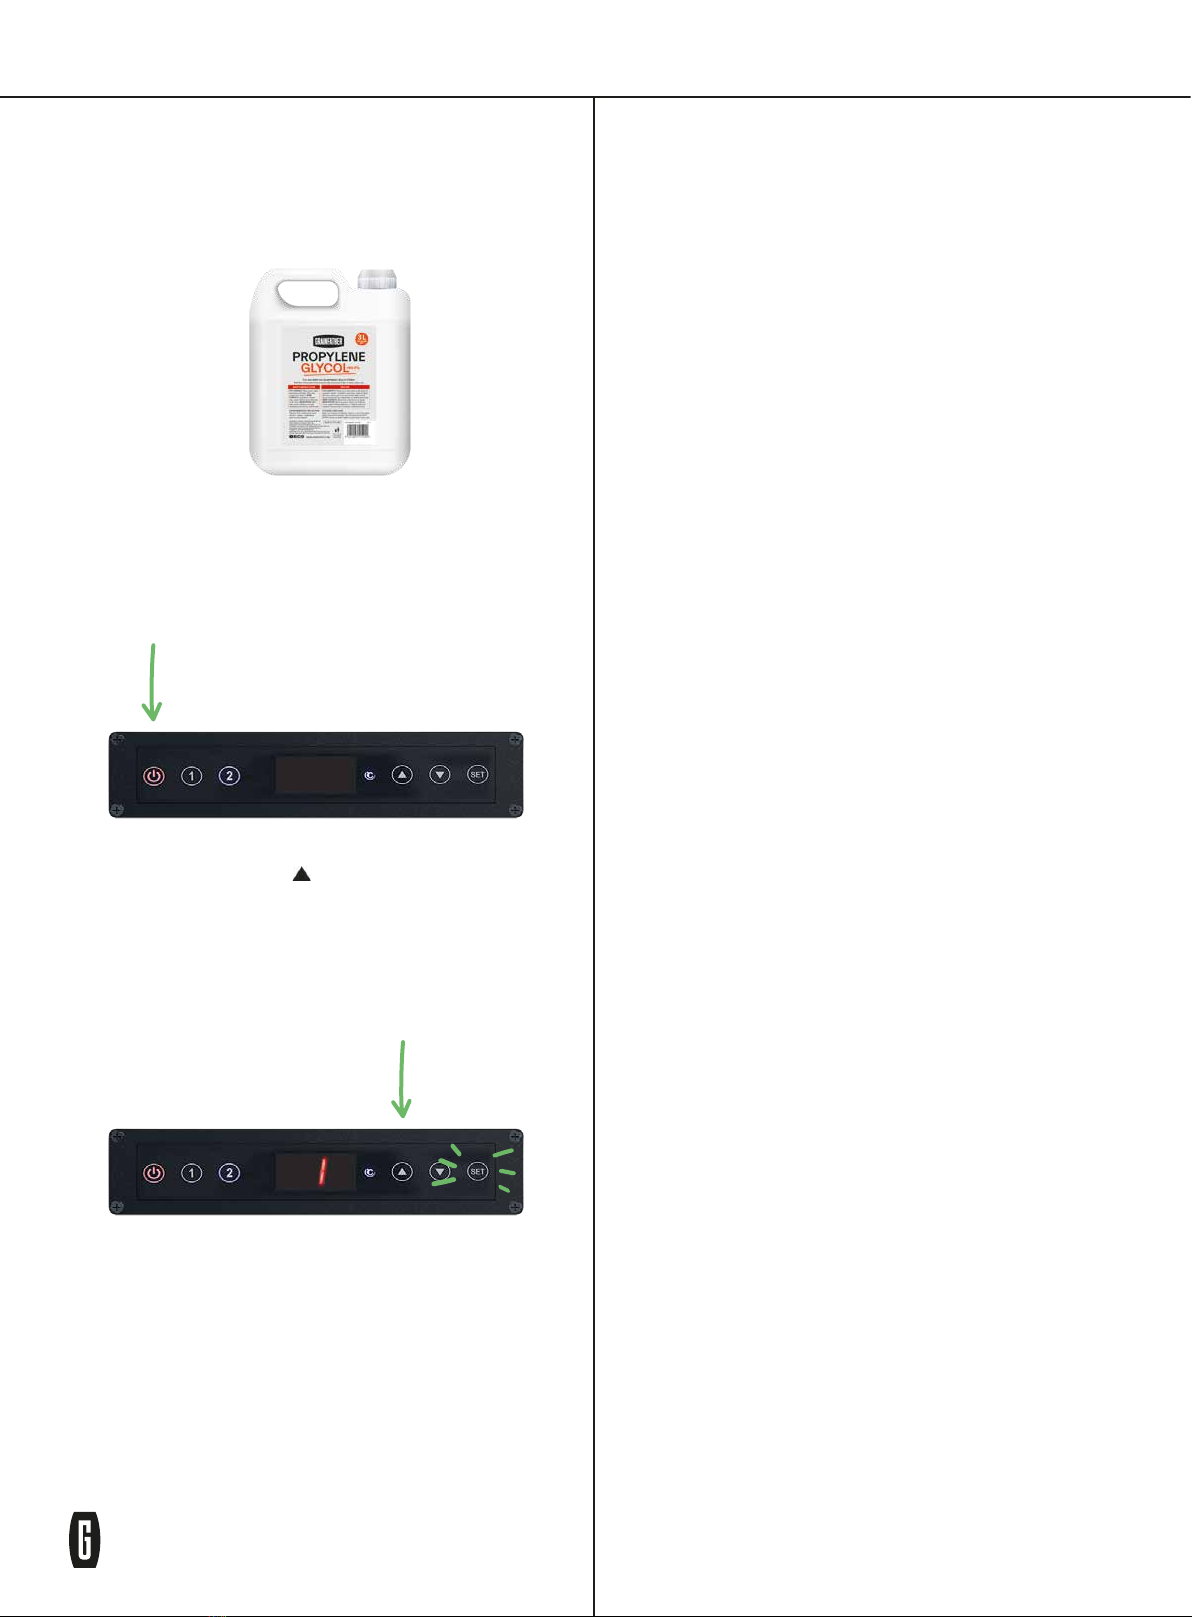
7. Use food grade propylene glycol. Seek glycol
manufacturers specications for more information.
8. Do not store explosive substances such as
aerosol cans with a ammable propellant on
or in this appliance.
9. WARNING: Do not use mechanical devices or other
means to accelerate the defrosting process, other
than those recommended by the manufacturer.
10. WARNING: Do not damage the refrigerant circuit.
11. WARNING: When positioning the appliance,
ensure the supply cord is not trapped or damaged.
12. WARNING: Do not locate multiple portable
socket-outlets or portable power supplies at
the rear of the appliance.
13. CAUTION: Risk of Electric Shock. If the
cord or plug becomes damaged, replace
only with a cord and plug of the same type.
14. CAUTION: Avoid any act of moving and
handling of the chiller/refrigerator/freezer
that may cause damage to the refrigerant
tubing or increase the risk of a leak.
15. This appliance is intended to be used in
household and similar applications.
CAUTION
Risk of Fire or Explosion. Failure
to follow this safety information
can cause a re hazard.
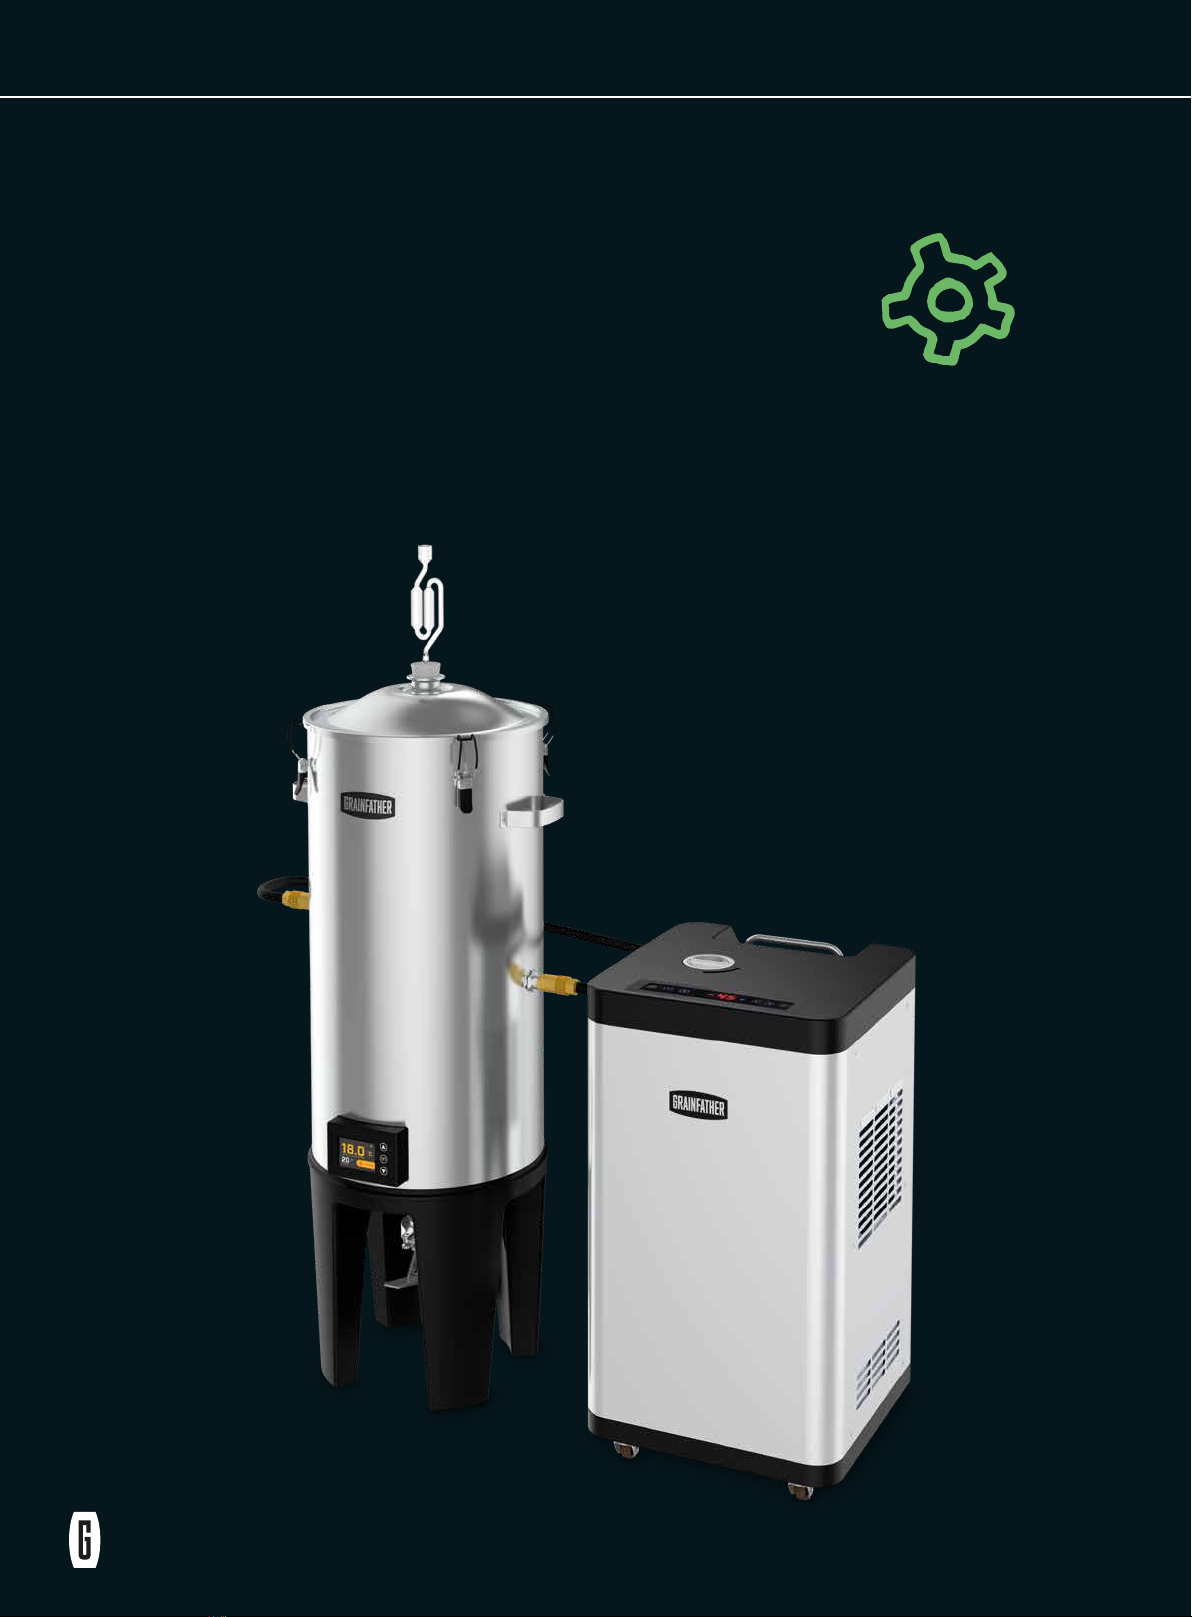
THANK YOU FOR CHOOSING
THE GRAINFATHER GC2
Get started by following these instructions on how to assemble and use your GC2.
We recommend reading the following safety information before use.
THE FOLLOWING STATEMENTS APPLIES
TO GRAINFATHER PRODUCTS SOLD IN
AUSTRALIA AND NEW ZEALAND:
•The appliance is not to be used by persons
(including children) with reduced physical,
sensory, or mental capabilities, or lack of
experience and knowledge, unless they
have been given supervision or instruction.
•Children should be supervised not to play
with the appliance.
THE FOLLOWING STATEMENTS APPLIES
TO GRAINFATHER PRODUCTS SOLD IN
EUROPE AND UNITED KINGDOM:
•This appliance can be used by children
aged from 8 years and above and persons
with reduced physical, sensory or mental
capabilities or lack of experience and
knowledge if they have been given
supervision or instruction concerning use of
the appliance in a safe way and understand
the hazards involved. Children shall not play
with the appliance.
•Cleaning and user maintenance shall not be
made by children without supervision.
NOTE: Further to the safeguards listed
above, we do not recommend the use of this
product by children. Not following the safety
information above could result in serious
injuries and may void your warranty.

GSERIES
04
HOW DOES
A GLYCOL
CHILLER WORK?

HOW DOES
A GLYCOL
CHILLER WORK?
Your new Grainfather
GC2 Glycol Chiller is a
powerful fermentation tool
that provides both cooling
and heating power to your
fermenterto ensure your
fermentation stays at the
ideal temperature with a
high level of accuracy.
TheGC2 cools a reservoir of glycol solution
and uses a pump to deliver cold glycol when
your fermenter’s controller requests,cooling
your fermentation.Italso provides power
to a 30W heater in your GF30 Conical
Fermenter, or the heater included with
your GCA Glycol Chiller Adapter.These
elements combined ensure that your
fermentationis consistently maintained at
the desired temperature.In ideal conditions,
it’s possible to cool a fermenter to between
4 - 6°C (39 - 43°F) or heat it to 10°C (18°F)
above ambient temperature.You can easily
manage the fermentation temperature
through the fermenter controller or connect
through the Grainfather App.
GRAINFATHER GC2
Grainfather GSERIES
Fermenters
Grainfather S SERIES
Fermenters
Most other fermenters
(up to 60L fermentation)
Grainfather GCA
(kit contents not shown)
Choose to connect your glycol chiller to
a Grainfather GSERIES Fermenter, like
the GF30 Conical Fermenter, or almost
any other fermenter when used with the
Grainfather GCA Glycol Chiller Adapter,
sold separately online or at your local
retailer. The GC2 can power up to two
fermenters simultaneously.
NOTE: See diagram to right.
GRAINFATHER GC2
GLYCOL CHILLER
COMPATIBILITY
05

2. Glycol liquid
ller cap
6. Wall outlet
power cord
(with plug based on
country of sale*)
1. Control panel
NOTE: The full spare parts list for the GC2 is available online: help.grainfather.com
*Items included with GC2 may vary by market.
ANATOMY
DIAGRAM
& PARTS LIST
5. 3L (0.8 US Gal)
propylene glycol
(packaged separately*)
4. Glycol funnel
10. Power socket
3. Fermenter
power sockets
7. Glycol outlets
8. Glycol inlets
9. Inline glycol liquid
lter assembly
16. Priming hose
06
12. Cooling hose (inlet)
13. Seals 14. Coupler set
15. Cooling hose (outlet)
11. G SERIES Conical
Fermenter Cooling
Connection Kit
(packaged separately*)

07
PRIMING YOUR
GC2 PUMP
Make sure the GC2 has been standing upright for 24 hours before turning it on.
Before the rst use of this product, you must prime the pump by carefully
following the instructions below.
1. Before plugging in the GC2, ensure that the glycol lter
cap on the back of the unit has been screwed on tightly.
2. Open the glycol liquid ller cap (2) located on the top of
the GC2. Using the glycol funnel (4), pour 2L (0.53 US Gal)
of water into the tank. Close the cap and let the chiller rest
for a minimum of 5 minutes.
3. Connect the priming hose (16) to the glycol
mixture outlet connection (7) (with blue cap)
under number 1. Then, open the cap and insert
the free end of the hose into the opening of the
glycol tank.
2
IMPORTANT NOTE
Complete this step before rst time use only.
Water

08
5. Aach one end of the power cord (6) to the
power socket (10) on the back of the GC2 and plug
the other end into a suitable wall socket. Press the
power buon to turn on.
6. Press and hold the ‘ ’ buon for 3 seconds
to enter pump override mode. The ‘SET’ buon
should be ashing to indicate the chiller is in
pump override mode. This mode deactivates the
low glycol level warning (if present) and allows
the pump to run without a cooling signal from a
Grainfather GSERIES Fermenter.
7. Press the number ‘1’ buon to start the pump, the
buon will begin to ash and the pump will start to
run. If this does not happen, check that the chiller is
in pump override mode (step 6).
8. Leave the pump to run for 2 minutes, then press
the number ‘1’ buon again to stop the pump.
9. Pour the prepared 1L (0.26 US Gal) of propylene
glycol into the tank using the glycol funnel (4).
Aer one minute from when the pump has
stopped, press the number ‘1’ buon to start the
pump again. You should start to see bubbles and
liquid owing through the hose (16) from the outlet
connection to the opening of the glycol tank.
10. Repeat the pump cycle with the pump on for
two minutes, then o for one minute until only
liquid (no visible bubbles) is owing through the
hose. Then, press the number 1 buon to stop the
pump and close the port.
11. Turn o the GC2 and then disconnect the
priming hose and close the cap.
1
4. Measure out 1L (0.26 US Gal) of food-safe
propylene glycol (5) into a jug.
5

09
CONNECTING
TO A G SERIES
FERMENTER
If you’re using a GSERIES
Fermenter, use the instructions
below to set up your GC2 in
preparation to chill. If you’re using
a GCA, please go to page 10.
PREPARE COOLING
CONNECTIONS
A Cooling Connection Kit (11) is required to use
your GC2. This consists of brass couplers (14), seals
(13), and hoses (12, 15) and connects your GC2 to
a GSERIES Conical Fermenter. Firstly, connect the
couplers to the fermenter:
1. Place a white seal inside the threaded hole on the
side of the fermenter.
2. Next, take the threaded section of the coupler and
screw it into the same side of the fermenter where
you placed the seal. Make sure it’s screwed in
tightly. Use a spanner, if necessary, but do not over
tighten.
3. Connect the other end of the coupler to the
section you just used by pushing the spring-loaded
sleeve back and sliding it over.
4. Repeat these steps on the other side of the fermenter.
NOTE: It is possible to cut the hoses shorter if necessary.
Place the chiller and fermenter in their nal place,
carefully measure and cut the hoses accordingly.

10
1. Make sure the GC2 is turned o.
2. On the back panel of the chiller, locate the
glycol outlet connections (7). Connect the
blue hose to the outlet connection of channel
number 1. This hose then connects to the
coupler on the fermenter that is aached in
the lowest position.
3. The glycol return connection is where the
glycol is returned to the chiller. The return
connections have a red silicone cap connected
to them and are located below the outlet
connections. Connect the red hose to the return
connection of channel number 1. This hose then
connects to the coupler on the fermenter that is
aached in the highest position.
NOTE: Make sure that your glycol outlet
connection (blue hose) is connected to the
coupler in the lowest position on the fermenter,
and the glycol return connection (red hose) is
connected to the coupler in the highest position
on the fermenter. The glycol needs to be
pumped into the cooling sleeve from the boom
to ensure that the sleeve is ooded with glycol.
CONNECTING A
FERMENTER USING
THE GCA GLYCOL
CHILLER ADAPTER
To connect your GCA to the GC2, please use
the instructions provided with your GCA to
connect or nd the instructions online here:
hps://bit.ly/gc2-gca
COUPLING THE GC2
TO YOUR FERMENTER
Blue
hose
Red
hose
NOTE: The GC2 can connect up to two fermenters to the
chiller. The outlet connections from the chiller have a blue
silicone cap connected to them and are located above the
return connections.
The buons on the front of the chiller labelled 1 and 2 match
up to the connections on the back labelled accordingly.

11
Once your GC2 starts pumping
glycol to a new fermenter for the
rst time, the fermenter will retain
some glycol so the glycol level in
the GC2 will drop.
TOPPING UP THE
GLYCOL TANK
We recommend topping up the tank until it is full
to maintain optimum cooling performance. The
‘full’ level is slightly over 3L (0.79 US Gal) which is
indicated when the oat rises towards the glycol
ll port. Please use the instructions below to top up
your glycol.
1. Turn o the GC2.
2. Make up a glycol mixture of one part glycol and
two parts water. If your tank was full and then you
connected an additional fermenter, the approximate
volumes required to top up the tank until it is full are
as follows:
600ml (20 US FL oz) of mixture consisting of 200ml
(6.7 US FL oz) glycol + 400ml (13.5 US FL oz) water.
NOTE: Always combine the glycol and water in a jug
prior to adding into the tank.
TIP: To save time, we recommend preparing more
than enough mixture and storing the remaining
unused glycol mixture in a bole to top up next time
as per the ratio below:
33% propylene glycol (330ml / 11.2 US Fl oz) + 67%
water (670ml / 22.7 US Fl oz)
3. Open the glycol liquid ller cap on top of the glycol
chiller. Using the glycol funnel provided, slowly pour
the glycol mixture into the tank. Pouring too quickly
may cause air bubbles to become trapped.
4. Replace and tighten the cap.
5. Wait a minimum of ve minutes before turning the
unit back on. This allows any air bubbles that may
have been trapped in the mixture to escape. Trapped
air bubbles can prevent the pump from operating
correctly or lead to false low-level alarms.
NOTE: The Grainfather Glycol Chiller has an inline
lter to protect from foreign maer. It should be
cleaned referring to the instructions on page 14
whenever you replace your glycol. For optimal
performance choose to replace the glycol mixture
every 6 months.
IMPORTANT NOTE
If contaminants enter the glycol tank, they
can cause blockages. To prevent contaminants
from entering the glycol tank ALWAYS follow
these steps:
• Use a clean vessel free from any foreign
maer when making up the mixture.
• Use the included Grainfather Glycol Funnel to
transfer mixture into the Glycol Chiller.
• Replace the cap immediately aer adding
the mixture into the tank.

12
You are now ready to start cooling
your fermenter with the GC2. Please
follow the instructions below to
begin. You will nd a control panel
function guide on page 15 to help you
understand the buon functionality.
OPERATING
THE CHILLER
1. Ensure the GC2 is plugged in to a suitable wall socket.
2. Connect the M12 power cord (included with your
GSERIES Fermenter or the GCA) to the fermenter power
socket (3) located under number 1 on your GC2.
3. Turn the GC2 on by pressing the power buon on the
control panel, the buon will light up red.
4. The fermenter will now receive power from the GC2
and turn on.
NOTE: Using the chiller with your Conical Fermenter
eliminates the need for a separate fermenter power
supply as the chiller provides power to all fermenters
through their respective M12 power cords.
TEMPERATURE CONTROL
NOTE: Please read this thoroughly before rst use.
We have congured the unit to the optimal seings, to provide
the best cooling eciency from the chiller to a fermenter for
any required fermentation temperature. We highly recommend
to not change these seings as this could result in poor cooling
performance and in extreme cases the glycol mixture may freeze,
which has the potential to cause damage to the chiller unit.
If your controller needs to be reset, please see the factory
seings and method below to complete this.
GLYCOL SET TEMPERATURE = -4.5°C (23.9°F)
HYSTERESIS = 3.0°C (5.4°F)
1. Press ‘SET’, then using the
‘ ’
and
‘ ’
buons, select your
desired glycol set temperature. Press ‘SET’ again to conrm.
2. Press and hold the
‘ ’
buon to enter the hysteresis seing
mode. Using the
‘ ’
and
‘ ’
buons, select your desired
hysteresis. Press ‘SET’ to conrm.
NOTE: The set temperature is the compressor o temperature,
and the hysteresis is the dierence between the compressor
on and o temperatures. To prevent accidentally changing
the seings you can lock the controller. When the controller is
locked, the power buon will ash slowly. To lock or unlock,
press and hold the power buon for 3 seconds.
SETTING FERMENTER
TEMPERATURE
1. Set the desired fermenting temperature on the controller of the
GSERIES or GCA controller.
2. Press the number buon on the GC2 that corresponds to the
connection that will be in use.
3. The fermenter will now signal to the GC2 if it needs any
cooling or heating.
NOTE: Once a number buon is pressed, it will light up blue. If it
is also receiving a cooling signal from the connected fermenter,
the light will ash.

13
CLEANING &
MAINTENANCE
CLEANING THE AIR FILTER
For optimal performance of your GC2, it is recommended
to clean the air lter every six months. If the GC2 is
operated in a dusty environment, cleaning will need to
occur more oen to ensure best performance.
1. Turn o the unit and unplug at the wall.
2. Remove the right-hand side and le-hand side panels
of the unit by unscrewing and removing the screws using
a 2.5mm Allen key and pulling o from the middle region
of the panel.
3. Gently remove the side panels and the plastic frames
containing the air lters.
OPERATING
THE CHILLER
4. Use a vacuum cleaner to remove any dust from the air lter.
5. Reinstall the air lters and the side panels.
6. Replace screws.
CLEANING THE EXTERIOR
The stainless exterior of the unit should be cleaned regularly to
remove dust from the unit, which may cause rust spots over time,
especially in high-humidity areas.
Use a suitable stainless-steel cleaner and a so cloth to clean
the unit. For plastic components, use a glass cleaner and a so
cloth to remove any dust.
Vacuum carefully
Vacuum carefully
Side panel
Side panel
Air Filter
Air Filter

REPLACING EXISTING
GLYCOL MIXTURE WITH
NEW GLYCOL MIXTURE
For optimal performance, we recommend replacing
the glycol mixture every six months if you are using
your GC2 regularly. See below for instructions on
how to replace the glycol:
1. Turn o the GC2.
2. Aach a hose to the glycol outlet connection of any
channel.
3. Put the free end of the hose into a bucket or sink for
the glycol mixture to exit into.
4. Turn the GC2 on, then make sure all number buons
are in the ‘OFF’ position. The buons will have no light
on if they are o.
5. Enter pump override mode by pressing and holding
the ‘UP’ buon for three seconds. The ‘SET’ buon
should be ashing to indicate the chiller is in pump
override mode. This mode deactivates the low glycol
level warning (if present) and allows the pump to run
without a cooling signal from a Grainfather Conical
Fermenter.
6. To begin the removal of the existing glycol mixture
from the glycol tank, press the number buon on the
GC2 that corresponds to the outlet where you have
aached the hose. When the glycol stops owing,
press the same number buon again to stop the pump.
7. Turn the GC2 o.
8. Discard the glycol mixture you have removed from
the chiller.
9. Before replacing the glycol in the tank, you will need
to clean the inline glycol lter as per the instructions to
the right on this page.
10. You will now need to rell the glycol tank. Follow
the priming instructions on page 7 to do this.
NOTE: Running the pump dry for an extended period
will cause damage to the pump. DO NOT leave the
chiller unaended when in pump override mode.
CLEANING THE INLINE
GLYCOL FILTER
The inline glycol lter can become blocked with
debris over time, reducing the performance of the
glycol chiller. It is recommended to clean the inline
glycol lter every six months or when the glycol
solution is replaced.
1. Check that the GC2 is switched o.
2. Using a towel, hold underneath the lter cap
and remove the lter cap. A small amount of glycol
solution will ow out.
3. Gently remove the lter and ush with cold water
from the outside, then visually inspect for debris.
4. Once the lter is clean, reinstall the lter and the
cap ensuring the lter cap is rmly in place.
14

FUNCTION ACTION DESCRIPTION RECOMMENDATION
On / O Touch the ‘ON/OFF’ buon. Turns the GC2 on and o. Use as needed.
Switch
between °C
and °F
Hold the ‘SET’ buon for 3 seconds. Switches the functions of the GC2
between °C and °F. Use as needed.
Activate/
deactivate
channel 1 or 2
Touch the ‘1’ or ‘2’ buon
When a channel is activated, the buon
will light up blue. In this state, heating or
cooling will automatically be provided
when a signal is received from the
fermenter/GCA. The buon will pulse blue
when glycol is pumped to the fermenter.
When a channel is inactive, the buon will
not be lit. No heating or cooling will be
provided to the fermenter.
Use as needed.
Lock or unlock
the touch panel Hold the ‘ON/OFF’ buon for 3 seconds.
When the touch panel is locked, it won’t
respond to unintentional inputs, and the
power buon will pulse red.
Use as needed.
Pump override
Hold the
‘ ’
buon for 3 seconds.
Activate the pump using channel ‘1’ or ‘2’
buons on the touch panel.
Hold the
‘ ’
buon for 3 seconds to exit pump
override mode.
The ‘SET’ buon will ash when the GC2 is
in pump override mode.
This mode silences the low-level alarm,
allowing the pump to run at a low glycol
level and without a cooling signal from a
fermenter/GCA.
Use as needed. Do
not run the pump
dry or leave it
unaended in this
mode.
Change
glycol set
temperature
Touch the ‘SET’ buon.
Use the
‘ ’
and
‘ ’
buons to change the set
glycol temperature.
Touch the ‘SET’ buon to conrm.
This function can adjust the temperature
at which the GC2 maintains the glycol.
However, we recommend keeping the
default seings (-4.5°C, 23.9°F). Seings
colder than this could damage the GC2.
Not recommended
to change unless
directed by
Grainfather Customer
Service.
Change
hysteresis
Hold the
‘ ’
buon for 3 seconds.
Use the
‘ ’
and
‘ ’
buons to change the set
hysteresis value.
Touch the ‘SET’ buon to conrm.
The hysteresis value is the dierence
between the glycol temperature when
the compressor turns on and o. We
recommend keeping the default seings
(3°C, 5.4°F).
Not recommended
to change unless
directed by
Grainfather Customer
Service.
TOUCH PANEL
FUNCTIONS
15

GET IN TOUCH ONLINE: help.grainfather.com/hc/en-us/requests/new
RESOURCES: Check out our YouTube Channel for helpful videos.
For more information, visit our Help Centre: help.grainfather.com
D2
READ AND FOLLOW ALL INSTRUCTIONS
CAUTION –
Risk of res and electric shock.
–
Replace only with genuine Grainfather cord set.
–
Do not immerse in water.
SAVE ALL WARNINGS AND INSTRUCTIONS FOR FUTURE REFERENCE
FOR INDOOR USE ONLY
WARNING
AVERTISSEMENT
RISK OF ELECTRIC SHOCK . DO NOT OPEN.
RISQUE DE CHOC ÉLECTRIQUE. NE PAS OUVRIR
WWW.GRAINFATHER.COM
IMPORTANT
SAFEGUARDS
SCAN AND
EXPLORE THE FREE
GRAINFATHER APP
Other manuals for G Series
6
This manual suits for next models
1
Table of contents
Other Grainfather Chiller manuals