06.
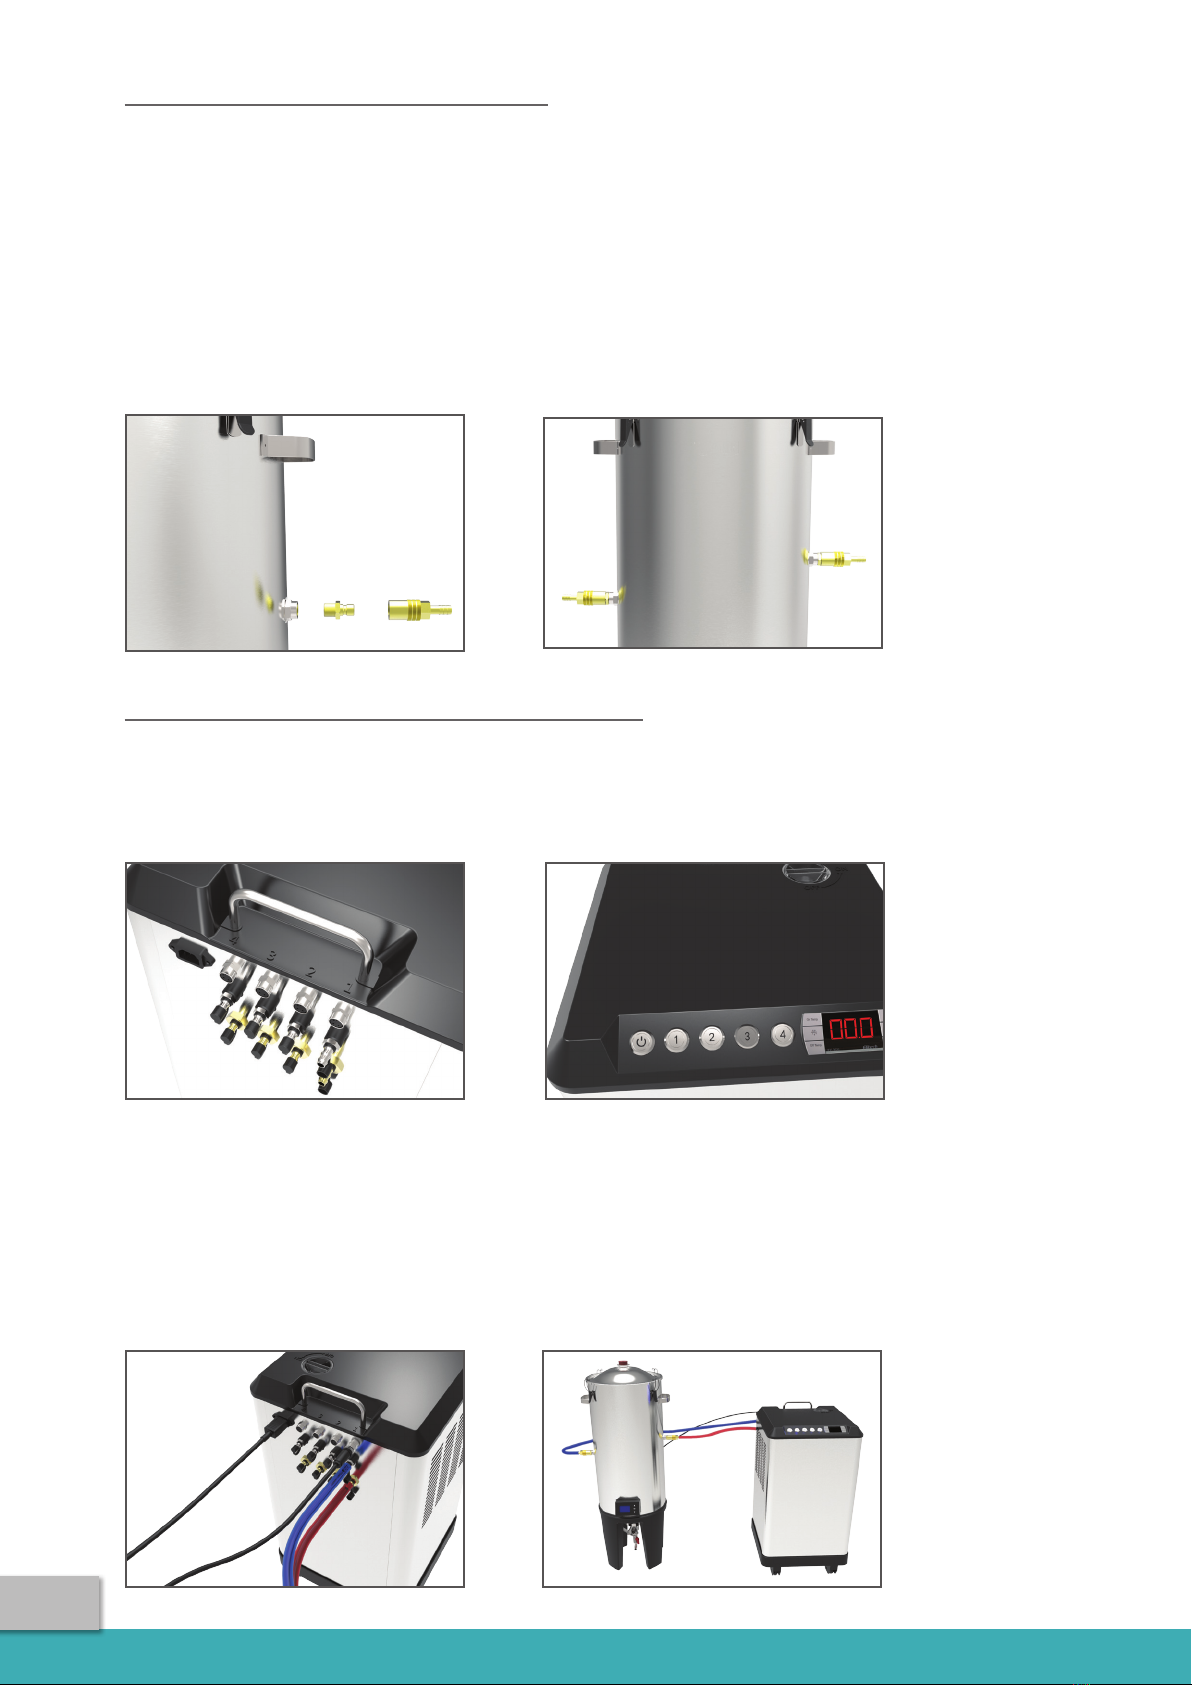
PREPARING COOLING CONNECTIONS
This product cools glycol to a maximum of -4°C (23°F). A cooling connection kit is included with your
Glycol Chiller (see page 1). This consists of brass couplers and hoses. Firstly, connect the couplers to the
fermenter:
1. Take the threaded section of the coupler and connect it to one side of the Grainfather Conical
Fermenter. Make sure it is screwed in tightly. Use a spanner if necessary.
2. Connect the other end of the coupler to the section you just used by pushing the spring-loaded sleeve
back and sliding it over.
3. Repeat these steps on the other side of the fermenter.
It is possible to cut the hoses shorter if necessary; this will also increase maximum cooling eciency.
Place the chiller and fermenter in their nal place, measure and cut the hoses accordingly.
CONNECTING THE CHILLER TO A FERMENTER
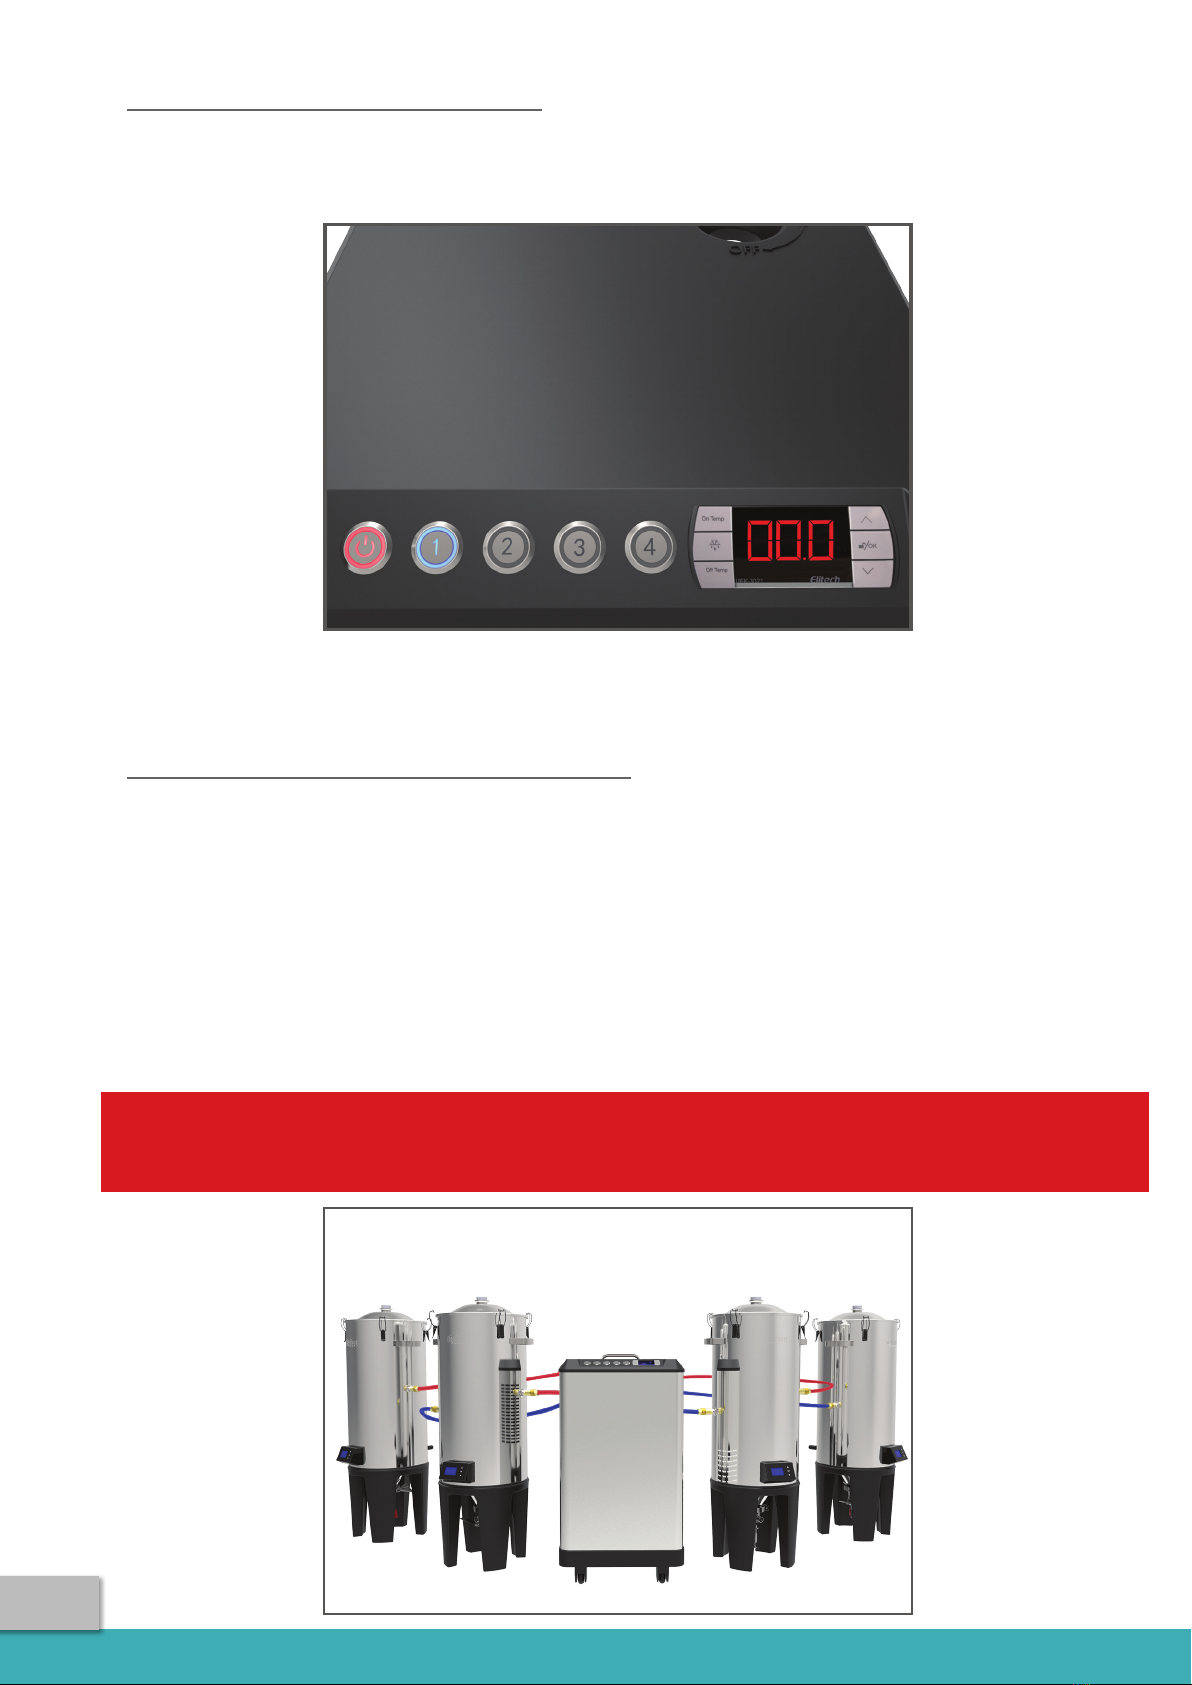
On the back panel of the Glycol Chiller are the connections for the hoses. You can connect up to four
fermenters to the chiller. The output connections from the chiller are silver in colour and the return
connections are gold.
The buttons on the front of the chiller labelled 1,2,3,4, match up to the connections on the back labelled
accordingly.
1. Make sure the unit is turned o.
2. On the back panel of the chiller locate the glycol mixture output connections; these are silver in colour.
Connect the blue hose to the rst silver connector labelled with number 1. This hose then connects to
the coupler on the fermenter that is attached in the lowest position.
3. The glycol inlet connection is where the glycol is returned to the chiller to cool back down; these are
gold in colour. Connect the red hose to the glycol inlet connection labelled with number 1. This hose
then connects to the coupler on the fermenter that is attached in the highest position.
4. The Chiller will provide power to all fermenters that are connected. Connect the M12 power cord from
the fermenter to this connection under number 1.