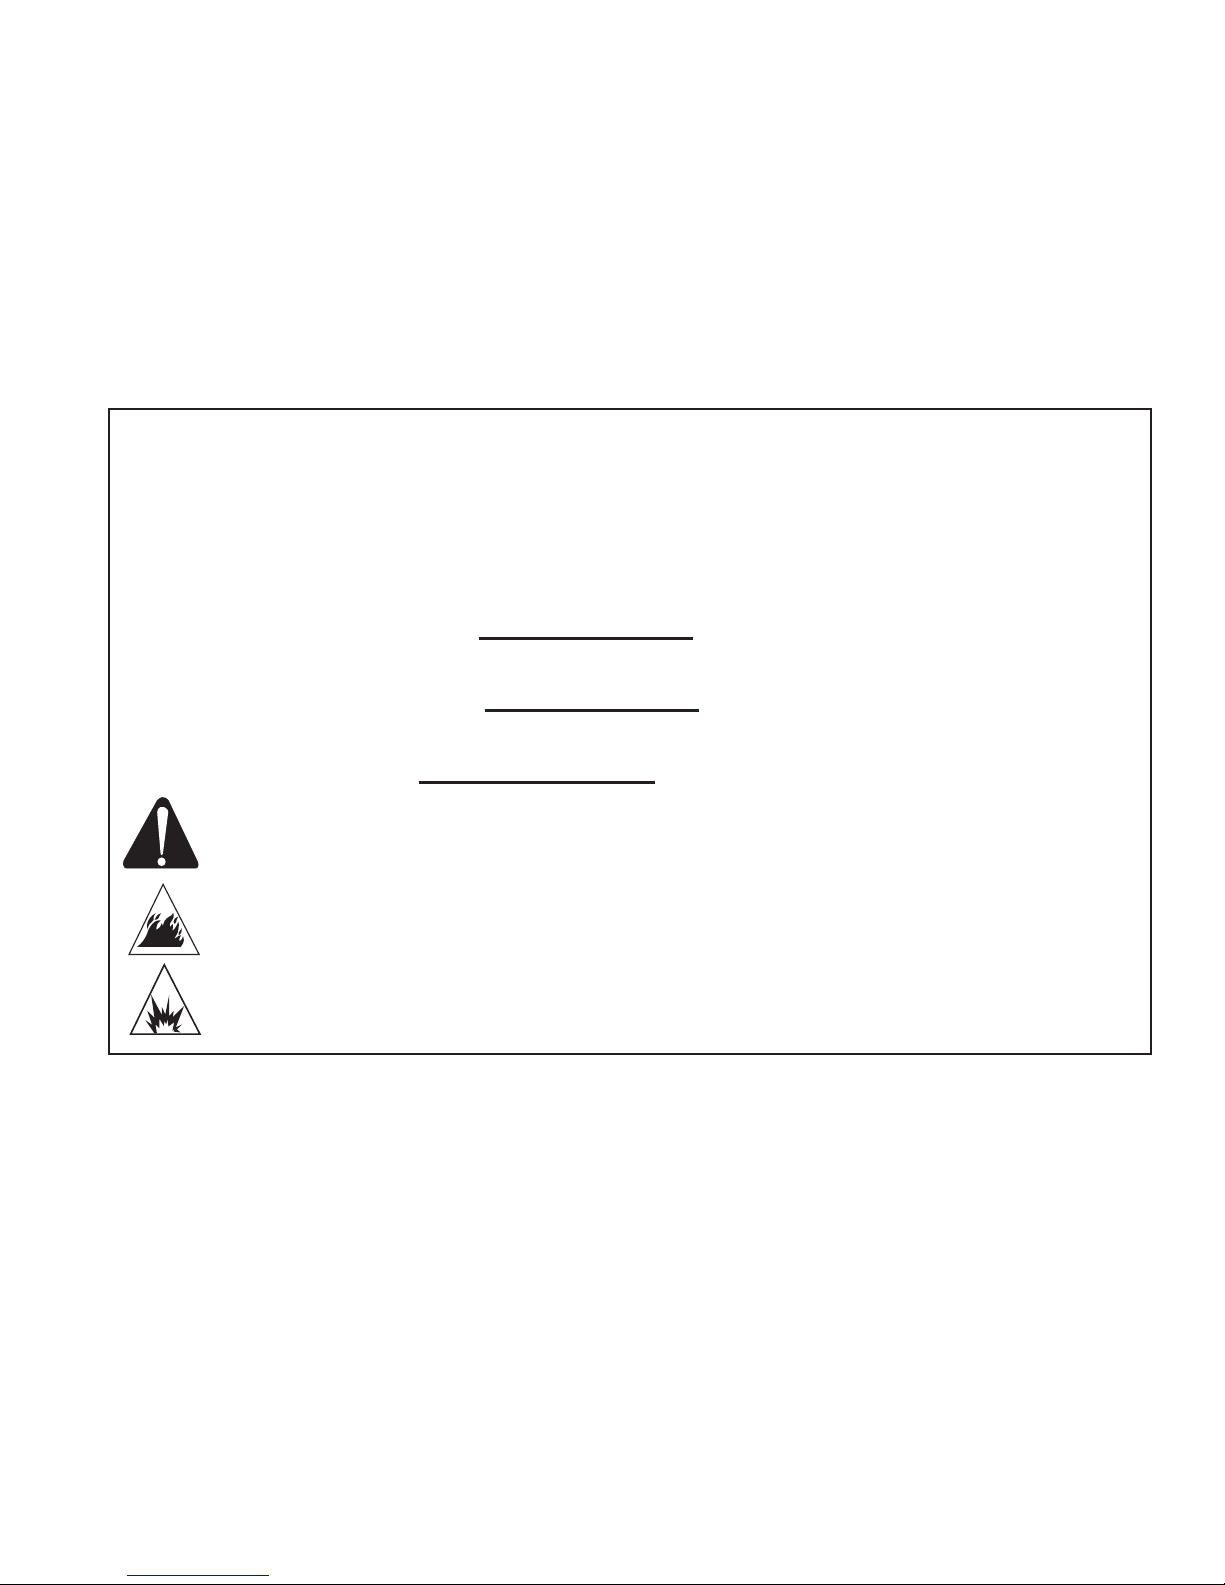
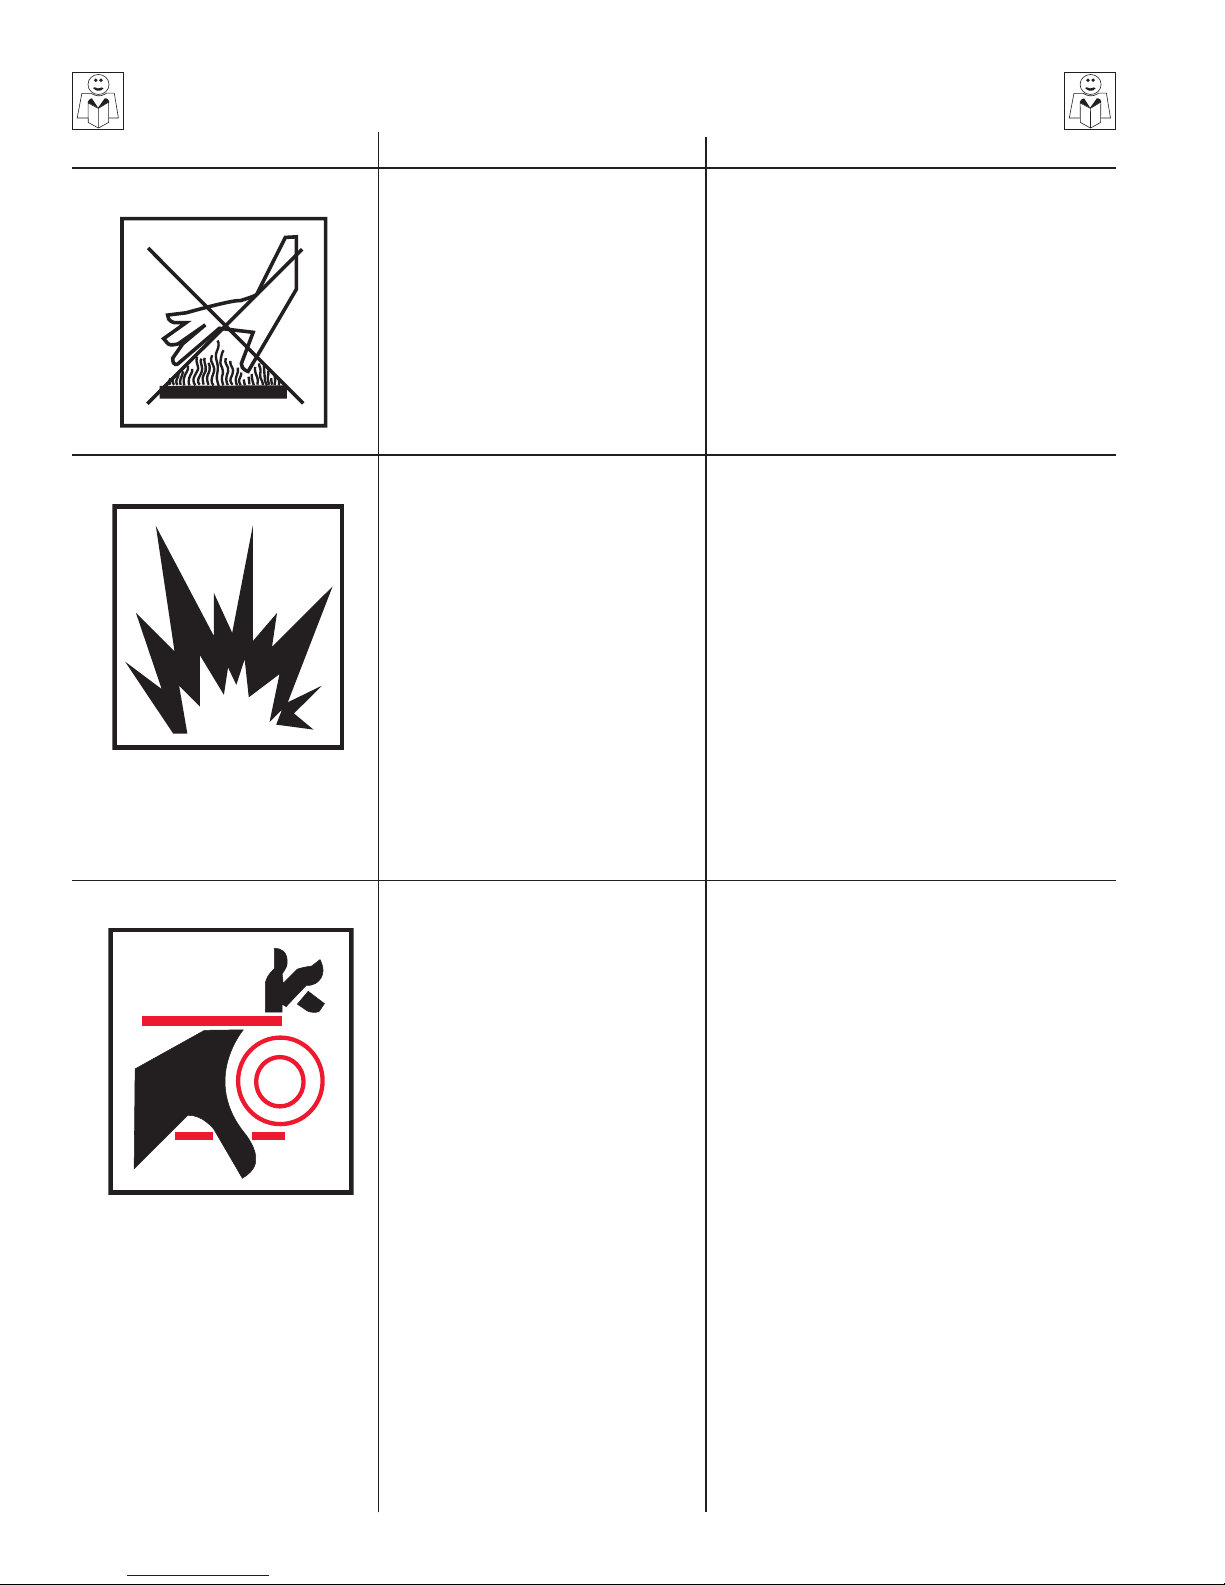
• RISK OF INJECTION OR SEVERE INJURY. KEEP CLEAR OF
NOZZLE DO NOT DIRECT SPRAY TOWARD ANY PERSON OR
SELF.
• RISK OF ASPHYXIATION. OUTDOOR USE ONLY REQUIRED.
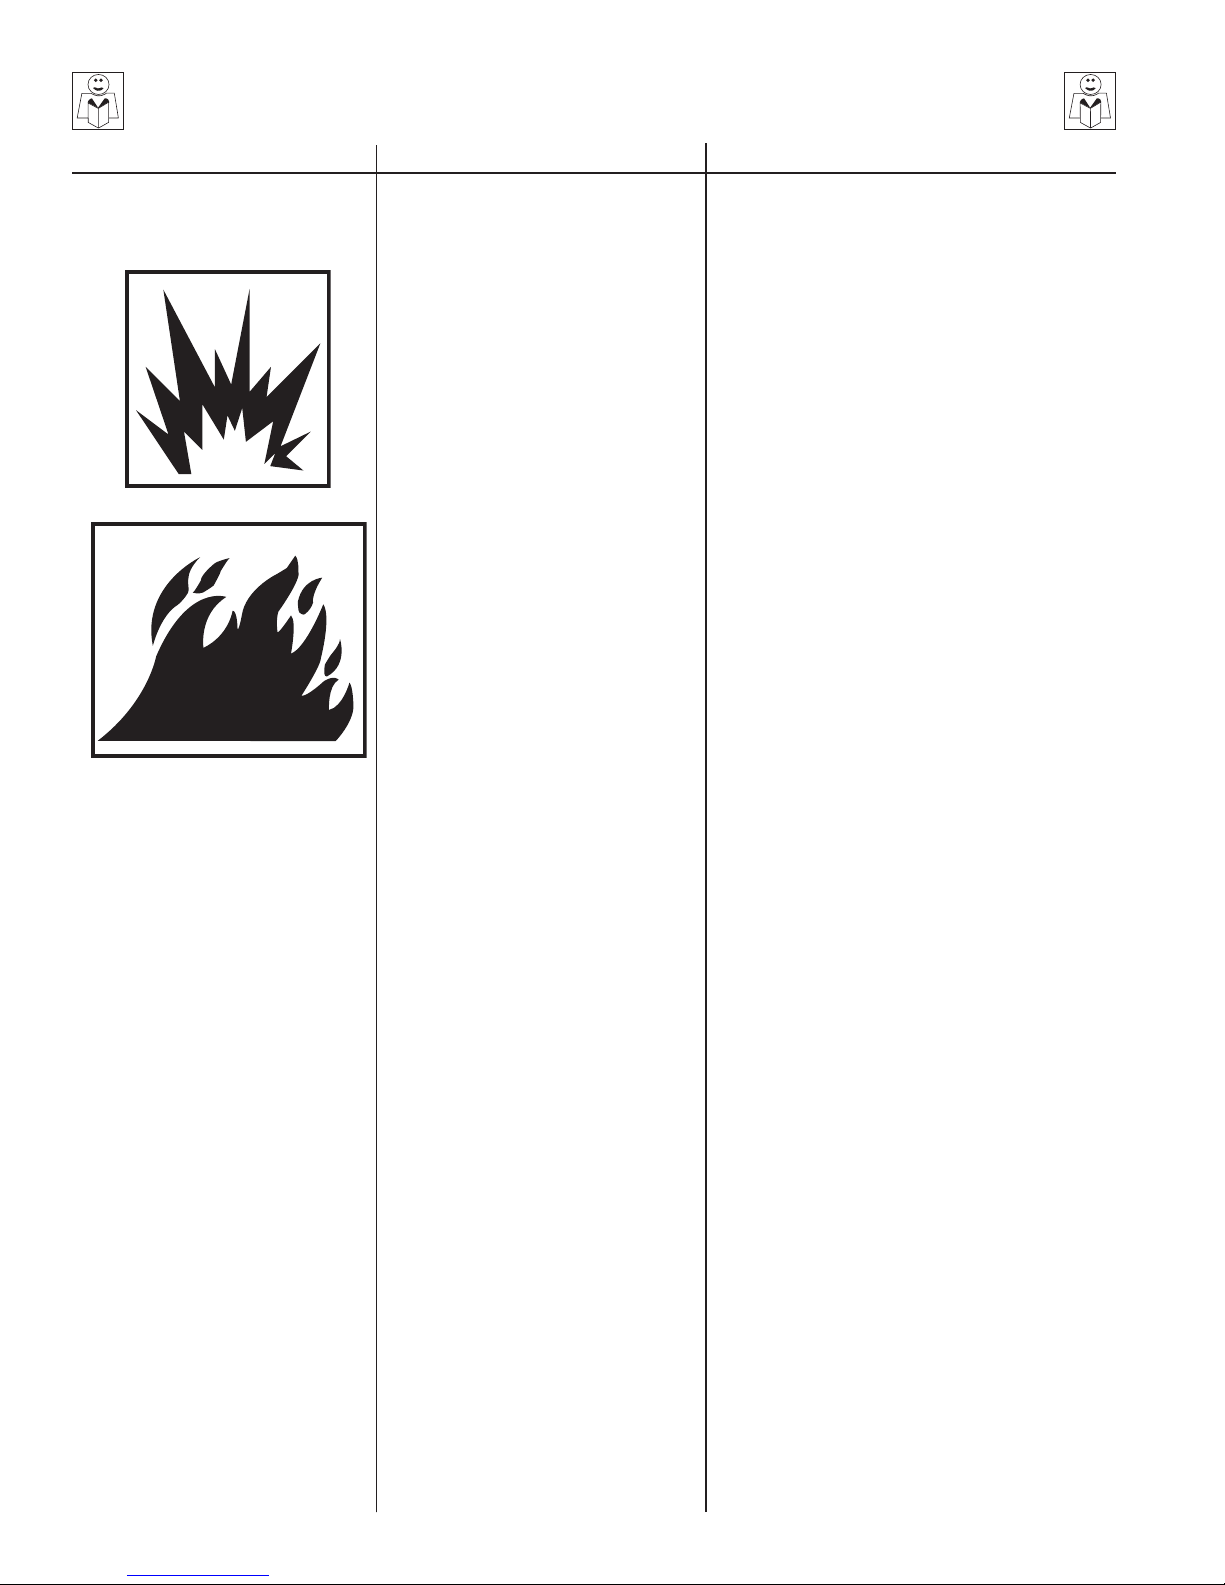
• RISK OF FIRE. DO NOT SMOKE WHILE REFUELING.ALLOW TO
COOL TWO TO THREE MINUTES BEFORE REFUELING. DO NOT
OPERATE WHILE REFUELING.
• RISK OF ELECTROCUTION. DO NOT DIRECT SPRAY TOWARD
ANY ELECTRICAL CONNECTIONS, OUTLETS, OR POWER LINES.
• RISK OF EXPLOSION. DO NOT SPRAY FLAMMABLE LIQUIDS.
• TO REDUCE RISK OF INJURY: READ AND UNDERSTAND THE
OPERATION MANUAL AND ALL INSTRUCTIONS BEFORE
USING.
• STAY ALERT: HOLD ONTO GUN/WAND FIRMLY WITH BOTH
HANDS TO AVOID DANGEROUS KICKBACKS.
• ALWAYS WEAR EYE PROTECTION.
• DO NOT OVERREACH OR STAND ON UNSTABLE SUPPORT.
KEEP GOOD FOOTING AND BALANCE AT ALL TIMES.
• ALWAYS TURN ON WATER SUPPLY TO PUMP BEFORE
STARTING.
• PROTECT PUMP FROM FREEZING.
• ENGAGE TRIGGER SAFETY LOCK-OFF WHEN NOT IN USE.
• AFTER ENSURING ALL CONNECTIONS ARE SECURE, OPEN INLET
WATER SUPPLY COMPLETELY. DO NOT OPERATEWITHOUTWATER.DO
NOT USE WATER THAT IS OVER 125˚F. • WITH GUN LOCKED, REMOVE
NOZZLE. POINT GUN IN A SAFE DIRECTION. BRACEWAND SECURELY
TO AVOID RECOIL.SQUEEZETRIGGER OPEN. STEADY THE UNIT AND
START BY PULLING ON THE STARTER ROPE. • AFTER ENGINE IS
RUNNING, LOCK GUN AND INSERT DESIRED NOZZLE. POINT GUN IN A
SAFE DIRECTION. UNLOCK GUN AND SQUEEZETRIGGER TO SPRAY
AND RELEASETHETRIGGERTO STOP SPRAY. • AFTER STOPPINGTHE
ENGINE, ALWAYSTURN OFFWATER SUPPLY AND SQUEEZETRIGGER
TO RELEASE TRAPPED PRESSURE.
• RIESGO DE INYECCION O LESION SEVERA. MANTENGA LA
BOUILLA DESPEJADA. NO DIRIJA EL CHORRO HACIA PERSONA
ALUNA O HACIA USTED.
• RIESGO DE ASFIXIA: UNICAMENTE PARA USO EN EL EXTERIOR.
• RIESGO DE FUEGO: NO FUME MIENTRAS ESTE
REABASTECIMIENTO DE COMBUSTIBLE. PERMITA QUE EL
MOTOR SE ENFRIE DOS O TRES MINUTOS ANTES DEL
REABASTECIMIENTO. NO OPERE EL PRODUCTOR DURANTE EL
REABASTECIMIENTO.
• RIESGO DE ELECTROCUCION: NO DIRECTA EL CHORRO HACIA
CONEXIONES. ELECTRICAS.TOMAS DE CORRIENTE O LINEAS
DE ALIMENTACION DE CORRIENTE.
• RIESGO DE EXPLOSION: NO ROCIE LIQUIDOS INFLAMMABLES.
• RIESGO DE LESION: USE UNICAMENTE EQUIP CON
CLASIFICACION ADEDUADA.
• PARA REDUCIR EL RIESGO DE QUE OCURRAN LESIONS:
LEA Y ENTIENDA EL MANUAL DE OPERACIONY TODAS LAS
INSTRUCCIONES ANTE DE USAR EL PRODUCTO.
• PERMANIZCA ALERTA: SOSTENGA LA PISTOLA VARILLA
FIRMENMENTE CON AMBAS MANO PARA EVITAR GOLPES
DE RETROCESO PELIGROSOS.
• USE SIEMPRE PROTECCION OCULAR.
• NO SE EXTIENDA DEMASIADO O SE PARE EN UN APOYO
INESTABLE. MANTENGA UNA BUENA POSICIONY
BALANCE TODO EL TIEMPO.
• ANTES DE COMENZAR. ABRA SIENPRE EL SUMINSTRO DE
AGUA A LA BOMBA.
• PROTEJA LA OMBA DE LA CONGELACION.
• COLOQUE EL SUGURO DEL GATILLO EN LA POSICION
APAGADO CUANDO NO ESTE USANDO EL PRODUCTO.
• DISPUES DE ASEGURARSE QUE TODAS LAS CONEXIONES
ESTAN SEGUIRSE.ABRA LA ENTRADA DEL SUMINSTRO DE AGUA
COMPLETAMENT NO SE OPERE SIN AGUA. NO SE USE CON AGUA
CONTEMPERATURAS DE MAS DE 125˚F.
• CON LA PISTOLA ASEGURADA. REMUEVA LA BOQUILLA
APUNTANDO LA PISTOLA HACIA UNA DIRECCION SEGURA.
REFURESE LAVARA PARA EVITAR QUE RETROCEDA.APRIETE EL
GATILLO PARA ABRIRLO.MANTEGA LA UNIDAD QUIETA.Y COMIENZE
HALANDO FIRMEMENTE EN LA CUERDA DE INICIAR.
• DESPUES DE QUE EL MOTOR ESTE TRABAJANDO.ADJUSTE LA
BOQUILLA A LA POSICION DESEADA.APRIETE EL GATILLO PARA
ROCIARY SUELTELO PARA DETENER EL ROCIADO.
•
DESPUES DE DETENER EL MOTOR. CIERRE DIEMPRE EL
SUMINSTRO DEL AGUO AND APRIETE EL GATILLO PARA LIBERAR
LA PRESION ATRAPADA.
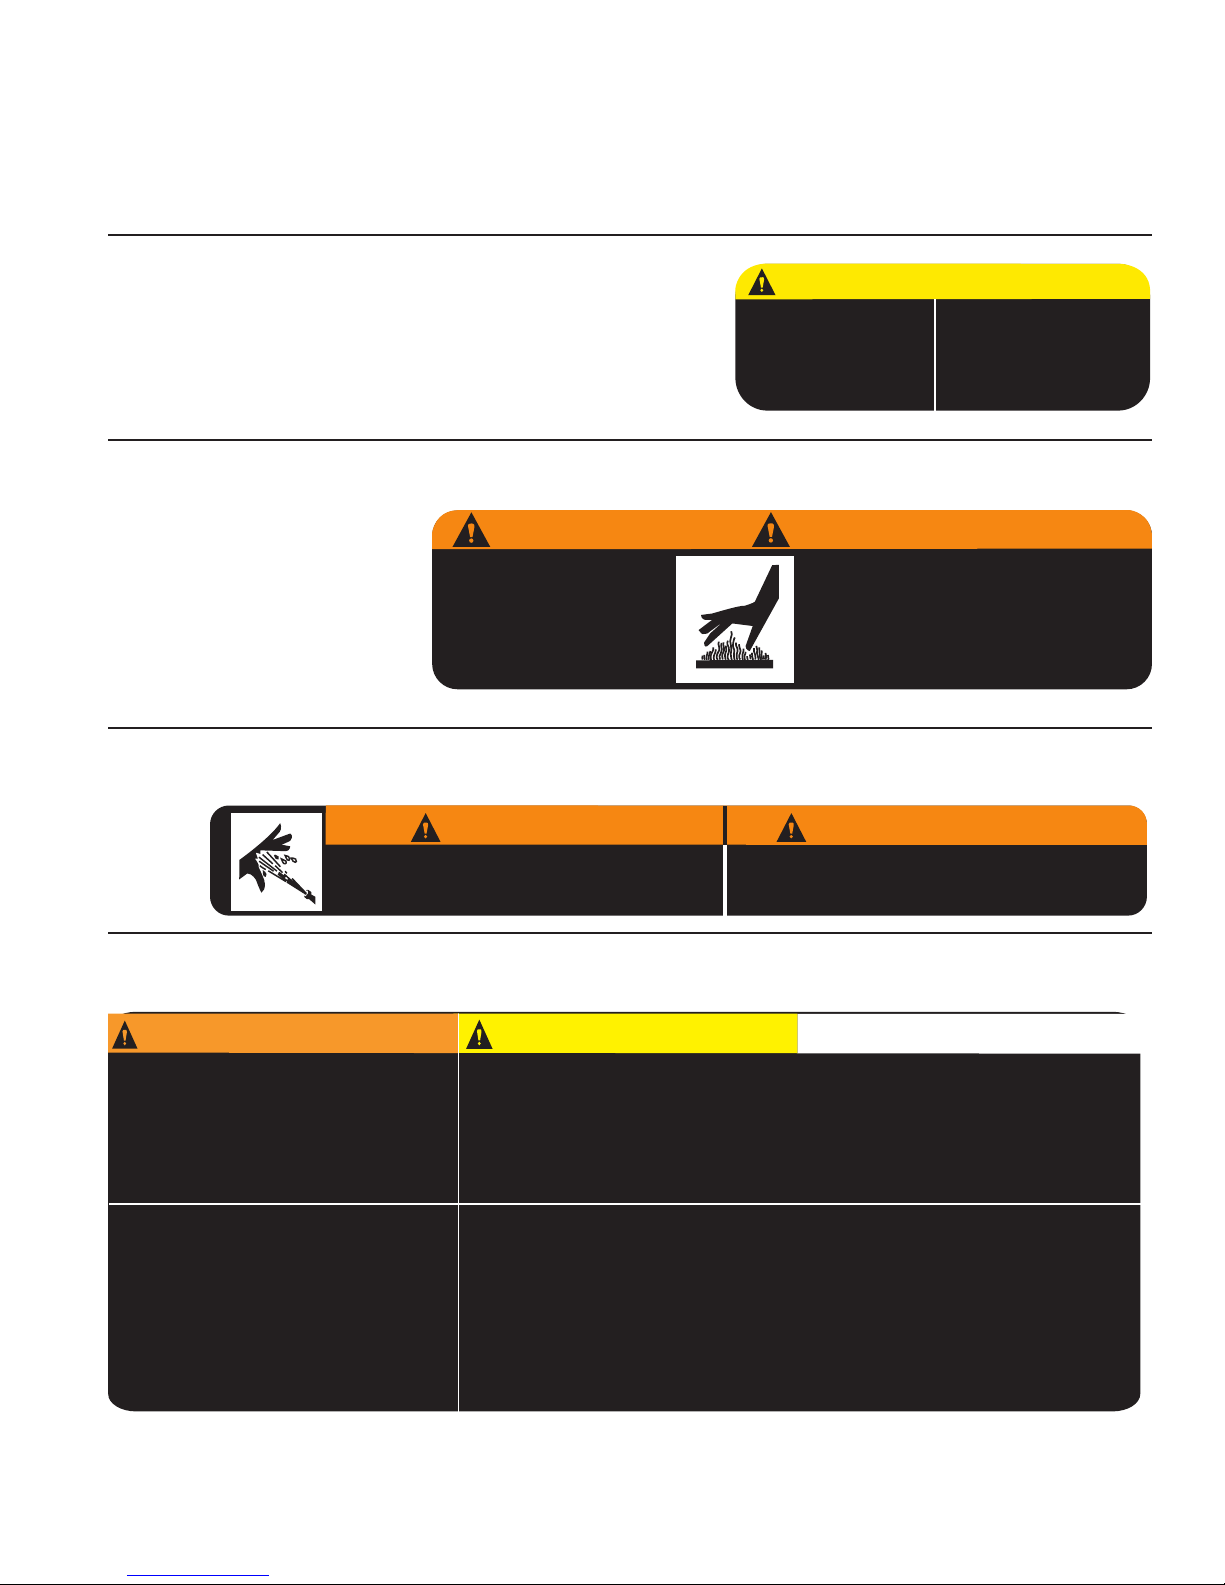
WARNING/ADVERTENCIA CAUTION/PRECAUCION OPERATION/OPERACION
34-0981-063099-E/S-ENG.