GRANGE equipment GRPB7 User manual

value
•
quality
•
service
Grange Product Range
Mixers
Bandsaws
Food Processors
Juicers
Light Kitchen Equipment
Mincing Equipment
Slicers
Wrapping Equipment
Planetary Mixer – GRPB7 Bench
USER MANUAL

SAFETY PROCEDURES
NEVER ATTEMPT TO OPERATE THIS MACHINE
WITHOUT READING THE OPERATING MANUAL
•NEVERtouchthismachinewithouttrainingandauthorisationfromyoursupervisor.
•MachineMUSTBEonsolid,levelsupport.
•ALWAYSusethethree-prongedplugprovided.
•NEVERattempttoplacefoodstuffsinthemixingbowlwhenthemixerisinoperation.
•NEVERtouchtheagitatordrivewhenthemixerison.
•KEEPhands,arms,hairandlooseclothingCLEARofallmovingparts.
•Shouldthemixerjam,SWITCHOFFANDUNPLUGbeforeremovingtheobstruction.
•SWITCHOFFANDUNPLUGthemachinefromitspowersourcebeforecleaning,
sanitisingorservicing.
•USEONLYtheattachmentsprovidedbythemanufactureranddesignedforthismachine.
YOUR SAFETY IS OUR PRIMARY CONCERN

Introduction
Overview
ThisOperationandSafetyManualhasbeenpreparedtointroduceyoutotheGrangeGRPB7Planetary
Mixer.Itexplainstheoperation,cleaningandmaintenanceofthefoodmixerinsimple,cleartermsand
withanemphasisonyoursafety.
ThroughouttheManualproceduresaresupportedbyphotographsshowingthepartsinvolvedandthe
recommendedsafemethodofhandlingthoseparts.
MakesurethatyoureadthisManualcarefullysothatyouarefamiliarwiththefeaturesandprocedures
thatareuniquetothismachine.
Conventions and Symbols used in this Manual
Toreduceconfusion,andtohighlightimportantpointsandsafetymatters,wehaveestablishedsome
standardtermsandsymbols:
•“mixer”“foodmixer”Wheneverwetalkaboutthemixer,orfoodmixer,wemeanthemixer
thatiscoveredinthisManual.
•“foodstuff”Weusetheword“foodstuff”torefertoanykindofmeatorotherfoodthatisusually
slicedinamixer.
•“bowl”“mixingbowl” Thisisthettingthatattachestotheendoftheplanetarydriveanddoes
theactualmixing.
•“beater”“aggitator”Themeatgripisthedevicethatholdsthefoodstuffinpositiononthemeattable.
Itisusuallyattachedtothemeattableandmoveswiththefoodstuffasitissliced.
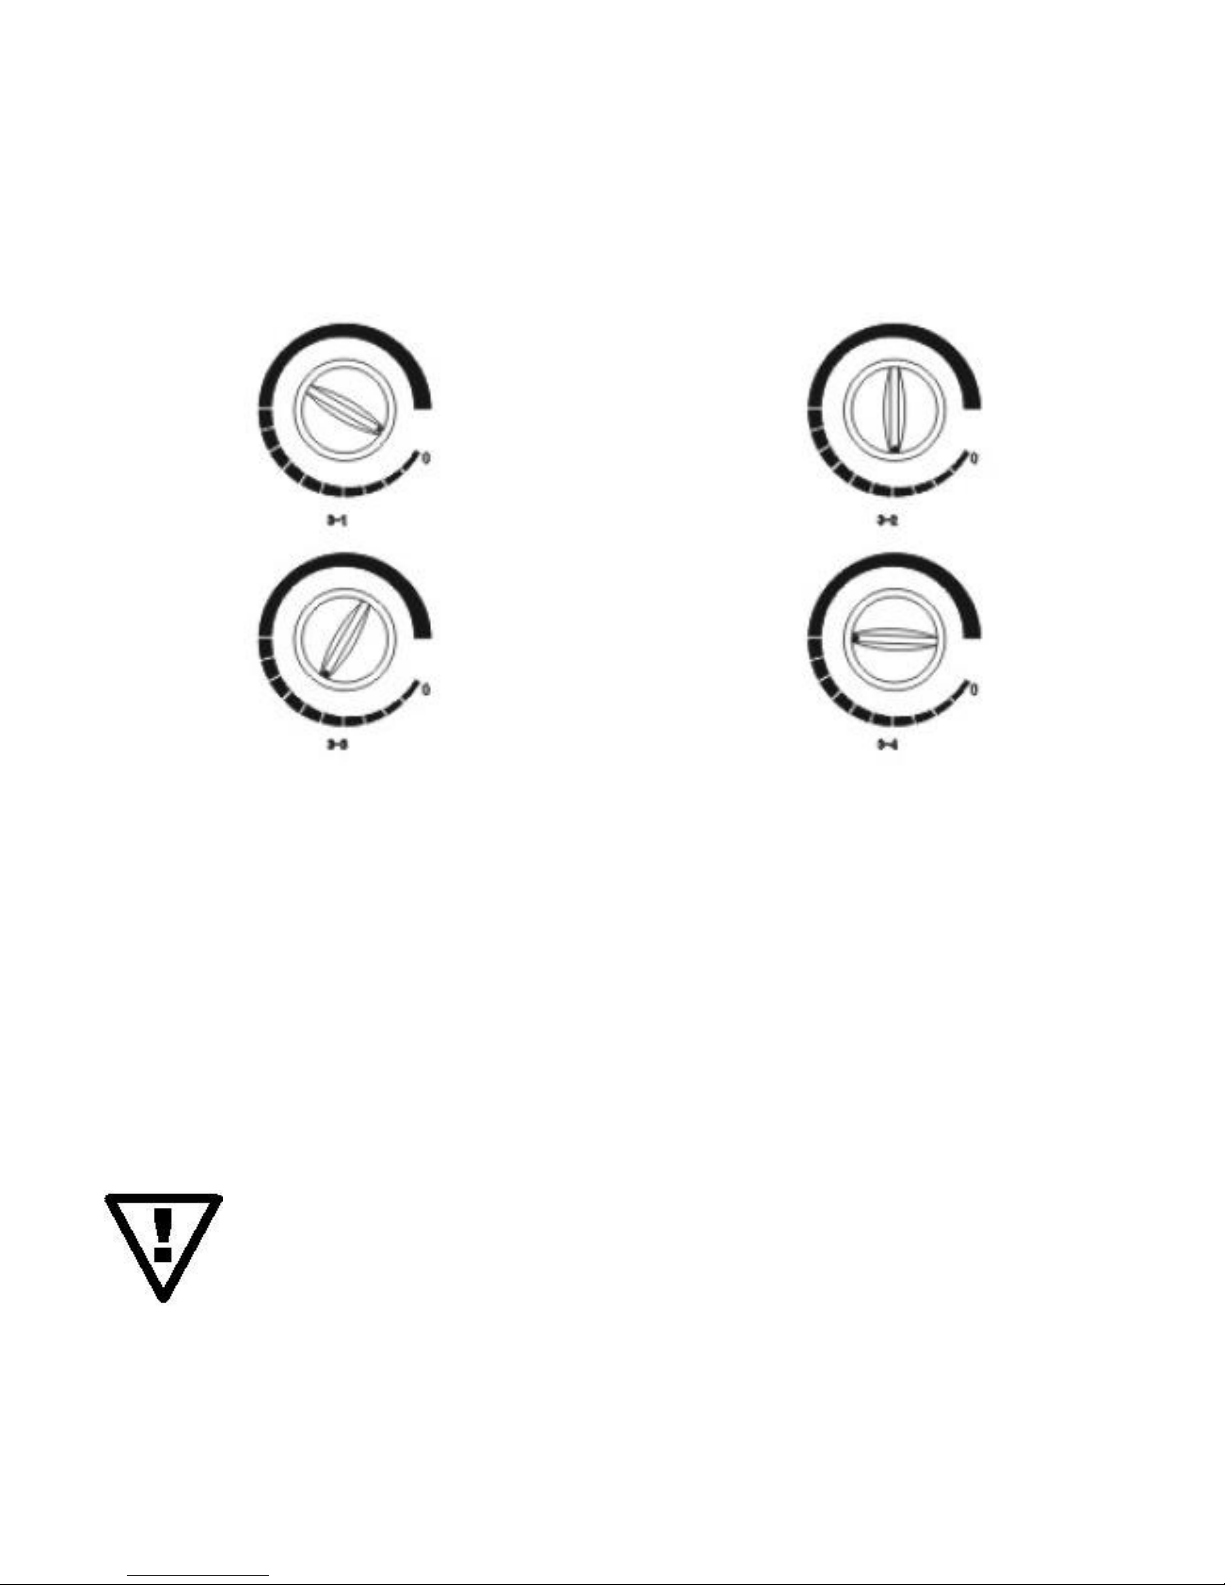
•“speedselector”Thisdeviceislocatedontherightsideofthemachine(asyoufaceit)andcontrols
thespeedoftheagitator.
•“mixerheadlift”“mixerheadlifthandle”Thisisthemechanismbywhichyouraiseandlowerthe
mixerheadintothebowl.
•TheSpecialNoteagThisisanupside-downtrianglewithanexclamationmarkinsideit.Itappears
intheleftmarginofthepage,likethis,wheneverwewanttodrawyourattentiontoanimportantpoint.
•The“NoHands”warningagThisisacirclewiththeoutlineofahandandablackbarthroughthe
hand.Itappearswhereverwewanttowarnyouthateither:youshouldn’tputyourhandsinornearapar-
ticularcomponent;orthatyoumustwearsteelmeshprotectiveglovestocarryoutaparticularprocedure.
•The“Power”warningagsTTherearetwopowerwarningags.Therst,alightningboltinsidean
upside-downtriangle,isusedwheneverwewanttoremindandwarnyouthatthemachineisconnected
tothemainspowersupply.Thesecondwarningagisacirclewiththeoutlineofalightningboltanda
blackbarthroughthebolt.Itappearstoremindyouthataparticularproceduremust
becarriedoutwiththepowertothemachineturnedoffatthepowerpointandthe
machine’spowerplugdisconnectedfromthepowerpoint.

SAFETY WARNINGS
Thisisanelectricaldevicethatusesmains(singlephase240Voltpower).
Thefollowingspecialwarningsmustbecompliedwithforyourownsafetyandthesafetyofothers.
THEREARENOUSER-SERVICEABLEELECTRICALCOMPONENTSINTHIS
MACHINE.ALLELECTRICALCOMPONENTSAREELECTRICALLYISOLATEDTO
EARTHANDARESEALEDFORYOURSAFETY.YOUMUSTNOTATTEMPTTO
TOUCHANYELECTRICALCOMPONENTSORWIRES–YOUMAYEXPOSEY
OURSELFTOTHERISKOFSERIOUSINJURYBYELECTROCUTION.
UNLESSOTHERWISEINDICATED,ANYCLEANINGORMAINTENANCE
PROCEDUREMUSTBEPERFORMEDWITHTHEPOWERTOTHEMACHINE
SWITCHEDOFFANDTHEMACHINE’SPOWERCORDDISCONNECTEDFROM
THEPOWERPOINT.FAILURETOTURNOFFANDDISCONNECTPOWERMAY
RESULTINSERIOUSINJURYCAUSEDBYTHEMACHINEBEINGACCIDENTLY
TURNEDONDURINGCLEANINGORMAINTENANCE.
TheGrangePlanetaryBenchMixer
TheGrangeGRPB7PlanetaryMixerhasbeendesignedforstrongperformanceandlonglife.
Simpleoperation,largebowldesignandfastagitatorchangesmaketheGRPB7mixeroneofthe
mostfunctionalmixersonthemarket.
•manufacturedinstainlesssteelandanodisedaluminiumtoresistoxidisationandcorrosion;
•constructedforeasycleaning;
•gearedbowlcarriageandliftforeasyloadingandunloading;
•Constant-torqueandinnitevariablespeedtechnologieshavebeenusedinthismixerto
suiteverymixingjob;
•overloadprotectioninstallation;
•forcedventilationtomotortopreventoverheating;allbearingsareself-lubricatingandsealed-for-life;
•agitatordriveisgear-drivenandgearsarecontainedinasealedtransmissioncasing;safetycut-out
switchesforbowlandmixerheadlift.

ComponentsofthePlanetaryMixer
Thefollowingpictureillustratesthemaincomponentsofthemixer–
a.Headofmixer
b.Interception
c.MixingAxle
d.Agitator
e.MixerHeadHandle
f.MixingBowl
g.Speedadjustingbutton
h.Switch
i.Baseplane
Installingthemixer
Positioningtheslicer
Nomatterwhereyouputthemixer,youmustallowatleastasmuchspaceastheoveralldimensions
indicate.Allowinganadditionalminimumof30cmeithersideofthemixerwillmakeaccessforcleaning
andmaintenanceeasier.
Makesurethatthesurfacethatyouintendplacingthemixeronissolid,at,level,dryandsmooth.
Althoughitispossibletooor-mountthemixer,ideallythemountingsurfaceshouldbebetween40cm
and50cmhighforoperatorcomfort.
Electricalconnections
Themixerconnectstoasinglephase240Voltspowersupplyusingthepowercordsupplied.
Simplyconnecttheplugontheendofthepowercordtothepowerpoint.
Cleaningandfunctioncheck
Beforeyouusethemixer,werecommendthatyouwipedownallexposedsurfaceswithasoftcloththat
hasbeenplacedincleanwarmwaterandlightdetergentandsqueezeddry.Thiswillremoveanytracesof
machineoil,dirtorgritpickedupduringmanufactureorstorage.
Beforeyouwipedownthemachine,makesurethatthepoweristurnedoffatthewall
socket/powerpoint.
Oncethemixeriscleanyoucancheckthatitisfunctioningcorrectly.
1.Switchonpowertothemachinefromthewallsocket/powerpoint.
2.Makesurethatthemixeristurnedoffatthepowerswitchonthesideofthemachine.
3.Checkthatthemixerheadlifthandlemoveseasilyandthatitdoesn’tsticks
atanypointalongitstravel.

1. 2.
3. 4.
4.Selectthespeedsettingonthespeedselector.
(Seediagramandinstructionsbelowshowingthespeedselectorpositions)
5.Turnthemixeronusingthepowerswitchonthesideofthemachine.
Immediatelytheagitatordrivewillspininananti-clockwisedirection.
6.Turnthemixeroffatthepowerswitch.
Speedselectorposition
•Setthespeedbuttonto“O”position(Drawing1above)andconnecttheelectronicpower.
Theindicatorlightwillbeon.
•Startthemachinebyturningthespeedbuttoninaclockwisedirectionandturnthebuttonto
adjustthespeedaccordingtothepropertyofmixingmaterialyouaremixing.Thespeedwill
increaseasyouturnthebuttonfromrighttoleft.
•Whenthespeedbuttonisturnedtopointstraightdown(Drawing2),themixerisatlowspeed
andthisistherecommendspeedfordoughmixing.
•Whenthespeedbuttonisturnedtopointdownleft(Drawing3),themixerisinthemiddle
speedandthisitisgoodformixingmincedproducts.
•Whenthespeedbuttonisturnedtopointleft(Drawing4),themixerisathighspeed.
•THISMIXERHASINFINITEVARIABLESPEEDSSOTHEUSERCANCHOOSETHEBEST
SPEEDFORTHEIRJOB.
•ROTARYDIRECTION:THEROTARYDIRECTIONOFMAINSHAFTISCLOCKWISEANDTHE
ROTARYDIRECTIONOFTHEMIXINGSHAFTISANTICLOCKWISE.
•DON’TOPERATETHEMACHINEFOROVER10MINUTESEACHTIME.
•THEMAXIMUMWEIGHTOFTHEINGREDIENTSSHOULDNOTEXCEEDS500G.
•WHENMIXINGFLOUR,ITISRECOMMENDEDYOUSHOULDONLYUSETHEMIXERATLOW
SPEED.FORALLOTHERTYPESOFINGREDIENTSYOUSHOULDADJUSTTHESPEEDAC-
CORDINGTOYOURNEEDS.

Operatingthemixer
Thingstokeepinmind
1.Alwaysdouble-checkthattheagitatorhasfullyengagedthelocatingpinontheagitator
driveshaftBEFOREswitchingonthemachine.
2.Alwaysmatchthemixingspeedtothefoodstuffbeingmixed.Thegeneralrule-of-thumbisthat
theheavieranddensertheingredients,theslowerthemixingspeed.
3.Itisusuallyeasier,andsafer,tollthemixingbowlatthemachine.
Standardoperation
1.Fillthemixingbowlwiththerequiredingredients.
2.Selectandtthecorrectagitatorforthejob.
3.Raisethemixerheadbyusingthemixerheadlifthandle.
4.Placeingredientsintobowlandthenlowerthemixerhead.
5.Selecttheappropriatemixingspeedusingthespeedselector.
6.Turnthemachineonusingthepowerswitch.
7.Whenmixingiscompleted,switchoffthepoweratthepowerswitch,liftthe
mixerheadandeitherremovethebowlorremovethemixedcontentsofthebowl.
Changingorttinganagitator
1.Makesurethatthemachineisswitchedoff.
2.Grasptheagitatorrmlyandturnitclockwisetodisengagethetoolfromthelocatingpinontheagitator
driveshaft.Drawtheagitatordownthedriveshaft.Ifnoagitatoristted,gotoStep3.
3.Slidetheselectedagitatorontothedriveshaft,liningupthechannelonthetopoftheagitatorshankwith
thelocatingpinonthedriveshaft.
4.Continuetoslidetheagitatorupthedriveshaftuntilthelocatorpinreachesthebaseofthe“L”-shaped
slotintheshank.Turntheagitatoranti-clockwisetolockthetoolontotheshaft.
Sometimesthespacebetweenbottomofmixingagitatorandbowlistoocloseandsometimesitistoowide
soadjustingtheheightofmixingagitatorisnecessary.
Toadjusttheheightofthemixingagitatorpleasefollowthebelowdirectors–
A.Shutoffpowerrst,
B.Useaspannertoreleasethenutofthe
mixingagitator,
C.Adjustthespacetoensuretheagitatorsits
intothebowlatthecorrectposition.
D.Tightenupthenut.

Cleaningthemixer
Thissectiondealswithcleaningyourmixer.
Werecommendthat,beforecleaningormaintenancetasksareundertaken,themachineoperator(s)receive
sometrainingfromtheirsupervisor,preferablyduringtheinstallationphase.
Beforecarryingoutcleaningormaintenancetasks,itisimportantthatpowertothemixer
isdisconnectedatthepowerpoint.
GeneralCleaning
Themixerhasbeendesignedandbuiltforefcientandspeedycleaningtoensurehygienicoperation.
Beforeusingthemixer
1.Beforethemixerisswitchedonforthersttimeeachday,quicklywipeoverallexposed
surfaceswithacloththathasbeenplacedinwarmwaterandsqueezeddry.
Thisremovesanydustorothermatterthatmayhavebeendepositedovernight.
2.Beforethestartofeachmixingoperation,andwiththemixerswitchedoffatthepower
switchonthesideofthemachine,wipeouttheinsideofthemixingbowl,theagitator
andtheagitatordrivetoremoveanyresidualmaterialleftfromthelastmixingoperation.
Aftereachmixingjob
1.Removethebowlandagitatorandwashthoroughlyinwarmwaterandmilddetergent.
2.Wipedownexposedportionsofthemachinewithacloththathasbeenplacedinwarm
waterandmilddetergentandsqueezeddry.Besuretocleanoffanyfoodstuffthatis
stucktothemachine
Attheendoftheday
1.Afterthemixerhasbeenusedforthelasttime,turnthemachineoffatthepowerswitchand
atthepowerpoint,anddisconnectthepowercord.
2.Turnthemixerheadlifthandletoliftthemixerheadtoitssecuredopenposition.
Ifthebowlisstillinplace,removeitandsetitasideforcleaning.
3.Removetheagitatorfromtheagitatordrive.Setitasideforcleaning.
4.Withacloththathasbeenplacedinwarmwaterandmilddetergentandsqueezed
dry,wipedownallvisiblesurfaces.
5.Placethebowlandagitatorsinwarmwaterandmilddetergentandwashthoroughly.
How frequently the mixer is cleaned will depend on how heavily the machine is used. However, we
recommend that you adopt a cleaning schedule daily as a MINIMUM requirement to maintain hygiene.

Maintenance
Thissectiondealswithroutinemaintenanceandtroubleshootingforyourmixer.
Werecommendthat,beforecleaningormaintenancetasksareundertaken,themachineoperator(s)
receivesometrainingfromtheirsupervisor,preferablyduringtheinstallationphase.
Beforecarryingoutcleaningormaintenancetasks,itisimportantthatpowertothe
mixerisdisconnectedatthepowerpoint.
RoutineMaintenance
Therobustdesignofthemixermeansthatthereisverylittlerequiredinthewayofroutinemaintenance.
Generally,theonlymaintenancerequirediscleaning(discussedintheprevioussection).
Cleaning
Normalcleaning,asspeciedintheprevioussectionisallthatisrequiredtomaintaintheexternal
surfacesofthemixer.
Werecommendthatyoucleanthemachinepriortoanyothermaintenanceoperationsothatall
surfacesarefreeofdirtandgrease.Thismakesthemachineeasierandsafertohandle.

value
•
quality
•
service
New South Wales
and Victoria
ReliableFoodEquipment
0296204944
Queensland
ChopologyFoodEquipment
0418194597
South Australia
GaPSolutions
0884088150
Tasmania
QualityEquipment
0362348300
quality[email protected]
Western Australia
MBLFoodServices
0893349600
‘more than service –
it’s customer satisfaction’
Table of contents
Other GRANGE equipment Mixer manuals
Popular Mixer manuals by other brands

Herdsking
Herdsking SM-2019BG instruction manual

Avantco Equipment
Avantco Equipment 177MIX8GY user manual

SEMAK
SEMAK VITASHAKE VSAR Series Operation and warranty booklet

Anvil Alto
Anvil Alto PMA1010 owner's manual

Ferplast
Ferplast KIT CO2ENERGY PROFESSIONAL user manual

Makita
Makita UT 1600 Original instructions