6
Binding and Range Test
Routing the receiver’s antenna
The receiver and the antennas must be positioned as far away as
possible from any drive components. If the model’s hull is made
of carbon ber material, the ends of the antennas should always
extend outside of the hull.
The orientation of antennas is not critical. Nevertheless, a vertical
(upright) installation of the receiver’s antenna(s) is advantageous.
Range test
Perform checks for proper operation and range before any use. Secure the model adequately
in place and ensure that no one is in front of the model. Perform a complete functional test on
the ground and execute a complete simulated ight to rule out the possibility of system faults or
problems with the model’s programming.
You must refer to the instructions in the manual of the transmitter. Do not operate your model, ie
when ying or driving, without transmitter or receiver antenna. Ensure a tight t of the antenna.
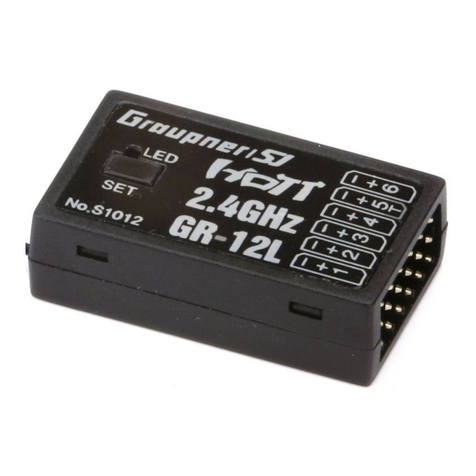
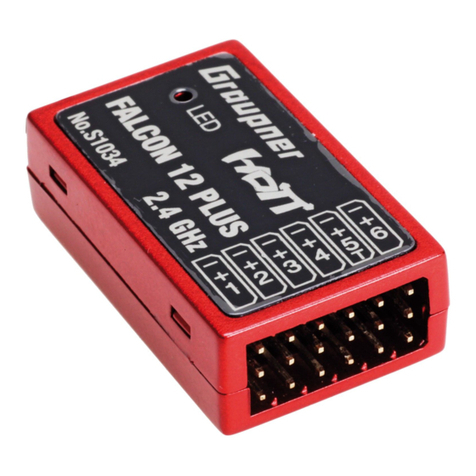
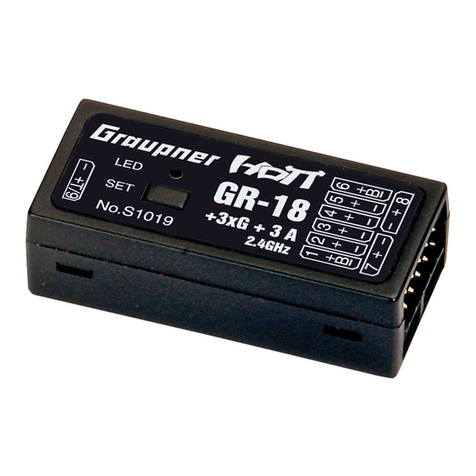
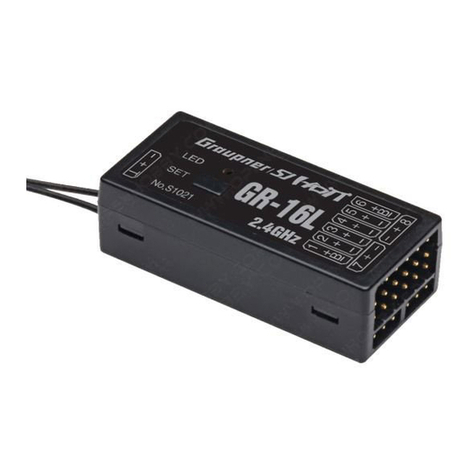
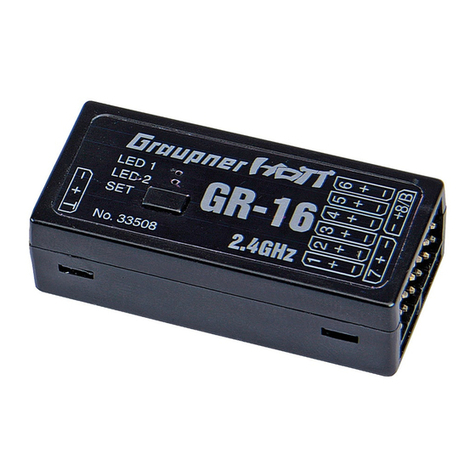
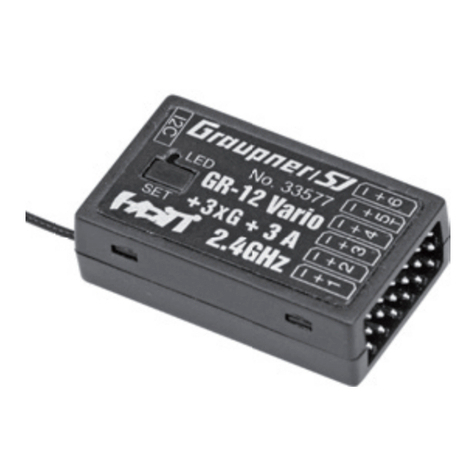
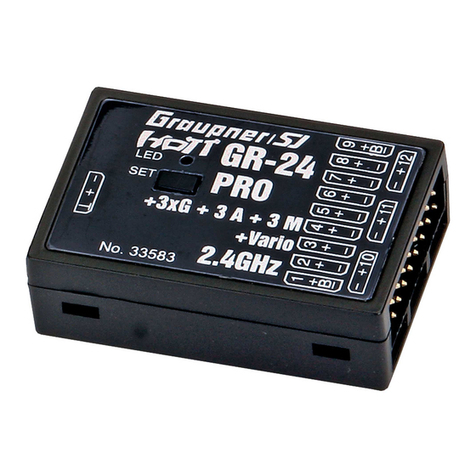
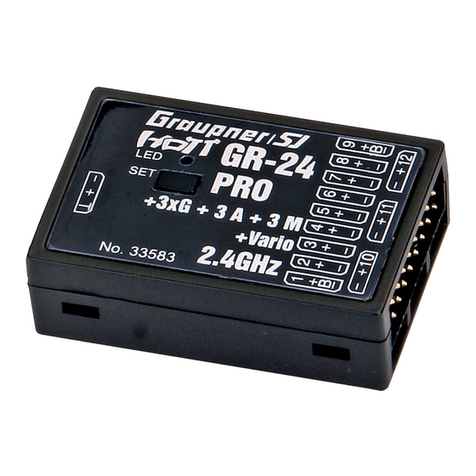
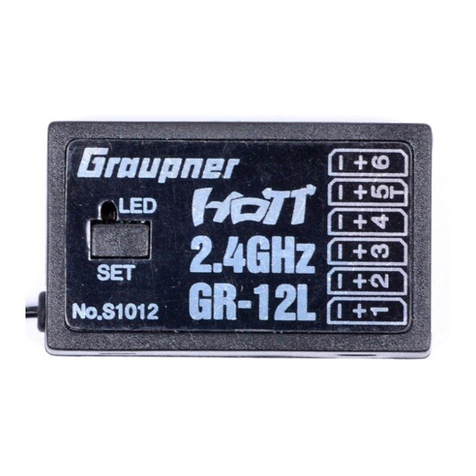
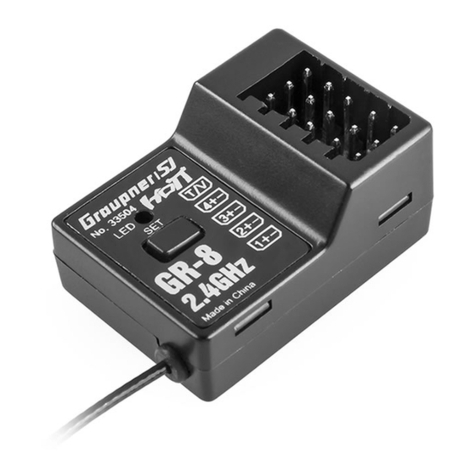
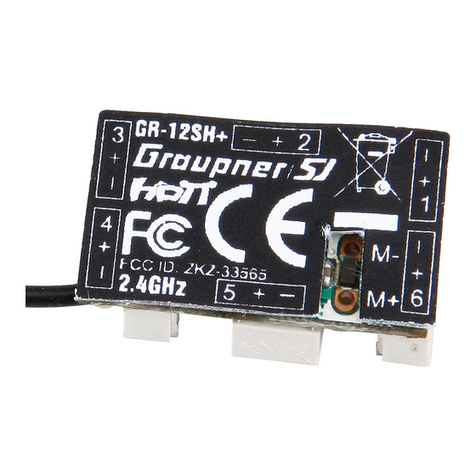
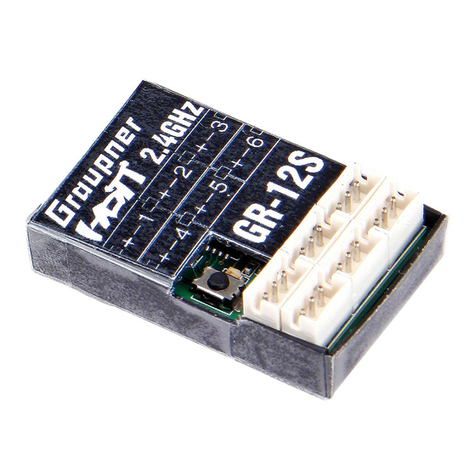
Binding (Set) button
Status LED
Binding
Before any Graupner HoTT receiver can be used, it must rst be “bound” to “its” Graupner HoTT
transmitter to create a link, or connection; this procedure is known as “binding”. However, binding
is only necessary once for each combination of receiver / transmitter, and the process has already
been carried out at the factory for the devices included in the set. This means that you only need
to carry out the binding procedure if you purchase additional receivers (you can also repeat the
procedure at any time, such as when you switch to a new transmitter). If and when you need to
carry it out, this is the procedure:
Switch the receiver on, and switch it to Bind mode by holding the Binding button pressed in for
three seconds: the green and red LEDs on the receiver now ash.
At the transmitter, select Binding in the “RF SET” menu by pressing the Enter button in the “Recei-
ver” line. After about ten seconds the red receiver LED should go out; the green LED now lights up
constantly to indicate that binding has been successful.
Your combination of transmitter and receiver is now ready to use.
However, if the red LED continues to show, then the binding procedure has failed. If this should
happen, please repeat the whole procedure.
