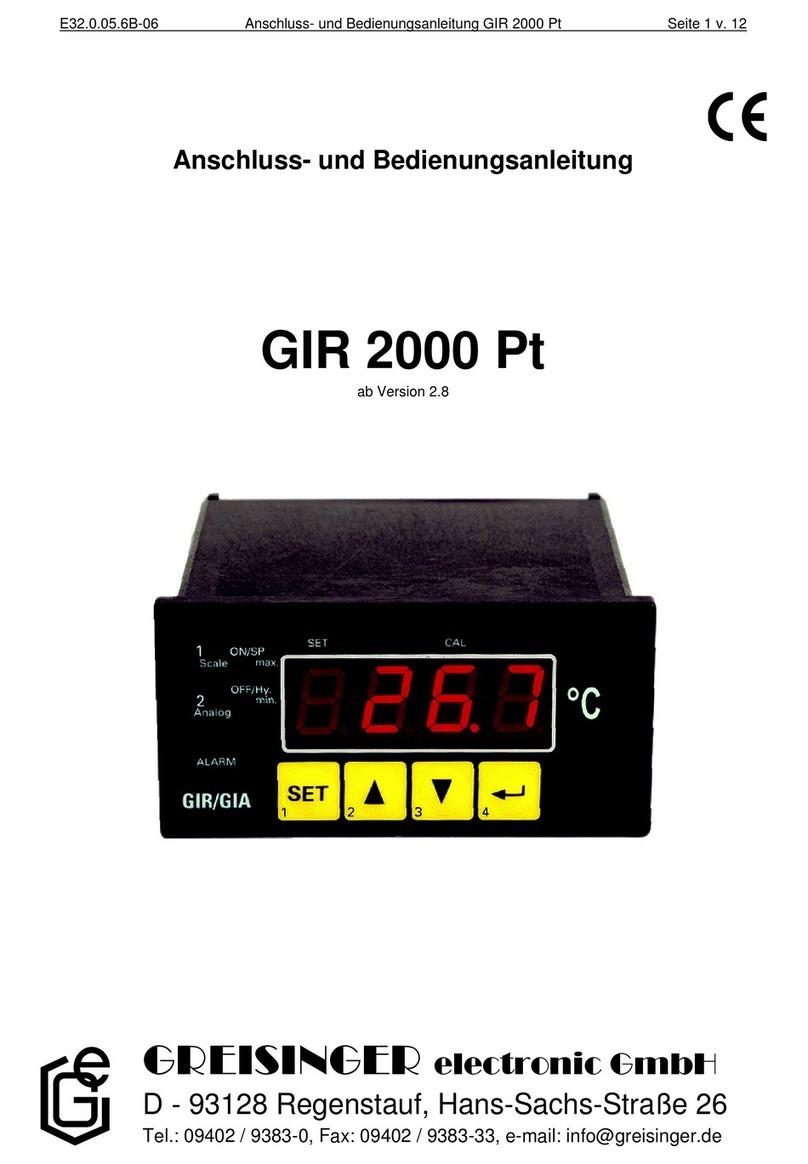
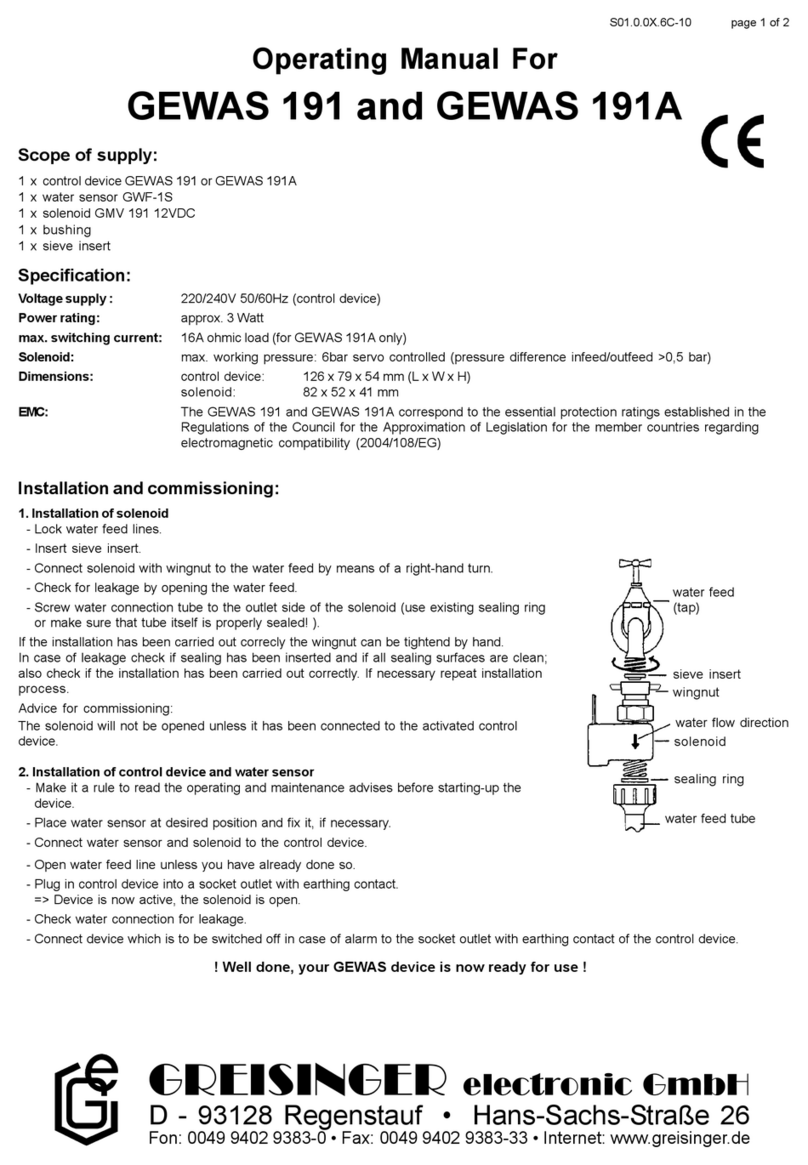
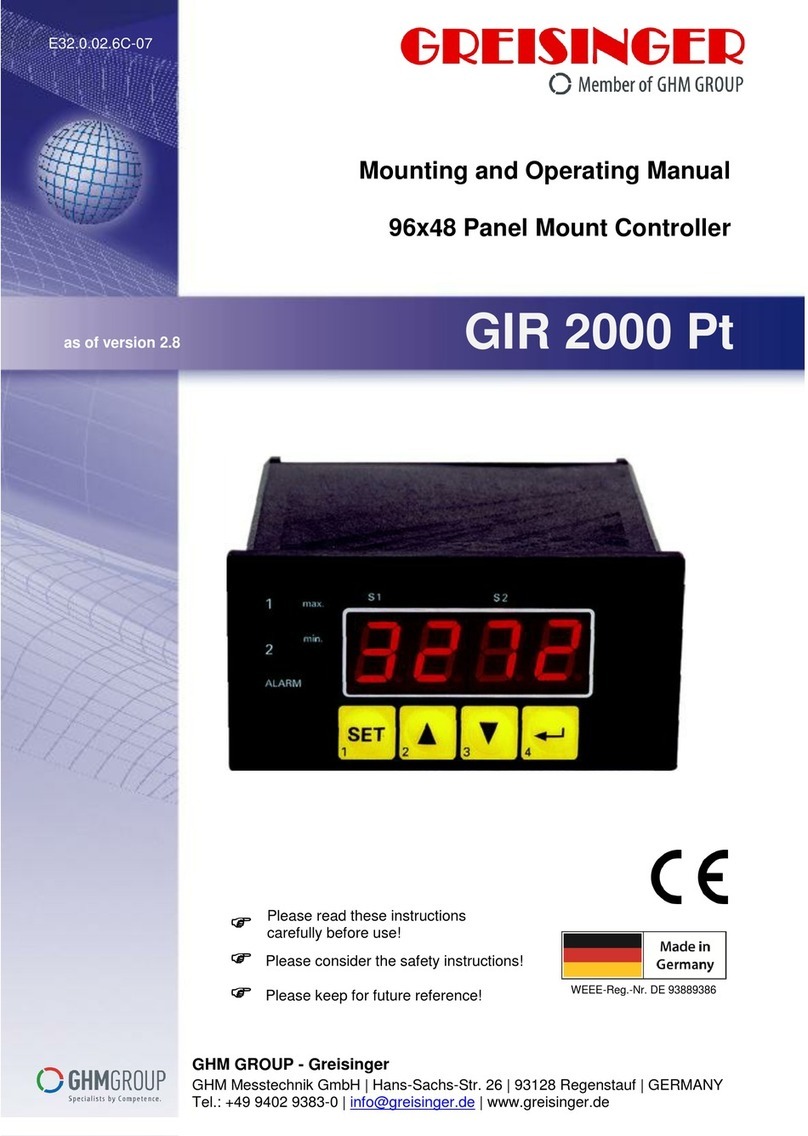
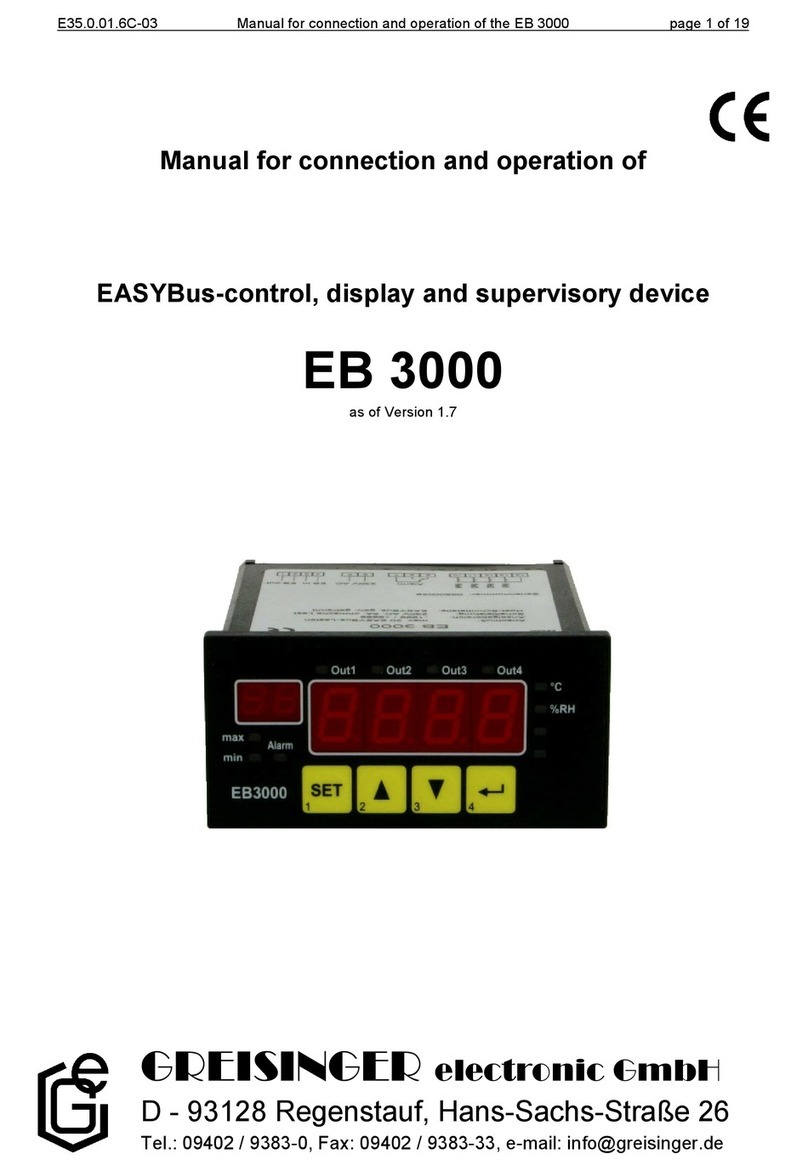
GREISINGER GRA 0420 VO User manual

E30.0.0X.6C-11 Operating Manual GRA0420VO / GRA010VO page 1 of 12
Manual for connection and operating of
GRA 0420 VO
GRA 010 VO
as of version 1.2
GREISINGER electronic GmbH
D - 93128 Regenstauf, Hans-Sachs-Straße 26
WEEE-Reg.-Nr. DE93889386

E30.0.0X.6C-11 Operating Manual GRA0420VO / GRA010VO page 2 of 12
Taste2
Taste1
Taste3
INDEX
1 INTRODUCTION ....................................................................................................................................................2
2 SAFETY REGULATIONS......................................................................................................................................3
3 ELECTRIC CONNECTION...................................................................................................................................4
3.1 Adjustment of the GRA 0420 VO / GRA 010 VO-connections:........................................................................4
3.2 Connection example: ..........................................................................................................................................5
3.2.1 GRA0420VO: switching of a relay...........................................................................................................5
3.2.2 GRA010VO: switching of a relay.............................................................................................................5
4 CONFIGURATION: (DISPLAY ADJUSTMENT TO THE TRANSMITTER)................................................6
4.1 Configuration of the input signal ........................................................................................................................6
4.2 Selection of the output function..........................................................................................................................7
5 SWITCHING POINTS / ALARM-BOUNDARIES: .............................................................................................8
5.1 2-point-controller................................................................................................................................................8
5.2 Min-/Max-Alarm ................................................................................................................................................9
6 OFFSET- AND SLOPE-ADJUSTMENT.............................................................................................................10
7 MIN-/MAX-VALUE STORAGE ..........................................................................................................................10
8 ERROR CODES:....................................................................................................................................................11
9 SPECIFICATION...................................................................................................................................................12
10 DISPOSAL INSTRUCTIONS...............................................................................................................................12
1 Introduction
The GRA0420VO and GRA010VO is a microprocessor controlled displaying, monitoring and controlling de-
vice.
In according to his type the device is supporting an input for:
- standard signal 4 20 mA (GRA0420VO)
- standard signal 0 10 V (GRA010VO)
The device features one switching output (npn-output), which
can be configured as 2-point-controller or min./max. alarm out-
put.
The state of the switching output is displayed with the LED left
beneath the LED-display.
When leaving our factory the GRA...VO has been subjected to
various inspection tests and is completely calibrated.
Before the GRA...VO can be used, it has to be configured for the customer’s applica-
tion.

E30.0.0X.6C-11 Operating Manual GRA0420VO / GRA010VO page 3 of 12
2 Safety regulations
This device was designed and tested considering the Safety regulations for electronic measuring devices.
Faultless operation and reliability in operation of the measuring device can only be assured if the General
Safety Measures and the devices specific safety regulation mentioned in this users manual are considered.
1. Faultless operation and reliability in operation of the measuring device can only be assured if the device
2. Always disconnect the device from its supply before opening it. Take care that nobody can touch any of
3. Standard regulations for operation and safety for electrical, light and heavy current equipment have to be
observed, with particular attention paid to the national safety regulations (e.g. VDE 0100).
4. When connecting the device to other devices (e.g. the PC) the interconnection has to be designed most
thoroughly, as internal connections in third-party devices (e.g. connection of ground with protective earth)
may lead to undesired voltage potentials.
5. The device must be switched off and must be marked against using again, in case of obvious malfunc-
tions of the device which are e.g.:
- visible damage
- no prescripted working of the device
- storing the device under inappropriate conditions for longer time
When not sure, the device should be sent to the manufacturer for repairing or servicing.
Attention: When running electric devices, parts of them will always be electrically live.
Unless the warnings are observed serious personal injuries or damage to property
may result. Skilled personnel only should be allowed to work with this device. For trou-
ble-free and safe operation of the device please ensure professional transport, stor-
age, installation and connection as well as proper operation and maintenance.
Skilled personnel
are persons familiar with installation, connection, commissioning and operation of the product and have pro-
fessional qualification relating to their job.
For example:
Training or instruction resp. qualifications to switch on or off, isolate, ground and mark electric circuits and
devices or systems.
Training or instruction according to the state.
First-aid training.
ATTENTION:
Do NOT use this product as safety or emergency stopping device, or in any other applica-
tion where failure of the product could result in personal injury or material damage.
Failure to comply with these instructions could result in death or serious injury and mate-
rial damage.

E30.0.0X.6C-11 Operating Manual GRA0420VO / GRA010VO page 4 of 12
3 Electric connection
To connect the GRA...VO it is simply plugged into an existing transmitter by means of a special adapter for
the cubic plug according to DIN 43650.
Supply voltage: GRA 0420 VO device takes power directly from measuring current
GRA 010 VO 12 ... 28 V or according device declaration
Electric connection and commissioning of the device must be carried out by trained and skilled personnel.
Wrong connection may lead to the destruction of the device, in which case we cannot assume any warranty.
! Mind for the GRA0420VO... the maximum input current rating of 40mA under any circumstances!
3.1 Adjustment of the GRA 0420 VO / GRA 010 VO-connections:
The assignment of the angle-type plug is designed for the most commonly used assignments of the respec-
tive input signals. As this is not a standardised assignment, your transmitter assignment may not correspond
to the GRA 0420 VO... respective GRA 010 VO... assignment.
Standard assignment of the angle-type plug:
contact
number
wire
colour
Device design
GRA 0420 VO
GRA 010 VO
pin
jack
pin
jack
1
blue
GRA.. +
GRA.. -
fed through, signal +
2
red
fed through
switching output
n.c.
3
black
switching output +
n.c.
fed through, power supply +
4 ( )
yellow
switching output -
n.c.
fed through, GND / signal -
n.c. = non connected
GRA 0420 VO: input signal = 4-20mA
In the angle-type plug the male contact 2 is directly
connected 1:1 with the socket. The GRA 0420 VO is
located between the male contact 1 (+) and the jack
contact 1 (-). The male contacts 3 and 4 are used for
the switching output.
If the 'Signal/GND'-line in your transmitter is not as-
signed to contact 2 and if the '-Ub'-line is not assigned
to contact 1, please do not forget to adjust the GRA..-
angle-type plug and the external angle-type plug ac-
cordingly: To do so open the GRA..-angle-type plug
exchange the wire of contact 1 and contact 2 against
the wire of the contact representing the connection in
your transmitter. Then exchange and rewire the two
contacts in the angle-type plug of your connecting
cable.
General instruction for change of the angle-type plug assignment:
Remove the coupling insert by means of a screw driver at the position indicated (arrow).
Change the assignment according the notes of the respective input signal.
Latch coupling insert in cover. You have a choice between 4 different orientations each of them spaced 90°.
Put on angel-type plug and connect plugs using the long screw delivered (do not forget seals).
GRA 010 VO: input signal = 0-10V
In the angle-type plug the male contacts 1, 3 and 4
are directly connected 1:1 with the socket.
The GRA010VO connection is on contact 1 (sig-
nal+), contact 3 (power supply +) and contact 4
(GND/signal-).
The male contact 2 is used for the switching output
If your transmitter assignments for 'Power supply+',
'signal +' and 'GND/signal-' are different, please do
not forget to adjust the angle-type plug accordingly.
To do so open the GRA..-angle-type plug (refer to
e-
move the wires (blue, black and yellow) entering
the housing from the coupling of the angle-type
plug. Connect wires with the respective contacts,
representing signal + (blue wire), power supply +
(black wire) and GND/signal- (yellow wire).
Then exchange and rewire the contacts in the an-
gle-type plug of your connection cable.
male contacts
+
_
1
2
3
4
1
2
3
4
plug

E30.0.0X.6C-11 Operating Manual GRA0420VO / GRA010VO page 5 of 12
3.2 Connection example:
Please take care that you must not exceed the limits of the voltage and of the maximum current
of the switching outputs (not even for a short period of time). Please take extreme care when
switching inductive loads (like coils or relays, etc.) because of their high voltage peaks, protec-
tive measures to limit these peaks have to be taken.
When switching large capacitive loads a series resistor for current limitation needed, because of
the high turn-on-current of high capacitive loads. The same applies to incandescent lamps,
whose turn-on-current is also quite high due to their low cold resistance.
3.2.1 GRA0420VO: switching of a relay
combined power supply for separate power supply for
measurement section and output section measurement section and output section
3.2.2 GRA010VO: switching of a relay
1 2 3 4
1 2 3 4
GRA 0420 VO
transmitter
-Ub
+Ub
additional
display
o. controller
power supply
+ -
1 2 3 4
1 2 3 4
GRA 0420 VO
transmitter
-Ub
+Ub
additional
display
o. controller
power supply
+ -
+Ub
-Ubpower supplyl
1 2 3 4
1 2 3 4
GRA 010 VO
transmitter
-Ub
+Ub
additionl
display
o. controller
power supply
Sig. +Ub -Ub

E30.0.0X.6C-11 Operating Manual GRA0420VO / GRA010VO page 6 of 12
button2
button1
button3
4 Configuration: (display adjustment to the transmitter)
Please note: The storage of a configuration value will be done by switching to the next configuration value
(via button 1).
When configuration is active and no button is pressed for more than 60 seconds the configu-
ration will be cancelled. Stored changes will not be lost!
Hint: The buttons 2 and 3 are featured with a ‘roll-function‘. When pressing the button once the value will be raised
(button 2) by one or lowered (button 3) by one.
When holding the button pressed for longer than 1 second the value starts counting up or down, the counting
speed will be raised after a short period of time.
4.1 Configuration of the input signal
- Turn the device on and wait until it completed its built-in
segment test.
- Press button 2 for 1 second
dP
- Select the desired decimal point place by pressing button 2
respective button 3.
- Validate the selected value by pressing button 1. The displadP
- di.Lo= low display value).
- Use button 2 and button 3 to select the desired value the device should display when a 4mA resp. 0V
input signal is attached.
- Validate the seledi.Lo
- di.Hi= high display value).
- Use button 2 and button 3 to select the desired value the device should display when a 20mA resp. 10V
input signal is attached.
- di.Hi
- Li= Measuring range limit).
- Use button 2 and button 3 to select the desired measuring range limit.
Display
Measuring range limit
Notes
off
Deactivated
Exceeding of the measuring range limit is tolerable as of
the measuring limit (p.r.t. hint).
on.Er
(on error)
Active, (displays error)
The meas. range limit is exactly bounded by the input sig-
nal. When exceeding or shortfalling the input signal an
error message will be displayed.
on.rG
(on range)
Active, (displays the
selected limit)
The meas. range limit is exactly bounded by the input sig-
nal. When exceeding or shortfalling the input signal the
device will display the selected lower/upper display value.
[e.g. humidity: when shortfalling or exceeding, the device
will display 0% or 100%]
Hint: When exceeding the measuring limit independently from the setting, the device will always display an error
message (“Err.1“ or “Err.2“).
The measuring limit are by 3.7 and 20.8 mA respective. 10.5 V (a falling bellow 0V will not detected)
- Li
- When pressing button 1 again, the FiLt
- Use button 2 and button 3 to select the desired filter behaviour
0 = filter deactivated
1 = filter stage 1: suppresses jumping display values caused be smallest changes
2 = filter stage 2: additional suppression of measuring peaks (causes delayed reaction of switching
output)
- FiLt
The configuration of the device to the input signal is now completed. You now have to configure the output of
the device.

E30.0.0X.6C-11 Operating Manual GRA0420VO / GRA010VO page 7 of 12
4.2 Selection of the output function
- outP
- Use button 2 and button 3 (middle or right button) to select the desired output-function.
Description
to select
as output
Output
(out)
see
chapter
no output, device is used as display
no
off
--
2-point-controller
2P
switching function
5.1
3-point-controller
AL
min-/max-alarm,
inverse
5.2
- outP
For output function = no the configuration is now finished. Press button 1 to finish the adjustment and to
switch over to display the measuring value.
If the output function was changed here, the delay and preferred state of switching function and the switching
points / alarm-boundaries are to configured in following.
The settings described in the following depend on the output function. Depending on this setting therefore it
is possible that more than one point are present in the following.
- When pressing button 1 again, the 1.dEL(delay = delay of switching function).
- Use button 2 and button 3 to set the desired value for the switching-delay.
Hint: the selected value [0.01 ... 2.00] accords the switching delay in seconds.
- Press button 1 to validat1.dEL
- 1.Errerror = preferred state of switching function).
- Use button 2 and button 3 to set the desired initial state in case of an error.
Display
Preferred state of the output
Note
off
Inactive in case of an error
on
Active in case of an error
- 1.Err
The configuration of the output function is now completed. Depending on the selected output function you
-
Hint: The settings for the switching and alarm points can be made later in an extra menu (see chapter 5)

E30.0.0X.6C-11 Operating Manual GRA0420VO / GRA010VO page 8 of 12
button2
button1
button3
5 Switching points / alarm-boundaries:
Please note: The storage of a configuration value will be done by switching to the next configuration value
(via button 1).
When configuration is active and no button is pressed for more than 60 seconds the configu-
ration will be cancelled. Stored changes will not be lost!
Hint: The buttons 2 and 3 are featured with a ‘roll-function‘. When pressing the button once the value will be raised
(button 2) by one or lowered (button 3) by one.
When holding the button pressed for longer than 1 second the
value starts counting up or down, the counting speed will be
raised after a short period of time.
- When pressing button 1 for >2 seconds the menu to select the
switching points and alarm-boundaries will be called.
-
menu you will get different display values. Please follow the
specific chapter for further information.
Description
to select
as output
Output
(out)
see
chapter
no output, device is used as display
no
off
--
2-point-controller
2P
switching func-
tion
5.1
3-point-controller
AL
min-/max-alarm,
inverse
5.2
5.1 2-point-controller
This chapter describes how to configure the switching points as use the device for a 2-point-controller.
2P
- Press button 1 (when not already done).
1.on-on-point)
- turning on.
- 1.on
- 1.off-off-point)
- e turning off.
- 1.off
Example: You want to control the temperature of a heating coil, with a hysteresis of +2°C, to 120°C. Therefor
you will have to select the turn-on-point “1.on“ to 120°C and the turn-off-point to “122°C“. When your
heating coil temperature falls below 120°C it will be turned on. When the temperature rises above
122°C the heating coil will be turned off.
Note: Depending on the inertia of your heating coil an overshooting of the temperature may be possible.
Now you finished configuring the switching point adjustment of your device. Press button 1 to finish the ad-
justment and to switch over to display the measuring value

E30.0.0X.6C-11 Operating Manual GRA0420VO / GRA010VO page 9 of 12
5.2 Min-/Max-Alarm
This chapter describes how t-/max-alarm-monitoring.
AL
- Press button 1 (when not already done) , the device will displaAL.Hi-value)
- Use button 2 and button 3 to set the desired value, the device should turn on its maximum-alarm.
- AL.Hi
- When pressing button 1 again, the device wilAL.Lo-value)
- Use button 2 and button 3 to set the desired value, the device should turn on its minimum-alarm
- AL.Lo
- When pressing button 1 again, the devA.dEL-function)
- Use button 2 and button 3 to set the desired delay of the alarm-function.
Note: the selected value [0 ... 9999] accords the alarm delay in seconds.
The device will turn on the alarm after minimum or maximum alarm value was active for the
delay-time you have set.
- A.dEL
Example: You want to have a temperature alarm-monitoring of a greenhouse. The alarm should start when
the temperature rises above 50°C or falls below 15°C.
Therefore your settings will be 50°C for the maximum alarm-value “AL.HI“ and 15°C for the mini-
mum alarm-value “AL.Lo“.
The alarm will be starting after the temperature rises above 50°C and stays above 50°C for the
entered delay time or after it had been falling below 15°C and stays below 15°C for the entered
delay time.
Please note that the alarm-outputs are inverted! This means, that the output will be active when there is no
alarm!
Now you finished configuring the alarm adjustment of your device. Press button 1 to finish the adjustment
and to switch over to display the measuring value.

E30.0.0X.6C-11 Operating Manual GRA0420VO / GRA010VO page 10 of 12
Taste2
Taste1
Taste3
6 Offset- and slope-adjustment
The offset and slope-adjustment function can be used for compensating the tolerance of the used sensor,
resp. for vernier adjustment of the used transducer / transmitter.
Please note: The storage of a configuration value will be occur by switching to the next configuration value
(via button 1).
When configuration is active and no button is pressed for more than 60 seconds the configu-
ration will be cancelled. Stored changes will not be lost!
Hint: The buttons 2 and 3 are featured with a ‘roll-function‘. When
pressing the button once the value will be raised (button 2) by
one or lowered (button 3) by one.
When holding the button pressed for longer than 1 second the
value starts counting up or down, the counting speed will be
raised after a short period of time
- Turn on the device and wait after it finished its built-in seg-
ment test.
- Press button 3 > 2 seconds
OFFS
- Use button 2 and button 3 for setting the desired zero point offset-value.
The input of the offset value are in digit.
The value that had been set will be subtracted from the measured value. (see below for further information)
- OFFS
- SCAL
- Use button 2 and button 3 to select the desired slope-adjustment.
The slope adjustment will be entered in %. The value displayed can be calculated like this:
Display = (measured value –offset –di.Lo) * (1 + slope adjustment [% / 100] ) + di.Lo
Example: The setting is 2.00 => the slope has risen 2.00% => slope = 102%.
When measuring a value of 1000 (without slope-adjustment) the device would display 1020 (with slope
adjustment of 102%)
- Press button 1 to validate the selection of the slope-SCAL
Now you finished the offset and slope adjustment of your device.
Press button 1 to finish the adjustment and to switch over to display the measuring value.
Examples for offset- and slope-adjustment:
Example: Connecting of a pressure-transducer
The device displays the following values (without offset- or slope-adjustment): 0.08 at 0.00 bar and 20.02 at 20.00 bar
Therefore you calculated: zero point: 0.08
slope: 20.02 –0.08 = 19.94
deviation: 0.06 (= target-slope –actual-slope = 20.00 - 19.94)
You have to set: offset = 0.08 (= zero point-deviation)
scale = 0.30 (= deviation / actual-slope = 0.06 / 19.94 = 0.0030 = 0.30% )
7 Min-/max-value storage
The device features a minimum/maximum-value storage. In this storage the highest and lowest performance
data is saved.
Calling of the minimum-value press button 3 shortly
the min-value is displayed for about 2 sec.
Calling of the maximum-value press button 2 shortly er that
the max-value is displayed for about 2 sec.
Erasing of the min/max values press button 2 and 3 for 2 sec.
that the min/max-values are set to the cur-
rent displayed value.
E30.0.0X.6C-11 Operating Manual GRA0420VO / GRA010VO page 11 of 12
8 Error codes:
When detecting an operating state which is not permissible, the device will display an error code.
The following error codes are defined:
Err.1: Exceeding of the measuring range
Indicates that the valid measuring range of the device has been exceeded.
Possible causes: - Input signal to high
- Sensor shorted (0(4)-20mA)
Remedies: - The error-message will be reset if the input signal is within the limits.
- check transmitter and device configuration (e.g. input signal).
Err.2: Values below the measuring range
Indicates that the values are below the valid measuring range of the device.
Possible causes: - Input signal is to low or negative
- Current below 4mA
- Sensor broken (4-20mA)
Remedies: - The error-message will be reset if the input signal is within the limits.
- check transmitter and device configuration (e.g. input signal).
Err.3: Display range has been exceeded
Indicates that the valid display range (9999 digit) of the device has been exceeded.
Possible causes: - Incorrect scale
Remedies: - The error-message will be reset if the display value is below 9999.
Err.4: Values below display range
Indicates that display value is below the valid display range of the device (-1999 digit).
Possible causes: - Incorrect scale
Remedies: - The error-message will be reset if the display value is above -1999.
Err.7: System-error
The device features an integrated self-diagnostic-function which checks essential parts of the de-
vice permanently. When detecting a failure, error-message Err.7 will be displayed.
Possible causes: - Valid operating temperature range has been exceeded or is below
the valid temperature range
- Device defective
Remedies: - Stay within valid temperature range
- Exchange the defective device.
Er.11: Value could not be calculated
Indicates a measuring value, needed for calculation of the display value, is faulty or out of range.
Possible causes: - Incorrect scale
Remedies: - Check settings and input signal

E30.0.0X.6C-11 Operating Manual GRA0420VO / GRA010VO page 12 of 12
9 Specification
GRA 0420 VO... GRA 010 VO...
Input signal: 4 ... 20 mA (2-wire) 0 ... 10V (3-wire)
Voltage load: < 5.5 V
Input resistance: ca. 30 kOhm
max. permissible input: 25 mA (40mA short-time) 20 V
Supply voltage: 12 - 28 V
Supply current: from current loop < 10 mA
Display: approx. 7 mm high, 4-digit LED-display
Display range: first and last value freely adjustable
max. display value: 9999 digit
min. display value: -1999 digit
recommended range: < 2000 digit
Decimal point: any position
Accuracy: (at 25°C) < 0.2% ±1 digit
Measuring rate: approx. 50 measurements / second
Filter: selectable in 3 stages
Operation: via 3 buttons
Min-/Max-value memory: via buttons selectable
Switching outputs:
GRA 0420 VO: 1 electrically isolated open collector output
Test voltage: 50V
GRA 010 VO: 1 +Ub-switching open collector output
Switching point, hysteresis:freely adjustable
Switching voltage: max. 28V
Switching current: max. 20mA (optionally: 50mA)
Please note: the switching output is not short-circuits protected
Reaction time: < 20 ms
Connection output: via angle-type plug
Nominal temperature: 25°C
Working temperature: -25 ... 50°C
Relative humidity: 0 ... 80% (non-condensing)
Storage temperature: -30 ... 85°C
Electrical connection: special-adapter design for cubic plug DIN 43650 for simple plug-in wherever
required. 2 screws (68 and 75 mm) included in scope of supply
Housing: ABS, keypad
approx. 48.5 x 48,5 x 35.5 mm (L x W x D) without angle-type plug
approx. 50.5 x 90 x 39.5 mm (L x W x D) with angle-type plug
Protection rating: front IP65 (when mounted appropriately)
EMC: The device corresponds to the essential protection ratings established in the Regu-
lations of the Council for the Approximation of Legislation for the member countries
regarding electromagnetic compatibility (2004/108/EG).
In accordance with EN61326 +A1 +A2 (appendix A, class B), additional fault: < 1% FS
When connecting long leads adequate measures against voltage surges have
to be taken.
10 Disposal instructions
The device must not be disposed in the regular domestic waste.
Send the device directly to us (sufficiently stamped), if it should be disposed. We will dispose the de-vice
appropriate and environmentally sound.
This manual suits for next models
1
Table of contents
Other GREISINGER Controllers manuals

GREISINGER
GREISINGER GEWAS 191 User manual

GREISINGER
GREISINGER EB 3000 Instruction manual

GREISINGER
GREISINGER GIR 300 User manual

GREISINGER
GREISINGER gir 2000Pt Technical document

GREISINGER
GREISINGER gir 2000Pt Instruction manual

GREISINGER
GREISINGER GIR 230 Pt1000 / DIF Instruction manual

GREISINGER
GREISINGER GIR 230 Pt User manual