East Bethel, MN USA 763-753-7374
Continued
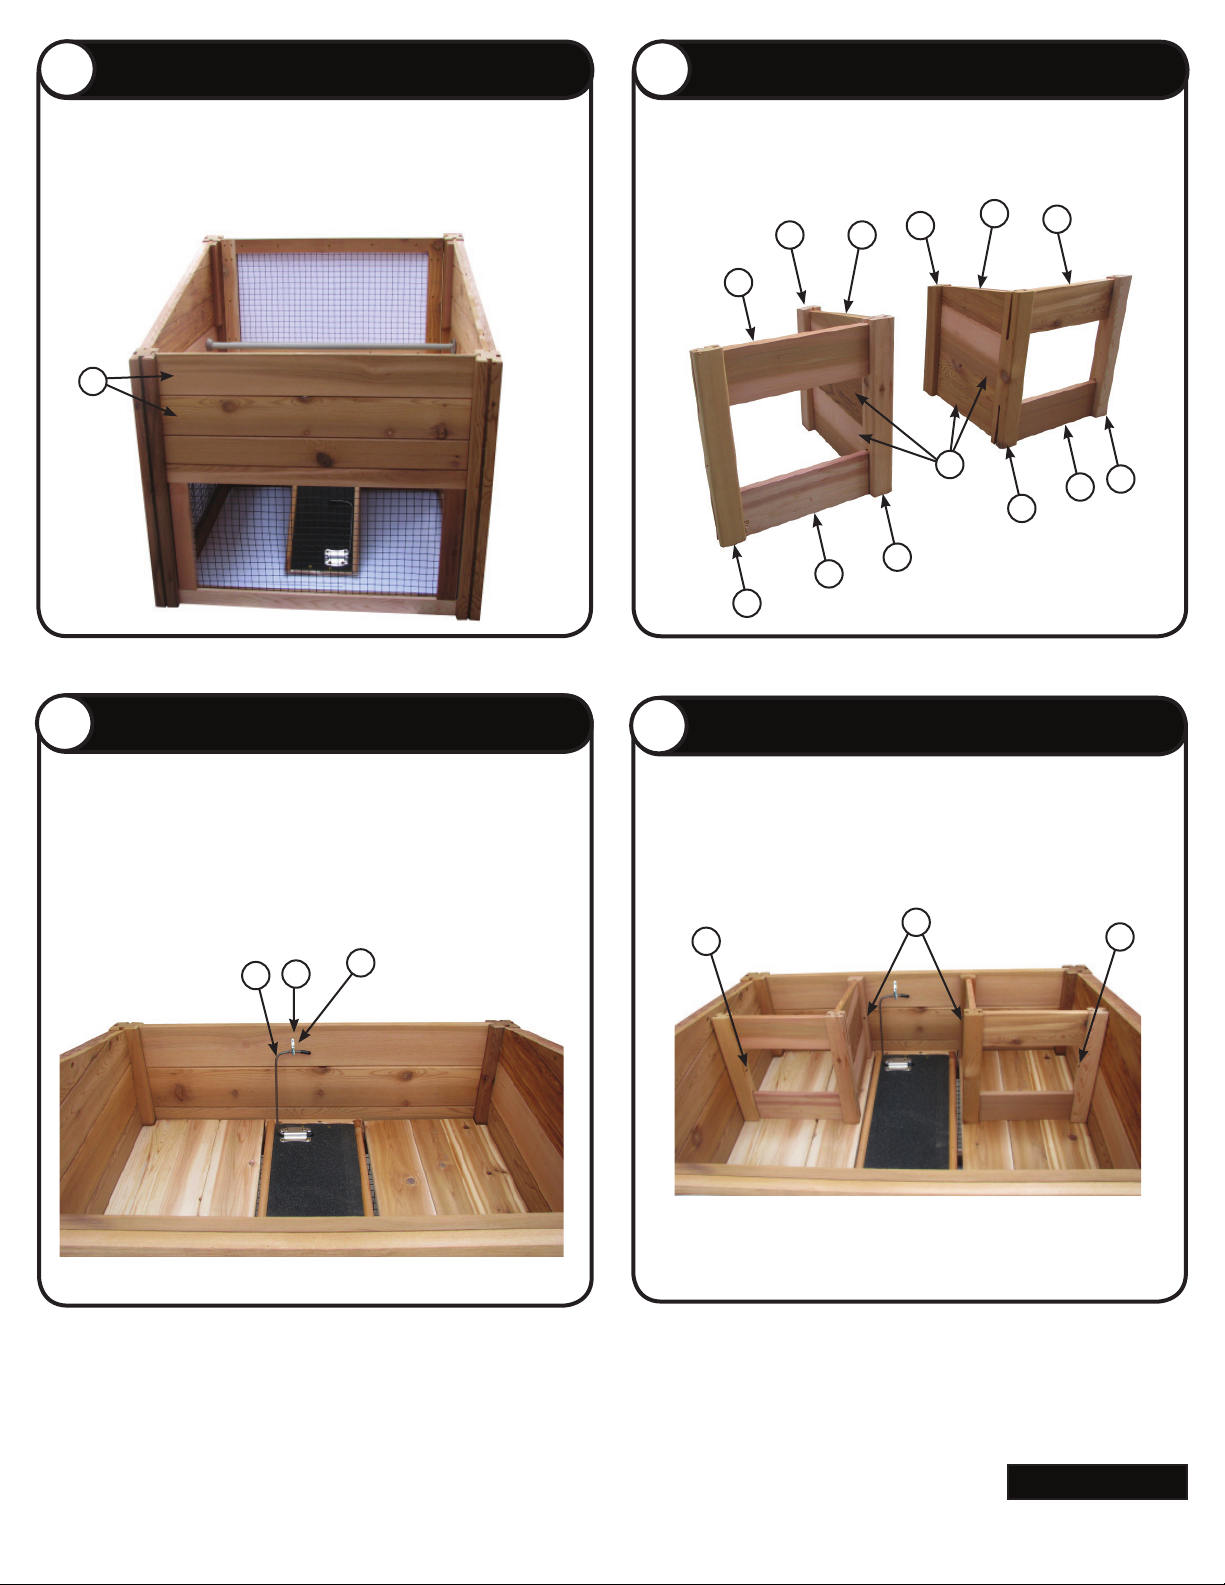
Parts Identification Box 1
Remove contents from Box 1 of 2.
Stack matching pieces in piles. Using the
parts list, locate and count the individual
pieces and verify that you have received
the correct number of pieces.
If any pieces are missing or replacement
parts are required, contact Gronomics at
1-855-299-6727.
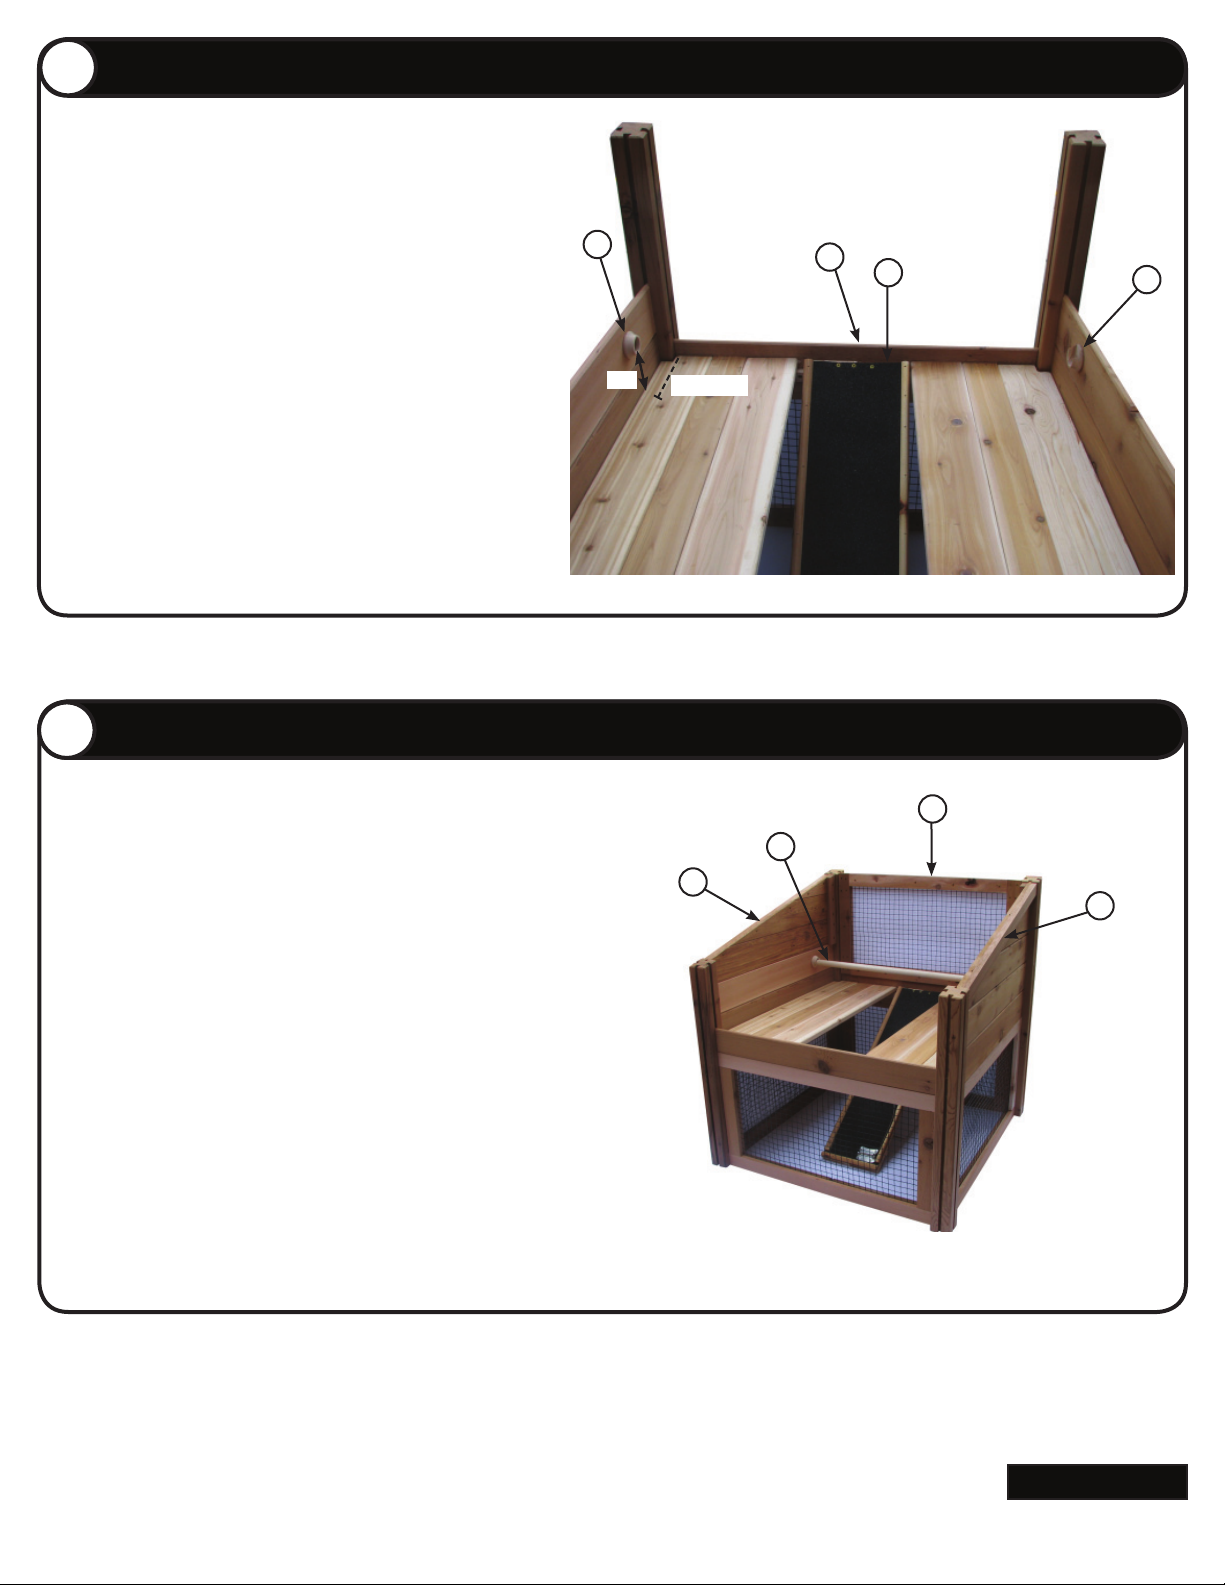
NOTE: Ground preparation is optional,
however we recommend leveling area
under frame of product, or place product
directly on a flat level surface.
13
14
15
18
19
Box 1 of 2
ITEM QTY. PART # DESCRIPTION
1 2 NASR11 Nesting Angle Side Rail, 11-1/2” x 4-1/2”
2 4 NSR11.5 Nesting Side Rail, 11-1/2” x 5-1/2”
3 4 NSR12 Nest Side Rail, 11-5/8” x 4”
44
54
N/A Screw, #8 x 3/4”
RSS10-2ZY Screw, GRK #10 x 2”
6 1 N/A Ramp Hook
7 2 NP12 Nesting Post, 12-3/8” x 1-7/8”
8 4 NP15 Nesting Post, 15-1/4” x 1-7/8”
9 2 CBP37 Rear Post, 36-3/4” x 3-1/4”
10 2 CBNB41 Bottom Notched Board, 40-7/8” x 5-1/4”
11 2 CBB41 Bottom Board, 40-7/8” x 5-1/4”
12 2 CBRB41 Bottom Ripped Board, 40-7/8” x 3-5/8”
13 6 CS40 Coop Side Board, 40” x 5-3/8”
14 1 CFRONT40 Front Cleat Side Rail, (w/Logo), 40” x 4”
15 1 CBACK40 Back Cleat Side Rail, 40” x 4”
16 1 ACS12 Angled Coop Side RH, 12-1/2 ” x 14-5/8”
17 1 ACS12 Angled Coop Side LH, 12-12” x 14-5/8”
18 1 RAMP Ramp, 39-3/4” x 11”
19 1 RR41 Roost Rod, 40-3/4” x 1-1/4”
20 2 RRH2 Roost Rod Holder
Chicken Coop Pet Cottage
45"Lx 45"Wx 48"H Assembly Instruction
Item #: CCPC 45-45
12
10
11
Packaged & Inspected by: Date:
16
17
20
Torx® T25
Phillips