GRx Diagnostics TD-1241 User manual
Owner’s Manual
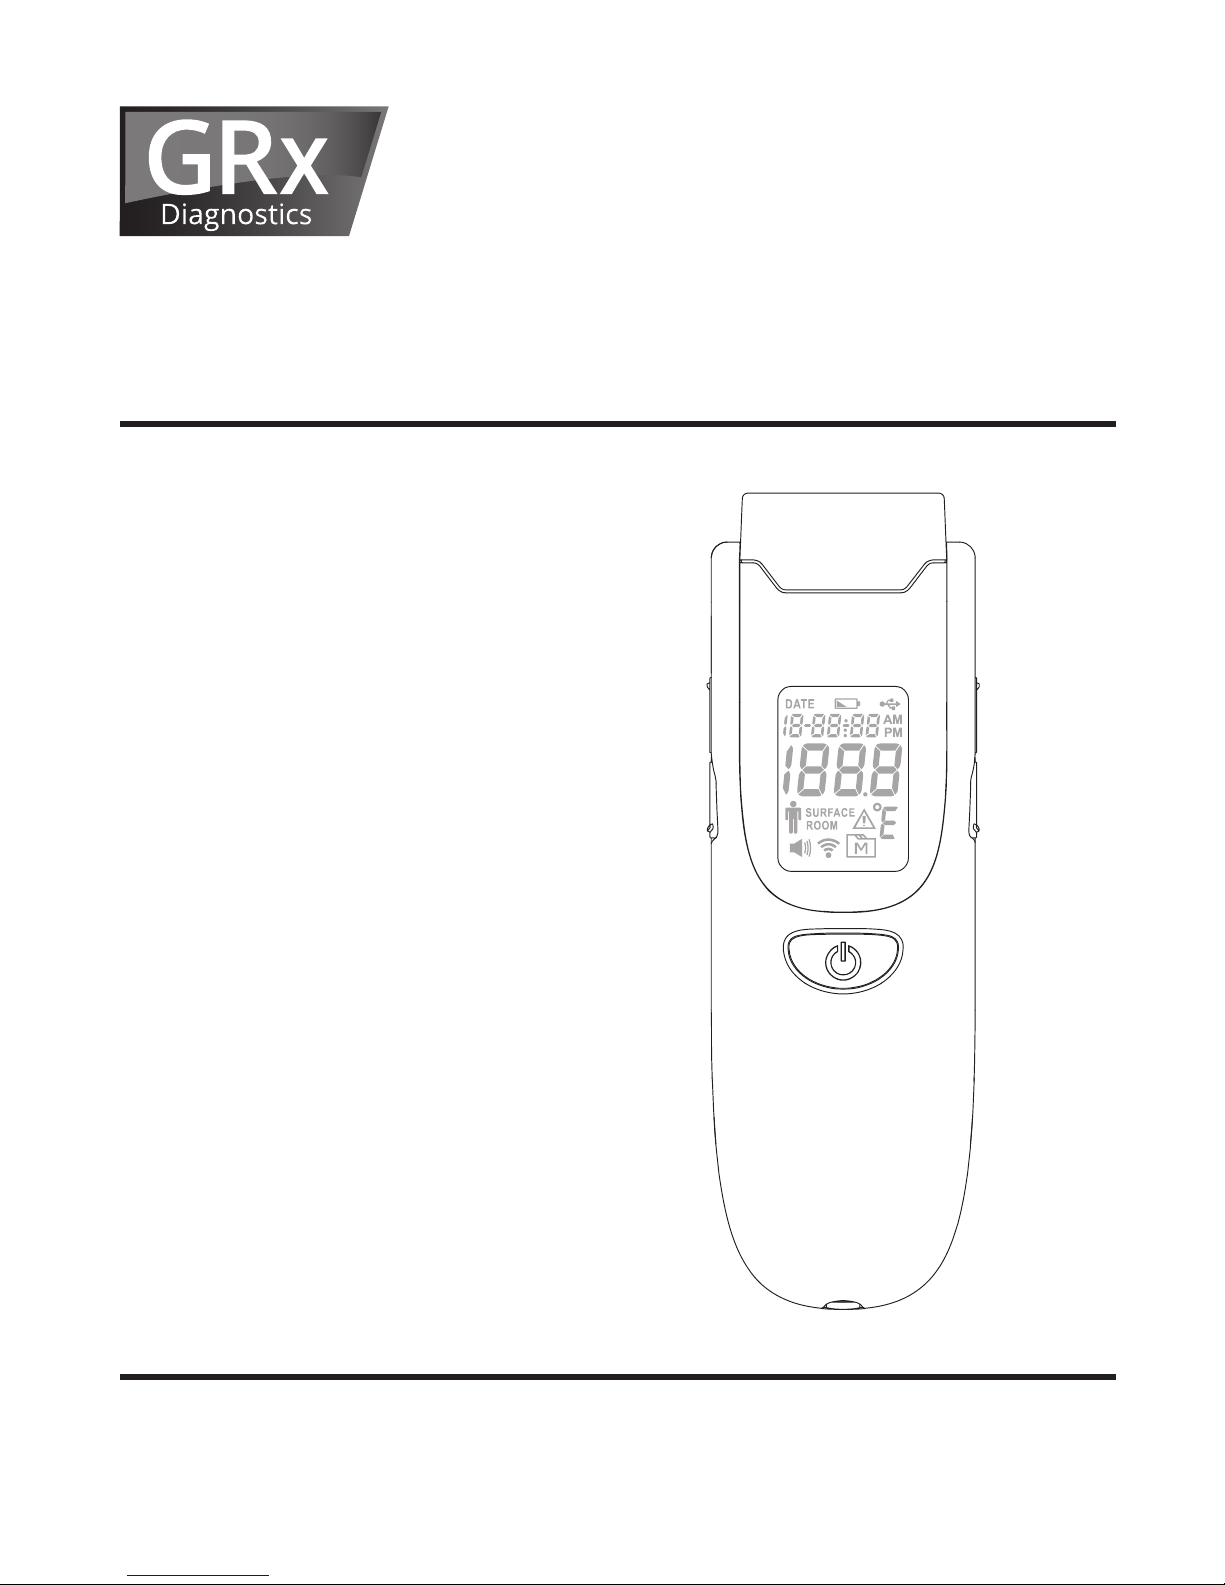
Forehead Thermometer Pro (TD-1241)


IMPORTANT SAFETY INSTRUCTIONS
READ THIS BEFORE USING
The following basic safety precautions should always be taken.
1. Close supervision is necessary when the thermometer is used on
children or handicapped persons.
2. Use the thermometer only for the intended use described in this
manual.
3. Do not use the thermometer if it is not working properly, or if it has
been damaged.
KEEP THESE INSTRUCTIONS
Version 1.0 Apr. 2017
311-1241200-002

TABLE OF CONTENTS
CAUTIONS AND WARNINGS 05
RESTRICTIONS OF USE 05
INTRODUCTION 06
HIGHLIGHTED FEATURES 07
PACKAGE CONTENTS 07
THERMOMETER PARTS 08
DISPLAY SCREEN 08
DISPLAY MODE 09
SETTING THE THERMOMETER 10
REPLACING THE BATTERIES 11
ABOUT NORMAL BODY TEMPERATURE & FEVER 12
USING THE DEVICE 14
As a Body Scan Thermometer 14
As a Surface Scan Thermometer 15
As a Room Scan Thermometer 16
RECALLING THE MEMORY 18
BLUETOOTH PAIRING 19
CARE & CLEANING 20
TROUBLESHOOTING 21
SPECIFICATIONS 22
SYMBOL INFORMATION 23

5
As with any thermometer, proper technique is crucial to obtaining
accurate temperature readings. Please read this manual
thoroughly and carefully before using.
Always operate the thermometer in an operating temperature range
10°C to 40°C (50°F to 104°F), and relative humidity less than 95%.
Always store the thermometer in a cool and dry place -20°C to 60°C
(-4°F to 140°F) and relative humidity less than 95%
Avoid direct sunlight.
Avoid dropping the thermometer; if it happens and you think the
thermometer may be damaged, please contact GRx Diagnostics
immediately.
Do not touch the lens.
Do not disassemble the thermometer.
Basic safety precautions should always be observed, especially
when the thermometer is used on or near children and disabled
persons.
This thermometer is not intended to substitute a consultation with
your physician.
The forehead scan temperature serves as a reference only. It
cannot be a judgment on fever.
CAUTIONS AND WARNINGS
RESTRICTIONS OF USE
This thermometer is clinically proven to produce accurate
temperature measurements. However, please be advised if you have
the following situations: The accuracy cannot be ensured when the
thermometer is not clean. Check that the probe is clean before taking
a measurement.

6
INTRODUCTION
Thank you for choosing GRx Forehead Thermometer Pro. Please
read this instruction manual rst so you can use this thermometer
safely and correctly. Please keep this instruction manual for future
reference. This innovative medical device uses advanced infrared
(IR) technology to measure temperature instantly and accurately on
the forehead/surface/rooms.
Intended Use
GRx Forehead Thermometer Pro is intended for the intermittent
measurement and monitoring of human body temperature from the
forehead. The device is intended for use by people of all ages in the
home.
How does it work
The thermometer measures the infrared heat generated by the
surface of the skin over the vessel and its surrounding tissue. The
thermometer then converts it into a temperature value.
The thermometer does not emit any infrared signal.
NOTE

7
Fast and accurate: meets the accuracy requirement specied in
ASTM E1965-98 and the EC directive 93/42/EEC.
Non-contact measurement that does not require probe cover,
thereby saving cost of replacement.
Automatically power off if left idle for 30 seconds.
Memory function allows you to recall up to 30 previous results.
Easy to read LCD with backlight in a dark environment.
Able to measure temperature of other objects without contact, as
well as room temperature.
HIGHLIGHTED FEATURES
PACKAGE CONTENTS
GRx Forehead
Thermometer Pro
Two 1.5V AA batteries
Owner’s Manual, including
Warranty Card
8
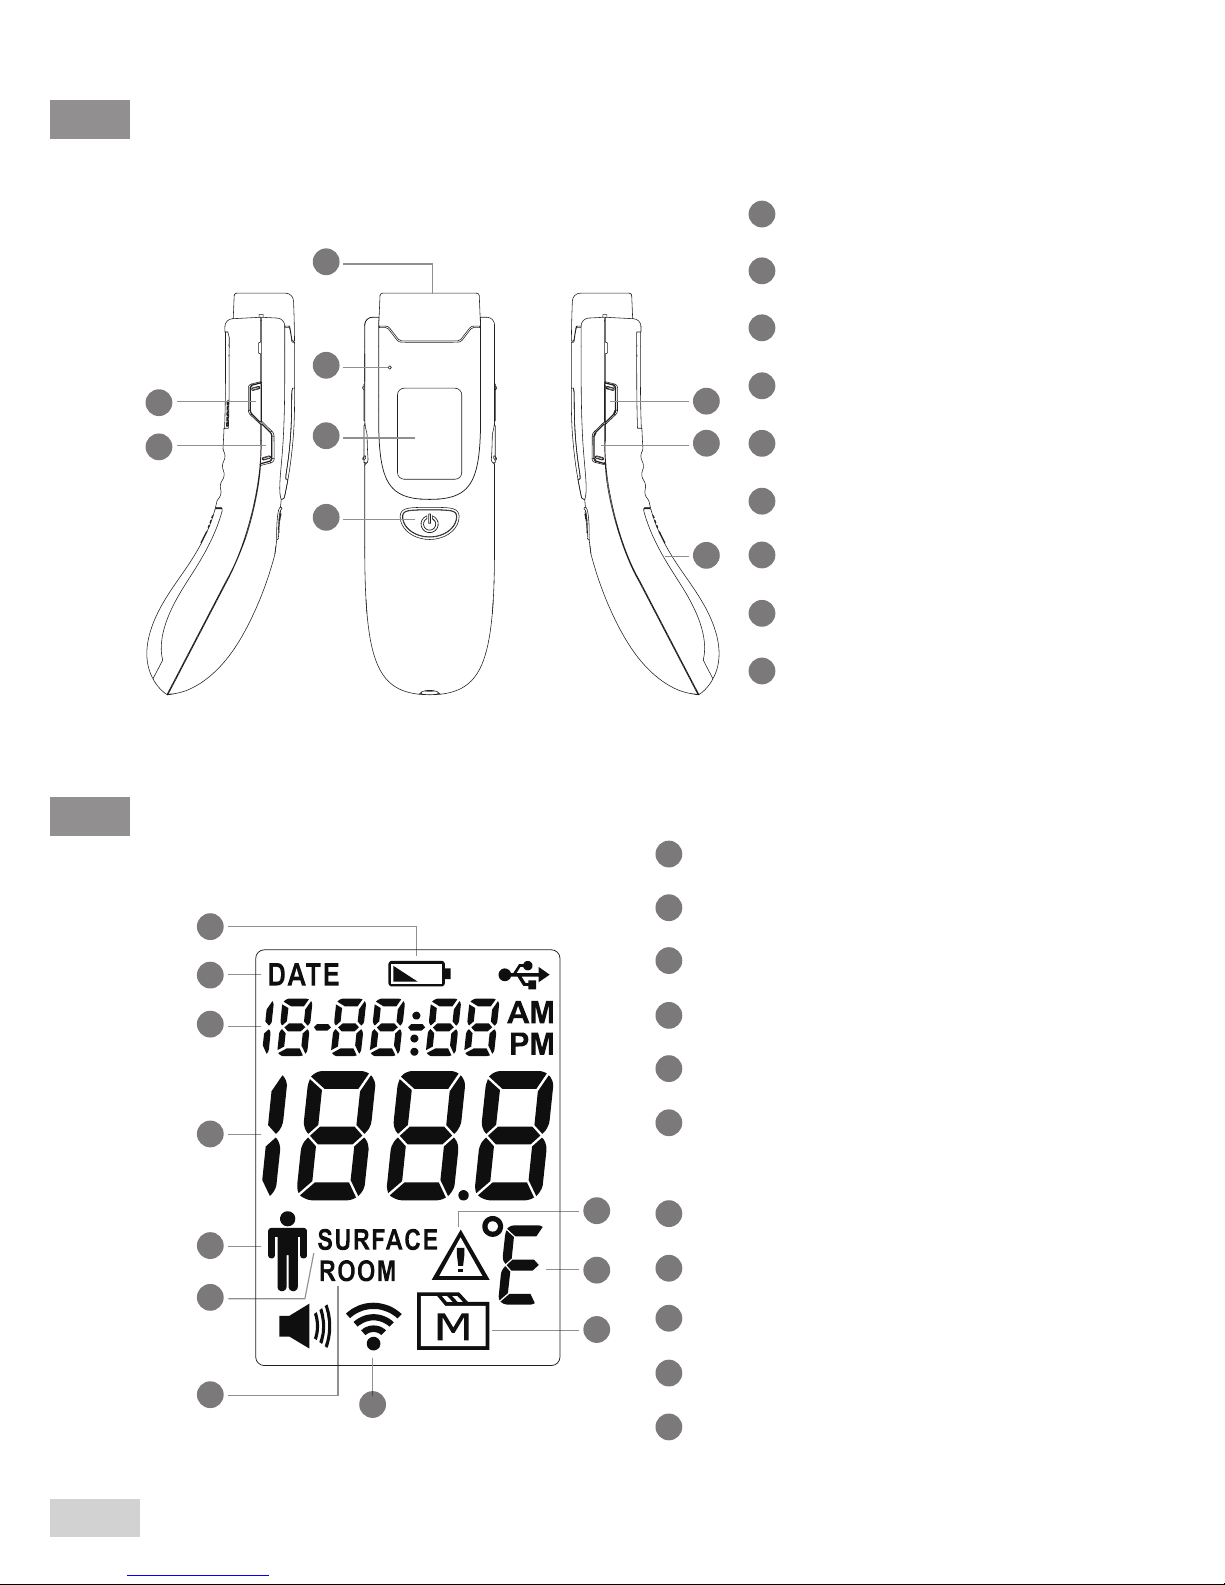
THERMOMETER PARTS
1°C / °F Button
2SET Button
3Probe
4Display Screen
5On/Scan Button
6MODE Button
7MEM Button
8Battery Cover
9Bluetooth Indicator
1Low battery indicator
2Date indicator
3Date/Time
4Temperature reading
5Body temperature indicator
6Object surface temperature
indicator
7Room temperature indicator
8Memory mode
9Temperature unit
10 Error warning
11 Bluetooth symbol
DISPLAY SCREEN
1
1
2
2
3
3
4
4
9
6
7
7
8
9
10
8
5
5
6
11

9
Three modes can be selected.
DISPLAY MODE
1. Body mode
This mode is used to measure
the forehead temperature.
It also provides a clock.
2. Surface mode
This mode is used to measure
the object surface temperature.
It also provides a clock.
3. Room mode
This mode is used to measure
the room temperature.
It also provides a clock.

10
You will need to set the time for rst-time use or after replacing the
batteries.
SETTING THE THERMOMETER
Step 1
Press the to turn on the thermometer rst. Press for 5
seconds to enter the setting mode.
Step 2 Set the date and time
Press the Mode or °C / °F button to select the correct month.
Press to move onto the next step.
Press the Mode or °C / °F button to select the correct month / day
/ year / hour / minute.
The Settings are all completed. The thermometer will automatically
turn off.
Table of contents


