Guerrilla Exhaust Guerrilla Bypass User manual

www.guerrilla-exhaust.com
Guerrilla Bypass |Installation manual
Version: 08-2018
1 / 5
Guerrilla Bypass | Installation manual
Thank you for your investment in maximum driving fun. The Guerrilla Bypass®, the best cut-out
available, makes your exhaust personal. Press the button on the remote control and experience your
car the way you want it, when you want it: civilized or brutal, comfortable or cool, mild or wild.
Stop! Read this before installing
For starters, go easy on yourself and read this document carefully.
Secondly, check the package for the parts shown on the next page. In case a part is missing, please
contact us.
And thirdly, when working on a vehicle, please mind the following:
•Work in a controlled way, in a safe environment, with proper tools.
•Wear protective clothing, work gloves and safety goggles.
•Put the gearbox in neutral and apply the parking brake.
•Remove the key (card) from the ignition and open a window to prevent getting locked out.
•Always disconnect the ground connector from the negative battery terminal.
•Use a floor jack suitable for the vehicle weight and secure it with vehicle supports, or place the
vehicle on an approved bridge.
•For welding work: ensure adequate physical protection, fire safety, electrical safety and
ventilation.
Contact
Guerrilla Exhaust develops, manufactures and supplies market
leading valve-equipped exhaust systems and products. Our
solutions are aimed at increasing automotive sensation –
The Sound of Power. For information, purchases and support:
Guerrilla Exhaust
Maasbreeseweg 51P
5988 PA, Helden, The Netherlands
Phone: +31 6 19 000 200
Email: info@guerrilla-exhaust.com
Website: www.guerrilla-exhaust.com

Single Guerrilla Bypass kit
Dual Guerrilla Bypass kit
Introduction
The instructions in this installation manual guide you step by step to a
correctly working Guerrilla Bypass in the existing exhaust system of
your car.
Tips in advance:
•Install the Guerrilla Bypass just before the end muffler for the
best sound.
•Cones and other accessories are available at
http://www.guerrilla-exhaust.com.
•Don’t want to install yourself? Contact us for an appointment.
1 | Installing the electrical part
1.1 | Installing the receiver unit
Place the receiver unit near the battery in the engine or cargo
compartment.
Please note:
Do not place the receiver unit in the vicinity of hot parts (such as the
radiator, the exhaust manifold or the engine block) or in a place where
it is exposed to splash water. Any such damage voids the warranty.
1.2 | Laying the wiring harness
The wiring harness has ready-to-use connections. The power cable
contains a splash-proof fuse holder. The other end is equipped with a
splash-proof connector that is suitable for placement under the vehicle.
•Carefully roll out the wiring harness to full length and ensure it
is free of kinks.
•Start at the battery and route the wiring harness, via the
receiver unit, towards the bottom of the vehicle, with sufficient
distance from moving or hot parts. Provide clearance in suitable
areas.
Tip:
Wrap the visible parts of the wiring harness in linen tape for a more
original ("OEM") appearance.

1.3 | Preparing the power supply
Place the (+) connector (with fuse holder) in the vicinity of the positive
battery terminal.
Please note:
Do not connect the power supply yet, to prevent a short circuit!
1.4 | Connecting the ground
Connect the (-) connector to the negative battery terminal, or screw it
to a body ground point.
Please note:
Connect the ground after the installation is fully completed.
1.5 | Connecting the signal wire
Plug the white connector into the receiver unit.
2 | Installing the Guerrilla Bypass
2.1 | Preparing the exhaust: defining the spot
•Ensure you have sufficient working space. For example, lower
the exhaust or detach the rear exhaust section.
•Select a place just before the end muffler with at least 30 cm of
free space between the front of the valve body and the muffler.
Tip:
Want to simplify the installation? Use a weld cover:
http://www.guerrilla-exhaust.com/en/weld-cover
2.2 | Option A: making a hole for a bend
•Use the diameter of the supplied 90° bend as a size indicator
and mark the selected spot.
•Make a hole in the existing exhaust pipe.
•Grind the exhaust pipe side of the 90° bend so that it nicely
follows the pipe curve.
2.2 | Option B, step 1 of 2: making a hole for a weld cover
•Use the weld cover as a size indicator and mark the chosen
spot.
•Remove a rectangular part from the exhaust pipe.
2.2 | Option B, step 2 of 2: placing the weld cover
•Place the weld cover on the opening.
•Weld the seams shut.

2.3 | Positioning the valve housing
•Place the 90° bend on the input side of the valve body (where
the back of the electric motor protrudes).
•Mark the position with lines or make a spot weld, so that small
adjustment is still possible.
Tip:
Position the electric motor as close as possible towards the bottom of
the vehicle, with sufficient space for exhaust movement. This prevents
damage due to speed bumps or other factors.
2.4 | Positioning the turn-down
The 45° bend will act as the exit of the Guerrilla Bypass.
•Place the 45° bend on the output side of the valve body
•Mark the position with lines or make a spot weld, so that small
adjustment is still possible.
2.5 | Leveling the valve housing
The valve body now has a bend on both sides: the 90° bend on the
input side and the 45° bend on the output side.
•Place the 90° bend in the previously created hole.
•Ensure the correct angle and direction, so that the Guerrilla
Bypass runs sufficiently parallel to the exhaust pipe.
•Mark the position with lines or make a spot weld, so that small
adjustment is still possible.
•Permanently weld the 90° bend to the exhaust.
2.6 | Welding the remaining junctions
•Check whether the Guerrilla Bypass is properly located from all
angles and adjust it if necessary.
•Complete all welds.
Tip:
If necessary, cut off the end of the turn-down to create a flat exit,
parallel to the underside of the exhaust or the bottom of the vehicle.
3 | Connecting the Guerrilla Bypass
3.1 | Connecting the wiring harness
•Plug the wiring harness end into the drive motor, making sure
that the splash-proof connector clicks firmly into place.
•Move the wiring harness away from moving or hot parts.
•Fixate the wiring harness with zip ties where necessary.
•Roll up and zip tie the excess wiring.
•Check all connections and clamps.
Tip:
Lead/hide the wiring harness over the cold side of a heat shield.

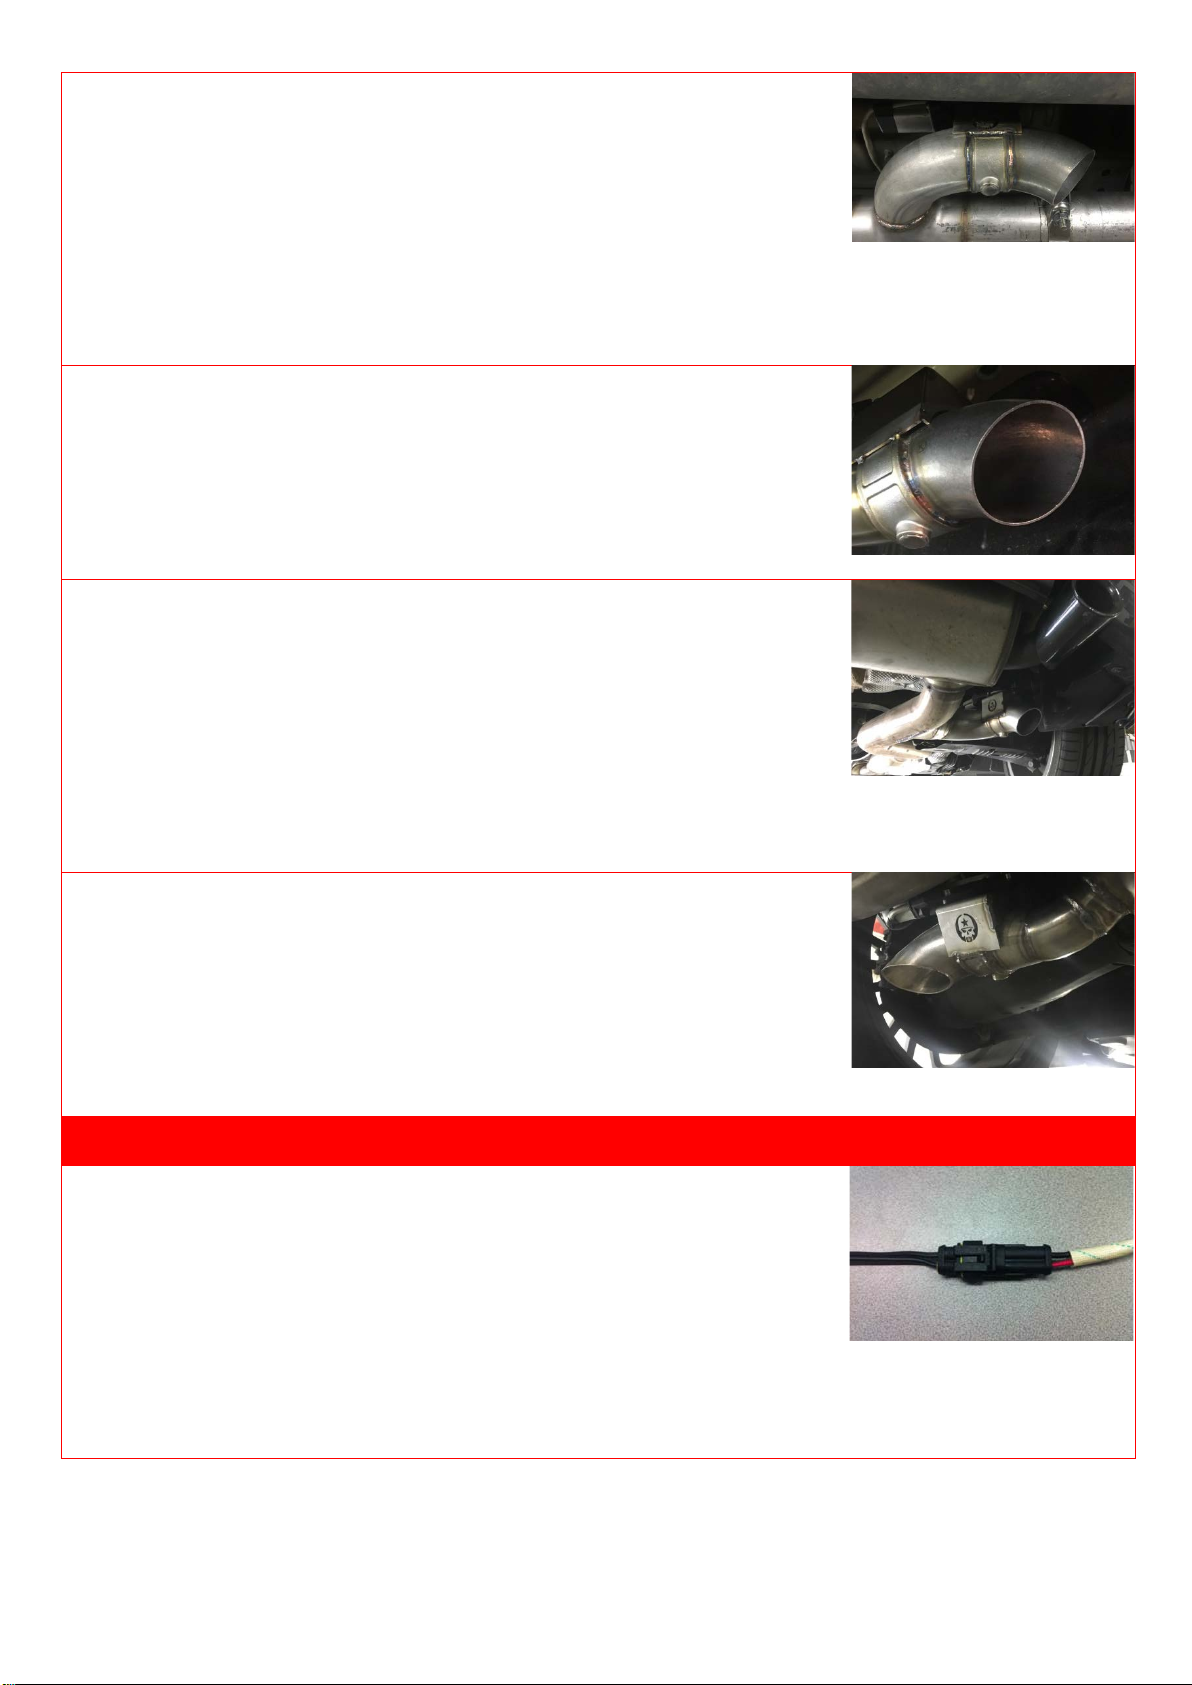
3.2 | Connecting the power
•Connect the (+) connector of the cable harness to the positive
battery terminal.
•Reconnect the ground to the negative battery terminal.
3.3 | Testing the Guerrilla Bypass
The Guerrilla Bypass can be operated at any moment, with the ignition
switched on or off.
•Use the buttons on the wireless remote control to check
whether the Guerrilla Bypass opens and closes correctly.
Tips:
•Keep the button pressed for a moment, since a complete valve
cycle takes about 1 second.
•Key ring the remote control with your car keys so you always
have it at hand.
4 | Finally
4.1 | Starting and driving
•Start the engine. Usually it is immediately noticeable when the
Guerrilla Bypass is open.
•Drive and enjoy "The Sound of Power"!
Maintenance tip:
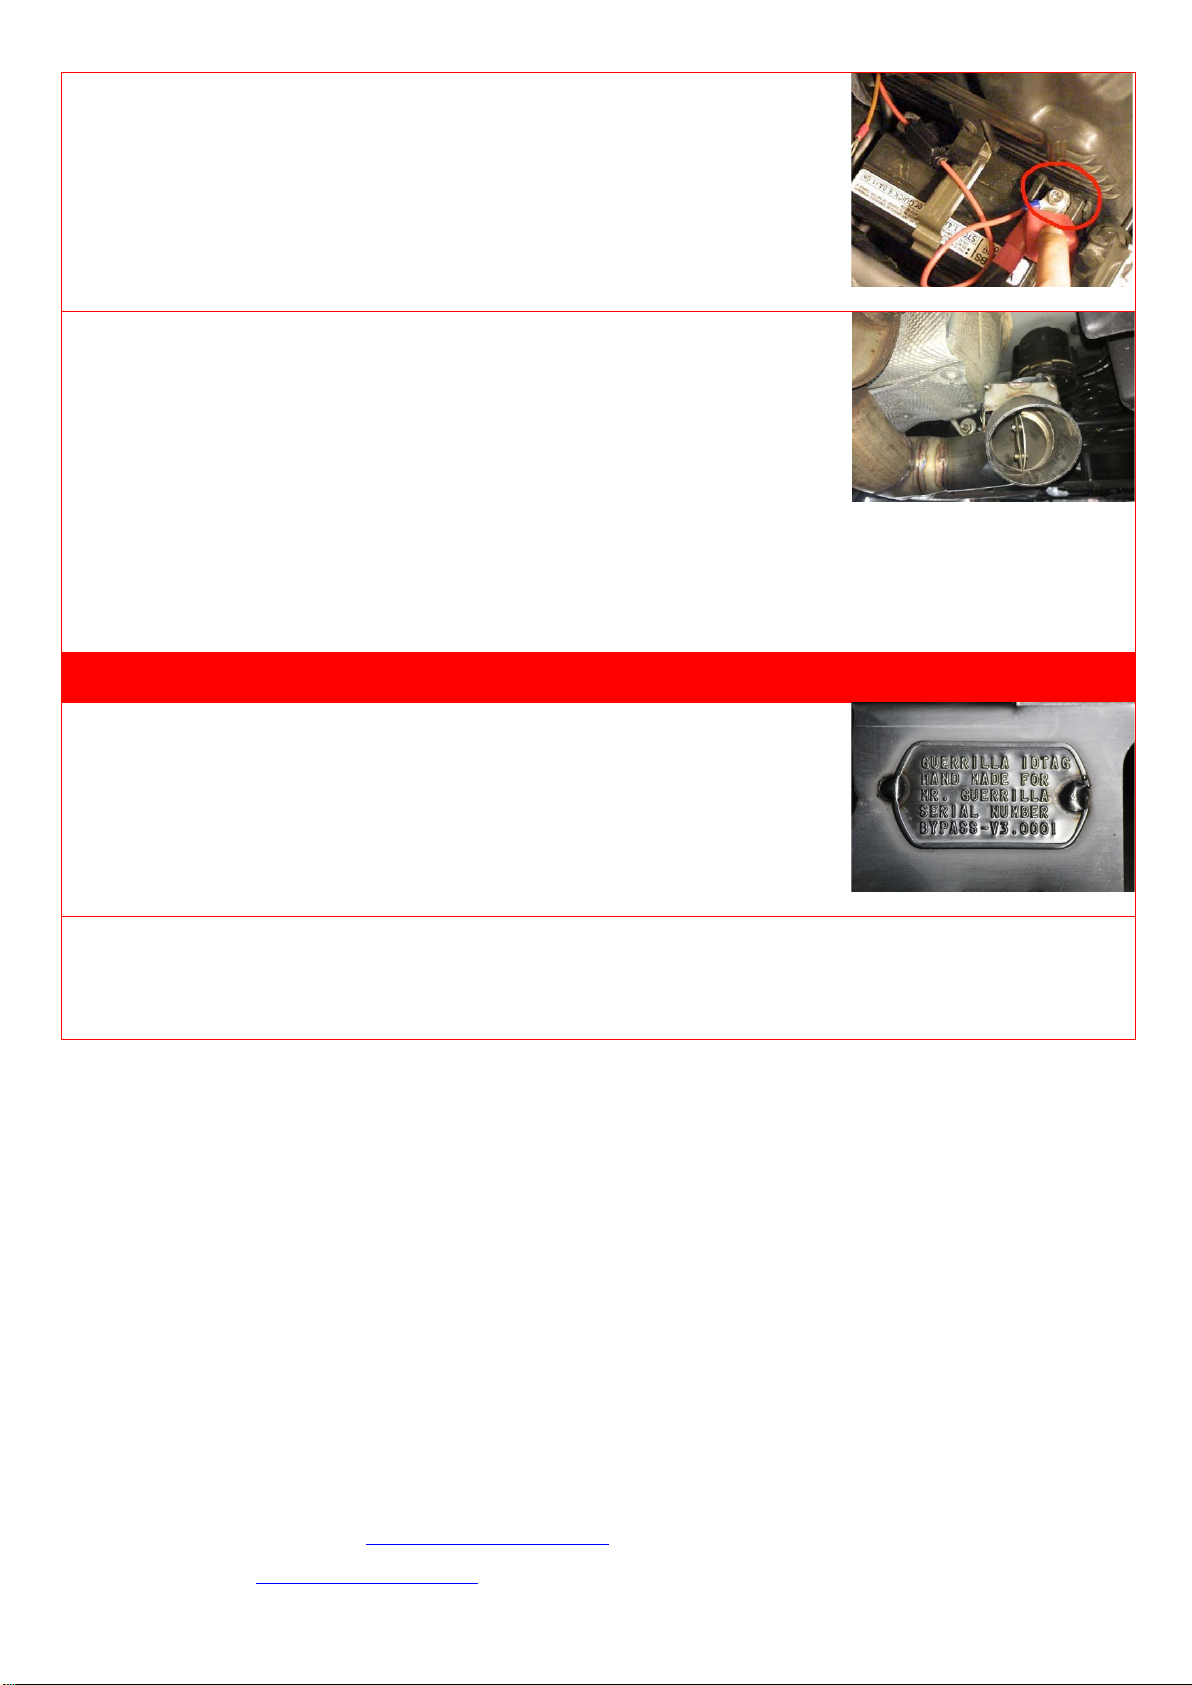
For a long and trouble-free life of the mechanical part of your Guerrilla Bypass, we recommend to spray
WD40, Rust-Oleum or a similar lubricant into the valve body once every month. This keeps shaft,
bearing and valve in good condition and reduces the rotational resistance of the valve.
© 2018 Guerrilla Exhaust. All rights reserved. Content may not be copied, reproduced, republished, downloaded, posted,
broadcast or transmitted in any way without first obtaining Guerrilla Exhaust's written permission or that of the copyright owner.
The information in this publication or in other expressions is subject to change without prior notice.
Guerrilla Exhaust shall not be liable for direct, indirect, additional or consequential damage, nor potential legal issues or authority
measures, caused by using information, products, services or related matter provided by Guerrilla Exhaust.
Guerrilla Exhaust, Guerrilla Bypass, the Guerrilla logo, the Guerrilla Skull icon, the Guerrilla wordmark, the design of the Guerrilla
Bypass, and the "The Sound of Power" slogan are (registered) trademarks and/or intellectual property of Guerrilla Exhaust. All
trademarks mentioned are the property of their respective owners. This website may contain references (hyperlinks) to other
websites or sources, containing expressions, opinions, products and services of third parties for which Guerrilla Exhaust is not
responsible or liable.
Guerrilla Exhaust is registered at the Dutch Chamber of Commerce in Venlo, The Netherlands under number 14104350. The VAT
number is NL159.747.685.B01. The General Terms and Conditions of Guerrilla Exhaust apply to all offers and transactions.
For more information: www.guerrilla-exhaust.com.
Table of contents
Popular Automobile Accessories manuals by other brands

HUSKY LINERS
HUSKY LINERS 6597 Care and use instructions

Smappee
Smappee EV One Home Quick install guide

Rear view safety
Rear view safety RVS-97QUAD instruction manual

Prorack
Prorack K681 Fitting instructions

Hayman Reese
Hayman Reese 03260R installation instructions

Sharper Image
Sharper Image 205003 user guide