Gunson 77117 User manual

Instructions
Automatic Battery Charger
Part No. 77117
This battery charger is a fully automatic, microprocessor
controlled unit delivering a maximum charge rate of 10 amps. It
is suitable for 12 volt batteries with capacities between 2AH to
200AH.
Tool Connection Copyright
Tool connection Copyright
Tool Connection Copyright

2
77117
Gunson Automatic Battery Charger
The Gunson 77117 battery charger is a fully automatic, microprocessor
controlled unit delivering a maximum charge rate of 10 amps. It is suitable
for 12 volt batteries with capacities between 2AH to 200AH.
It charges in four stages: the initial pre-charge stage brings the discharged
battery up to a preset voltage level to enable the second stage pulse-
charging which assists with battery desulphurisation; the third (absorption)
stage brings the battery up to 100% capacity. The final stage is a
‘maintenance’ pulse charge (float mode) which will maintain the battery in
a fully charged state without overcharging. The charger will automatically
select the appropriate stage of charging depending on the battery’s level
of charge.
It features short-circuit protection, overload current protection, over
voltage protection and over temperature protection.
The 77117 is suitable for regular (sealed or unsealed) Lead Acid batteries,
and AGM (absorbed glass mat) batteries used on motorcycles, cars and
light commercial vehicles. It is also suitable for charging Deep Cycle
batteries (e.g. certain marine applications, golf carts, etc).
CONNECTION:
Note: The charger should be connected to the battery before connecting
to the mains supply. When finished, switch off at the mains supply before
disconnecting the charger from the battery.
1. Identify the polarity of the battery terminals (if not clearly indicated,
the positive terminal or post is normally larger than the negative).
2. Connect the positive (red) clip to the positive battery terminal first.
Then connect the negative (black) clip to the negative battery
terminal.
OPERATION:
3. Once connections to the battery have been made (see above) plug in
| switch on the AC mains supply.
4. The green (power) LED will light indicating that the charger is
switched on.
5. Select the battery type by pressing the button (regular lead-acid,
AGM, or switch to deep cycle). LED will light to indicate battery
type.
6. Select level of charging (2A or 10A). LED will light to indicate
charge level setting.
Tool Connection Copyright
Tool connection Copyright
Tool Connection Copyright

3
7. As the battery stabilises the red LED will light. This indicates that the
battery is charging.
8. If the red LED (abnormal) starts flashing when the AC mains supply
is switched on, this indicates that the polarity of the connectors has
been reversed (ie, the positive (red) clip has been accidentally
connected to the negative terminal | post of the battery). Switch off
the AC mains supply and then reconnect the positive (red) clip to the
positive battery terminal first. Then connect the negative (black) clip
to the negative battery terminal.
9. As the battery is charging, the level of charge is indicated by the
flashing amber LEDs (60% and 80%). At 90% the green LED will
flash; as the battery reaches its fully charged state the charging
current will drop. When battery is fully charged, the green LED will
remain lit. The charger has entered float mode and will maintain the
battery at between 13.2 – 13.6 volts.
10. When finished, switch off the AC mains supply, then disconnect the
negative (black) clip first, followed by the positive (red) clip.
Note: If disconnecting main battery terminals (to remove battery from
vehicle for example) check you have codes for audio, security systems,
etc.
WARNING:
• Working near a lead-acid battery is dangerous — a battery generates
explosive gases during normal operation. These gases increase
when the battery is being charged.
• Ensure the work area is well ventilated.
• Make sure that there is no possibility of these gases being ignited.
There must be no naked flames, cigarettes, flame heaters,
blowtorches, etc, near the battery or work area.
• The gases can be ignited by a stray spark — disconnect the charger
from the mains before disconnecting the leads from the battery.
• You must wear approved safety eye protection when connecting
or disconnecting battery | battery charger leads.
• Avoid touching your eyes while working with batteries.
CHARGING 90%60%POWER
REG AGM
CHARGED
ABNORMAL A
C
80%
DEEP CYCLE 10A
2A
BATTERY TYPE
D E
B
Caption:
A: LEDs:
• Power (green)
• Charging (red)
• 60% (amber)
• 80% (amber)
• 90% (green)
B: Battery type selector
C: Charge rate selector
D: To Battery
E: To AC mains supply
Tool Connection Copyright
Tool connection Copyright
Tool Connection Copyright

Guarantee
If this product fails through faulty materials or workmanship, contact our service
department direct on: +44 (0) 1926 818186. Normal wear and tear are excluded as
are consumable items and abuse.
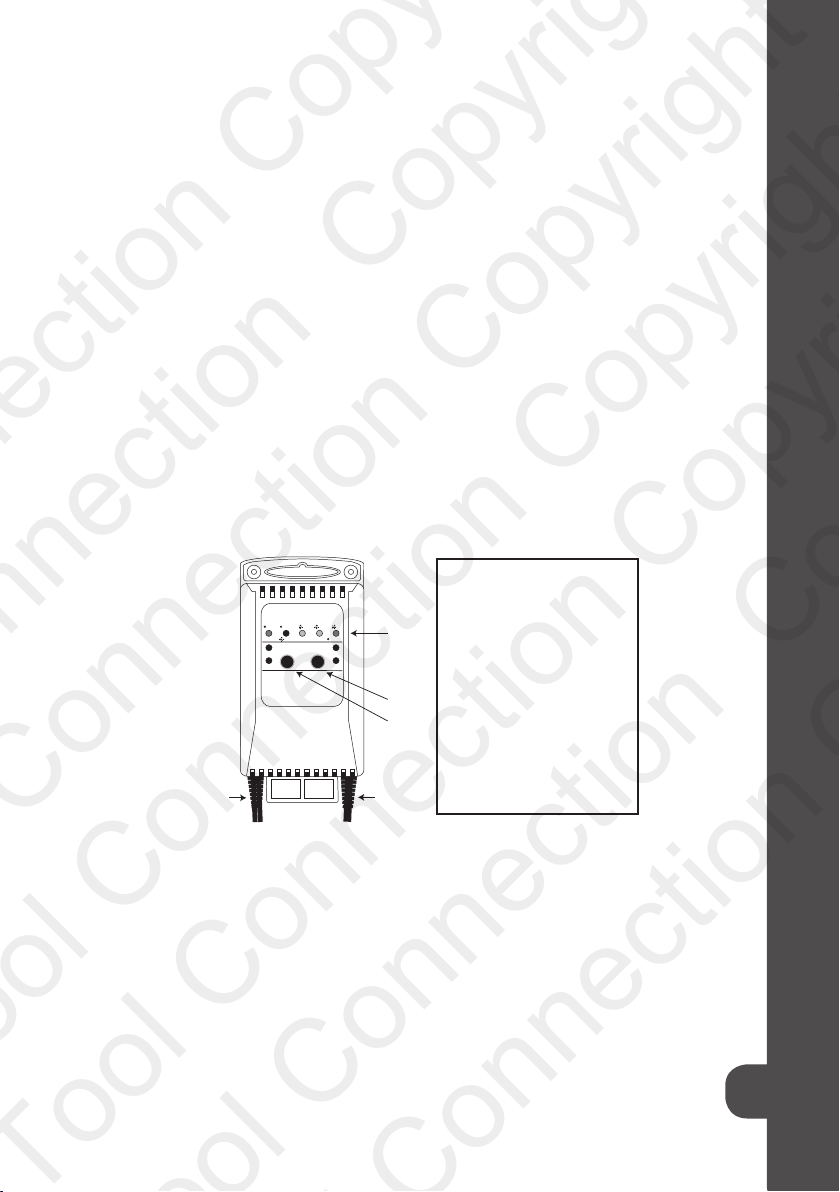
Distributed by The Tool Connection Ltd
Kineton Road, Southam, Warwickshire CV47 0DR
T +44 (0) 1926 815000 F +44 (0) 1926 815888
info@toolconnection.co.uk www.toolconnection.co.uk
SAFETY NOTES:
• When working with or near a lead-acid battery make sure there is another
person close enough to come to your aid if necessary.
• If battery acid contacts skin or clothing, wash immediately with soap and
plenty of water.
• If acid enters an eye, immediately flush eye with cool, clean water for at least
15 minutes and seek medical attention.
• When working with or near a lead-acid battery make sure to remove personal
metal items such as watch straps, rings, bracelets, necklaces, etc. A short
across the battery terminal from one of the above could cause severe burns.
• Never allow the charger clamps to touch each other or to contact a piece of
metal that could bridge them.
It is the operator’s responsibility to comply with the following:
• Inspect all power supply leads, plugs and all electrical connections for wear
and | or damage.
• Before use, inspect the insulation on the charger cable and check the
charger and plug before connecting to the mains supply.
• Also regularly inspect power supply sockets, extension leads and
connectors.
• Ensure that the mains voltage marked on the charger is the same as the
electrical power supply to be used.
• Do not carry the charger by its power lead.
• Do not pull the power plug from the socket by the power lead.
• Extension lead reels: when a cable extension lead reel is used it should be
fully unwound before connection. We recommend the cable reel has an RCD
fitted. Be sure that the capacity of the cable reel is suitable for the product.
If in any doubt about electrical safety, consult a qualified electrician.
Tool Connection Copyright
Tool connection Copyright
Tool Connection Copyright
Table of contents
Other Gunson Batteries Charger manuals