Hach Ultra MET ONE 227 User manual

701094
MET ONE 227
Particle Detector
USER MANUAL
May 2008, Edition 6
© Hach Ultra Analytics, Inc., 2008. All rights reserved. Printed in the U.S.A.


3
Table of Contents
Section 1 Specifications....................................................................................................................5
Section 2 General Information.........................................................................................................7
2.1 Safety information........................................................................................................................7
2.1.1 Use of hazard information...................................................................................................7
2.1.2 Precautionary labels ...........................................................................................................7
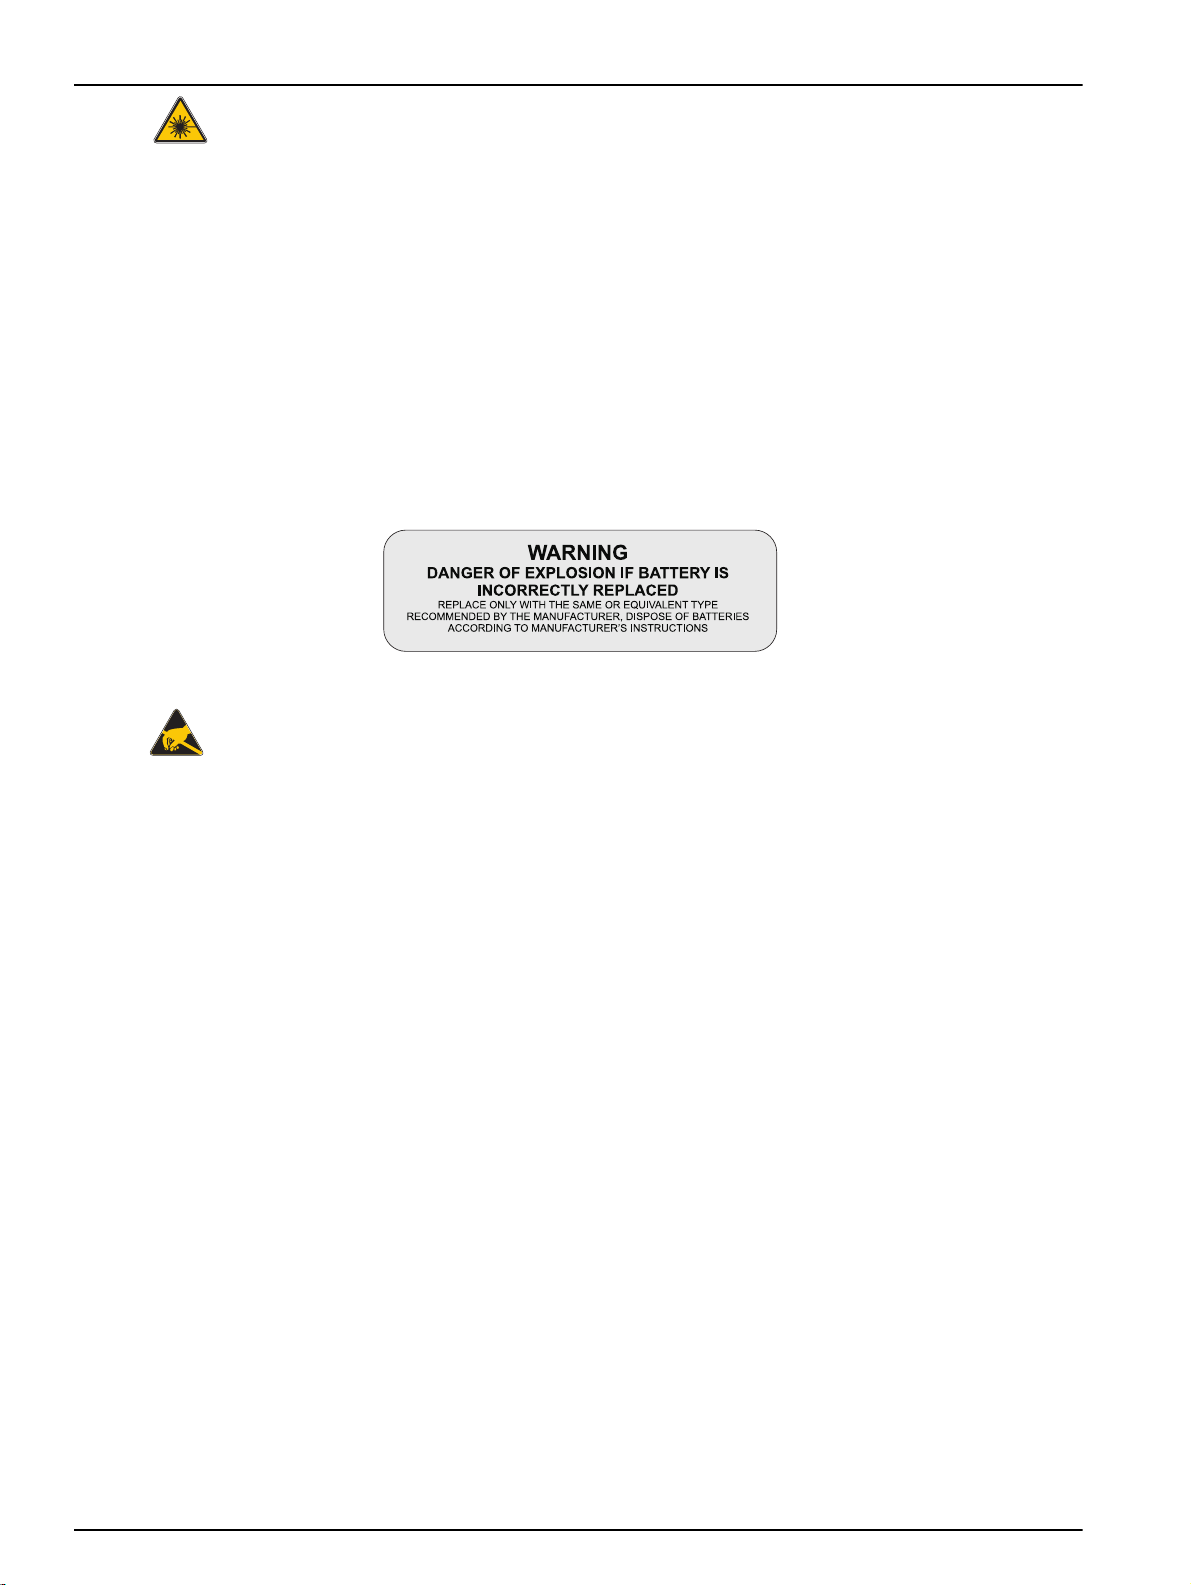
2.1.3 Laser safety information...................................................................................................... 8
2.1.4 Battery safety information...................................................................................................8
2.1.5 Electrostatic discharge (ESD) considerations.....................................................................8
2.2 General product information ........................................................................................................9
2.3 Theory of operation......................................................................................................................9
Section 3 Installation........................................................................................................................11
3.1 Unpack the instrument...............................................................................................................11
3.2 Installation guidelines for the MET ONE 227 particle counter ...................................................11
3.3 Mechanical installation...............................................................................................................12
3.3.1 Install the isokinetic probe.................................................................................................12
3.3.2 Install the purge filter.........................................................................................................12
3.3.3 Install the charging stand..................................................................................................13
3.3.4 Connect the AC adapter ...................................................................................................13
3.3.5 Install the RH/T probe.......................................................................................................13
3.4 Connections and adjustments....................................................................................................13
Section 4 Operation..........................................................................................................................15
4.1 Power up....................................................................................................................................15
4.2 Factory default settings..............................................................................................................15
4.3 Manual mode.............................................................................................................................15
4.4 Automatic mode.........................................................................................................................16
4.4.1 Unlock the program mode.................................................................................................19
4.4.2 Set display (DSP) functions..............................................................................................19
4.4.3 Set serial input/output (SIO) functions..............................................................................21
4.4.4 Set clock (CLK) functions..................................................................................................21
4.5 Average mode............................................................................................................................23
4.6 Concentration mode...................................................................................................................24
4.7 Beep mode.................................................................................................................................26
4.8 Program the temperature probe.................................................................................................28
Section 5 Maintenance ....................................................................................................................29
5.1 Maintenance guidelines.............................................................................................................29
5.2 Clean the sensor........................................................................................................................29
Section 6 Troubleshooting .............................................................................................................31
6.1 Common problems.....................................................................................................................31
6.2 Reset the counter.......................................................................................................................31
6.3 Troubleshoot the pump..............................................................................................................32
6.3.1 Disassemble and clean the pump.....................................................................................32
6.3.2 Optimize the pump............................................................................................................35
Section 7 Replacement Parts and Accessories.........................................................................37
7.1 Accessories................................................................................................................................37
7.2 Optional accessories..................................................................................................................37
Section 8 Service Contact Information........................................................................................39
Section 9 Limited Warranty ............................................................................................................40
Section 10 Certification...................................................................................................................41

4
Table of Contents
Appendix A Computer Interface Operations ..............................................................................43
A.1 Data analysis for ISO 14644......................................................................................................43
A.1.1 Computer communications ...............................................................................................43
Appendix B PortAll Software..........................................................................................................47
B.1 Connections...............................................................................................................................47
B.2 Operation...................................................................................................................................47
Appendix C DPU-414 Printer ..........................................................................................................49
C.1 Printer setup ..............................................................................................................................49
C.2 Counter setup for the printer......................................................................................................51
C.3 Interpret the printout ..................................................................................................................52
Index......................................................................................................................................................53

5
Section 1 Specifications
Specifications are subject to change without notice.
General
Dimension (W x H x L) 101.60 mm x 58.42 mm x 165.10 mm (4.0" x 2.3" x 6.5")
Weight 1 kg (2.13 lb)
Maximum count displayed 9,999,999
Sample flow rate 0.1 cfm
Number of size ranges 2 (second size range can be selected at the front panel)
Particle size ranges
MET ONE 227A—0.5 micron and larger (channel 1); 0.7 micron, 1 micron, 3
micron or 5 micron (channel 2)
MET ONE 227B—0.3 micron and larger (channel 1); 0.5 micron, 1 micron, 3
micron or 5 micron (channel 2)
Coincidence error Less than 5% at 2,000,000 particles/cubic foot
Power +5 W, +10 V (approximately) (+6 V with battery pack)
Light source Laser diode
Sample/hold times 1 second to 24 hours
Count alarms 1 to 9,999,999 counts
Data storage 200 samples, rotating buffer
Count cycles Up to 100 in Auto or Average mode
Locations Up to 250 (number appears on the printout)
Output RS232C/RS485 for computer
Pump type Carbon vane, 0.1 cfm
Recharging time Up to 90% in 10 hours, 100% in 12 hours
Battery type Rechargeable NiMH, 3500 mAH
Operating time 8 hours, typical
Environment
Operating temperature 12 to 29 °C (55 to 84 °F)
Operating humidity 10 to 85% relative humidity, non-condensing
Storage temperature -40 to 71 °C (-40 to 160 °F)
Storage humidity Up to 98% relative humidity, non-condensing

6
Specifications

7
Section 2 General Information
2.1 Safety information
Read this entire manual before unpacking, setting up or operating this equipment. Pay
attention to all danger and caution statements. Failure to do so could result in serious
injury to the operator or damage to the equipment.
To make sure that the protection provided by this equipment is not impaired, do not use
or install this equipment in any manner other than that specified in this manual.
2.1.1 Use of hazard information
DANGER
Indicates a potentially or imminently hazardous situation which, if not avoided, will
result in death or serious injury.
WARNING
Indicates a potentially or imminently hazardous situation which, if not avoided,
could result in death or serious injury.
CAUTION
Indicates a potentially hazardous situation that can result in minor or
moderate injury.
Important Note: Indicates a situation which, if not avoided, can cause damage to the
instrument. Information that requires special emphasis.
Note: Information that supplements points in the main text.
2.1.2 Precautionary labels
Read all labels and tags attached to the instrument. Personal injury or damage to the
instrument could occur if not observed. A symbol, if noted on the instrument, will be
included with a danger or caution statement in the manual.
This symbol, if noted on the instrument, references the instruction manual for operation and/or safety information.
Electrical equipment marked with this symbol cannot be disposed of in European public disposal systems after
12 August of 2005. In conformity with European local and national regulations (EU Directive 2002/96/EC),
European electrical equipment users must now return old or end-of life equipment to the Producer for disposal at no
charge to the user.
Note: To return for recycling, contact the equipment producer or supplier for instructions on how to return end-of-life
equipment, producer-supplied electrical accessories and all auxiliary items for proper disposal.
This symbol, when noted on a product enclosure or barrier, indicates that a risk of electrical shock and/or
electrocution exists.
This symbol, if noted on the product, indicates the need for protective eye wear.
This symbol, when noted on the product, identifies the location of a fuse or current limiting device.
This symbol indicates a laser device is used in the equipment.
This symbol, when noted on the product, indicates the presence of devices sensitive to Electro-static Discharge
(ESD) and indicated that care must be taken to prevent damage with the equipment.

8
General Information
2.1.3 Laser safety information
This particle counter contains a laser-based sensor that is a Class 1 product (as defined
by 21 CFR, Subchapter J, of the Health and Safety Act of 1968) when used under normal
operation and maintenance. The manual contains no procedures for service of internal
parts within this unit. Only factory-authorized personnel must perform the service.
The particle counter has been evaluated and tested in accordance with EN
61010-1:1993, "Safety Requirements For Electrical Equipment For Measurement, Control
and Laboratory Use" and IEC 825-1:1993, "Safety of Laser Products".
2.1.4 Battery safety information
WARNING
An explosion can occur if the internal battery is replaced incorrectly.
Figure 1 shows the label that appears on the battery for the safety of the user.
2.1.5 Electrostatic discharge (ESD) considerations
Important Note: To minimize hazards and ESD risks, maintenance procedures not
requiring power to the analyzer should be performed with power removed.
Delicate internal electronic components can be damaged by static electricity, resulting in
degraded instrument performance or eventual failure.
The manufacturer recommends the user to take the following steps to prevent ESD
damage to the instrument:
•Before the user touches any instrument electronic components (such as printed circuit
cards and the components on them) discharge static electricity. This can be
accomplished by touching an earth-grounded metal surface such as the chassis of an
instrument or a metal conduit or pipe.
•To reduce static build-up, avoid excessive movement. Transport static-sensitive
components in anti-static containers or packaging.
•To discharge static electricity and keep it discharged, wear a wrist strap connected by
a wire to earth ground.
•Handle all static-sensitive components in a static-safe area. If possible, use anti-static
floor pads and work bench pads.
Figure 1 Battery safety label

9
General Information
2.2 General product information
The MET ONE 227 particle counter is a battery operated, laser based particle counter
that is used in a walk-around sampling routine. The MET ONE 227 particle counter stores
up to 200 records with a different location label for each sample. The data records may
later be printed or downloaded to a computer for analysis. The MET ONE 227 particle
counter is used in environments where the particulate contamination does not exceed two
million particles per cubic foot of air, such as clean-rooms, medical instrument
assemblies, computer rooms and downstream of air filter installations in HVAC systems.
The Concentration mode in the MET ONE 227 particle counter is used to take a brief
sample and estimate the probable cleanliness in areas with unknown particulate levels.
This is based on built-in calculations performed in the microprocessor of the MET ONE
227 particle counter. Long term use of the MET ONE 227 particle counter in uncontrolled
environments such as open air office spaces or outdoor air will require frequent sensor
maintenance.
The MET ONE 227 particle counter operates at a flow rate of 0.1 cubic foot per
minute (cfm). The flow rate is required to set the sampling parameters. For instance, the
MET ONE 227 particle counter takes 10 minutes to sample 1 cubic foot of air. To obtain
the counts per cubic foot, multiply the results of a 1-minute sample by ten. All counts are
reported as cumulative counts; that is, all the reported 0.3 micron particles are 0.3 micron
and larger in size.
2.3 Theory of operation
The MET ONE 227A/B particle counter is a combination of a sensor, pump and
electronics (refer to Figure 2 on page 10) that includes full particle counter features. Both
variants use the same sensor, pump, CPU and display electronics. The MET ONE 227A
particle counter is calibrated with channel 1 sensitivity of 0.5 micron and the MET ONE
227B particle counter is calibrated with a channel 1 sensitivity of 0.3 micron. Both operate
at a flow rate of 0.1 cfm.
The sample passes through a laser beam in the sensor, where the particles scatter the
laser light. The sample then passes through a pump and a filter to trap particles in the
counter rather than return them to the environment. The flashes of scattered light are
converted to electronic pulses directly proportional to the amount of scatter, which
creates a correlation to the particle size. The electronic pulses are counted and stored in
channel bins in a data record. A data record also includes the date and time from the
CPU clock and snapshots of the environmental conditions, if the Relative
Humidity/Temperature (RH/T) probe is attached.

10
General Information
Figure 2 Theory of operation
1Sample inlet 5Sample exhaust
2Sensor 6Serial data out
3Pump 7Control electronics
4Filter 8Display

11
Section 3 Installation
DANGER
Only qualified personnel should conduct the tasks described in this section of
the manual.
This section describes the setup of the MET ONE 227 particle counter and connections to
the equipment. If necessary, contact the Technical Support department with questions
regarding the compatibility or suitability of this product for a specific application.
3.1 Unpack the instrument
Remove the components from the shipping container and inspect for damage. Verify that
all the items listed in Figure 3 are included. If any items are missing or damaged, contact
the manufacturer or sales representative.
Retain the original packaging materials. Use the original packaging material to store or
ship the instrument to protect against damage during storage or transportation.
3.2 Installation guidelines for the MET ONE 227 particle counter
The MET ONE 227 particle counter is ready to use when shipped and is configured in a
default mode (refer to section 4.2 on page 15).
Before the operation of the MET ONE 227 particle counter, make sure that the following
guidelines are complied to:
•Remove the red sensor inlet cap and attach the isokinetic probe prior to sampling
(refer to section 3.3.1 on page 12).
•If the RH/T probe is used, attach it before the MET ONE 227 particle counter is
turned on (refer to section 3.3.5 on page 13).
Figure 3 List of packaged items
1Isokinetic probe (Catalog No. 2080613) 4MET ONE 227 particle counter
2Purge filter (Catalog No. 2080442) 5AC adapter—115 VAC (Catalog No. 770007), 230VAC
(Catalog No. 770012), 100 VAC (Catalog No. 770009)
3Charging stand (Catalog No. 2080469)

12
Installation
3.3 Mechanical installation
3.3.1 Install the isokinetic probe
The isokinetic probe (refer to Figure 4 on page 12, item 2) is used in the laminar air flow
for a flow rate of up to 100 feet per minute.
To install the isokinetic probe:
1. Remove the red sensor inlet cap from the MET ONE 227 particle counter.
Note: To minimize contamination, the isokinetic probe is protected with a cap on the opening
that should remain in place till the probe is used.
2. Attach the isokinetic probe to the sensor inlet so that the open end faces the direction
of the air stream.
3.3.2 Install the purge filter
The purge filter (refer to Figure 3 on page 11, item 2) is used for the maintenance of the
MET ONE 227 particle counter. The filter prevents the contamination of the sensor and
purges the sensor of accumulated internal particles.
To install the purge filter:
1. Remove the red sensor inlet cap or the isokinetic probe from the MET ONE 227
particle counter.
2. Attach the purge filter to the sensor inlet.
Figure 4 Installation of the isokinetic and relative humidity/temperature probe
1Relative humidity/temperature probe 3MET ONE 227 particle counter
2Isokinetic probe

13
Installation
3.3.3 Install the charging stand
The charging stand (refer to Figure 3 on page 11, item 3) is used to hold the MET ONE
227 particle counter during recharge or when sampling from a stationary position.
To install the charging stand:
1. Install the charging stand on any stable surface.
2. Place the MET ONE 227 particle counter on the charging stand.
3.3.4 Connect the AC adapter
WARNING
An explosion can occur if the internal battery is replaced incorrectly.
The AC adapter (refer to Figure 3 on page 11, item 5) is used to charge the internal
battery and use the MET ONE 227 particle counter with a standard 115 VAC outlet.
To connect the AC adapter:
1. Turn off power to the MET ONE 227 particle counter.
2. Attach the AC adapter to the power input jack (refer to Figure 5 on page 13) on the
bottom of the MET ONE 227 particle counter.
3.3.5 Install the RH/T probe
To install the RH/T probe:
1. Locate the connector for the RH/T probe (refer to Figure 4 on page 12, item 1) on top
of the MET ONE 227 particle counter.
2. Attach the RH/T probe to the inlet so that the open end faces the direction of the air
stream.
3.4 Connections and adjustments
The power and serial I/O connectors and the power switch are at the bottom of the
counter. The brightness of the display may be adjusted for optimum performance in
various ambient light conditions as shown in Figure 5.
Figure 5 Connections and adjustments
1Serial I/O connection 3Power switch
2Display brightness adjustment 4Power connection

14
Installation

15
Section 4 Operation
4.1 Power up
Use the power switch at the bottom of the counter to turn on the MET ONE 227 particle
counter (refer to Figure 5 on page 13, item 3). When first turned on, the counter will
display the main screen (Figure 6 on page 16). The MET ONE 227 particle counter
exhibits various counting modes. The factory default setting for the counting mode will be
the Manual mode.
4.2 Factory default settings
Table 1 lists the default parameters that are programmed at the factory. Refer to Section
4 on page 15 for a detailed explanation of the terms and instructions required for
programming parameters.
4.3 Manual mode
In the Manual mode, the MET ONE 227 particle counter takes one sample of
programmed length (default is one minute) and stops. This operation is based on the
factory default settings described in Table 1 on page 13.
To initiate a 1-minute count cycle:
1. Press 1on the front panel (refer to Figure 6). The pump will begin to operate. The
count cycle status will change from “Stop” to “Wait” for two seconds while the pump
reaches maximum speed.
The count cycle status (refer to Figure 6, item 2) will change to “Run” during the
1-minute sample and return to “Stop” at the end of the count cycle. The MET ONE 227
particle counter draws 0.1 cubic foot of air through the instrument. Multiply the results
by ten to calculate the particle counts per cubic foot.
Table 1 Default parameter settings
Parameter Setting
Location number 000
Count mode Manual (the counter will take one sample and stop counting)
Alarm limits 0 (no particle count level alarms will be registered)
Channel 2 particle size 0.7 micron in 227A; 0.5 micron in 227B
Volume Liters (applies to Concentration mode only)
Temperature °C (only if RH/T probe is attached).
RS232 mode Normal
Baud rate 9600
Sample time 1 minute (length of sample period)
Hold time 1 second (hold time between samples in Automatic mode)
Program mode Unlocked (allows user programming).

16
Operation
4.4 Automatic mode
The Automatic mode is used to program sampling parameters. The Automatic mode
covers the typical programming requirements for the common functions associated with
the MET ONE 227 particle counter. Table 2 on page 17 describes all the common
functions of the MET ONE 227 particle counter. The MET ONE 227 particle counter need
not be programmed in a sequential order and any parameter may be programmed at any
time without affecting the others.
Figure 7 on page 17 shows an example of a program sampling pattern where a MET
ONE 227 particle counter is used to verify the cleanliness of a large room, dividing the
space into eight sections for a comprehensive measurement.
Figure 6 LCD display
1Channel 1 and channel 2 sizes (MET ONE 227B) 5Relative humidity
2Count cycle status 6Keypad functions
3Channel 1 and channel 2 count results 7Temperature
4Counting mode

17
Operation
Figure 7 Example of a sampling pattern
1Sections of a large room (1–8)
Table 2 MET ONE 227 particle counter function descriptions
Function Description
Stop Count cycle status when the count cycles are complete.
Wait Count cycle status for 2-second pause to allow the pump to come up
to speed before starting first count cycle.
Run Count cycle status during a particle count cycle.
Hold Count cycle status during the pause between count cycles.
Location Num Location number (0 to 250) can be set for a sample location as well
as for an addressing number established for the counter
(computer control).
Count Mode = Manual (M) Counts for one count cycle; then turns pump off. Counter remains on.
Count Mode = Auto (A) Repeats count cycles until all the cycles programmed are completed.
Count Mode = Average (Av) Gives the average, minimum and maximum count for a specified
number of count cycles.
Count Mode = Concentration
(CF or L) Approximates count per cubic foot of air (CF) or count/liter of air (L).
Also changes temperature readout from °F to °C.
Period Time (1 to 10 seconds) selected for count approximation when in
Concentration mode.
Count Mode = Beep (B) One beep after channel 1 and channel 2 count limit is reached and
each step multiple thereafter. Counter counts until stopped.
Num Cycles Number of count cycles (1 to 100 or INF) in Auto (A) and Average
(Av) modes. If INF (Infinity) is selected, the counter will continue the
count cycles until stopped.
Ch 1 Lim Count limit of channel 1 when an audible alarm begins.
Ch 2 Lim Count limit of channel 2 when an audible alarm begins.
Ch 2 Size Minimum size threshold of particles counted in second size channel.
Also, second size channel can be selected while in this function.
Volume = Changes particle count readout when in Concentration mode from
counts/liter to counts/cubic foot

18
Operation
Temp = Changes temperature readout from °F to °C.
RS232 Mode = Print a Record When the printer is connected, results are printed at the end of each
count cycle.
RS232 Mode = Print Buffer When the printer is connected, the printer prints count data for all
count cycles stored in buffer.
RS232 Mode = Normal Printer is disabled; RS232 (computer control) is enabled.
Buffer Cnt Number of count cycles presently stored in the buffer.
Baud Rate Select from 300, 1200, 2400 or 9600.
Date Present date
Time Present time of day (24-hour clock format)
Period Sample time for each count cycle (up to 24 hours)
Hold Time between count cycles (up to 24 hours)
Program Mode Is Unlocked (or Locked) The counter can be locked so that the program settings cannot be
changed.
<Sensor Fail!> When flashing, indicates a sensor problem.
<Count Alarm!> When flashing and beeping, indicates that the programmed count
alarm limit has been exceeded.
<Low Battery!> When flashing, indicates battery needs recharging.
(Program Mode) Indicates that the user has entered the mode for changing
parameters or limits of the display, serial I/O or clock functions.
RUN Begins the count cycle.
STOP Stops the count cycle before completion; data is not saved.
DSP Top menu name (Display) for all display parameters.
SIO Top menu item (Serial Input/Output) for all serial
interface parameters.
CLK Top menu name (Clock) for all clock parameters.
PROG Allows user to change parameters or limits.
NXT Moves to the next function within the top menu.
BAK Moves to the previous function within the top menu.
RET Returns to the main screen.
INC Either moves to the next mode selection or increments (increases)
the number settings.
DEC Either moves to the previous mode selection or decrements
(decreases) the number settings.
→Advances to the next set of digits to be changed.
ZERO Sets buffer count to zero (clears buffer of all count cycle data).
Table 2 MET ONE 227 particle counter function descriptions (continued)
Function Description

19
Operation
4.4.1 Unlock the program mode
To program the MET ONE 227 particle counter, unlock the Program mode.
Note: The Program mode is unlocked at the factory by default.
To unlock the Program mode:
1. Press 4 (CLK) on the main screen.
2. Press 3(BAK) to display the Program mode status screen (refer to Figure 8).
3. Press 1 (PROG) to enter the Program mode.
4. Press 2 (INC) to unlock the Program mode.
5. Press 4 (RET) to return to the main screen.
4.4.2 Set display (DSP) functions
4.4.2.1 Location number
To set the location number:
1. Press 2 (DSP) on the main screen. The Location Number screen is displayed
(refer to Figure 9).
2. Press 1 (PROG) to enter the Program mode.
3. Press 2 (INC) to set the Location Number to 001.
4. Press 4 (RET) to return to the main screen.
Figure 8 Program mode status screen
Figure 9 Location number screen
Table of contents
Other Hach Ultra Cash Counter manuals