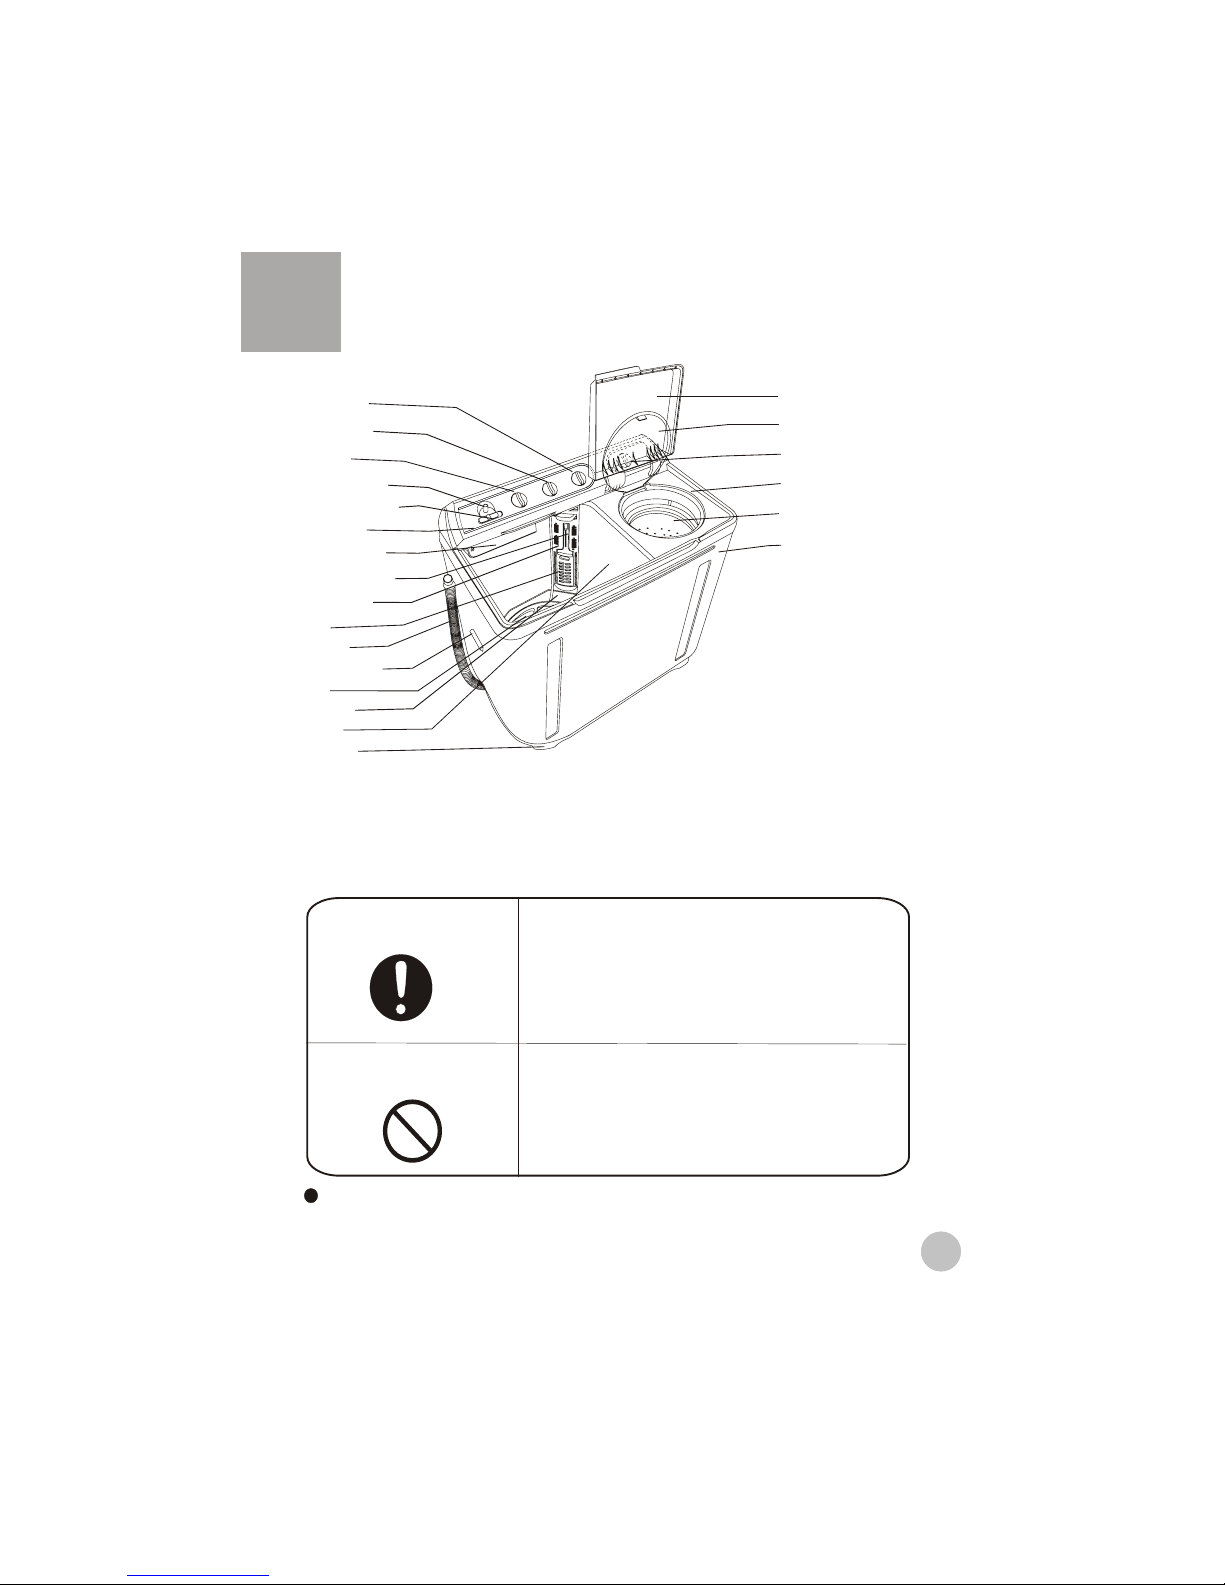
洗涤物的参考重量
7
洗涤物的参考重量
The capacity of washing and spinning of the
machine refer to the largest weight of the
standard laundries under dry condition that can
be washed or spinned in one time. Laundries
quantity in one washing cycle shall be lower
than the rated capacity.
The thickness ,size , type of the cloth will influ-
ence the actual washing capacity. It is suit-
able to put in reasonable amount of laundries
and the laundries can be turned round in wash-
ing for one time washing.
Do not select " Maximum " water level for
few laundries , so as to avoid splashing of water.
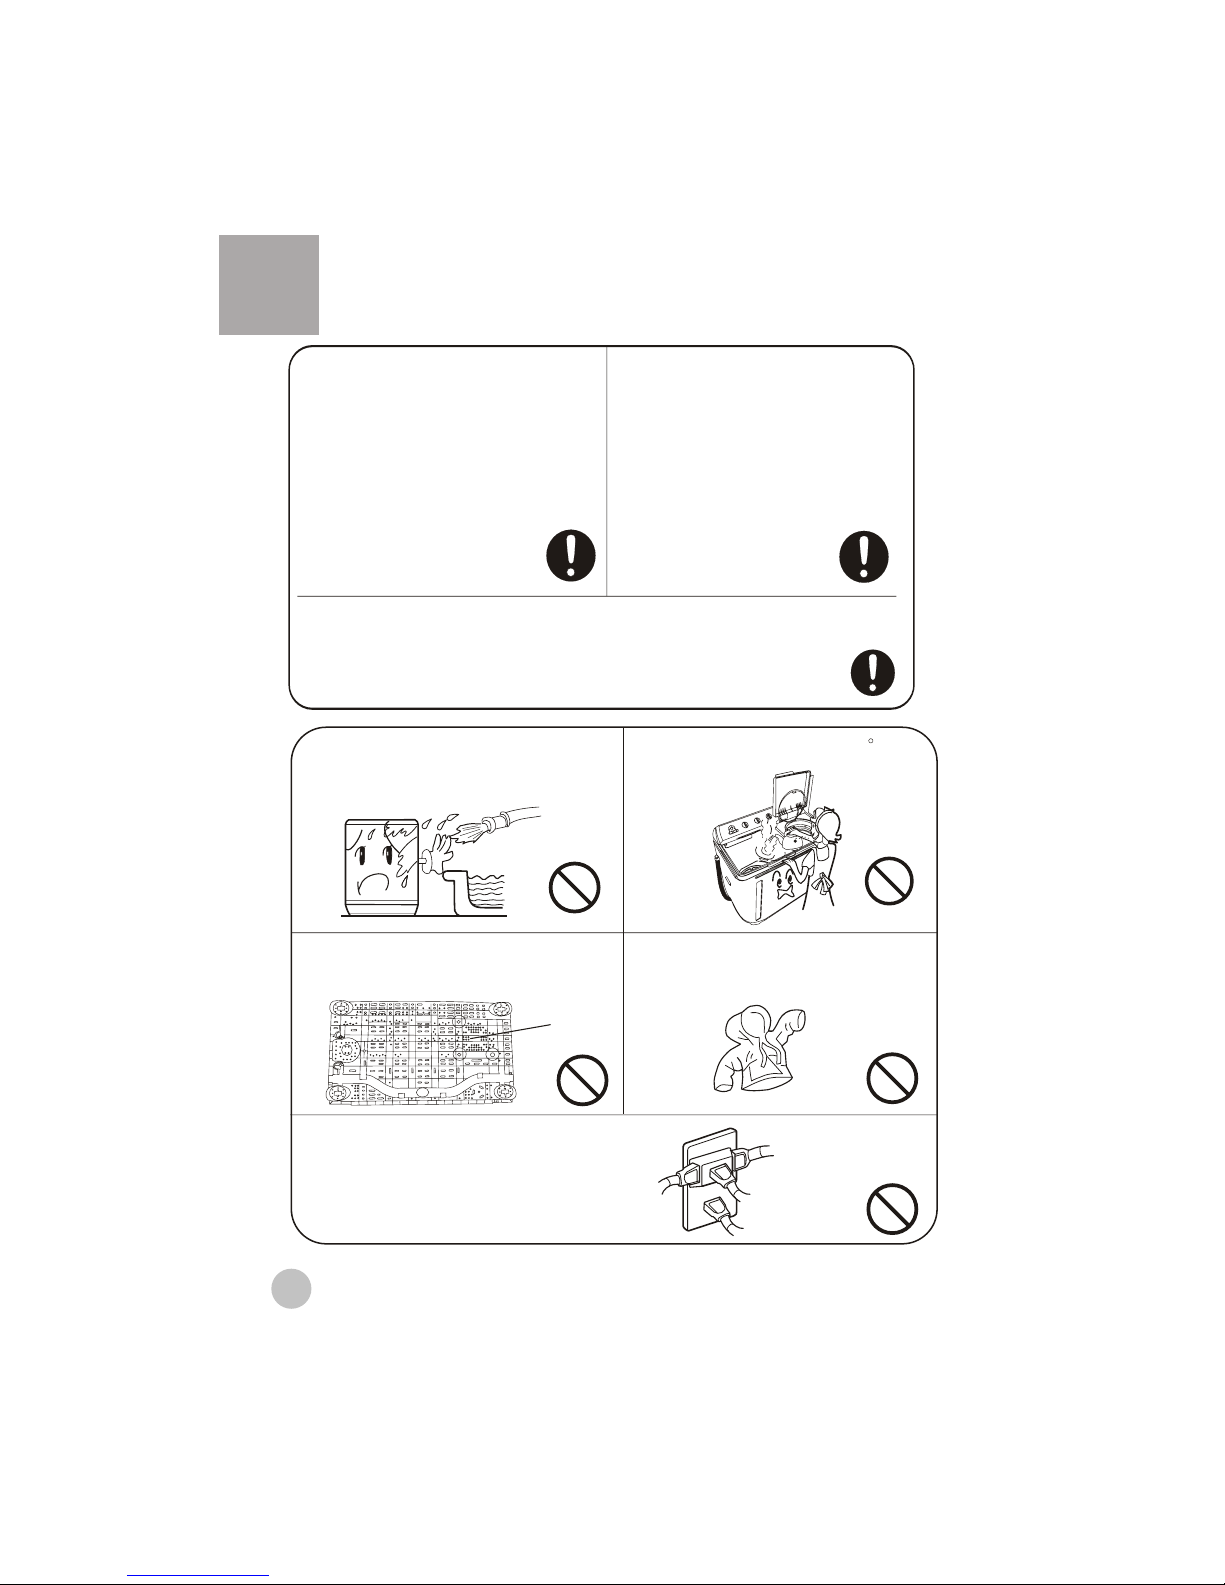
The musts in washing
How to use the whitener
Fill water to decided level. Dilute
the whitener with container.
Pour it slowly into thewashing tub.
Avoid using whitener on laun-
dries with color or pattern as they
are prone to lose color.
The whitener shall not touch
the laundries directly.
Direct dissolved in the machine:
1.Fill small quantity of water.
2.Add the powder . Run for 30
seconds to dissolve it completely.
3.Put it in the laundries. Select suitable
water level.
The instant dissolving of the washing
powder:
1.Prepare warm water of 30 C and a
container.
2.Add the powder while stirring to fully
dissolve it.
The powder is more prone to pollute the
laundries than the detergent. Therefore
please use it with proper quantity.
Dosage of different washing powder is
different. Please refer to the instruction
of the washing powder for the detail
dosage.
Refer to the user's manual for
the usage and quantity of the
whitener.
For powder whitener, please
dissolve it before using.
It is suggested not to use high sudsingdetergent.
How to use the washing powder
Usage of the detergent