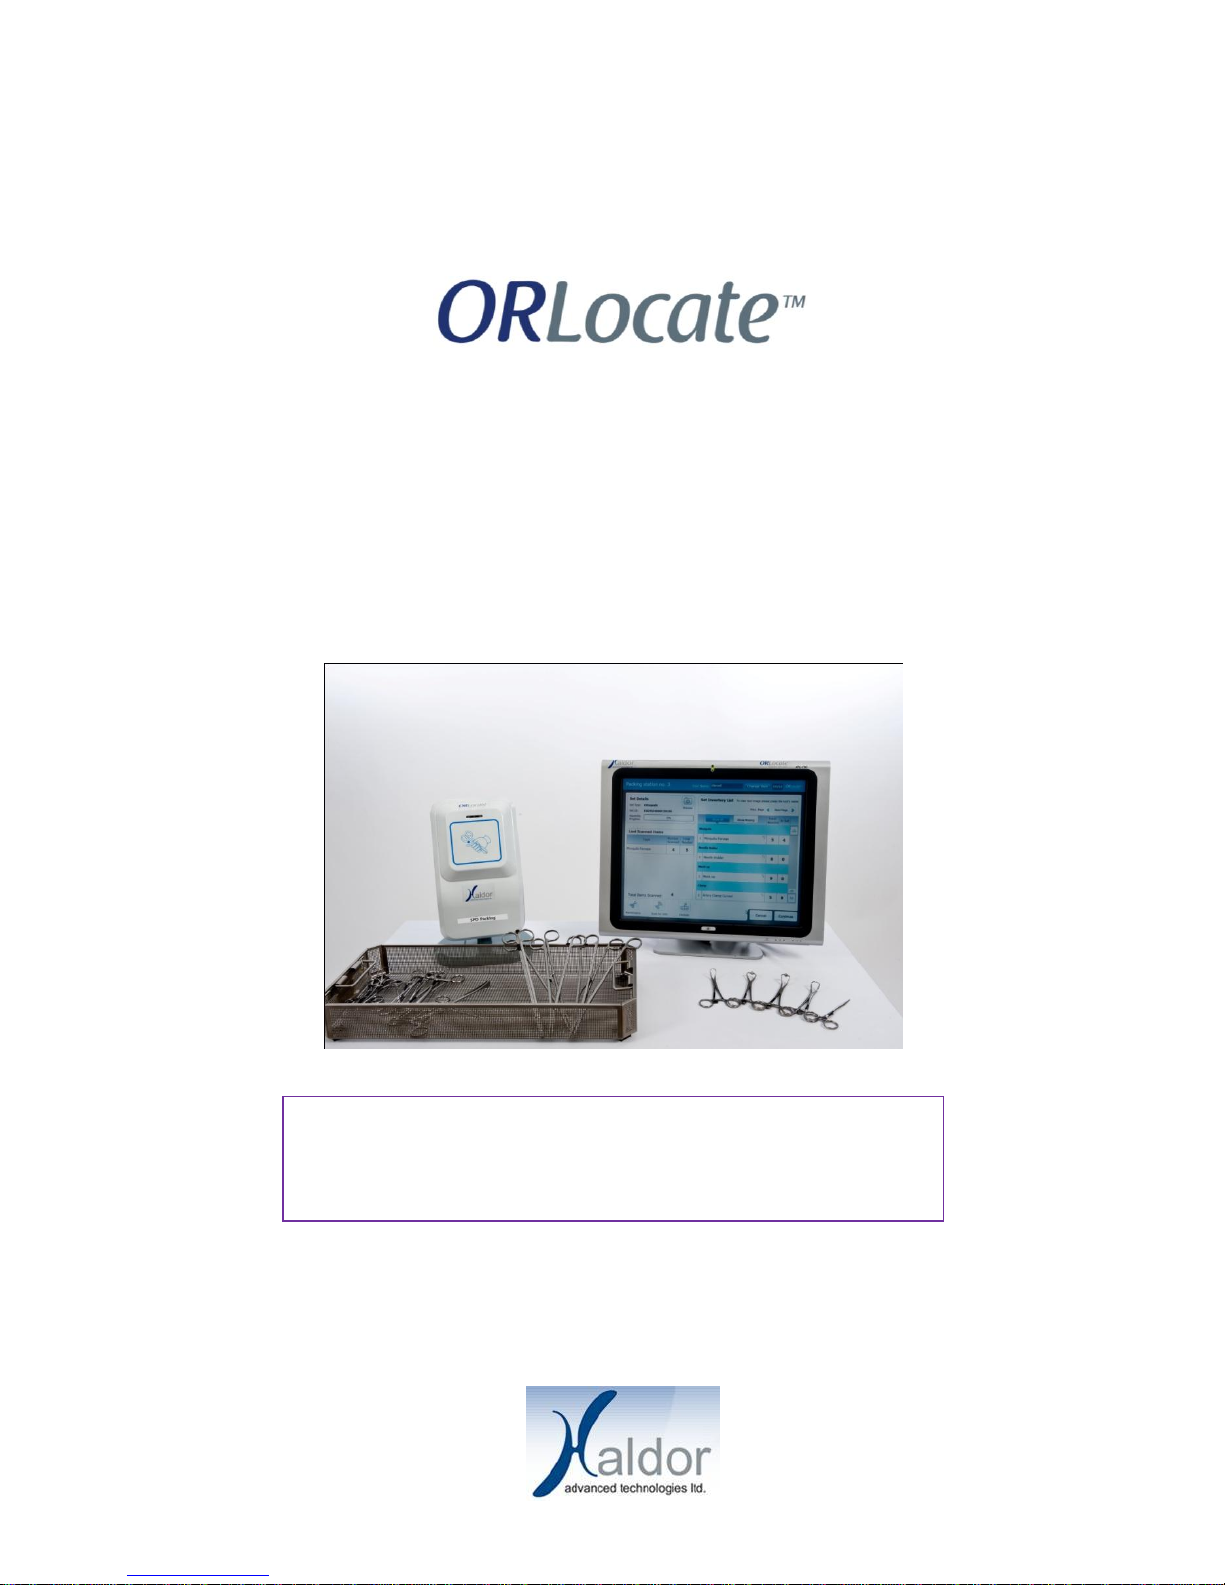
User Manual ORLocate™ Packing System
© 2010 Haldor Advanced Technologies Ltd.P0037 Rev.0 Page 4 out of 28
ITEMS MISSING:
Items that are listed in the inventory list but were not scanned in the Tool Pack antenna during
assembly.
INVENTORY LIST:
The list of items that create a surgical set. This list is uploaded to the system by a system
administrator at the ORLocate management system.
INSTRUMENT:
A specific tool that can be used on surgeries performed at a hospital. An instrument in the system will
usually be part of a set and will be tracked and managed by ORLocate™ Management system.
INSTRUMENT TYPE:
a template of instrument that defines its expected use, the set in which it may belong to and its exact
shape. Each instrument in the system is characterized by a single instrument type.
INSTRUMENT SET/ TRAY:
A box that contains a set of sterile surgical instruments. The Set includes a non-sterile external
container, and a sterile inner “net” that contains the instruments. The instruments are arranged in a
predefined layout within the set (in a Tray). A set in the system will be tracked and managed by
ORLocate™ Management system.
SET TYPE:
A template of a set that defines its expected use, the procedures it might be used in, its specific
packaging instructions, the type and quantity of required instruments and the layout of instruments
in it.
SET TYPE CODE:
An alphanumeric code uniquely attached to a specific set type. The code serves as an internal
convention in the hospital.
LAYER:
A segment within the set that refers to either a physical layer or to an area within the set layout. Each
layer may include several instruments arranged in a specific layout. The layer may or may not include
a physical container. The content of each layer is defined in the Set Type.
RFID:
Radio Frequency Identification –a technology that enables communication with items that have
RFID-tags attached to them.
An RFID system includes a small radio transmitter that is activated by an antenna and in response
sends its ID back to the antenna. Passive RFID tags, like those used in ORLocate™, do not contain a
battery.
RFID TAG:
A small, self-enclosed device that contains an RFID and is attached to a surgical instrument or is
attached to an instrument set/tray.
PACKING PERSONNEL/TECHNICIAN: