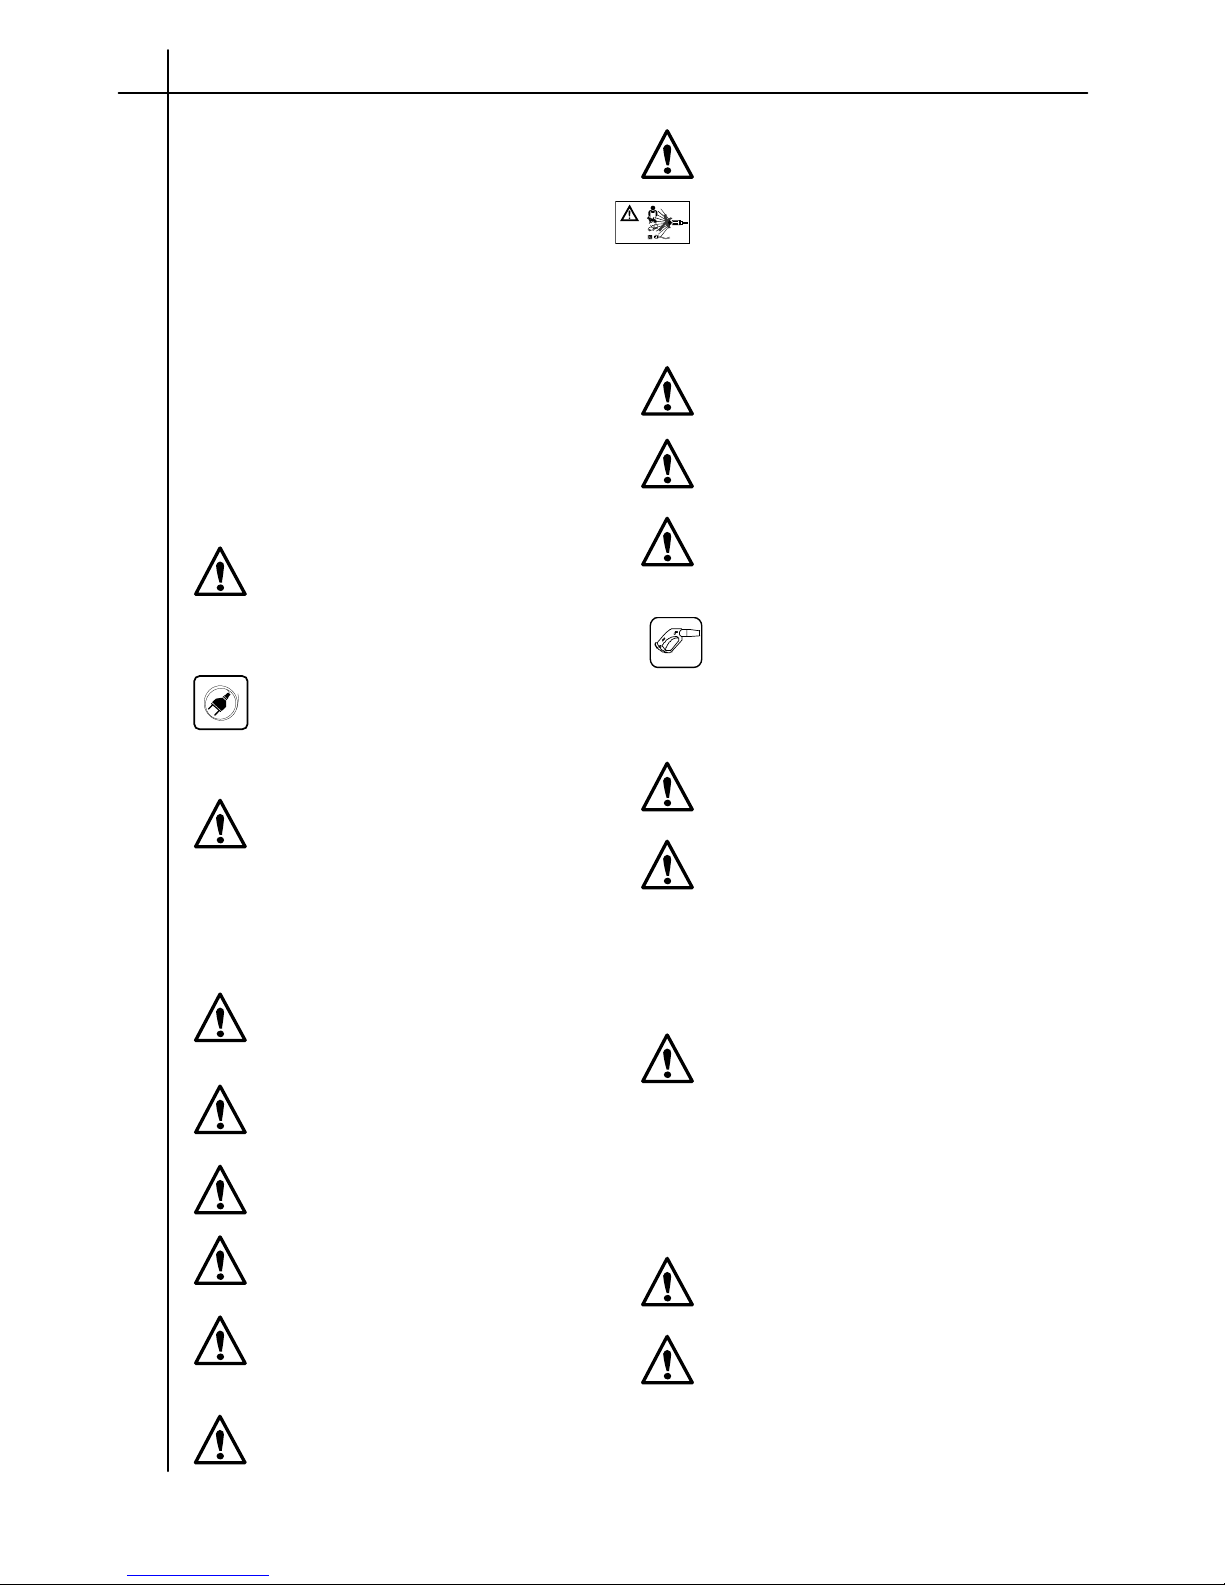
Halfords HP 2800 User manual

INTRODUCTION
For your safety, please read and understand this instruction manual.
Retain the manual for future reference and ensure that new users have also read and
understood the instructions and warnings.
If you have any problems with this unit that cannot be rectified by using the troubleshooting
section on page 9, please call our customer careline on 0845 601 7834.
Customer Careline: 0845 601 7834 1

Customer Careline: 0845 601 7834
2
Thank you for purchasing this product, which has passed our extensive quality assurance
process. Every care has been taken to ensure that it reaches you in perfect condition. However,
in the unlikely event that you should experience a problem, or if we can offer any assistance or
advice, please do not hesitate to contact our customer careline on 0845 601 7834, please do
not return the pressure washer to the store of purchase.
Safety first
Before attempting to operate this pressure washer the following basic safety precautions
should always be taken to reduce the risk of fire, electric shock and personal injury. It is
important to read the instruction manual to understand the application, limitations and potential
hazards associated with this tool.
CERTIFICATE OF GUARANTEE.
The manufacturer guarantees this machine for 1 year with effect from the date of purchase.
This guarantee does not cover machines intended for hire. We will replace any parts found to
be defective due to a fault or manufacturing defect. The guarantee does not cover the following:
consumable accessories, use for professional purposes, or misuse. Should the machine be
modified in any way or used with unauthorized accessories without the manufacturer's consent
the guarantee will automatically be rendered invalid. The manufacturer declines any
responsibility as regards civil liability arising from misuse of the machine or failure to comply
with the relevant operating, setting and maintenance instructions. Assistance under the
guarantee will only be admissible if the request is addressed to the approved after-sales
service centre together with proof of purchase.
As soon as you have purchased the product, we recommend that you check to make sure it is
intact and that you read the operating instructions carefully before using it.
This guarantee is in addition to and in no way affects your statutory rights.
General warning
Read carefully
The use of safety goggles is advised
Ear protection is advised
Protect from frost
Maximum sound power level
Compliant with the European directives

Safety Instructions
THIS MACHINE PRODUCES A HIGH
PRESSURE WATER JET, WHICH CAN
BE DANGEROUS. FOLLOW ALL THE
MAINTENANCE AND SAFETY
INSTRUCTIONS DETAILED IN THIS
MANUAL. FAILURE TO FOLLOW THESE
INSTRUCTIONS COULD RESULT IN
SERIOUS INJURY OR DEATH.
THE PRESSURE WASHER HAS BEEN
CHECKED PRIOR TO DESPATCH. IF
YOU HAVE ANY QUESTIONS PLEASE
CONTACT THE CUSTOMER CARELINE.
In addition to the safety information
given in this manual all other
applicable general safety
regulations need to be observed.
Make sure that the connection to
the electric system corresponds to
the latest edition of regulations and
safety standards.
It is strongly recommended that the
electrical power supply for this
machine includeseither a residual
current device to interrupt power
supply if dispersion current to
ground exceeds 30mA for 30mS,
or a grounding circuit.
Do not use the unit if the electric
cable or plug is damaged. Consult
a qualified electrician for repair.
Never direct the water jet at the
unit itself.
Never touch the mains plug with
wet hands; never work bare-foot.
Do not operate the unit in
potentially explosive locations.
Before any cleaning or
maintenance, the electro-pump
must be disconnected from the
power supply.
Do not use in the rain.
This unit is for domestic use only.
The water jet can be dangerous if
used incorrectly; never direct the
water jet towards yourself or others,
do not clean clothing or foot wear,
never direct the water jet towards
animals or electrical appliances.
Never put hand or fingers over the
spray tip while operating the unit.
Never try to stop or deflect leaks with
any body part.
Do not let children or persons not
familiar with these safety instructions
use the unit.
Before start-up make sure that the
lance is not open as this could
release a sudden jet of high pressure
water which could turn the lance into
a dangerous whip.
We recommend the use of safety
goggles and suitable ear protection.
Vehicle tyres/tyre valves may only be
cleaned from a minimum distance of
30cm otherwise they could be
damaged. The first indication of this is
a discolouration of the tyre. Damaged
vehicle tyres/tyre valves can be
dangerous.
Never draw in solvent-containing
liquids, undiluted acids or solvents!
This includes petrol, paint thinners
and heating oil. The sprayed vapour
is highly flammable, explosive and
toxic, also acetone, undiluted acids
and solvents as these corrode
materials used on the unit.
Use only the nozzle supplied with this
machine.
Do not drive vehicles over the high
pressure hose or the electrical cables.
Do not kink or allow contact with
sharp objects. The hose is easily
damaged.
Customer Careline: 0845 601 7834 3

Never operate the machine without all
components properly connected to
the machine.
Ensure you know how to stop this
product and release pressure
quickly. Be thoroughly familiar with
the controls.
Always turn water supply “ON” before
turning pressure washer “ON”.
Running pump dry causes serious
damage.
Each time the unit is switched off,
release the pressure by squeezing
the trigger. Never disconnect the
high-pressure discharge hose from
the machine while the system is
pressurized.
Do not operate the pressure washer
with the inlet water screen removed.
Keep screen clear of debris and
sediment.
Used lubricants must be collected
and treated in accordance with
local authority regulations.
Never operate the pressure washer
with broken parts. Check equipment
regularly and repair or replace worn
or damaged parts immediately.
Ensure safety devices are
operating properly before each use.
DO NOT remove or modify any
part of the gun or unit.
Never attempt to alter factory settings.
Altering factory settings could
damage the unit and will void the
warranty.
Do not operate the product when
fatigued or under the influence of
alcohol or drugs.
Always hold gun and wand firmly
when starting and operating the
machine.
Always engage the trigger safety
latch in the safe position when
spraying is stopped even if only for
a few moments. Never leave wand
unattended while machine is
running.
Never connect the pressure washer
to a hot water supply, as this will
significantly reduce the life of the
pump.Always follow detergent
manufacturer’s label
recommendations for proper use of
detergents. Always protect eyes,
skin, and respiratory system from
detergent use.
Use of extension cords is not
recommended. Use only grounded
three wire extension cords intended
for outdoor use. Use only extension
cords having an electrical rating equal
or greater than the rating of the
products. Do not pull on the cord to
disconnect. Always disconnect cord
from receptacle before disconnecting
product from extension cord.
Do not use pressure that exceeds
the operating pressure of any of
the parts (hoses, fittings, etc.) in
the pressurised system. Ensure all
equipment and accessories are
rated to withstand the maximum
working pressure of the unit.
This pressure washer has an
automatic ON/OFF system. The
motor on this pressure washer does
not run continuously. It only runs
when the trigger of the spray gun is
squeezed.
Never permanently engage the
trigger mechanism on the gun.
Customer Careline: 0845 601 7834
4

10
9
8
1
2
3 6
7
Assembly
2
3
5
1
Remove the tap adaptor from the hose
pipe connector in order to fit to the
pressure washer
Secure all connections tightly to prevent leaks.
Customer Careline: 0845 601 7834 5
12
45
11
Contents & Assembly
Upon opening the carton, if you do not have all the items as detailed please contact the
Customer Careline 0845 601 7834, please do not return pressure washer to the store of
purchase.
1 - Spray gun
2 - Vario lance
3 - Rotary brush
4 - Fixed brush
5 - Hose pipe connector
6 - Cleaning pin
7 - Pressure washer unit
8 - High pressure hose 10m
9 - Transfer hose
10 - Turbo lance
11 - Electrical cord hook(backside)
12 - Detergent tank
13
13- On/off switch
Attach hose pipe connector and
connect garden hose
4

Unpacking
This packaging contains sharp objects. Take care when unpacking. This machine could require
two persons to lift, assemble and move. Remove the machine, together with the accessories
supplied, from the packaging. Do not throw the packaging away, keep it safe throughout the
guarantee period then recycle if possible, otherwise dispose of it by the proper means. Do not
let children play with empty plastic bags due to the risk of suffocation.
Operation
Adjusting Fan Pattern
The angle of spray coming out of the lance may
be adjusted by rotating the nozzle. This will vary
the spray pattern from approximately a 0° narrow
high impact stream to a 60° wide fan spray (see
figure 1).
The narrow high impact spray (see figure 2)
must be used cautiously, as it may damage
some surfaces.
Large surface areas can be cleaned more
Adjusting pressure setting
quickly using a wide fan pattern (see figure 3).
pressure.
Nozzle Cleaning
A clogged or partially clogged nozzle can cause
a significant reduction of water coming out of the
nozzle and cause the unit to pulsate while
spraying. To clean out the nozzle:
−Turn off and unplug unit.
−Turn off water supply. Relieve any pressure
trapped in the hose by squeezing trigger 2-3
times.
−Separate lance from gun.
−Rotate nozzle to the narrow stream setting.
This opens up the fan blades.
−Insert tip cleaner into the nozzle hole and move back and forth until debris is dislodged (see
figure 4).
−Remove additional debris
by back-flushing water through the nozzle. To do this, place end of
a garden hose (with water running) to end of nozzle for 30-60 seconds.
Nozzle
Tip Cleaner
Figure 4Insert tip cleaner in nozzle hole
and move back and forth until debris is dis-
lodged
Figure 2Narrow high impact stream
Figure 3Wide fan pattern.
Customer Careline: 0845 601 7834.
6
1
The pressure stting can be adjusted by
rotating the inner collar of nozzle towards
+(anti clockwise) to increase water pressure
and towards-(clockwise) to decrease water
Turn the spray nozzle clockwise
to decrease the pressure

Unpacking
This packaging contains sharp objects. Take care when unpacking. This machine could require
two persons to lift, assemble and move. Remove the machine, together with the accessories
supplied, from the packaging. Do not throw the packaging away, keep it safe throughout the
guarantee period then recycle if possible, otherwise dispose of it by the proper means. Do not
let children play with empty plastic bags due to the risk of suffocation.
Operation
Adjusting Fan Pattern
The angle of spray coming out of the lance may
be adjusted by rotating the nozzle. This will vary
the spray pattern from approximately a 0° narrow
high impact stream to a 60° wide fan spray (see
figure 1).
The narrow high impact spray (see figure 2)
must be used cautiously, as it may damage
some surfaces.
Large surface areas can be cleaned more
quickly using a wide fan pattern (see figure 3).
Nozzle Cleaning
A clogged or partially clogged nozzle can cause
a significant reduction of water coming out of the
nozzle and cause the unit to pulsate while
spraying. To clean out the nozzle:
−Turn off and unplug unit.
−Turn off water supply. Relieve any pressure
trapped in the hose by squeezing trigger 2-3
times.
−Separate lance from gun.
−Rotate nozzle to the narrow stream setting.
This opens up the fan blades.
−Insert tip cleaner into the nozzle hole and move back and forth until debris is dislodged (see
figure 4).
−Remove additional debris by back-flushing water through the nozzle. To do this, place end of
a garden hose (with water running) to end of nozzle for 30-60 seconds.
Nozzle
Tip Cleaner
Figure 4Insert tip cleaner in nozzle hole
and move back and forth until debris is dis-
lodged.
Figure 2Narrow high impact stream.
.
Figure 3Wide fan pattern.
Customer Careline: 0845 601 7834
6
1
Adjusting Pressure Setting
The pressure setting can be adjusted by
rotating the orange inner collar of nozzle towards
+ (anti
clockwise) to increase water pressure and
towards - (clockwise) to decrease water pressure.
Turn the spray nozzle clockwise
to decrease the pressure

Angle To Cleaning Surface ying water against a
ow To Avoid Damaging Surfaces because the impact force of the water exceeds the
gering the gun, adjust the nozzle to a wide fan pattern. ng surface, and trigger the
ry the fan pattern spray angle and the distance to the cleaning surface until
the high pressure
urbo Lance sometimes referred to as a rotary nozzle, is a very effective tool that can
arrow high impact stream, only use it in applications
etergents t pressure washer detergents – household detergents may be thicker and will clog
w pressure setting. To do
this, twist the pressure adjustment collar on the Vario lance to the lowest pressure setting
The optimum angle for spra
cleaning surface is 45°.
H
Damage to cleaning surfaces occurs
durability of the surface. Never use a narrow high impact stream or a turbo/rotary nozzle on a
surface that is susceptible to damage. Avoid spraying windows with a narrow high impact
stream or turbo nozzle as this may cause damage. To avoid possible damage follow these
three steps:
1. Before trig
2. Place the nozzle approximately 4-5 feet from and 45° to the cleani
gun.
3. Va optimum
cleaning efficiency is achieved without damaging the surface.
CAUTION: Car paintwork / bodywork and other surfaces can be damaged by
jet, in particular, caution should be taken with new, damaged or unsecured paint. Damage is not
covered by the warranty.
T
A turbo nozzle,
significantly reduce cleaning time. The turbo nozzle combines the power of a narrow high
impact stream and the efficiency of a fan pattern. This swirls the narrow high impact stream into
a cone shape that cleans a larger area.
CAUTION: As a turbo nozzle uses a n
where the cleaning surface cannot be damaged by narrow high impact spray (as above).
Additionally, the turbo nozzle is NOT adjustable and cannot be used to apply detergent.
D
Use specialis
the detergent injection system.
1. Unscrew the cap beside the wheel of pressure washer to add detergent.
2. Detergent is applied to surface by using the Vario lance on the lo
Customer Careline: 0845 601 7834 7
Figure 5Optimum angle to cleaning
surface

by twisting collar clockwise towards the ‘negative’
symbol (see figure 6). Alternatively detergent can
be applied when using a low pressure
attachment
with the lance, e.g. fixed brush,rotary brush.
3. Be sure all detergent is flushed from system after use – add water to system to do this.
Shutdown
1. Be sure all detergent is flushed from the system.
e pressure washer at on/off switch on unit.
the gun to depressurise system.
r supply off before turning motor off. Serious damage could occur
rise, turn motor off, turn water supply off and squeeze gun trigger
o not store the pressure washer outdoors. Do not store the pressure washer where it might
mage due to freezing is not covered by the warranty.
HP 2800
2. Turn off th
3. Turn off the water supply.
4. After the motor and water supply are turned off, trigger
CAUTION: NEVER turn wate
to the pump and/or motor.
WARNING! NEVER disconnect the high-pressure discharge hose from machine while system
is pressurised. To depressu
2-3 times.
5. After each use, wipe all surfaces of the pressure washer with a clean, damp cloth.
Storage
D
freeze. Da
Major Technical Data
ITEM
Working Pressure
Working Flow Rate
7.1 l/min
Max. Pressure Wate
r Supply 0.4 r)Mpa (4 ba
Motor Capacity 2800W
Power Supply Vo
ltage 2 z40V~50H
Max. Water Temperatur
e 50°C
Customer Careline: 0845 601 7834
8
Turn the spray nozzle clockwise
to decrease the pressure
Figure 6 Adjusting pressure
12.5 Mpa(125bar)
Motor Protection
To prevent damage due to overheating the pump motor is fitted with a thermal switch.
If during use the pressure washer stops - turn off and unplug from the mains power supply
and allow to cool for at least 10 minutes.
If the motor continues to cut out due to overheating contact the Customer Careline Number
0845 601 7834.

ecycling
his product bears the selective sorting symbol for waste electrical and
ment (WEEE). This means that this product must be
s are sence of hazardous
R
T
electronic equip
handled pursuant to European Directive 2002/96/EC in order to be
recycled or dismantled to minimize its impact on the environment.
For further information, please contact your local or regional authorities.
Electronic products not included in the selective sorting proces
potentially dangerous for the environment and human health due to the pre
substances.
Customer Careline: 0845 601 7834 9
Troubleshooting chart
Symptom Possible cause(s) Corrective Action(s)
Pressure washer
does not start
1 .Unit is pressurized
2. Plug did not well connected or
electric socket is faulty
3. Extension cord too long or wire
size too small
4. Main voltage supply too low
1. Squeeze trigger on gun
2. Check plug, socket
3.Remove extension cord
4. Check that main supply
voltage is adequate
Pump does not
reach necessary
pressure
1. Water inlet filter is clogged
2.Pump sucking air from hose
connections
3. Nozzle worn or not correct size
1.Clean water inlet filter
2.Check that connections
and locking ring are
properly tightened
3. Contact customer
Careline, do not return
pressure washer to store
of purchase
Low pressure 1.Check orange pressure
collar adjustment,roate
pressure adjusting orange
collar anti clockwise to
increase pressure(page 6)
Fluctuating Pressure
1. Pump sucking in air
2. Clogged nozzle
1. Check that hoses and
connections are tight
2. Clean with tip cleaner
(see page 6)
Motor stops
suddenly
1. Extension cord too long or wire
size too small
2. Thermal safety switch has
tripped due to overheating
1. Remove extension cord
page4)
2. Check that main supply
voltage age corresponds
to specifications
3.Turn off and unplug
from the mains power
supply and allow to cool
for at least 10 minutes,if
the motor continues to
cut out due to
overheating
contact the
Customer
Careline
Number
084 601 7834.
No detergent
Suction – units with
attachable
applicators
1.Detergent applicator clogged
1. Clean applicator with
warm water
2. Replace applicator
Unit begins to
smoke
1.Overheated, overloaded or
damaged motor
1.Turn of f uni t and
contact customer careline
(

EC Declaration of Conformity
Product: Pressure washer
Model: HP 2800
Item Code: 825240
It is ensured through internal measures that series-production units conform at
all times to the requirements of current EC Directives and relevant standards.
Signed....................................................................
CHRIS HALL
Head of Quality & Cost Reduction
1 Nov 2007
Halfords Ltd
Washford
Redditch
B98 0DE
Serial number:--------------------------
(to be entered by customer)
- 98/37/EEC Machinery Directive
-
Low Voltage Directive 73/23/EEC at last amended by EEC Directive93/68/EEC
- EC Council Directive 89/336/EEC at last amended by EC Directive93/68/EEC
- 2000/14/EC Noise Directive
We, Halfords Limited, lcknield Street Drive, Redditch, Worcestershire, B98 0DE
hereby declare that the machine described below is both in its basic design and
construction and in the version marketed by us conforms to the relevant safety
and health related requirements of the appropriate EC Directives. This declaration
shall cease to be valid if modifications are made to the machine without our
approval.
1 0 Customer Careline: 0845 601 7834
This manual suits for next models
1
Table of contents
Other Halfords Pressure Washer manuals
Popular Pressure Washer manuals by other brands

Sealey
Sealey PW2200 instructions

Champion Power Equipment
Champion Power Equipment 100790 Operator's manual

ADENDORFF
ADENDORFF HCLEAN-360 Operation manual

AWH
AWH TANKO MX125 Operating & installation instructions

Kärcher
Kärcher HD 2.3/24 P / CD-23243 Operator's manual

Kärcher
Kärcher K 2.91 MD operating instructions