3
5. Getting Started
Warning –Batteries
•Immediately remove dead batteries from the
product and dispose of them.
•Only use batteries (or rechargeable batteries) that
match the specied type.
•Donot mix old and new batteries or batteries of a
different type or make.
•When inserting the batteries, make surethat the
polarity is correct (‘+’ and ‘-’ markings). Failure
to do so could result in the batteries leaking or
exploding.
•Donot charge non-rechargeable batteries.
•Keep batteries out of the reach of children.
•Donot short circuit batteries/rechargeable
batteries and keep them away from uncoated
metal objects.
•Open the battery compartment. Remove the contact
breaker.Replace the battery compartment cover.
Battery switch
•Open the battery compartment, remove and properly
dispose of the dead batteries and insert 2x new AAA
batteries with the correct polarity.Close the battery
compartment.
•Ifthe battery charge is low,the Caps Lock /Power LED
(6) begins to ash redduring operation. Replace the
batteries immediately as described above.
Stand function
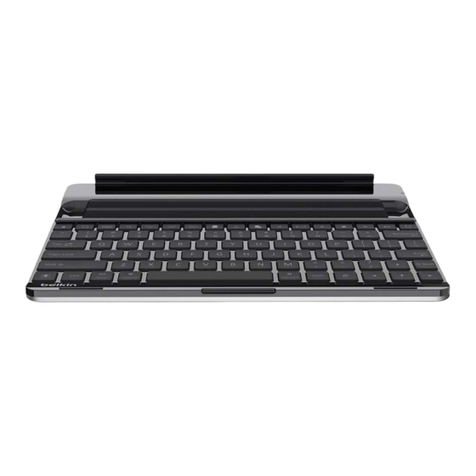
•Fold out the feet from beneath the keyboard(7) and
release the retaining aps from the feet (8).
•With the retaining aps folded out, position your tablet
between the keyboardand the retaining aps.
•Toclose the stand, proceed in the reverse order.
6. Operation
Note
•The functions described in this section areonly
available for
Bluetooth
®-capable terminal devices.
•Note that the maximum range for
Bluetooth
®
is 10 metres without obstacles such as walls,
people, etc.
6.1 Bluetooth®pairing
Note –Pairing
•Make surethat your Bluetooth®-capable terminal
device is on and Bluetooth®is activated.
•Make surethat your Bluetooth®-capable terminal
device is visible for other Bluetooth®devices.
•For moreinformation, please refer to the operating
instructions of your terminal device.
•Slide the [OFF/ON]switch (2) to the ON position to
switch on the Bluetooth®keyboard. The Caps Lock /
Power LED (6) emits agreen light for ten seconds.
•First select one of the three Bluetooth®channels using
the following shortcut keys:
-fn+Qfor the 1st Bluetooth®channel
-fn+Wfor the 2nd Bluetooth®channel
-fn+Efor the 3rd Bluetooth®channel
•The channel is selected as soon as the corresponding
Bluetooth®status LED ((3), (4) or (5), depending on
selected channel) brieylights up in blue.
•Press and hold the [fn +letter of the selected channel]
keys for ve seconds to start the pairing process.
•When you release the shortcut key,the Bluetooth®
status LED ashes blue.
•The keyboardissearching for aBluetooth®connection.
•Open the Bluetooth®settings and wait until Hama
KEY4ALL X2100 appears in the list of Bluetooth®
devices found.
•Select Hama KEY4ALL X2100,follow any instructions
on your terminal device, and wait until the keyboardis
shown as connected in the Bluetooth®settings on your
terminal device. The Bluetooth®status LED ((3), (4) or
(5), depending on selected channel) goes out.
•You can now use the Bluetooth®keyboard.
