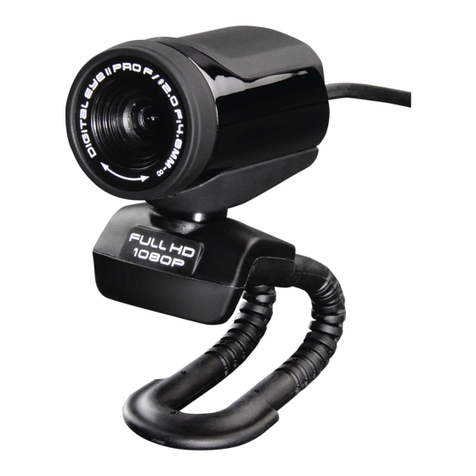
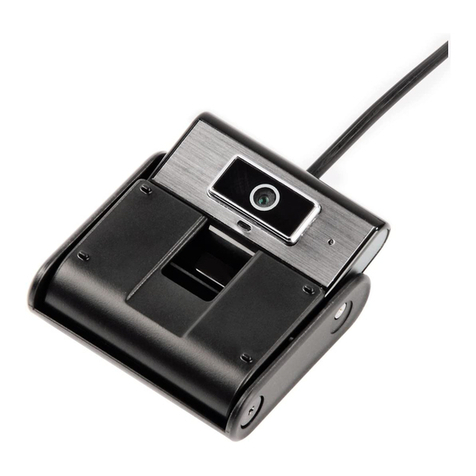
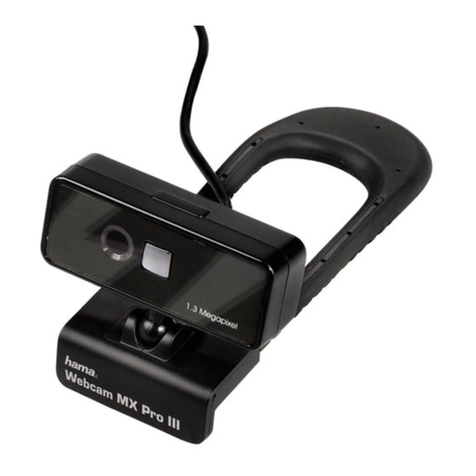
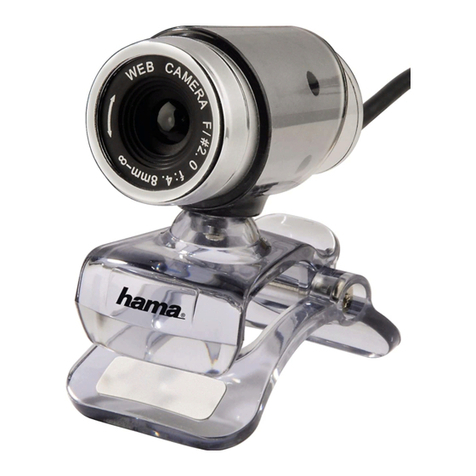
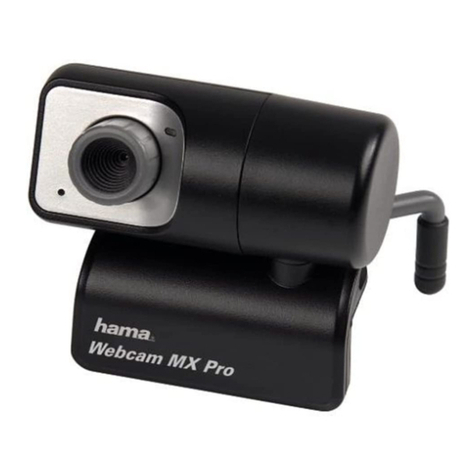
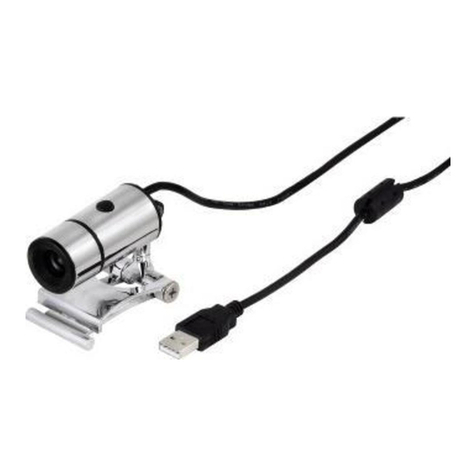
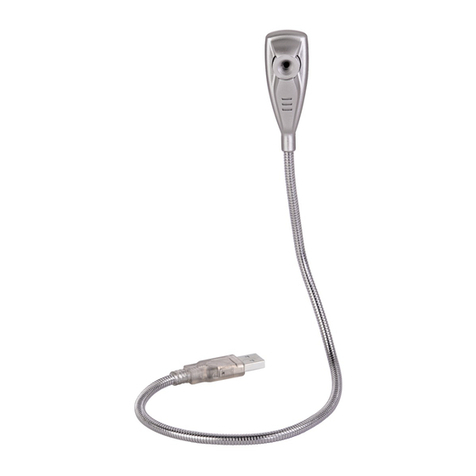
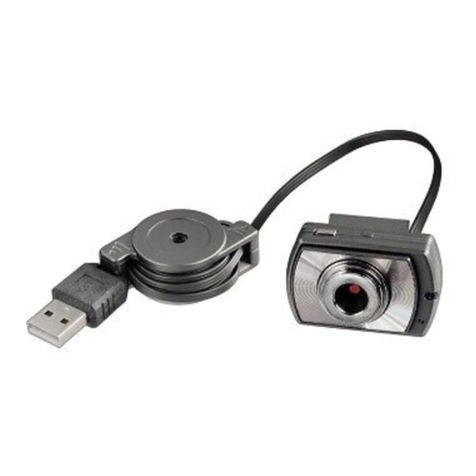
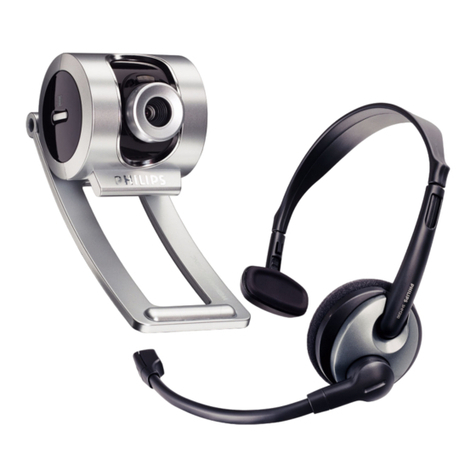
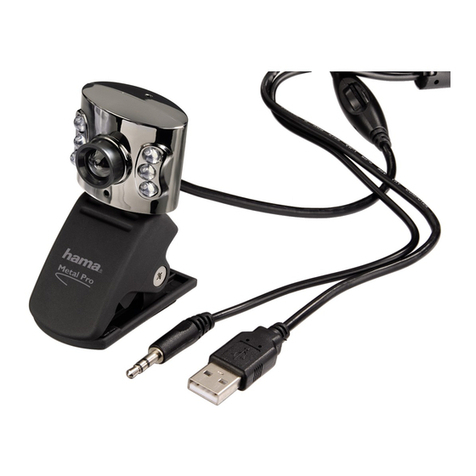
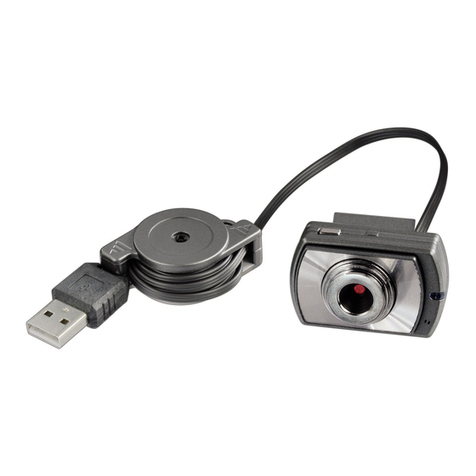
Hama Easy Line 2K198204 User manual

2K198204/07 .08
All listed brands are trademarks of the corresponding companies. Errors and omissions excepted,
and subject to technical changes. Our general terms of delivery and payment are applied.
Easyline
by Hama,
D-86651 Monheim/Germany
dHinweis zum Umweltschutz:
Ab dem Zeitpunkt der Umsetzung der europäischen Richtlinie 2002/96/EU in nationales Recht gilt folgendes:
Elektrische und elektronische Geräte dürfen nicht mit dem Hausmüll entsorgt werden. Der Verbraucher ist gesetzlich
verpflichtet, elektrische und elektronische Geräte am Ende ihrer Lebensdauer an den dafür eingerichteten,
öffentlichen Sammelstellen oder an die Verkaufstelle zurückzugeben. Einzelheiten dazu regelt das jeweilige
Landesrecht.
Das Symbol auf dem Produkt, der Gebrauchsanleitung oder der Verpackung weist auf diese Bestimmungen hin.
Mit der Wiederverwertung, der stofflichen Verwertung oder anderer Formen der Verwertung von Altgeräten leisten
Sie einen wichtigen Beitrag zum Schutz unserer Umwelt. In Deutschland gelten oben genannte Entsorgungsregeln,
laut Batterieverordnung, für Batterien und Akkus entsprechend.
gNote on environmental protection:
After the implementation of the European Directive 2002/96/EU in the national legal system, the following applies:
Electrical and electronic devices may not be disposed of with domestic waste.
Consumers are obliged by law to return electrical and electronic devices at the end of their service lives to the
public collecting points set up for this purpose or point of sale. Details to this are defined by the national law of the
respective country. This symbol on the product, the instruction manual or the package indicates that a product is
subject to these regulations. By recycling, reusing the materials or other forms of utilising old devices, you are making
an important contribution to protecting our environment.
c
Ochrana životního prostředí:
Evropská směrnice 2002/96/EU stanovuje:
Elektrické a elektronické přístroje se nesmí vhazovat do domácího odpadu. Elektrické a elektronické přístroje musí
být zlikvidovány podle zákona na místech k tomu určených. Recyklací nebo jiným způsobem zpracování výrazně
přispíváte k ochraně našeho životního prostředí!
v
Ochrana životného prostredia:
Európska smernica 20002/96/EU stanovuje:
Elektrické a elektronické zariadenia sa nesmú vyhadzovať do domáceho odpadu. Spotrebiteľ je zo zákona povinný
zlikvidovať elektrické a elektronické zariadenia na miesta k tomu určené. Symbolizuje to obrázok v návode na použitie,
alebo na balení výrobku. Recykláciou, alebo inými formami využitia starých prístrojov prispievate v značnej miere k
ochrane vášho životného prostredia.
2K198204
Webcam & Headset

2
Installation des Kameratreibers
Achtung: Bitte installieren Sie den Treiber bevor Sie die Webcam an Ihren Computer
anschließen.
1. Legen Sie die Installations-CD, auf der sich der Treiber befindet, in das CD-ROM-
Laufwerk Ihres Computers und folgen Sie den Anweisungen des Install Shield Wizard.
2. Verbinden Sie die Webcam nach Abschluss der Installation mit
einem USB-Anschluss Ihres Computers. Der Computer erkennt
das neue Gerät sofort.
3. Bitte starten Sie die Programme „AMCAP“ oder
„Hama Webcam Suite” um das Bild der WEBCAM zu sehen.
Installation des Headsets
Verbinden Sie nach der Installation der Kamera die beiden 3,5-mm-
Klinkenstecker des Headsets mit der Soundkarte des Computers. Stecken Sie den rosafarbenen
Stecker in die Mikro-Anschlussbuchse und den grünen in die Audio-Anschlussbuchse für
Lautsprecher.
Wie Sie das AMCAP-Tool verwenden können:
AMCAP ermöglicht Ihnen, Videofilme auf Ihrem Rechner zu hinterlegen. Der Videofilm wird als
.AVI-Datei abgespeichert. Nachstehend erfahren Sie, welche Möglichkeiten Ihnen AMCAP
bietet und welche Features AMCAP aufweist.
dBedienungsanleitung

3
* File/Set Capture File: Hier speichern Sie die
aufgenommene Datei ab.
* Files/Allocate File Space: Der Speichervorgang verläuft
reibungsloser, wenn Sie dafür eine .AVI-Datei
verwenden, die bereits auf Ihrem lokalen Laufwerk
existiert. Hier legen Sie fest, wie viel Platz benötigt wird
(wie groß Ihre Datei sein muss).
Es ist auch hilfreich, wenn Sie Ihre Festplatte vor Beginn
des Abspeicherns defragmentieren; die abgespeicherte
Datei liegt dann am Anfang der Festplatte.
* File/Save Captured Video As: Verwenden Sie diesen
Menüpunkt um die abgespeicherten Daten in eine andere Datei zu kopieren, so können Sie
die gleiche, bereits vorhandene Datei beim nächsten Mal verwenden.
* Device: Im Menü Devices legen Sie fest, von welcher
Videokamera der Film überspielt werden soll.
* Options/preview: ermöglicht Ihnen, das im Moment
aufgezeichnete Video im Anwendungsfenster anzuschauen.
* Options/Video Capture Filter: Hier können Sie verschiedene
Videoeinstellungen vornehmen, z.B. Helligkeit, Kontrast etc.

4
* Options/Video Capture Pin: Wählen Sie den
Videofarbraum und die Videogröße aus.
Unterstützt werden die Farbräume RBG24, I420
Unterstützt wird die Größe 160*120, 176*144,
320*240, 352*288, 640*480, 800*600, 1024*768,
1280*1024
* Capture/Start Capture: Speichern Sie die aufgenommene Datei
auf Ihrem Computer ab; wählen Sie „START“ und danach „OK“
um die Videosequenz abzuspeichern oder „Cancel“ um den
Speichervorgang abzubrechen.
* Capture/Set Frame Rate: Hier können Sie die Bildwechsel-
frequenz für Vorschau und Video festlegen.
* Capture/Set Time Limit: Hier können Sie das Zeitlimit für das
Video festlegen.

5
Deinstallation des Kameratreibers
1. Klicken Sie in der Taskleiste auf „Start“
und wählen Sie „Programme“
2. Wählen Sie Hama PC-Webcam RW-100 ->
„Uninstall“ und folgen Sie den Anweisungen.
Support- und Kontaktinformation
Bei defekten Produkten:
Bitte wenden Sie sich bei Produktreklamationen an Ihren Händler oder an die Hama
Produktberatung.
Internet / World Wide Web:
Produktunterstützung, neue Treiber oder Produktinformationen sind unter www.hama.com
erhältlich.
Support Hotline – Hama Produktberatung:
Tel. +49 (0) 9091 / 502-115
Fax +49 (0) 9091 / 502-272
E-mail: [email protected]

6
Installing the Camera Driver
Attention: Please install the driver before the webcam is connected to your computer.
1. Insert the installation CD driver into your computer‘s CD-ROM drive and follow the
install Shield Wizard instructions.
2. When the installation has finished, connect the webcam to
one of your computer‘s USB ports. The computer will detect
the new device immediately.
3. Please run the programs „AMCAP” or „Hama Webcam Suite”
to view the image of the WEB CAMERA.
Installing the Headset
After the camera is installed, connect the two 3.5 mm jacks of headset to the soundcard of the
computer. Pink wire in the micro jack & green wire in the speaker audio jack.
How to use AMCAP tool:
AMCAP is an application that let you capture video in your system. It captures video to and .AVI
file. Below is a description of AMCAP‘s various options and features.
gUser manual

7
* File/Set Capture File: where you save the captured file.
* Files/Allocate File Space: capturing will work better if
you capture into an .AVI file that already exists on your
local drive. Here you set how much space to reserve
(how big your file needs to be).
It also helps if you defragment your hard drive before
beginning capture, and have capture file near the
beginning of the physical drive.
* File/Save Captured Video As: Use this to copy the
captured data to another file, so you can reuse the
same preallocated file for your next capture.
* Device: under the devices menu you choose which of your
video cameras you will be capturing from.
* Options/preview: lets you watch the input video that is
being recorded in the application window.
* Options/Video Capture Filter: adjust various video settings,
such as brightness, contrast, etc.

8
* Options/Video Capture Pin: choose the video
color space and video size
Supported color spaces are RBG24, I420
Supported size is 160*120, 176*144, 320*240,
352*288, 640*480, 800*600, 1024*768, 1280*1024
* Capture/Start Capture: save the capture file in your
computer and select „START” and then „OK” to start capture
of video sequence or „Cancel” to cancel the capture.
* Capture/Set Frame Rate: where you can set the frame rate
you want for preview and video.
* Capture/Set Time Limit: where you can set the time limit for
video.

9
Uninstall camera‘s driver
1. Cklick „Start” from the task bar and
choose „Programs”
2. Select Hama PC-Webcam RW-100 ->
„Uninstall” and follow the instructions.
Support and contact information
If products are defective:
Please contact your dealer or Hama Product Consulting if you have any product claims.
Internet / World Wide Web:
Product support, new drivers or product information can be found at www.hama.com
Support Hotline – Hama Product Consulting:
Tel. +49 (0) 9091 / 502-115
Fax +49 (0) 9091 / 502-272
E-mail: [email protected]

10
Instalace ovládacího programu kamery
Pozor: Prosím nainstalujte ovládácí program dříve, než připojíte Vaši kameru k počítači
1. Vložte instalační CD s programem do CD ROM mechaniky Vašeho počítače a
následujte pokyny
2. Po ukončení instalace připojte pomocí USB kameru k počítači. Počítač rozpozná
nové zařízení.
3. Pro sledování obrazu na web kameře spustěte program
„AMCAP” nebo „Hama Wecam Suite”.
Instalace sluchátek
Po instalaci kamery propojte obě 3,5 mm jack vidlice sluchátek se
zvukovou kartou počítače.
Červenou vidlici zasuňte do mikro zdířky a zelenou vidlici do audio
zdířky pro reproduktor
Jak můžete využít AMCAP Toll:
AMCAP Vám umožňuje ukládat videosnímky ve Vašem počítači. Videa jsou uložena jako
AVI data. Dále se dovíte, jaké možnosti Vám AMCAP nabízí.
cNávod k obsluze

11
* File/Set Capture File: zde uložíte přijatá data
* Files/Allocate File Space: průběh ukládání probíhá hladce,
pokud použijete AVI data, která
existují na Vašem lokálním disku. Stanovte, jak velká bude
potřebná kapacita. Je též vhodné
pevný disk před začátkem ukládání defragmentovat
(uvolnit místo na disku), potom budou Vaše
data uložena na začátku pevného disku.
* File/Save Captured Video As: tohle menu použijte v případě,
že chcete uložená data zkopírovat do jiného souboru.
Takto můžete data opakovaně použít.
* Device: v tomto menu si určíte, z jaké videokamery má být
záznam přehráván
* Options/preview: umožňuje v současnosti nahrávané video
sledovat v aplikačním okně
* Options/Video Capture Filter: zde můžete provádět s videi
veškeré úpravy, např. měnit jas, kontrast atd.

12
* Options/Video Capture Pin: zvolte barevnou oblast
videa a velikost videa
Podporované barevné oblasti: RBG24, I420
Podporované velikosti: 160*120, 176*144,
320*240, 352*288, 640*480, 800*600,
1024*768, 1280*1024
* Capture/Start Capture: uložte nahraná data v počítači, zvolte
“START” a potom “OK”, pro přerušení ukládání zvolte “CANCEL”
* Capture/Set Frame Rate: zde můžete nastavit frekvenci výměny
obrázků a videí při prohlížení
* Capture/Set Time Limit: zde můžete nastavit časový limit videa

13
Deinstalace ovládacího programu kamery
1. na liště klikněte na “Start” a zvolte “programy”
2. zvolte Hama PC- Webcam RW- 100
->
“Uninstall” a následujte pokyny
Podpora a kontaktní informace
U poškozených produktů:
se obraťte na reklamační oddělení Vašeho prodejce nebo na Hama produktové oddělení
Internet/ World Wide Web:
Podporu produktů, nové uživatelské nebo produktové informace naleznete na www.hama.com

14
Inštalácia ovládacieho programu kamery
Pozor: Prosím nainštalujte ovládací program skôr, ako pripojíte Vašu kameru k počítaču
1. Vložte inštalačné CD s programom do CD ROM mechaniky Vášho počítača a
nasledujte pokyny.
2. Po ukončení inštalácie pripojte pomocou USB kameru k počítaču. Počítač rozpozná
nové zariadenie.
3. Pre sledovanie obrazu na web kamere spustite program
„AMCAP” alebo „Hama Wecam Suite”.
Inštalácia slúchadiel
Po inštalácii kamery prepojte obe 3,5 mm jack vidlice slúchadiel so
zvukovou kartou počítača. Červenú vidlicu zasuňte do mikro dierky
a zelenú vidlicu do audio dierky pre reproduktor.
Ako môžete využiť AMCAP Toll:
AMCAP Vám umožňuje ukladať videosnímky vo Vašom počítači. Videá sú uložené ako AVI
dáta. Ďalej sa dozviete, aké možnosti Vám AMCAP ponúka.
vNávod na obsluhu

15
* File/ Set Capture File: tu uložíte prijaté dáta
* File/ Allocate File Space: priebeh ukladania prebieha hladko,
pokiaľ nepoužijete AVI dáta, ktoré existujú na Vašom
lokál nom disku. Stanovte, aká veľká bude potrebná
kapacita. Je tiež vhodné pevný disk pred začiatkom ukla
dania defragmentovať (uvoľniť miesto na disku), potom
budú Vaše dáta uložené na začiatku pevného disku.
* File/ Save Captured Video As: toto menu použite v prípade,
že chcete uložené dáta skopírovať do iného súboru. Takto
môžete dáta opakovane použiť.
* Device: v tomto menu si určite, z akej videokamery má byť
záznam prehrávaný
* Options/ prewiev: umožňuje v súčasnosti nahrávané video
sledovať v aplikačnom okne
* Options/ Video Capture Filter: tu môžete robiť s videami všetky
úpravy, napr. meniť jas, kontrast ...

16
* Options/ Video Capture Pin: zvoľte farebnú oblasť
videa a veľkosť videa
Podporované farebné oblasti: RBG24, I420
Podporované veľkosti: 160*120, 176*144, 320*240,
352*288, 640*480, 800*600, 1024*768, 1280*1024
* Capture/ Start Capture: uložte nahrané dáta v počítači, zvoľte
„START” a potom „OK”, pre prerušenie ukladania zvoľte
„CANCEL”
* Capture/ Set Frame Rate: tu môžete nastaviť frekvenciu výmeny
obrázkov a videí pri prezeraní.
* Capture/ Set Time Limit: tu môžete nastaviť časový limit videa

17
Deinštalácia ovládacieho programu kamery
1. na lište kliknite na „Start” a zvoľte „programy”
2. zvoľte Hama PC – Webcam RW – 100
->
“Uninstall” a nasledujte pokyny
Podpora a kontaktné informácie
Pri poškodených produktoch:
obráťte sa na reklamačné oddelenie Vášho predajcu alebo na Hama produktové oddelenie
Internet/ World Wide Web:
Podporu produktov, nové užívateľské alebo produktové informácie nájdete na www.hama.com

18
Instalarea driverului
Atenţie: Vă rugăm să instalaţi driverul înainte de conectarea camerei web la calculator.
1. Introduceţi CD-ul de instalare pe care se găseşte driverul, în unitatea CD-ROM
a calculatorului dumneavoastră şi urmăriţi instrucţiunile programului de instalare
(Install Shield Wizard).
2. După terminarea instalării conectaţi camera web cu
un port USB al calculatorului dumneavoastră.
Calculatorul recunoaşte automat noul periferic .
3. Pentru a vedea imaginea camerei web porniţi programele
„AMCAP” sau „Hama Webcam Suite”.
Instalarea căştii cu microfon
După instalarea camerei conectaţi cele două jackuri de 3,5 mm ale
căştii cu placa de sunet a calculatorului. Introduceţi jackul de culoare roz în conectorul microfo-
nului şi cel de culoare verde în conectorul audio al difuzorului.
Cum se utilizează AMCAP-Tool:
AMCAP vă dă posibilitatea să salvaţi videofilme pe calculatorul dumneavoastră. Filmul se
memorează sub formă de fişier AVI. În cele ce urmează vă imformăm despre posibilităţile şi
Features oferite de AMCAP.
rManual de utilizare

19
* File/Set Capture File: Aici salvaţi fişierul înregistrat.
* Files/Allocate File Space: Procesul de stocare decurge
optimal, dacă întrebuinţaţi un fişier AVI deja instalat pe
unitatea locală de transfer. Aici stabiliţi de cât spaţiu este
nevoie (ce capacitate trebuie să aibă fişierul). Este de
preferat să defragmentaţi hard disk-ul înainte de a începe
salvarea,; fişierul memorat fiind astfel plasat la începutul
hard disk-ului.
* File/Save Captured Video As: Întrebuinţaţi acest punct al
meniului pentru a copia într-un alt fişier datele deja stocate,
în acest fel puteţi folosi data viitoare acelaşi fişier deja
existent.
* Device: În meniul Devices stabiliţi de la care cameră video
urmează să copiaţi filmul.
* Options/preview: vă dă posibilitatea să vizionaţi imediat
înregistrarea video pe display-ul exterior.
* Options/Video Capture Filter: Aici puteţi executa diferite reglări
ale camerei, de ex. luminozitate, contrast etc.
Table of contents
Languages:
Other Hama Webcam manuals

Hama
Hama CM-2010 User manual

Hama
Hama Easyline RW-100 User manual

Hama
Hama AC-150 User manual

Hama
Hama Messenger Set II User manual

Hama
Hama CM-2021 AF User manual

Hama
Hama USB 2.0 Webcam MX Pro User manual

Hama
Hama AC-120 User manual

Hama
Hama 2Views User manual

Hama
Hama C-800 User manual

Hama
Hama AC-140 User manual

Hama
Hama CM-3010 AF User manual

Hama
Hama Messenger Set III User manual

Hama
Hama Motion User manual

Hama
Hama Leather User manual

Hama
Hama Metal Pro User manual

Hama
Hama CM-310 MF User manual

Hama
Hama CM-3010 AF User manual

Hama
Hama Camera 00053911 User manual

Hama
Hama CM-320 MF User manual

Hama
Hama Digital Eye II PRO User manual