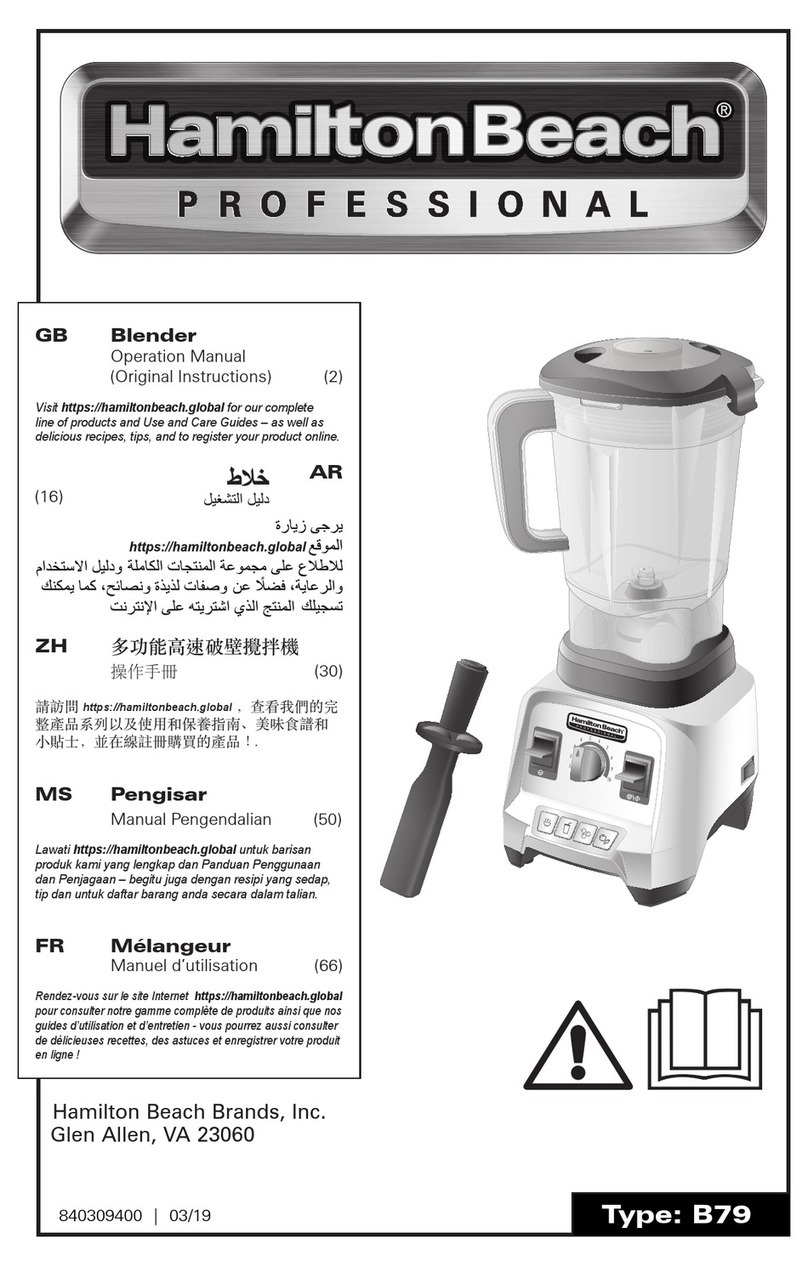
Hamilton Beach Professional 58915-SAU User manual

840276200 5/17
Hamilton Beach Brands, Inc.
4421 Waterfront Drive
Glen Allen, VA 23060 USA
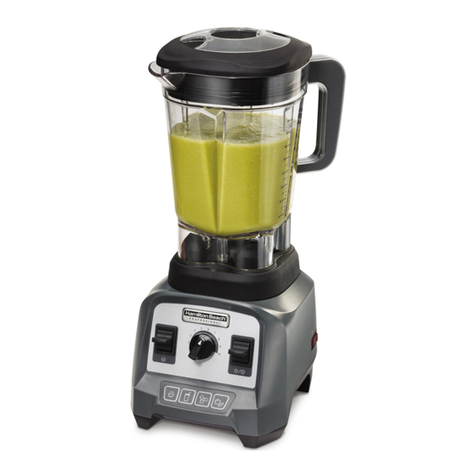
High-Performance
Blender With
Quiet Shield
English – Original Translation........ 2
Arabic............................................. 15
CAUTION: READ
OPERATOR’S MANUAL
BEFORE USE
Visit www.hamiltonbeach-me
.com for our complete line of
products and Use and Care
Guides – as well as delicious
recipes and tips!
840276200 EN-AR.indd 1 5/2/2017 10:11:58 AM

2
IMPORTANT SAFEGUARDS
1. Read all instructions.
2.
This appliance is not intended for use, cleaning,
or maintenance by persons (including children)
with reduced physical, sensory, or mental
capabilities, or lack of experience and knowledge,
unless they are closely supervised and instructed
concerning the use of the appliance by a person
responsible for their safety.
3. This appliance should not be used by children.
Keep the appliance and its cord out of reach
of children. Children should be supervised to
ensure they do not play with the appliance.
4.
T
o protect against risk of electrical shock, do
not put cord, plug, base, or motor in water or
other liquid.
5. Unplug cord from socket when not in use,
before putting on or taking off parts, and before
cleaning.
6. Avoid contact with moving parts.
7. Do not operate any appliance with a damaged
supply cord or plug, or after the appliance
malfunctions or has been dropped or damaged
in any manner. Supply cord replacement
and repairs must be conducted by the
manufacturer, its service agent, or similarly
qualified persons in order to avoid a hazard.
Call the provided customer service number
for information on examination, repair, or
adjustment.
8. The use of attachments, including canning
jars, not recommended or sold by the appliance
When using electrical appliances, basic safety precautions should always be followed to reduce the risk of
fire, electric shock, and/or injury to persons, including the following:
840276200 EN-AR.indd 2 5/2/2017 10:11:58 AM
3
manufacturer may cause a risk of injury to
persons.
9. Do not use outdoors.
10. Do not let cord hang over edge of table or
counter or touch hot surfaces, including stove.
11. Do not place on or near a hot gas or electric
burner, or in a heated oven.
12. Keep hands and utensils out of the jar and
away from the cutting blade, while blending
or chopping food, to reduce the risk of severe
personal injury and/or damage to the blender or
available attachments (attachments may not be
provided with blender). Arubber spatula may be
used but must be used only when blender is not
running.
13. Blades are sharp; handle carefully—especially
when cleaning inside blender jar.
14. Do not use a broken, chipped, or cracked
blender jar.
15. Do not use broken, cracked, or loose cutting
blade assembly.
16. Always operate blender with lid in place.
Remove filler cap only for adding ingredients or
to insert the tamper.
17. Be careful if hot liquid is poured into the blender
as it can be ejected out of the appliance due to
sudden steaming.
18. When blending hot liquids in the open top
blender jar, remove center filler cap and close
any edge lid opening intended for pouring. To
prevent possible burns: Do not exceed the
2-cup (473-ml) level. Hot liquids may push off lid
during blending; therefore, with the protection of
an oven mitt or thick towel, place one hand on
top of the lid, keep exposed skin away from the
lid, and start blending at lowest speed.
19. Ensure cutter assembly is tight and secure to
jar. Injury can result if moving blades accidentally
become exposed.
840276200 EN-AR.indd 3 5/2/2017 10:11:58 AM

4
SAVE THESE INSTRUCTIONS
20.Do not leave blender unattended while it is
operating.
21.Before plugging cord into wall socket, turn off
the appliance. To disconnect cord, switch to OFF
(). Then remove plug from wall socket.
22.Do not use appliance for other than intended
purpose.
23.CAUTION! In order to avoid a hazard
due to inadvertent resetting of the thermal cut-
out, this appliance must not be supplied through
an external switching device, such as a timer, or
connected to a circuit that is regularly switched
on and off by the utility.
24. Your plug is provided with a fuse approved
by ASTA to B.S. 1362. If you need a
replacement fuse carrier, it must be replaced
with the same colour-coded carrier with the
same markings. Fuse covers and carriers can be
obtained from approved service agents.
25. Do not operate more than 3 minutes ON at a
time.
840276200 EN-AR.indd 4 5/2/2017 10:11:58 AM

5
Other Consumer Safety Information
This appliance is intended to be used in household and similar
applications such as:
– staff kitchen areas in shops, offices, and other working
environments;
– farm houses;
– by clients in hotels, motels, and other residential-type
environments;
– bed and breakfast-type environments.
The length of the cord used on this appliance was selected to
reduce the hazards of becoming tangled in or tripping over a
longer cord. If a longer cord is necessary, an approved extension
cord may be used. The electrical rating of the extension cord
must be equal to or greater than the rating of the appliance. The
extension cord must be a grounding-type, 3-wire cord. Care
must be taken to arrange the extension cord so that it will not
drape over the countertop or tabletop where it can be pulled on
by children or accidentally tripped over.
If the cutting blade assembly locks and will not move, it will
damage the motor. Do not use. Call the toll-free customer service
number for information.
Do not place blender jar in the freezer filled with food or liquid.
This can result in damage to the cutting blade assembly, jar,
blender, and possibly result in personal injury.
NOTE: This machine is equipped with motor overload protection.
If the motor stops during operation due to overheating, unplug
and allow it to cool down for approximately 15 minutes. Plug
machine back in to resume normal operation.
840276200 EN-AR.indd 5 5/2/2017 10:11:58 AM
6
Tamper
Parts and Features BEFORE FIRST USE: After unpacking the blender, follow the instructions
in “Cleaning Your Blender.”
Filler
Cap
Blender
Jar
Base
Lid
Quiet Shield
Cutting
Blade
Assembly
Variable Speed Dial
(1–10), OFF ( ),
and Pulse ( )
Model: 58915-SAU
Type: B83
Ratings:
220-240 V~ 50-60 Hz 625 W
840276200 EN-AR.indd 6 5/2/2017 10:11:59 AM

7
Parts and Features (cont.)
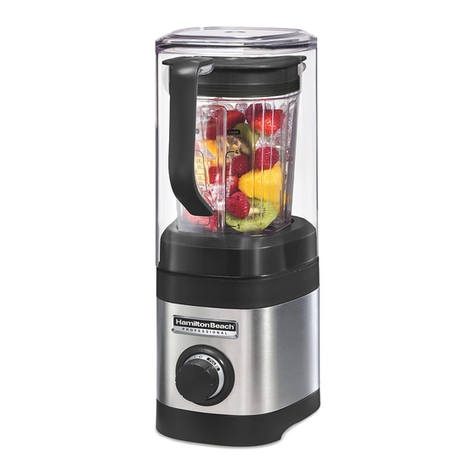
Quiet Shield: The quiet shield reduces the amount of noise from your
blender. When placed over the blender jar, it muffles the sound that
your blender produces.
Filler Cap: Doubles as a small volume measuring cup with markings.
Lid: The lid is easy to put on, take off, and clean. Always use the lid and
the filler cap when the machine is in operation.
Blender Jar: Ounces, cups, and milliliters are clearly marked.
Tamper: The tamper helps mix thick or frozen recipes that cannot be
processed with regular blending. It prevents air pockets from forming
and is a handy tool when making nut butters or frozen desserts.
PULSE : This is a high-speed pulse, perfect for quick chopping or
eliminating ice chunks.
Variable Speed Dial: The center VARIABLE SPEED
DIAL determines the blender speed setting.
Automatic Overload Protection: This machine is
equipped with motor overload protection. If the
motor stops during operation due to overheating,
unplug and allow it to cool down for approximately
15 minutes. Plug machine back in to resume normal
operation.
840276200 EN-AR.indd 7 5/2/2017 10:11:59 AM

8
Using Your Blender IMPORTANT: The blender jar and cutting blade assembly are subject
to wear during normal use. Always inspect jar for nicks, chips, or
cracks. Always inspect cutting blade assembly for broken, cracked, or
loose blades. If jar or cutting blade assembly is damaged, do not use.
Call the toll-free customer service number to obtain replacement parts.
1. Place blender jar on base. 2. Add ingredients. Do not fill blender jar
beyond the 2-cup (473-ml) level when
liquid is more than half the ingredients.
3. Place lid and filler cap on jar. 4. Align lid corner with jar pour spout.
5. Push lid fully down into jar and ensure
filler cap is secure by turning clockwise. 6. Place quiet shield over blender jar
assembly. Remove the quiet shield and
filler cap to use the tamper or to add
ingredients.
7. Plug into outlet. 8. Rotate the VARIABLE SPEED DIAL to 1
to start blending.
840276200 EN-AR.indd 8 5/2/2017 10:12:03 AM

9
Using Your Blender (cont.)
9. Slowly rotate the VARIABLE SPEED
DIAL to the right or left during blending
to increase or decrease blending
speed.
The blender will only pulse when the
dial is turned and held on PULSE ( ).
10. At the end of the blending cycle, rotate
the VARIABLE SPEED DIAL back to the
position to stop blending. Unplug
blender after blending.
11. Remove blender jar.
wWARNING Burn Hazard.
Metal parts
under blending
jar get hot after
extended use.
840276200 EN-AR.indd 9 5/2/2017 10:12:05 AM

10
13.
wWARNING
Burn Hazard.
Do not fill blender jar with hot liquid
beyond the 2-cup (473-ml) level.
Remove filler cap and with the
protection of an oven mitt or thick
towel, place one hand on top of lid.
Keep exposed skin away from lid. Start
blending at lowest speed.
14. Turn blender OFF ( ) before removing
quiet shield. Remove quiet shield and
filler cap to insert tamper into hole in
lid. Rotate filler cap counterclockwise
from “locked” to “unlocked” position
and lift out.
15. For thicker, more dense foods, use
tamper to move the ingredients within
the jar while blending. Place one hand
on top of the lid while moving the
mixtures around the blender jar with
the tamper.
Using Your Blender (cont.)
12. Remove lid by lifting up on any corner
while holding blending jar securely.
Serve.
840276200 EN-AR.indd 10 5/2/2017 10:12:06 AM

11
• For soup and soymilk: It is recommended to either blend
ingredients first and then cook in stovetop pot OR cook in stovetop
pot first and then blend ingredients.
• To add foods when blender is operating, remove filler cap and add
ingredients through the opening.
• For best performance, the minimum amount of liquid needed per
recipe is 1 cup (8 ounces/237 ml). Add more liquid if food is not
blending properly. The amount of liquid needed will vary based on
the other ingredients required for blending.
• If blending action stops during blending or ingredients stick to sides
of jar, insert tamper to help move the mixture around or add more
liquid to blender jar.
• Do not store food or liquids in blender jar.
• Avoid bumping or dropping blender jar when in operation or at any
time.
• Use tamper when making nut butters and blend in 1-minute
intervals.
• Cutting large whole fruits and vegetables may allow them to blend
more quickly.
• Do not fill blender jar past highest graduation marking.
• Always place liquid in blender jar first, then remaining ingredients.
• If ice or frozen fruit pieces are not blending, stop the blender and
pulse a few times.
• Do not allow ice to stand or freeze in jar. Immediately crush ice
after placing in jar.
NOTE: This machine is equipped with motor overload protection.
If the motor stops during operation due to overheating, unplug and
allow it to cool down for approximately 15 minutes. Plug machine
back in to resume normal operation.
Blender Tips
Using the Tamper
• The hand protector on the tamper and the lid work together to
prevent the tamper from hitting the blades when the lid is secured
properly on the blender jar.
• The blender jar should not be more than two-thirds full when the
tamper is used during blending.
• Only use the tamper provided with this model blender. Do not use
tampers made for any other blender or blender model.
• If food does not circulate, an air bubble may be trapped in the
mixture. Remove the blender jar from the blender base. Remove
the filler cap. Release the air bubble by inserting the tamper
through the filler cap opening.
• Holding the tamper straight down may not help ingredients
circulate. If necessary, point the tamper toward the sides or corners
of the blender jar. DO NOT try to force the tamper deeper into the
jar.
840276200 EN-AR.indd 11 5/2/2017 10:12:06 AM

12
Cleaning Your Blender wWARNING Electrical Shock Hazard.
Disconnect power before cleaning. Do not immerse cord, plug,
base, or motor in water or other liquid.
1. Unplug. 2. Remove quiet shield, jar, lid,
and filler cap. 3. Wipe blender base, control
panel, and cord with a damp
cloth or sponge. To remove
stubborn spots, use a mild,
nonabrasive cleanser.
4. DO NOT use the “SANI”
setting when washing in the
dishwasher. “SANI” cycle
temperatures could damage
your product. Parts may
also be washed with hot,
soapy water. Rinse and dry
thoroughly. Do not soak.
wWARNING Burn Hazard.
Metal parts under blending jar get hot after extended use.
wCAUTION Cut Hazard.
Handle blades carefully; they are very sharp.
Blender Jar:
• HAND WASH ONLY. Alternative is to fill jar halfway with water and
add 2–3 drops of dish soap. Blend for 30 seconds. Rinse and dry
thoroughly.
• To clean after blending oily foods, sprinkle 1/4 cup (59 ml) baking
soda in blender. Add 1/2 cup (118 ml) white vinegar. Mixture will
bubble. When bubbling subsides, add 1 cup (237 ml) water, turn
the dial to 3, and blend. Wash any remaining residue with dish
soap and water. Rinse and dry thoroughly.
DISHWASHER-SAFE
840276200 EN-AR.indd 12 5/2/2017 10:12:07 AM

13
Troubleshooting
Ingredients will not mix properly.
• Check to see if enough liquid has been added to the ingredients.
Mixture should be fluid and free-running at all times.
• Solid pieces are too large.
• Container is too full. Do not fill past highest (2 cups/473 ml)
graduation marking.
• Cutter assembly blades are not sharp or are damaged. Inspect
container and cutter assembly daily.
• Select speed to create a fluid blend.
Blender smells like it is burning.
• Turn off blender and allow unit to cool.
• Although motors are tested during the manufacturing process,
heavy use may cause curing of motor windings. The smell may
quickly dissipate after a few heavy uses.
• If smell continues after additional heavy uses, call our customer
care center.
There is grease around the bottom of the blender jar or on the
counter top.
• Monitor the problem and source. This may indicate an issue with
the jar bearings.
• Call our customer care center if the condition persists.
Blender jar is cloudy, stained, or scratched.
• Some cloudiness may be natural after use. The minerals from fruits,
produce, and leafy greens, in addition to the oils of various nut
butters, can sometimes cause a film on the blender jar or may be
difficult to clean.
• Sprinkle 1/4 cup (59 ml) baking soda in blender. Add 1/2 cup
(118 ml) white vinegar. Mixture will bubble. When bubbling
subsides, add 1 cup (237 ml) water, turn the dial to 3, and blend.
Wash any remaining residue with dish soap and water. Rinse and
dry thoroughly.
• Some permanent scratching may result from blending hard
ingredients like spices.
840276200 EN-AR.indd 13 5/2/2017 10:12:07 AM

Notes
14
840276200 EN-AR.indd 14 5/2/2017 10:12:07 AM

15
840276200 EN-AR.indd 15 5/2/2017 10:12:07 AM

16
17
840276200 EN-AR.indd 16 5/2/2017 10:12:07 AM

17
16
840276200 EN-AR.indd 17 5/2/2017 10:12:07 AM

18
19
840276200 EN-AR.indd 18 5/2/2017 10:12:08 AM

1918
840276200 EN-AR.indd 19 5/2/2017 10:12:08 AM

20
21
840276200 EN-AR.indd 20 5/2/2017 10:12:09 AM
Table of contents
Other Hamilton Beach Professional Blender manuals

Hamilton Beach Professional
Hamilton Beach Professional B79 User manual

Hamilton Beach Professional
Hamilton Beach Professional 58911-TW User manual

Hamilton Beach Professional
Hamilton Beach Professional 58912-SAU User manual

Hamilton Beach Professional
Hamilton Beach Professional 58915-TW User manual

Hamilton Beach Professional
Hamilton Beach Professional 58911-CN User manual

Hamilton Beach Professional
Hamilton Beach Professional 65120 User manual

Hamilton Beach Professional
Hamilton Beach Professional 58915-CN User manual