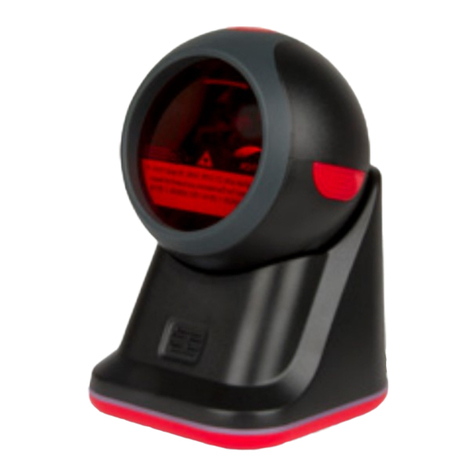
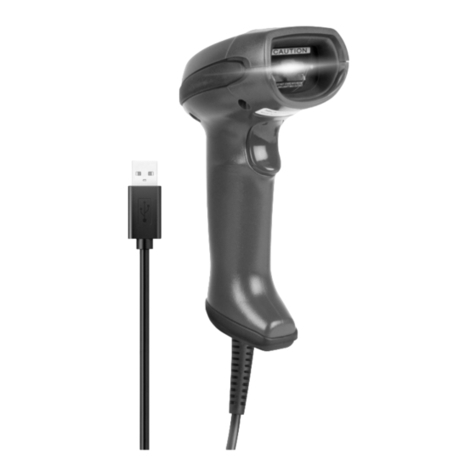
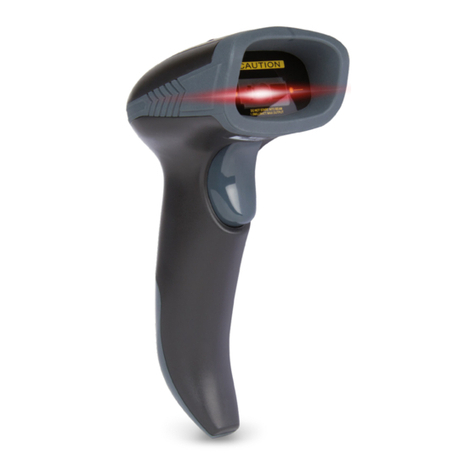
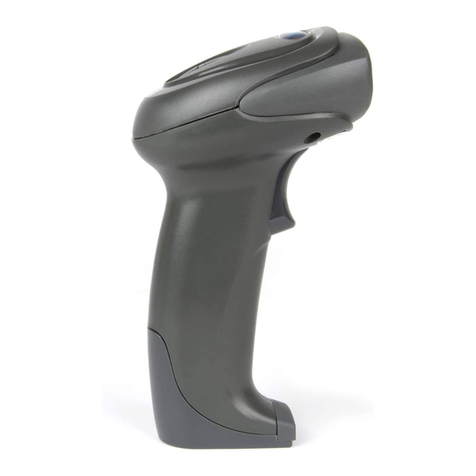
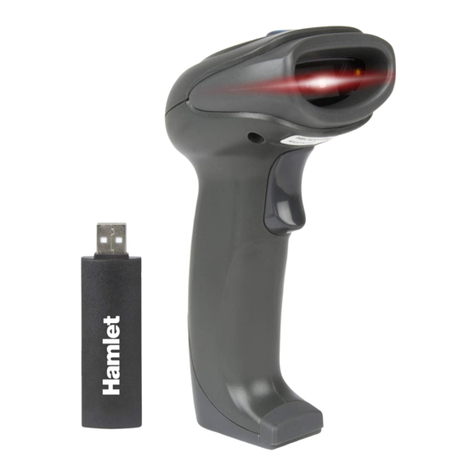
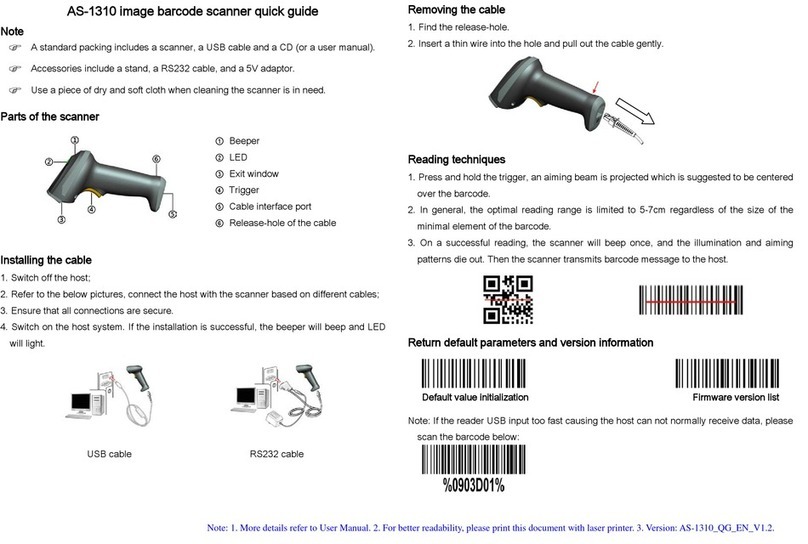
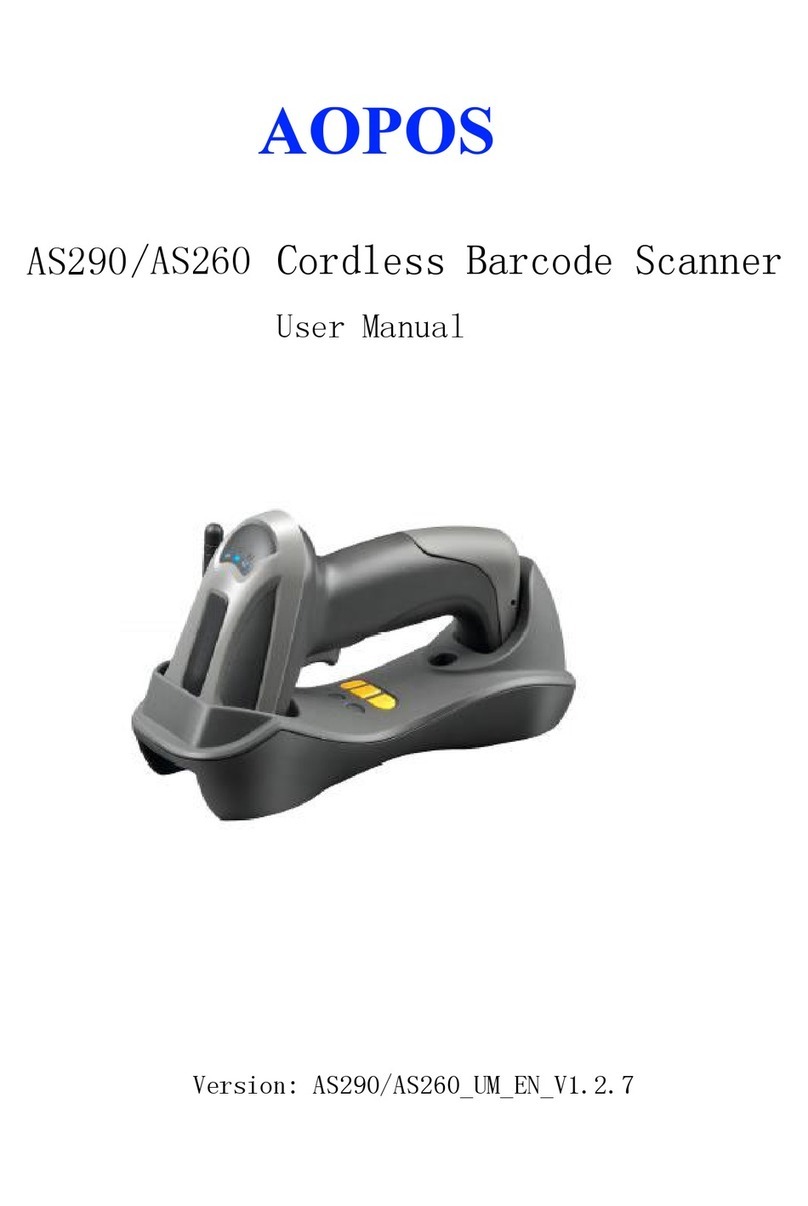
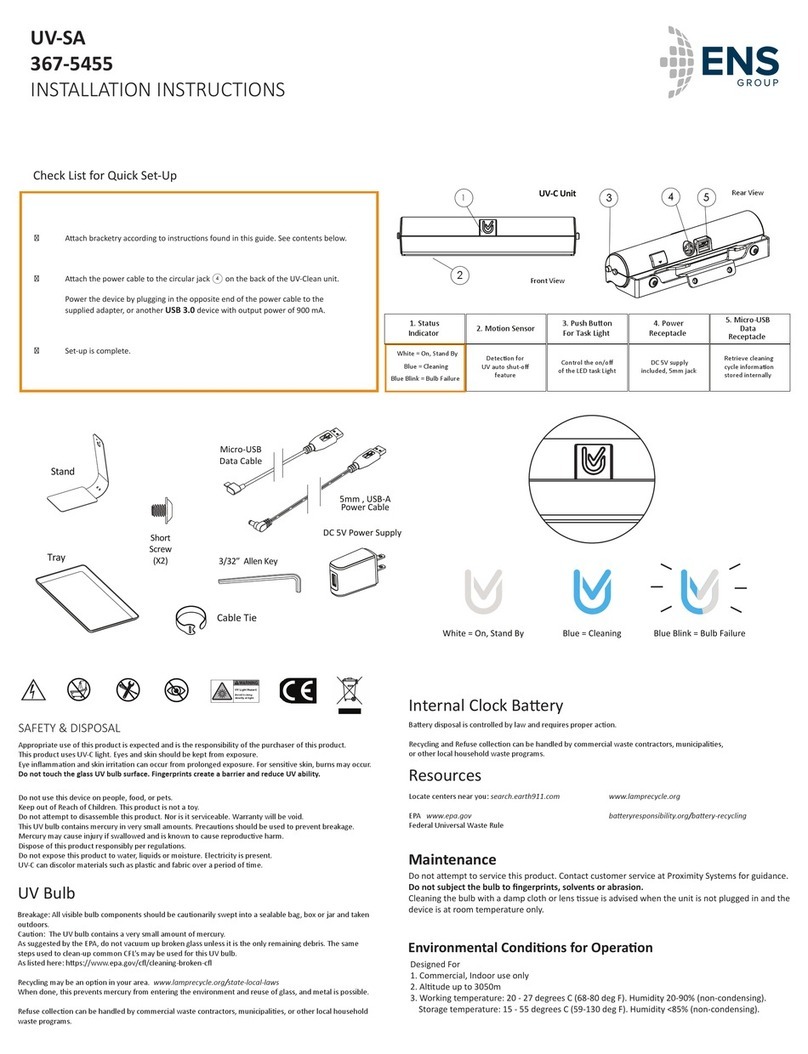
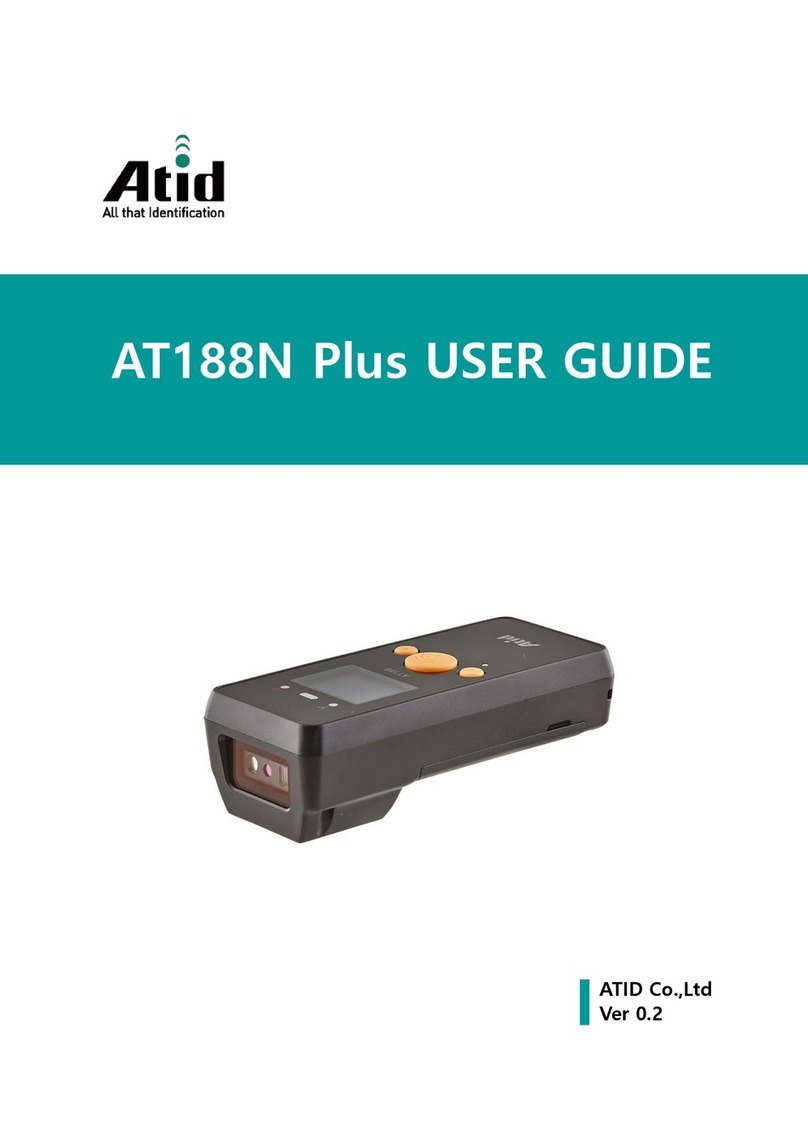
Hamlet HBCS2D100W User manual

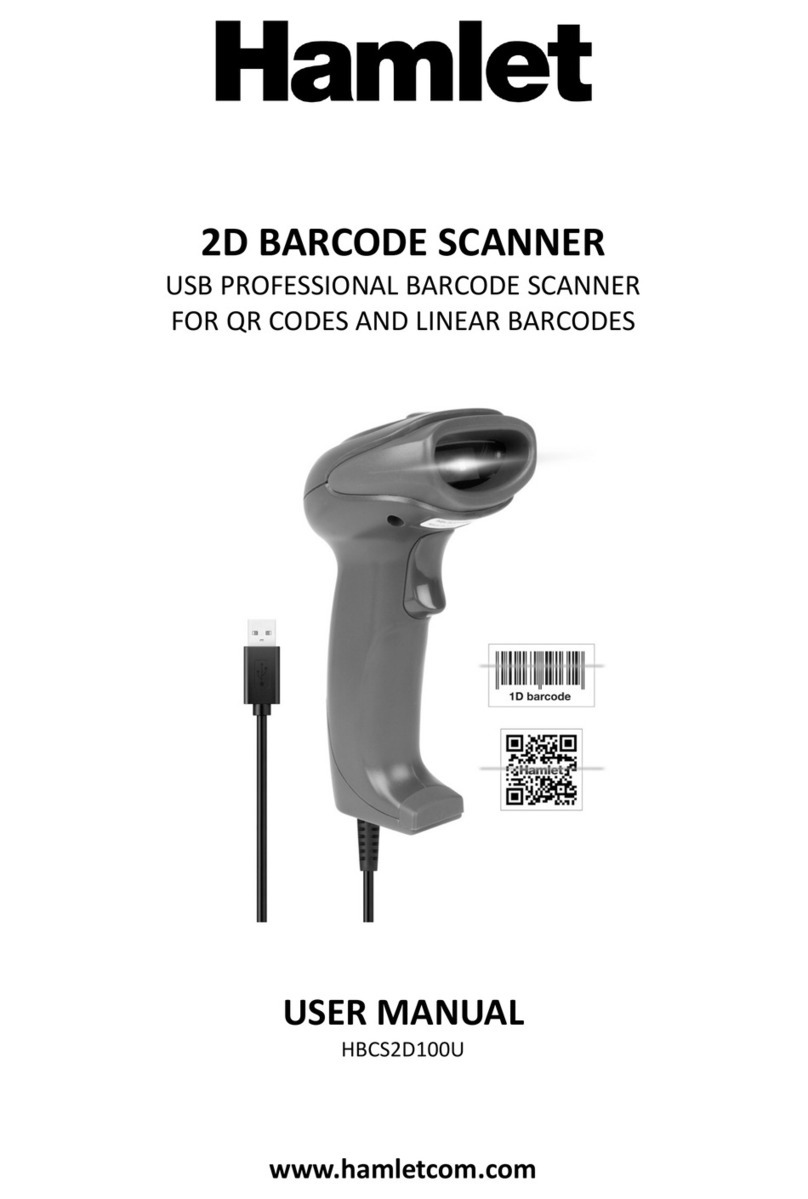
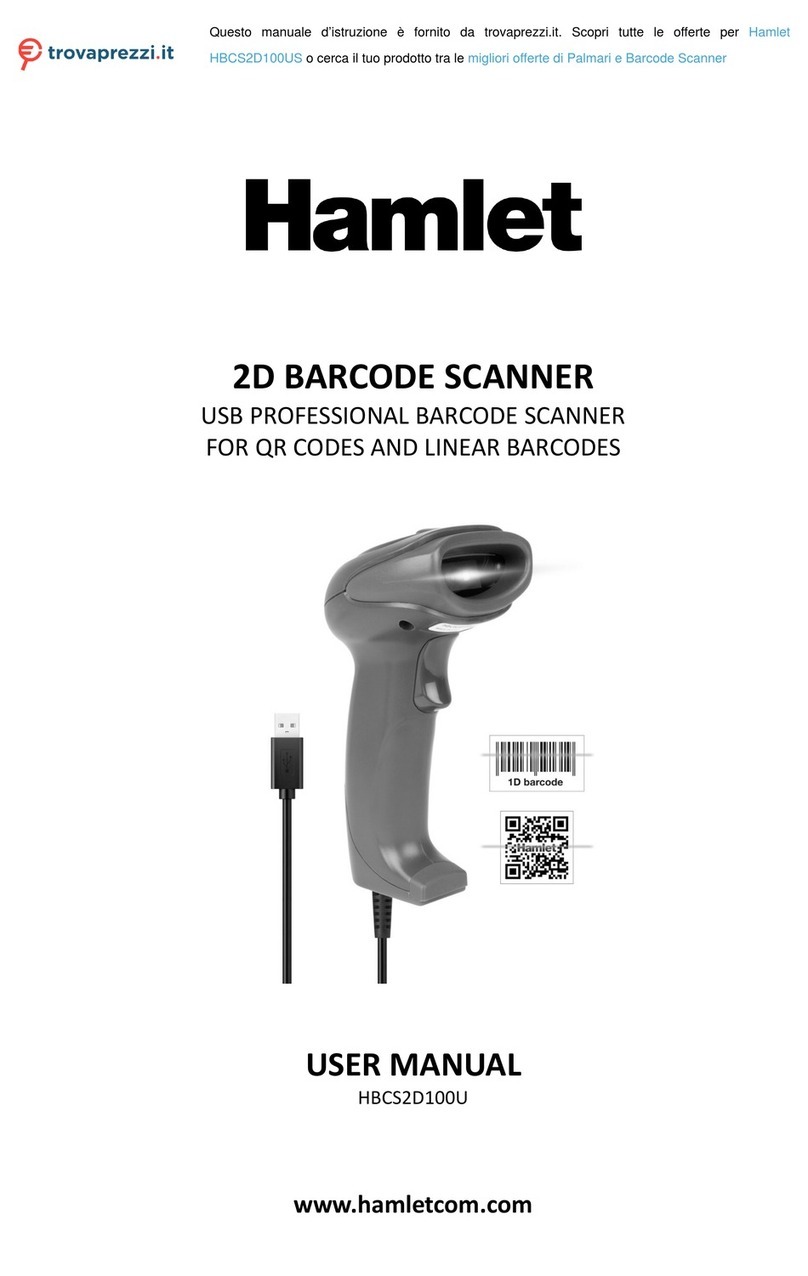
2D BARCODE SCANNER
BLUETOOTH INDUSTRIAL BARCODE SCANNER
FOR QR CODES AND LINEAR BARCODES
USER MANUAL
HBCS2D100W
www.hamletcom.com

Dear Customer,
thanks for choosing an Hamlet product. Please carefully follow the instructions for its use and maintenance and,
once this item has run its life span, we kindly ask You to dispose of it in an environmentally friendly way, by putting
it in the separate bins for electrical/electronic waste, or to bring it back to your retailer who will collect it for free.
We inform You this product is manufactured with materials and components in compliance with RoHS Directive
2011/65/EU, WEEE Directive 2002/96/CE, 2003/108/CE Italian Legislative Decree 2005/151 and RED Directive
2014/53/EU for the following standards:
EN 60950-1: 2006 + A2: 2013
EN 62479: 2010
EN 301 489-1 V1.9.2
EN 301 489-17 V2.2.1
EN 300 328 V1.8.1
CE Mark Warning
This is a Class B product. In a domestic environment, this product may cause radio interference, in which case the
user may be required to take adequate measures.
The complete CE declaration of conformity of the product can be obtained by contacting Hamlet at
info@hamletcom.com.
Visit www.hamletcom.com for complete information on Hamlet products and to access downloads and technical
support.
Imported by: CARECA ITALIA SPA - Scandiano (RE) . Italy
All trademarks and company names mentioned in this manual are used for description purpose only and remain
property of their respective owners. The material in this document is for information only. Contents, specifications
and appearance of the product are indicative and may change without notice.
LED Devices
Hamlet products using led sources comply with IEC 60825-1, EN 60825-1: 2014. The led classification is marked on
one of the labels on the product. Class 1 Led devices are not considered to be hazardous when used for their
intended purpose.
The following statement is required to comply with US and international regulations:
Caution: Use of controls, adjustments or performance of procedures other than those specified herein may result
in hazardous led light exposure.
Class 2 Led scanners use a low power, visible light diode. As with any very bright light source, such as the sun, the
user should avoid staring directly into the light beam. Momentary exposure to a Class 2 Led is not known to be
harmful.
In accordance with Clause 5, IEC 60825 and EN 60825, the following information is provided to the user:
CLASS 1: CLASS 1 LED PRODUCT
CLASS 2: VISIBLE LED RADIATION - DO NOT STARE INTO BEAM - CLASS 2 LED PRODUCT

Table of Contents
Table of Contents ....................................................................................................................................................... 3
1 Pairing Instruction.............................................................................................................................................. 5
1.1 One scanner pair with one receiver ....................................................................................................... 5
1.2 Multiple scanners pair with one receiver .............................................................................................. 5
1.3 Scanner connect with Android/iOS device ............................................................................................ 5
2 Inventory Mode ................................................................................................................................................. 6
3 Turn On/Off Settings Codes ............................................................................................................................... 6
4 Factory Default .................................................................................................................................................. 6
5 Sleeping Time Settings ....................................................................................................................................... 7
6 Users Default Settings ........................................................................................................................................ 8
7 Interfaces ........................................................................................................................................................... 8
7.1 RS232 Port ............................................................................................................................................. 8
7.2 USB Port ................................................................................................................................................. 9
7.2.1 USB Virtual Port ......................................................................................................................... 9
8 Reading Mode .................................................................................................................................................. 10
8.1 Manual mode....................................................................................................................................... 10
8.2 Continuous Mode ................................................................................................................................ 10
8.3 Auto-sensing Mode.............................................................................................................................. 12
8.4 Command Trigger mode ...................................................................................................................... 14
9 Lighting & Aiming............................................................................................................................................. 15
9.1 Lighting ................................................................................................................................................ 15
9.2 Aiming .................................................................................................................................................. 15
10 Beeper Sound Settings ..................................................................................................................................... 16
10.1 All Beeper Sounds ................................................................................................................................ 16
10.2 Beeper Sound of Successful Reading ................................................................................................... 17
10.3 Decoding Status Prompt ...................................................................................................................... 17
11 Data Encoding Format ..................................................................................................................................... 18
12 Keyboard Language Settings ............................................................................................................................ 19
13 Image Reverse.................................................................................................................................................. 20
14 Reading the Information of the Version .......................................................................................................... 20
15 Data Editing...................................................................................................................................................... 21
15.1 Prefix .................................................................................................................................................... 21
15.2 Suffix .................................................................................................................................................... 22
16 CODE ID............................................................................................................................................................ 22
17 Ending Character ............................................................................................................................................. 25
18 Interception of Data Segments ........................................................................................................................ 25
19 RF Information ................................................................................................................................................. 28
20 Enable / Disable Configuration for Types of Barcodes ..................................................................................... 29
20.1 All barcodes reads ................................................................................................................................ 29
20.2 Rotation function of barcode ............................................................................................................... 29
20.3 EAN13 .................................................................................................................................................. 29
20.4 EAN8 .................................................................................................................................................... 30
20.5 UPCA .................................................................................................................................................... 30
20.6 UPCE0 .................................................................................................................................................. 30
20.7 UPCE1 .................................................................................................................................................. 30
20.8 Code128 ............................................................................................................................................... 31
20.9 Code39 ................................................................................................................................................. 31
20.10 Code93 ................................................................................................................................................. 32
20.11 CodeBar ............................................................................................................................................... 33
20.12 QR ........................................................................................................................................................ 33
20.13 Interleaved 2 of 5 ................................................................................................................................. 34
20.14 Industrial 25 ......................................................................................................................................... 34
20.15 Matrix 2 of 5 ........................................................................................................................................ 35
20.16 Code11 ................................................................................................................................................. 36
20.17 MSI ....................................................................................................................................................... 36

20.18 RSS ....................................................................................................................................................... 37
20.19 DM ....................................................................................................................................................... 38
20.20 PDF417 ................................................................................................................................................. 38
Appendix A: Default Settings Table .......................................................................................................................... 39
Appendix B: Common Serial Commands ................................................................................................................. 39
Appendix C: Code ID List .......................................................................................................................................... 40
Appendix D: ASCII table ........................................................................................................................................... 41
Appendix E: Data Codes ........................................................................................................................................... 45
Appendix F: Save or Cancel ...................................................................................................................................... 46

1 Pairing Instruction
1.1 One scanner pair with one receiver
Note: Insert receiver into PC, and scan this code within 5 minutes, the scanner will connect with PC; scan the code
again, the scanner will disconnect with PC. When receiver or scanner power off and on again, they will connect
again automatically. It takes about 20s for first connection, purple lights on scanner and receiver will turn on after
successful connection.
1.2 Multiple scanners pair with one receiver
(1) Connect with receiver
(2) Enter mode:
one with multiple
Note: If pair another scanner with the same receiver, need the scanner read barcode step (1), then use successful
paired scanner read barcode step (2). In this mode, one receiver can pair with 7 scanners maximum
(3) Quit multiple scanners pair with one receiver mode
1.3 Scanner connect with Android/iOS device
Note: scan this code, then turn on Bluetooth on Android or IOS device, find Bluetooth scanner, then connect it.
iOS Keyboard On/Off

2 Inventory Mode
Enter Inventory Mode
Quit Inventory Mode
Upload All Data
Upload New Data
Upload Statistic Data
Clear All Data
3 Turn On/Off Settings Codes
By turning on the setting code function, the parameter configuration of the scanner can be carried out by scanning
the setting code.
Turn ON setting code
Turn OFF setting code
Not output setting code
content
Output setting code content
4 Factory Default
By scanning "Factory Default", "Wireless Settings", "Bluetooth mode" in turn, all saving the parameters of the
reading module return to the Factory Default configuration.
Factory Default
Wireless Settings
Bluetooth mode

5 Sleeping Time Settings
0
1
2
3
4
5
6
7
8
9
1. Scan “Factory Default”.
2. Scan “enter into sleeping mode”.
3. Setting sleeping time (minutes).
For Example: set 10 minutes as sleeping time, scan numbers “0”, “1”, “0” in order.
Note: Sleeping time could be 1 minute to 999 minutes, it’s made of 3 numbers followed by hundreds digit, tens digit,
units digit, sleeping time settings must be 3 numbers.
4. Scan “Save Sleeping Time Parameter”.
Note: after setting sleeping time parameter, the parameter must be saved. If set error, the scanner will give an
alarm, and need to set again.
Sleep after 5 minutes
Sleep after 10 minutes
Sleep after 30 minutes
No Sleep

6 Users Default Settings
Except for factory default settings, users could make often used settings as default settings by reading code “Save
current settings as user default settings”. If there has been an user default settings, the new operation will replace
the previous user default settings. But it could be switched to previous user default settings mode by reading code
“recovery user default settings”.
Save current settings as user
default settings
Recovery user default
settings
7 Interfaces
7.1 RS232 Port
Serial communication interface is a common way to connect scanner with host equipment (such as pc, pos etc.).
The system adopts serial communication mode by default when the scanner is connected with the host computer
by serial port. When the serial communication interface is used, the communication parameters must be matched
between the scanner and the host device to ensure smooth communication and correct content.
RS232 Port
The serial communication interface of the scanner uses TTL level signal (TTL-232), which can be adapted to most
system architectures. If the system needs to use rs-232 form of architecture, need to add external conversion circuit.
The default serial communication parameters of the scanner are shown in Table 2-1. The baud rate of the read
module can be modified by the serial command, but the other parameters can not be modified.
Table2-1 Default Serial Communication Paramters
Parameters
Default
Serial communication type
Standard TTL-232
Baud rate
9600
Verify
none
Digits
8
Stop Digit
1
Hardware control
none

Baud Rate
1200bps
4800bps
* 9600bps
14400bps
19200bps
38400bps
57600bps
115200bps
7.2 USB Port
When scanner is connected with the host computer using USB, the scanner can be configured into standard
keyboard input mode by scanning “USB Port”.
* USB Port
7.2.1 USB Virtual Port
When scanner is connected with the host computer using USB, the scanner can be configured into standard
keyboard input mode by scanning “USB Virtual Port”.
USB Virtual Port

8 Reading Mode
8.1 Manual mode
Manual mode is the default reading mode, under this mode ,reading engine start to read the barcode when press
the trigger, and stop to read code when loose the trigger.
Manual mode
Under this mode, reading engine will enter into sleep mode automatically after several default min, can set with
the below code.
* Enable Sleep Mode
Disable Sleep Mode
Reading engine enter into sleep mode automatically after 30 min, can wake up by press trigger, if quit sleeping
mode, the device will be rebooted.
8.2 Continuous Mode
Under this mode, no need to press the trigger, reading engine start to read the code asap ,when the date transmitted
successfully or single reading finished, the engine will start to read next code automatically after waiting some
time(can be setting ), if not, Reading engine will do Cycle work as the situation before, users can also press the
trigger to stop reading.
Continuous mode
Single reading time
Under the continuous reading mode, it means the max time the engine read the code, if exceed this time, engine
enter into the interval period not reading, single reading time range is 0.1~25.5 seconds, step size is 0.1 seconds,
when it is “0”, means no limit on reading time, default time is 0.5 seconds.

1000ms
3000ms
* 5000ms
No limit reading time
Interval period time
The interval period time range is 0.1~25.5 seconds, size is 0.1 seconds, default time is 1seconds.
No Interval time
500ms
* 1000ms
1500ms
2000ms
Same codes reading delay
To av oi d re ad sam e codes m any ti mes, ca n s et th e th e eng ine i n setti ng ti me to re ad the s am e codes onl y one tim e
under this mode. Same codes reading delay, means if the engine read the same code, will compare the last reading
time, when the interval period is longer than delay time, then can read the same code, otherwise, no output.
Same code reading delay
* Same code reading
without delay

8.3 Auto-sensing Mode
After setting, no need to press the trigger, the engine start identify the brightness, when the situation changed,
engine will start to read once it is stable, when dated transmit, the engine need some time (can set) to identify the
brightness, if not, engine work as the situation before, under this mode, user can also press the trigger to start to
read, once loose the trigger, engine enter into the self- conduction mode again.
Auto sensing mode
Single reading time
Under the continuous reading mode, it means the max time the engine read the code, if exceed this time, engine
enter into the interval period not reading, single reading time range is 0.1~25.5 seconds, step size is 0.1seconds,
when it is “0”, means no limit on reading time, default time is 0.5 seconds.
1000ms
3000ms
* 5000ms
No limit reading time
Interval period time
The interval period time range is 0.1~25.5 seconds, size is 0.1 seconds, default time is 1seconds.
No Interval time
500ms
* 1000ms
1500ms
2000ms

Image stabilization time
It means under the self- conduction mode, the Image stabilization time engine identify the environment and read
the code, the time range is 0~25.5 seconds, step size is 0.1 seconds, default stabilization time is 0.4 second.
100ms
* 400ms
1000ms
2000ms
Sensitivity
It means the Variability to identify the environment under the self-conduction mode, when it meets the needs, will
turn into read mode.
Normal Sensitivity
Low Sensitivity
High Sensitivity
Special High Sensitivity

8.4 Command Trigger mode
Under this mode, engine start to read data after receiving the scan instruction from the host (that is “1” was written
into bit from zone bit 0x0002), and stop reading after data transmitted.
Command Trigger mode
Attention: under this mode, trigger command instruction is: 7E 00 08 01 00 02 01 AB CD.
The engine receive the instruction, will output 7 byte responding first and start to read at the same time (responding
is :02 00 00 01 00 33 31).
Single reading time
Under this mode, it means the max time that engine identify the data, single reading time range is 0.1~25.5 second,
step size is 0.1 second, when it is “0”, means no limit on reading time, default time is 5 seconds.
1000ms
3000ms
* 5000ms
No limit reading time

9 Lighting & Aiming
9.1 Lighting
Lighting could provide supplementary lighting for shooting to read, when light beam illuminate reading aim,to
improve reading ability and adaptability in weak ligh. The user could set it to one of the following states according
to the application.
Normal (Factory Default): The light is on when shooting to read, off in other time.
Always Light: The lights keep glowing after reading module is on.
No Light: The lights don’t light up in any cases.
* Normal
Always Light
No Light
9.2 Aiming
Projected aiming beam could help users to find the best reading distance when shooting to read. The user could
choose one of the following states according to the application.
Normal (Factory Default): Reading module project aiming beam when shooting to read.
Always Light: After reading module power on, always project aiming beam.
No Target: Aiming beam is off in any case.
* Normal
Always Light
No Target

10 Beeper Sound Settings
10.1 All Beeper Sounds
Buzzers will be set to active/passive when scanning “Buzzer Driving Frequency”, also set passive buzzer driving
Frequency.
Buzzer Driving Frequency
Passive Low Frequency
Buzzer Driving Frequency
Passive Medium Frequency
Buzzer Driving Frequency
Passive High Frequency
Buzzer Driving Frequency
Active Driving
In Active Buzzer Mode, after reading “Buzzer Working Level-High”, could be set to Buzzer Free Low level and working
high level. After reading” Buzzer Working Level- Low”, could be set to buzzer free high level, and working low level.
* Buzzer Working Level-High
Buzzer Working Level- Low
All sounds is off after reading “Enable sounds off”, Sound off setting will be canceled after reading “Disable Sound
off”.
Enable sounds off
Disable Sound off

10.2 Beeper Sound of Successful Reading
Beeper sound of successful reading will be forbidden after reading “ Disable Beeper sound of successful reading”,
beeper sound of successful reading will recover after reading “ Enable Beeper Sound of Successful Reading”.
Disable Beeper Sound of
Successful Reading
Enable Beeper Sound of
Successful Reading
To re ad “ Soun d C onti nuous Ti me” co ul d s et conti nu ou s ti me of be ep er so und o f su cces sf ul read ing De faul t 6 0ms .
Sound Continuous Time
30ms
Sound Continuous Time
60ms
Sound Continuous Time
90ms
Sound Continuous Time
120ms
10.3 Decoding Status Prompt
In order to let host can quickly understand whether the current decoding succeed, to open this function.
After reading “Output Decoding Status Prompt”, if reading is failed, reading module will send character ”F”; if
succeed, to add character “S” before decoding data.
* No Output Decoding
Status Prompt
Output Decoding Status
Prompt

11 Data Encoding Format
In order to reading module enable to read all kinds of Chinese barcode encoding format, by reading “Input Data
Encoding Format” could be set.
* Input Data Encoding
Format GBK
Input Data Encoding Format
UNICODE
Input Data Encoding Format
AUTO
Input Data Encoding Format
UTF8
In order to let the host print Chinese data according to specified encoding format, could be set through reading
“Output Data Encoding Format”.
Note: GBK format could be used in notepad, UNICODE format can be used in the input box of WORD and commonly
used chat tools, BIG5 format support traditional Chinese.
* Output Data Encoding
Format GBK
Output Data Encoding
Format UNICODE
Output Data Encoding
Format BIG5
Output Data Encoding
Format UTF8

12 Keyboard Language Settings
In order to make host of all countries user this equipment, by reading corresponding countries keyboard language
could be set.
* USA
Czech
France
Germany
Hungary
Italy
Japanese
Spanish

13 Image Reverse
In application, we will encounter the mirror or vertical flip image, as shown in the following figure.
When the barcode in reverse, can be set up by scanning the corresponding code into mirror reverse mode.
Enter Mirror Reverse Mode
* Exit Mirror Reverse Mode
Note: In Mirror Reverse Mode, only can identify the mirror flip the bar code, if you need to identify normal barcode
or set code, please exit mirror reverse mode.
14 Reading the Information of the Version
In order to make main engine read apace for the information of the version, please read the code as below to
confirm.
Reading the Information of
the Version
Other manuals for HBCS2D100W
1
Table of contents
Other Hamlet Barcode Reader manuals

Hamlet
Hamlet HBCS1D10W User manual

Hamlet
Hamlet HBCS2D100U User manual

Hamlet
Hamlet HBCS1D360 User manual

Hamlet
Hamlet HBCS2D300U User manual

Hamlet
Hamlet HBCS1D10US User manual

Hamlet
Hamlet HBCS1D10U User manual

Hamlet
Hamlet HBCS2D100W User manual

Hamlet
Hamlet HBCS-2D110W User manual

Hamlet
Hamlet HBCS2D100US User manual
Popular Barcode Reader manuals by other brands

Netum
Netum NT-W3 Quick setup guide

aqprox!
aqprox! appLS05HD2D user guide

Toshiba
Toshiba B-EX4 SERIES Quick installation manual

Leuze electronic
Leuze electronic IT 1910i Technical description

Honeywell
Honeywell MS9520 Voyager installation instructions

AMT Datasouth
AMT Datasouth Fastmark 4600 PLUS Series User's guide user guide