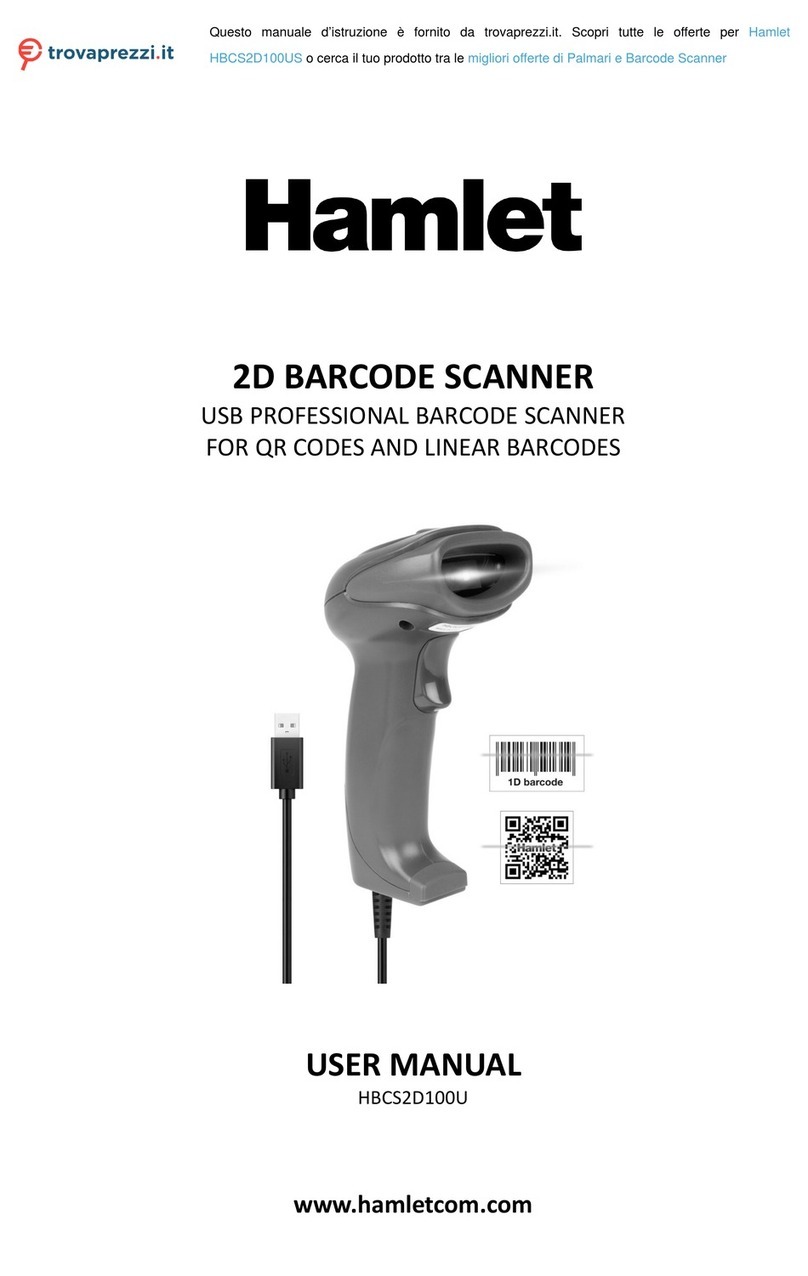
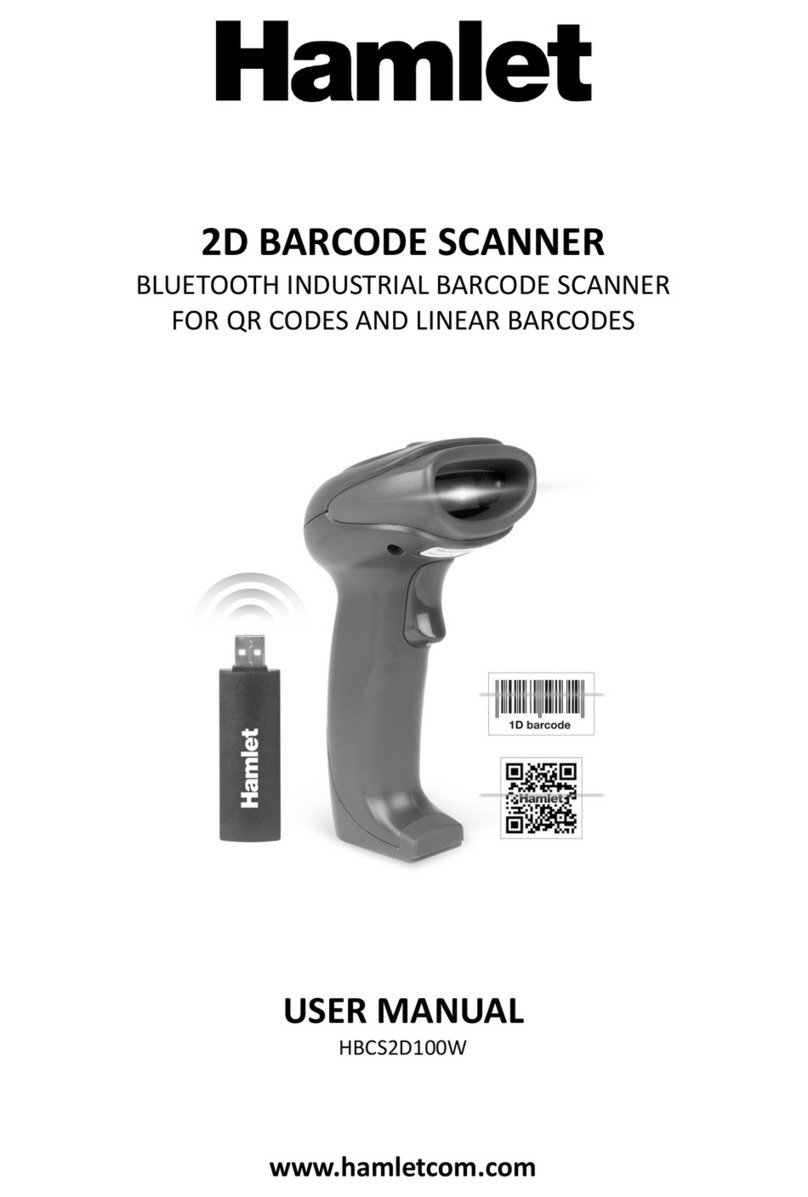
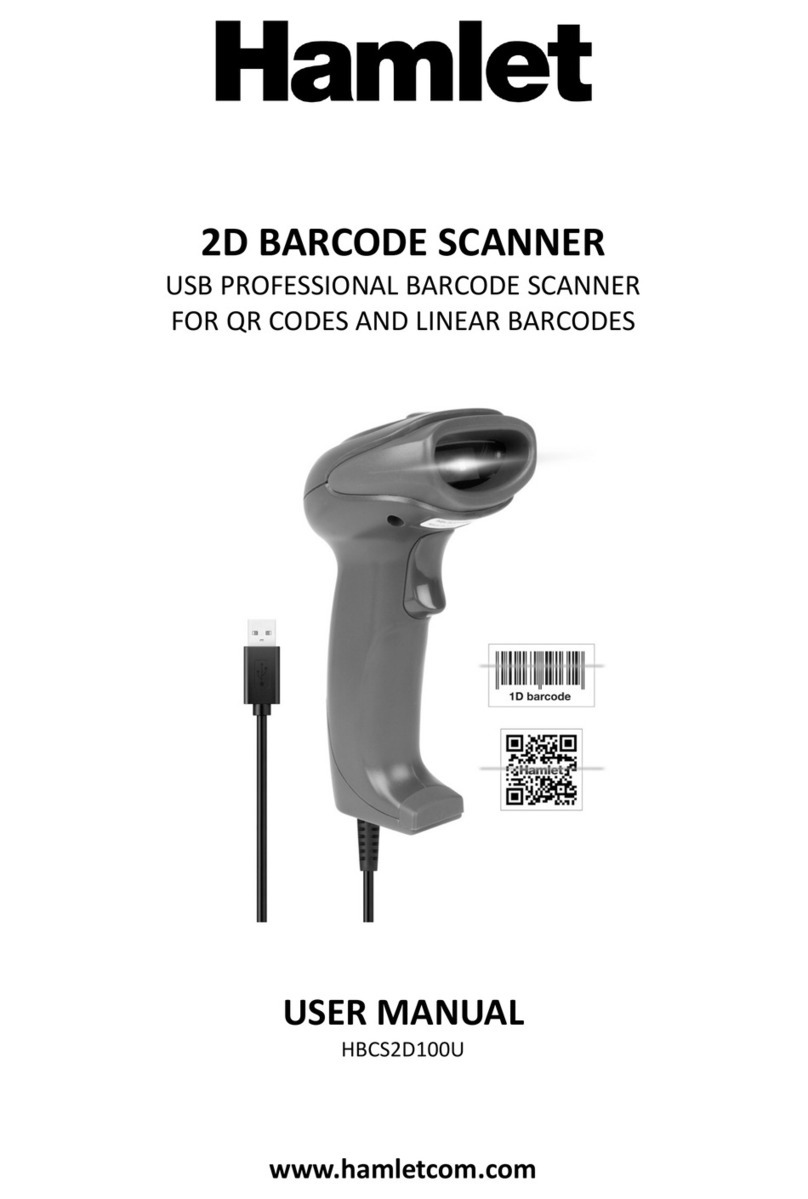
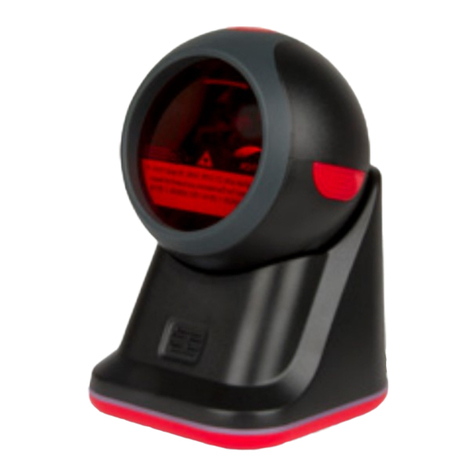
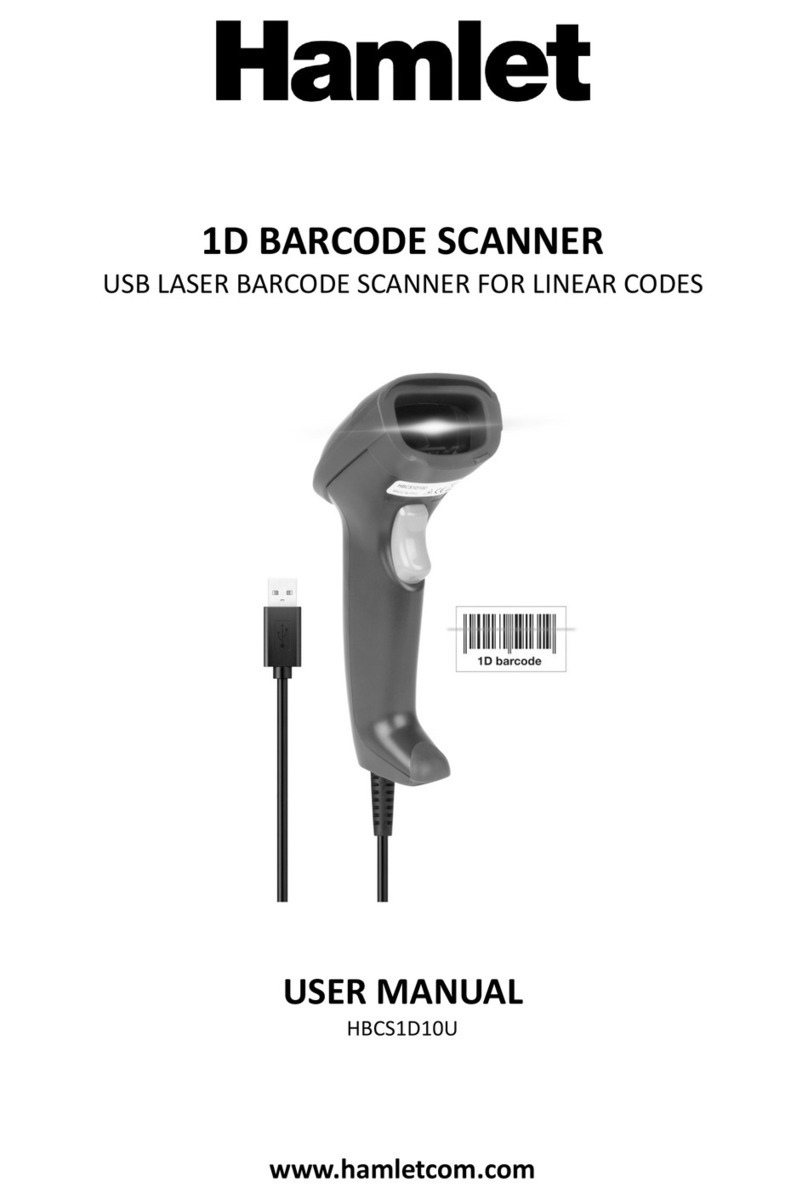
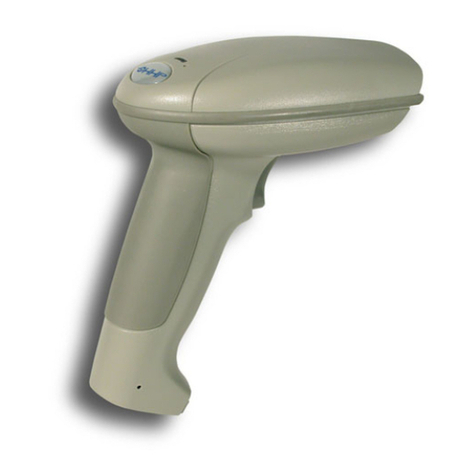
Hamlet HBCS2D100W User manual

MANUAL SUCCESSIVE SCAN
AUTO-CONDUCTION TRIGGER COMMAND
ENTER* ENTER AND LINE
TAB NONE
NORMAL
ILLUMINATION*
CONTINUOUS
LIGHT MODE
SCAN MODE
SUFFIX SETTINGS
ILLUMINATION AND AIM
SLEEP TIME SETTINGS
ENTER SLEEP
TIME SETTING
SAVE SLEEP
TIME PARAMETER
1. Scan “Enter Sleep Time Setting” QR code.
2. Set sleep time parameter (Unit: minutes).
Example: To set sleep time 10 minutes, scan sleep
time number “0”, “1” and “0” in sequence.
Note: Sleep time can be from 1 to 999 minutes,
consinsting of 3 digits, followed by one hundred, ten,
a bit. Each set of sleep time must be 3 digits number.
3. Scan “Save Sleep Time Parameter”.
Note: After setting the sleep time parameter, it must
be saved. If set error, the scanner will give an alarm
and you need to set it again.
Under data uploading mode, the purple led indicator
keeps flashing when uploading data.
Under invetory mode, the red led indicator keeps on
when uploading data.
Under over-distance storage mode, the red led
indicator keeps flashing when uploading data.
When battery power is too low, the scanner makes
“beep” every 10 seconds. After 5 “beep” sounds, the
scanner turns off automatically.
When the scanner is in over transmission distance
condition, connect the scanner to the receiver and
press trigger button to upload data to the receiver. But
data will not be uploaded to a cell phone.
When the scanner is in inventory mode, it will not go
into over-distance storage mode.
Note: To return to Factory Default settings, scan
“Factory Default”, “RF Setting” and “Bluetooth Mode”
QR codes in sequence.
1. Connect the USB receiver to the computer.
2. Scan below QR code or “Disconnect” QR code on
the receiver.
3. Scan “Connect” QR code on the receiver and wait
few seconds to complete pairing.
Note: Purple led indicates pairing succeed.
INTRODUCTION
One Scanner To One Receiver
Open Android or iOs devices
bluetooth and search for bluetooth
devices after scanning this barcode,
then connect to the bluetooth
device.
Connect To Mobile Device
In iOS, if keyboard is on, scan this
code to turn off the keyboard.
If keyboard is off, scan this code to
turn on the keyboard.
Keyboard ON/OFF in iOS
UPLOAD ALL DATA
CLEAR ALL
DATA
UPLOAD
STATISTIC DATA
QUIT
INVENTORY MODE
ENTER
INVETORY MODE
INVENTORY MODE
HBCS2D100W
www.hamletcom.com
BLUETOOTH INDUSTRIAL BARCODE
SCANNER FOR LINEAR AND QR CODES
USER MANUAL
2D BARCODE SCANNER
Dear Customer,
thanks for choosing an Hamlet product. Please
carefully follow the instructions for its use and
maintenance and, once this item has run its life
span, we kindly ask You to dispose of it in an environmen-
tally friendly way, by putting it in the separate bins for
electrical/electronic waste, or to bring it back to your
retailer who will collect it for free.
We inform You this product is manufactured with
materials and components in compliance with RoHS
Directive 2011/65/EU, WEEE Directive 2002/96/CE,
2003/108/CE Italian Legislative Decree 2005/151 and
RED Directive 2014/53/EU for the following standards:
EN 60950-1: 2006 + A2: 2013
EN 62479: 2010
EN 301 489-1 V1.9.2
EN 301 489-17 V2.2.1
EN 300 328 V1.8.1
CE Mark Warning
This is a Class B product. In a domestic environment, this
product may cause radio interference, in which case the
user may be required to take adequate measures.
The complete CE declaration of conformity of the product
can be obtained by contacting Hamlet at
Visit www.hamletcom.com for complete information on
Hamlet products and to access downloads and technical
support.
Imported by:
CARECA ITALIA SPA - Scandiano (RE) . Italy
All trademarks and company names mentioned in this
manual are used for description purpose only and remain
property of their respective owners. The material in this
document is for information only. Contents, specifications
and appearance of the product are indicative and may
change without notice.
LED Devices
Hamlet products using led sources comply with IEC
60825-1, EN 60825-1: 2014. The led classification is
marked on one of the labels on the product. Class 1 Led
devices are not considered to be hazardous when used
for their intended purpose.
The following statement is required to comply with US
and international regulations:
Caution: Use of controls, adjustments or performance of
procedures other than those specified herein may result
in hazardous led light exposure.
Class 2 Led scanners use a low power, visible light diode.
As with any very bright light source, such as the sun, the
user should avoid staring directly into the light beam.
Momentary exposure to a Class 2 Led is not known to be
harmful.
In accordance with Clause 5, IEC 60825 and EN 60825,
the following information is provided to the user:
CLASS 1: CLASS 1 LED PRODUCT
CLASS 2: VISIBLE LED RADIATION
DO NOT STARE INTO BEAM
CLASS 2 LED PRODUCT
RF SETTINGFACTORY
DEFAULT
OVER-DISTANCE
STORAGE OFF
OVER-DISTANCE
STORAGE ON
BLUETOOTH
MODE
NO ILLUMINATION

BUZZER
NUMBERS APPENDIX
SUFFISSO PERSONALIZZATO
SPAINJAPAN
ITALY*
HUNGARY
GERMANYFRENCH
CZECH
USA
0 1
2 3
4 5
6 7
8 9
A B
C D
E F
2 3
0 1
8 9
5 MIN 10 MIN
30 MIN NONE
4 5
6 7
SAVE
DELETE ONE DATA
BEFORE READ
DELETE A STRING OF
DATA BEFORE READ
CANCEL SETTINGS
ADD SUFFIX
MODIFY SUFFIX
DELETE SUFFIX*
MODIFY PREFIX SAVE PREFIX
SAVE SUFFIX
CUSTOM PREFIX SETTING
To setup the following sleep time, just scan the QR
code with desired sleep time.
Special Sleep Time Setting
CUSTOM SUFFIX SETTING
USB KEYBOARD COUNTRY
ADD PREFIX DELETE PREFIX
To set a custom Prefix proceed as follows.
1. Scan “Add Prefix” > “Modify Prefix”.
2. Scan the Data Code* in the “Numbers Appendix”
and then “Save”.
3. Scan “Save Prefix” to confirm setting.
* Data Code consists of an alphanumeric code.
To insert the desired Data Code, please refer to
Hexadecimal Encoding table in the complete user
manual available for download at hamletcom.com
website.
To set a custom Suffix proceed as follows.
1. Scan “Add Suffix” > “Modify Suffix”.
2. Scan the Data Code* in the “Numbers Appendix”
and then “Save”.
3. Scan “Save Suffix” to confirm setting.
* Data Code consists of an alphanumeric code.
To insert the desired Data Code, please refer to
Hexadecimal Encoding table in the complete user
manual available for download at hamletcom.com
website.
Scansionare “Modifica Prefisso” quindi il codice che
si desidera aggiungere. L’utente può personalizzare il
contenuto del prefisso.
OFFON*
MID*HIGH
LOW

Gentile Cliente,
La ringraziamo per la fiducia riposta nei nostri
prodotti. La preghiamo di seguire le norme d'uso e
manutenzione che seguono. Al termine del
funzionamento di questo prodotto La preghiamo di non
smaltirlo tra i rifiuti urbani misti, ma di effettuare per detti
rifiuti una raccolta separata negli appositi raccoglitori di
materiale elettrico/elettronico o di riportare il prodotto dal
rivenditore che lo ritirerà gratuitamente.
Informiamo che il prodotto è stato realizzato con materiali
e componenti in conformità a quanto previsto dalle
Direttive RoHS 2011/65/EU, RAEE 2002/96/CE,
2003/108/CE D.lgs. 151/2005 e dalla Direttiva RED
2014/53/EU per i seguenti standard:
EN 60950-1: 2006 + A2: 2013
EN 62479: 2010
EN 301 489-1 V1.9.2
EN 301 489-17 V2.2.1
EN 300 328 V1.8.1
CE Mark Warning
Questo dispositivo appartiene alla classe B. In un
ambiente domestico il dispositivo può causare interferen-
ze radio, in questo caso è opportuno prendere le adegua-
te contromisure.
La dichiarazione di conformità CE completa relativa al
prodotto può essere richiesta contattando Hamlet
Visita www.hamletcom.com per informazioni complete su
tutti i prodotti Hamlet e per accedere a download e
supporto tecnico.
Importato da:
CARECA ITALIA SPA - Scandiano (RE) . Italia
Tutti i marchi e i nomi di società citati in questa guida
sono utilizzati al solo scopo descrittivo e appartengono ai
rispettivi proprietari. Le informazioni contenute in questo
manuale, le caratteristiche e l'aspetto del prodotto sono
soggetti a modifiche senza preavviso.
Dispositivi LED
I prodotti Hamlet che utilizzano sorgenti led sono
conformi a IEC 60825-1, EN 60825-1: 2014. La classifi-
cazione led è contrassegnata su una delle etichette sul
prodotto. I dispositivi Led di Classe 1 non sono conside-
rati pericolosi se usati per lo scopo previsto.
La seguente dichiarazione è richiesta per conformarsi
alle normative statunitensi e internazionali:
Attenzione: l'uso di comandi, regolazioni o l'esecuzione di
procedure diverse da quelle qui specificate può provoca-
re l'esposizione a luce led pericolosa.
Gli scanner Led di Classe 2 utilizzano un diodo a luce
visibile a bassa potenza. Come con qualsiasi fonte di luce
molto luminosa, come il sole, l'utente dovrebbe evitare di
fissare direttamente il raggio di luce. L'esposizione
momentanea a un Led di Classe 2 non è nota per essere
dannosa.
In conformità con la clausola 5, IEC 60825 e EN 60825,
le seguenti informazioni sono fornite all'utente:
CLASSE 1: APPARECCHIO LED DI CLASSE 1
CLASSE 2: RADIAZIONE LED
NON FISSARE IL FASCIO
APPARECCHIO LED DI CLASSE 2
MANUALE SCANSIONI
SUCCESSIVE
SCANSIONE
AUTOMATICA
TRIGGER COMMAND
INVIO* INVIO E LINEA
TABULAZIONE NESSUNO
ILLUMINAZIONE
NORMALE*
LUCE
CONTINUA
MODALITÀ SCANSIONE
IMPOSTAZIONI INSERIMENTO
ILLUMINAZIONE E PUNTAMENTO
Nella modalità di caricamento dei dati, l'indicatore
LED viola lampeggia durante il caricamento dei dati.
In modalità invetario, l'indicatore LED rosso rimane
acceso durante il caricamento dei dati.
In modalità di memorizzazione a distanza, l'indicatore
LED rosso lampeggia durante il caricamento dei dati.
Quando la carica della batteria è troppo bassa, lo
scanner emette un "beep" ogni 10 secondi. Dopo 5
"beep", lo scanner si spegne automaticamente.
Quando lo scanner si trova ad una distanza di
trasmissione eccessiva, collegare lo scanner al
ricevitore e premere il pulsante di scansione per
caricare i dati sul ricevitore. Questo metodo non
permette di caricare i dati su un telefono cellulare.
Quando lo scanner è in modalità di inventario, non
entrerà in modalità di memorizzazione a distanza.
Nota: Per ripristinare le Impostazioni di Fabbrica,
scansionare “Impostazioni di Fabbrica”, “Impostazi-
one RF” e “Modalità Bluetooth” in sequenza.
1. Collegare il ricevitore USB bluetooth al computer.
2. Scansionare il seguente codice QR o il codice
“Disconnect” sul ricevitore.
3. Scansionare il codice “Connect” sul ricevitore e
attendere alcuni secondi per completare
l’accoppiamento (il led viola acceso indica il corretto
accoppiamento).
INTRODUZIONE
Accoppiare Scanner e Ricevitore
Aprire le impostazioni Bluetooth di
Android o iOS e cercare le periferi-
che Bluetooth dopo aver scansion-
ato il codice a fianco, quindi
collecarsi allo Scanner Bluetooth.
Collegamento a Dispositivo Mobile
In iOS, se la tastiera è attiva,
leggere questo codice per
disattivarla.
Se la tastiera è spenta, leggere
questo codice per attivarla.
TastieraON/OFF in iOS
CARICA TUTTI DATI
CANCELLA
TUTTI I DATI
INFO
MEMORIA
DISATTIVA
MOD. INVENTARIO
ATTIVA
MOD. INVETARIO
MODALITÀ INVENTARIO
HBCS2D100W
www.hamletcom.com
BLUETOOTH INDUSTRIAL BARCODE
SCANNER FOR LINEAR AND QR CODES
MANUALE UTENTE
2D BARCODE SCANNER
IMPOSTAZIONE
RF
IMPOSTAZIONI
DI FABBRICA
MEMORIZZAZIONE
A DISTANZA OFF
MEMORIZZAZIONE
A DISTANZA ON
MODALITÀ
BLUETOOTH
IMPOSTAZIONI STAND-BY
CONFIGURA
STAND-BY
SALVA CONFIG.
STAND-BY
1. Scansionare il codice “Configura Stand-By”.
2. Impostare il tempo di Stand-By (in minuti).
Esempio: Per impostare 10 minuti, scansionare in
sequenza i numeri “0”, “1” e “0”.
Nota: Il tempo di Stand-By può andare da 1 a 999
minuti, ed è formato da 3 numeri.
3. Scansionare “Salva Configurazione Stand-By”.
Nota: Dopo aver impostato il tempo di Stand-by,
questo deve essere salvato. Se l’impostazione è
scorretta, lo scanner emette un allarme e la
procedura deve essere ripetuta.
NESSUNA
ILLUMINAZIONE
SEGNALE ACUSTICO
APPENDICE NUMERI
SPAGNAGIAPPONE
ITALIA*
UNGHERIA
GERMANIAFRANCIA
REP. CECA
USA
0 1
2 3
4 5
6 7
8 9
A B
C D
E F
2 3
0 1
8 9
5 MIN 10 MIN
30 MIN NESSUNO
4 5
6 7
SALVA
CANCELLA UN DATO
PRIMA DELLA LETTURA
CANCELLA STRINGA DATI
PRIMA DELLA LETTURA
ANNULLA
IMPOSTAZIONI
AGGIUNGI
SUFFISSO
MODIFICA
SUFFISSO
CANCELLA
SUFFISSO*
MODIFICA
PREFISSO
SALVA IMPOST.
PREFISSO
SALVA IMPOST.
SUFFISSO
PREFISSO PERSONALIZZATO
Per impostare i seguenti tempi di Stand-By, è
sufficiente leggere i codici QR relativi al tempo
desiderato.
Tempi di Stand-By Predefiniti
SUFFISSO PERSONALIZZATO
PAESE TASTIERA USB
AGGIUNGI
PREFISSO
CANCELLA
PREFISSO
Per impostare un Prefisso personalizzato procedere
come segue.
1. Scansionare “Aggiungi Prefisso” > “Modifica
Prefisso”.
2. Scansionare il Codice Dati* in “Appendice Numeri”
e quindi “Salva”.
3. Scansionare “Salva Impost. Prefisso” per confer-
mare l’impostazione.
* Il Codice Dati è composto da un codice alfanumeri-
co. Per inserire il Codice Dati desiderato, fare
riferimento alla Tabella di Codifica Esadecimale nel
manuale utente completo disponibile per il download
sul sito hamletcom.com.
Per impostare un Suffisso personalizzato procedere
come segue.
1. Scansionare “Aggiungi Suffisso” > “Modifica
Suffisso”.
2. Scansionare il Codice Dati* in “Appendice Numeri”
e quindi “Salva”.
3. Scansionare “Salva Impost. Suffisso” per confer-
mare l’impostazione.
* Il Codice Dati è composto da un codice alfanumeri-
co. Per inserire il Codice Dati desiderato, fare
riferimento alla Tabella di Codifica Esadecimale nel
manuale utente completo disponibile per il download
sul sito hamletcom.com.
OFFON*
MEDIO*ALTO
BASSO
Other manuals for HBCS2D100W
1
Table of contents
Languages:
Other Hamlet Barcode Reader manuals

Hamlet
Hamlet HBCS2D100U User manual

Hamlet
Hamlet HBCS-2D110W User manual

Hamlet
Hamlet HBCS1D10W User manual

Hamlet
Hamlet HBCS1D10U User manual

Hamlet
Hamlet HBCS2D100W User manual

Hamlet
Hamlet HBCS1D10US User manual

Hamlet
Hamlet HBCS1D360 User manual

Hamlet
Hamlet HBCS2D100US User manual

Hamlet
Hamlet HBCS2D300U User manual