III
T A B L E O F C O N T E N T S
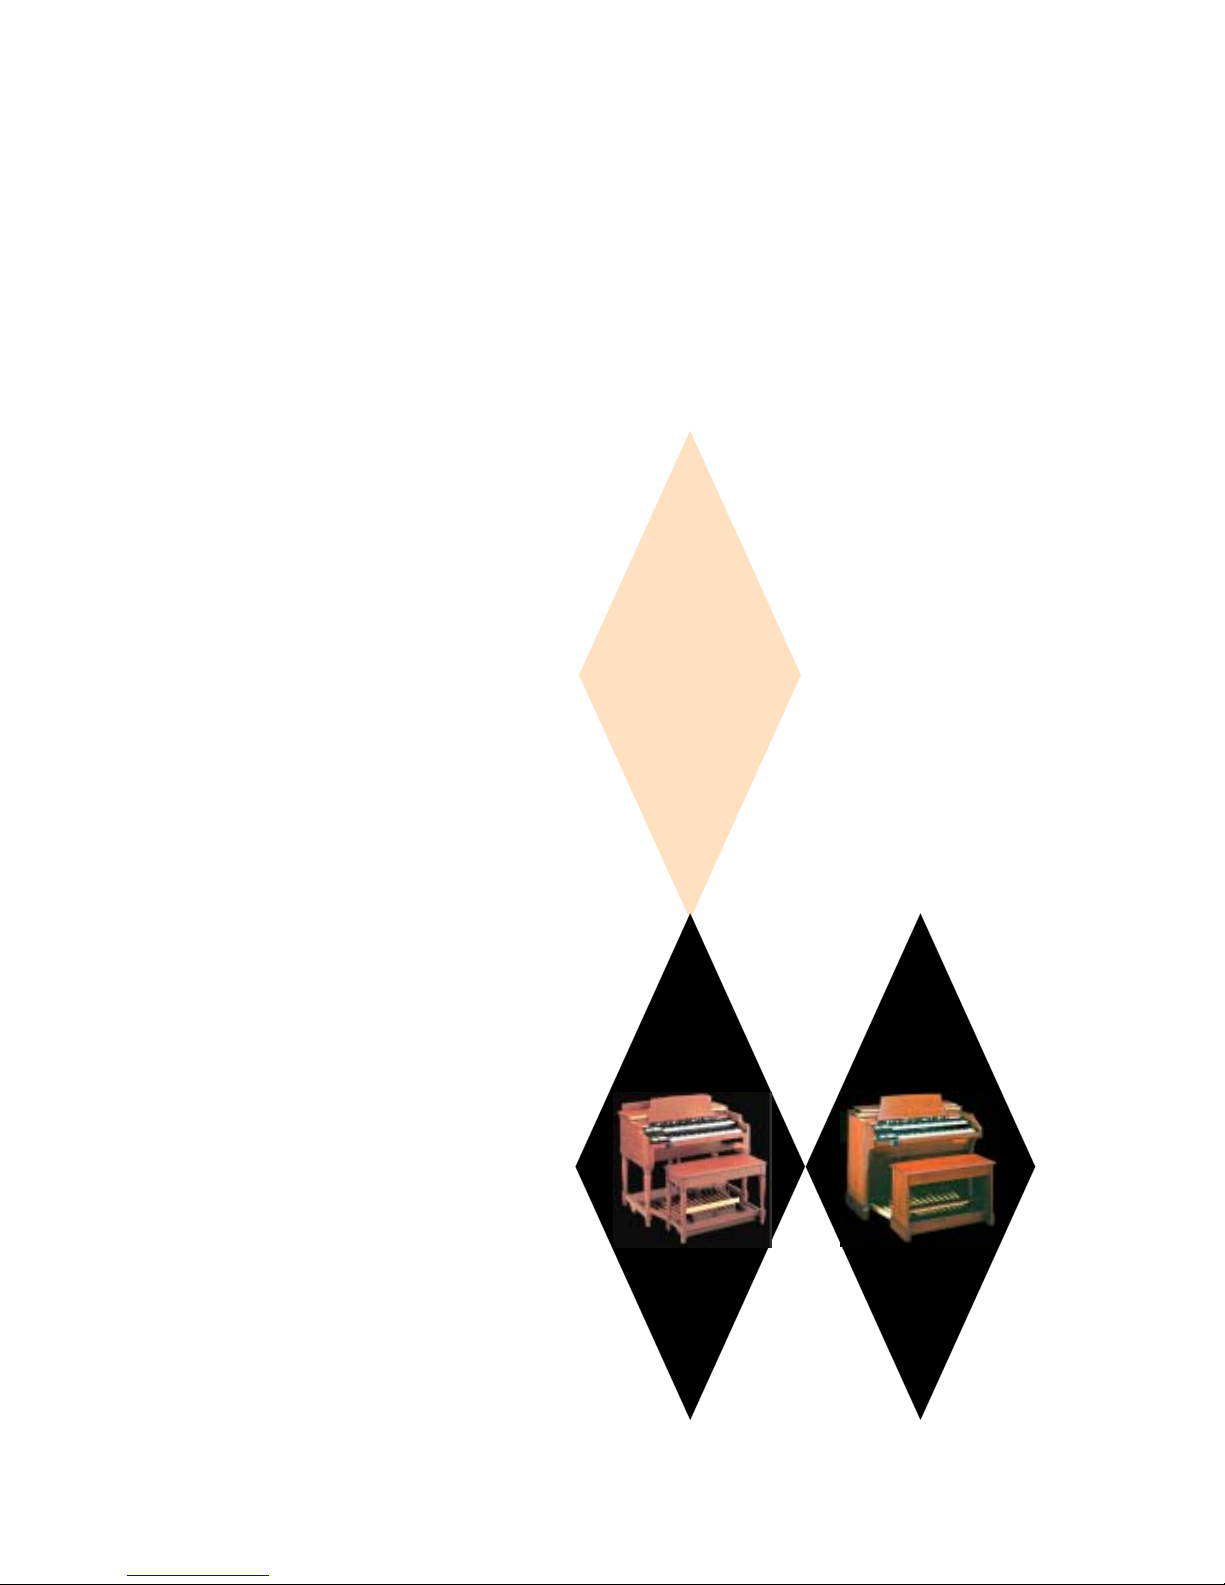
HA<O> ORGAN New B-3 / New C-3 Owner’s PlayingGuide
Jacks .............................................................................................. 37
MAIN/ECHO ............................................................................. 37
HEADPHONE ............................................................................ 37
LESLIESWITCH .......................................................................... 37
EFFECTS...................................................................40
VibratoandChorus ................................................................................. 40
ON/OFF................................................................................. 40
V-1 -(SmallVibrato) ................................................................ 40
V-2 -(WideVibrato) ................................................................ 40
V-3 -(FullVibrato) ................................................................. 40
Chorus ................................................................................... 40
C-1 -(SmallChorus) ............................................................... 40
C-2 -(WideChorus) ................................................................ 40
C-3-(FullChorus) ................................................................. 40
Leslie ............................................................................................. 41
PedalSustain....................................................................................... 41
Reverb ............................................................................................ 41
REVERBRotaryControl..................................................................... 41
Overdrive ......................................................................................... 41
OVERDRIVERotaryControl................................................................. 41
INFORMATIONCENTER ......................................................44
TouchButtons ..................................................................................... 44
TopGroup ................................................................................ 45
BottomGroup ............................................................................. 45
MENU/EXIT..................................................................... 45
RECORD ......................................................................... 45
PLAY ............................................................................. 45
PAGE .................................................................................... 45
PLAYMode........................................................................................ 46
GraphicDisplaywithparameters. .............................................................. 46
NumericDisplaywithparameters ............................................................. 47
MENUMode...................................................................................... 49
MenuA ................................................................................... 49
MenuB ................................................................................... 50
MenuC................................................................................... 51
MenuD................................................................................... 52
AdvancedFeatures-DRAWBARS ..................................................................... 53
ToneWheelSelect-SWL&GRT ............................................................. 54
ToneWheelSelect-PEDAL.................................................................. 55
DrawbarFoldBack.......................................................................... 56
AdvancedFeatures-PERCUSSION ................................................................... 58
PercussionVolumeLevel..................................................................... 59
PercussionDecay ........................................................................... 61
Percussion1'Cancel......................................................................... 63
DrawbarLevelwithPercussion................................................................ 65
AdvancedFeature-VIBRATO ........................................................................ 67
AdvancedFeature-PEDALSUSTAIN ................................................................. 69
AdvancedFeature-PEDALSUSTAINLENGTH ....................................................... 70
AdvancedFeature-REVERB ......................................................................... 72
AdvancedFeature-PRESETS ........................................................................ 74
SPECIALPERFORMANCEFEATURES ..........................................78
MotorControlSwitch ............................................................................... 78
MotorControlUP.......................................................................... 78
MotorControlDOWN...................................................................... 79
AdvancedFeatures-TUNE .......................................................................... 79
MasterTune ............................................................................... 80
Transpose(KeySelect)....................................................................... 81
AdvancedFeatures-CONTROL...................................................................... 83
FootSwitchFunction ....................................................................... 83
ExpressionMinimumLevel .................................................................. 84
ExpressionCurve ........................................................................... 86
PresetLoad-EX.ZONE ..................................................................... 87