HAMPTON BAY 54643141 User manual

Item # Model #
1000-236-530 54643141
1000-236-597 54074341
1000-236-705 54620141
1000-236-729 54075341
1000-236-762 54618241
THANK YOU
We appreciate the trust and confidence you have placed in Hampton Bay through the purchase of this LED light.
We strive to continually create quality products designed to enhance your home. Visit us online to see our full line of
products available for your home improvement needs. Thank you for choosing Hampton Bay!
USE AND CARE GUIDE
LED ROUND
11 IN., 12 IN., 15 IN., 16 IN. AND 20 IN.
Questions, problems, missing parts? Before returning to the store,
call Hampton Bay Customer Service
8 a.m.-6 p.m., EST, Monday-Friday
1-855-HD-HAMPTON
HAMPTONBAY.COM

Table of Content .........................................2
Safety Information......................................2
Warranty .....................................................2
Pre-Installation........................................... 3
Planning Installation............................. 3
Tools Required ..................................... 3
Hardware Included............................... 3
Package Contents ................................ 4
Installation..................................................5
Care and Cleaning ......................................6
Troubleshooting..........................................6
Dimmer Compatibility................................. 7
Table of Contents
Warranty
Safety Information
WARNING: Carefully read and understand the information
given in this manual before beginning the assembly and
installation. Failure to do so could lead to electric shock, fire,
or other injuries which could be hazardous or even fatal.
WARNING: Ensure the electricity to the wires you are
working on is shut off. Either remove the fuse or turn off the
circuit breaker.
WARNING: Changes or modifications not expressly
approved by the party responsible for compliance could void
the user’s authority to operate the equipment.
NOTICE: Added weight of the device may cause instability
of a free-standing portable luminaire. This device is not
intended for use with emergency exits.
WARNING: This equipment has been tested and found to
comply with the limits for a Class B digital device, pursuant to Part 15
of the FCC Rules. These limits are designed to provide reasonable
protection against harmful interference in a residential installation.
This equipment generates, uses and can radiate radio frequency
energy and, if not installed and used in accordance with the
instructions, may cause harmful interference to radio
communications.
However, there is no guarantee that interference will not occur in a
particular installation. If this equipment does cause harmful
interference to radio or television reception, which can be determined
by turning the equipment off and on, the user is encouraged to try to
correct the interference by one or more of the following measures:
■Reorient or relocate the receiving antenna
■Increase the separation between the equipment and the receiver.
■Connect the equipment into an outlet on a circuit different from
that to which the receiver is connected.
■Consult the dealer or an experienced radio/TV technician for help.
WHAT IS COVERED
The manufacturer warrants this lighting fixture to be free from defects in materials and workmanship for a period
of five (5) years from date of purchase. This warranty applies only to the original consumer purchaser and only to
products used in normal use and service. If this product is found to be defective, the manufacturer’s only
obligation, and your exclusive remedy, is the repair or replacement of the product at the manufacturer’s discretion,
provided that the product has not been damaged through misuse, abuse, accident, modifications, alterations,
neglect, or mishandling.
WHAT IS NOT COVERED
This warranty shall not apply to any product that is found to have been improperly installed, set-up, or used in any
way not in accordance with the instructions supplied with the product. This warranty shall not apply to a failure of
the product as a result of an accident, misuse, abuse, negligence, alteration, faulty installation, or any other failure
not relating to faulty material or workmanship. This warranty shall not apply to the finish on any portion of the
product, such as surface and/or weathering, as this is considered normal wear and tear.
The manufacturer does not warrant and specifically disclaims any warranty, whether express or implied, of fitness
for a particular purpose, other than the warranty contained herein. The manufacturer specifically disclaims any
liability and shall not be liable for any consequential or incidental loss or damage, including but not limited to any
labor / expense costs involved in the replacement or repair of said product.
Contact the Customer Service Team at 1-855-HD-HAMPTON or visit www.Hamptonbay.com
2

PLANNING INSTALLATION
TOOLS REQUIRED
HARDWARE INCLUDED
NOTE: Keep your receipt and these
instructions for proof of purchase.
NOTE: Hardware not shown to
actual size.
Wire
Strippers
Safety
Goggles
Flathead
Screwdriver
Phillips
Screwdriver
Electrical
Tape
Wire
Cutters
Ladder Gloves
AA BB
Part Description Quantity
AA Wirenut (in parts bag) 3
BB Mounting Screw (1 in.) 2
3HAMPTONBAY.COM
Please contact 1-855-HD-HAMPTON for further assistance.
The fixture may not be compatible with all dimmers. If you are unfamiliar with electrical installations, we
recommend you have a qualified electrician do your installation.
Remove the existing fixture. Make yourself a sketch of how the current fixture is wired (by wire color) or mark the
wires with masking tape and a pencil so you will know how to reconnect the wires to your new LED fixture.
This fixture does not use a mounting bracket to secure it to the electrical box. Instead, it is secured to the box by
the included screws specifically designed to ground the pan to a metal electrical box. For safe operation, use only
the electrical box screws included in the hardware kit. Screw them into the electrical box until there is about 3/8
in. between the ceiling and the underside of the screw head.
PRODUCT DESCRIPTION AND CHARACTERISTICS
LED ceiling light can be directly mounted to the household ceiling and requires little space. It is energy-saving,
environmentally friendly, and used for emitting soft and even distribution of light.
Pre-Installation
WARNING: Shut off power at the circuit breaker or fuse
panel before removing the old fixture.

PACKAGE CONTENTS
B
A
4
Part Description Quantity
A Flushmount Housing 1
B Flushmount Diffuser 1
Pre-Installation (continued)

Removing the difusser
■ Turn the diffuser (B) counterclockwise
to remove it from the housing plate.
1Installing the mounting
screws
■ Install the mounting screws (BB) in the
junction box.
2
Before beginning assembly, installation or operation of product, make sure all parts are present. Compare parts
with package contents list on previous page. If any part is missing or damaged, do not attempt to assemble,
install or operate the product. Contact customer service for replacement parts.
3Attaching the housing to the
junction box
■ Align the keyholes in the housing (A) with
the mounting screws (BB). Then rotate (A)
to securely fit to junction box and tighten
screws to secure.
Connecting the wires
■ Connect the black and the white wires of
the fixture with two wires of the same
colors from the junction box. Secure
together using wire nuts (AA).
■ Connect the grounding wire of the fixture
with the one from the junction box.
Secure together using a wire nut (AA).
4
5HAMPTONBAY.COM
Please contact 1-855-HD-HAMPTON for further assistance.
Installation
BB
AA
BB
A

Your fixture is made from quality materials that will last many years with minimum care. You may want to
periodically clean the diffuser, or interior of fixture using a mild, non-abrasive glass cleaner and a soft cloth.
DO NOT use solvents, or cleaners containing abrasive agents. When cleaning the inside of the fixture, make sure
you have the power turned off, and do not spray liquid cleaner directly onto the LEDs, LED driver or wiring.
Problem Possible Cause Corrective Action
The power is off. Check if power supply is on.
The fixture does not light. There is a bad wire connection. Check the wiring.
The switch is defective. Test or replace the switch.
The fuse blows or circuit breaker The wires are crossed or the power wire Check the wiring connections.
trips when the light is turned on. is grounded out.
Minor problems often can be fixed without the help of an electrician.
Mounting the difusser to the
housing plate
■ Position the diffuser (B) so that it
becomes seated in the housing plate
(A). Turn the diffuser (B) clockwise to
secure it.
■ Restore power to the electrical box.
Turn the light switch on to activate the
fixture.
5
6
Installation (continued)
Troubleshooting
Care & Cleaning
CAUTION: Before attempting to clean the fixture,
disconnect the power to the fixture by turning the breaker
off or removing the fuse from the fuse box.
WARNING: Before doing any work on the fixture,
shut off power supply at the circuit panel to avoid
electrical shock.
A
B

7HAMPTONBAY.COM
Please contact 1-855-HD-HAMPTON for further assistance.
US Dimmer List For Ceiling Light (Round)
Home Depot SKU # 1000236597/1000236530 1000236729/1000236705 1000236762
Dimmer Brand Manufacturer # 54074341 / 54643141 54075341 / 54620141 54618241
TBL03 X
6631 X X
IPSD6-1LZ
Leviton IPL10-1LZ X
6683 X X
6672 X X
6674
81000-W X X
RPI06 X
DVCL-153P-WH X X
DVCL-153PR-WH X X
DV-600PR-WH X X
S2-LH-WH X
DVCL-153PD X X X
DVW-603PGH-WH X
LUTRON DV-603PG X
DVWCL-153PH-WH X
CT-600PR-WH X
MACL-153MH-WH X X
TGCL-153P X X
TG-603PR-WH X
SELVB-300PH-WH X X X
SCL-153PH-WH X X X
S-600PR-WH X
TTCL-100LH-WH X X
GL-600H-DK X
Cooper 9530SG-K X
ADTP703TUW4 X X X
Legrand ADWR703HW4 X X X
ASTM2W2 X X X

Questions, problems, missing parts? Before returning to the store,
call Hampton Bay Customer Service
8 a.m.-6 p.m., EST, Monday-Friday
1-855-HD-HAMPTON
HAMPTONBAY.COM
Retain this manual for future use.

Artículo # Modelo #
1000-236-530 54643141
1000-236-597 54074341
1000-236-705 54620141
1000-236-729 54075341
1000-236-762 54618241
GRACIAS
Apreciamos la confianza que ha puesto en Hampton Bay a través de la compra de esta luces LED. Nos esforzamos
por crear constantemente productos diseñados para dar realce a su hogar. Visítenos en línea para ver nuestra gama
completa de productos disponibles para sus necesidades al momento de hacer mejoras en su hogar. ¡Muchas
gracias porelegir a Hampton Bay!
GUÍA DE USO Y CUIDADO
PLAFÓN REDONDO CON LUZ LED
11 PULG., 12 PULG., 15 PULG., 16 PULG. Y 20 PULG.
Preguntas, problemas, piezas faltantes? Antes de devolver el producto a la tienda, llame al
Centro de Atención al Cliente de Hampton Bay en el horario de
8 a.m. – 6 p.m., Hora del Este de EE.UU., de lunes a viernes.
1-855-HD-HAMPTON
HAMPTONBAY.COM

Contenido..................................................10
Informacíon sobre seguridad...................10
Garantía ....................................................10
Antes de la instalacíon.............................11
Planificacíon de la instalacíon ...........11
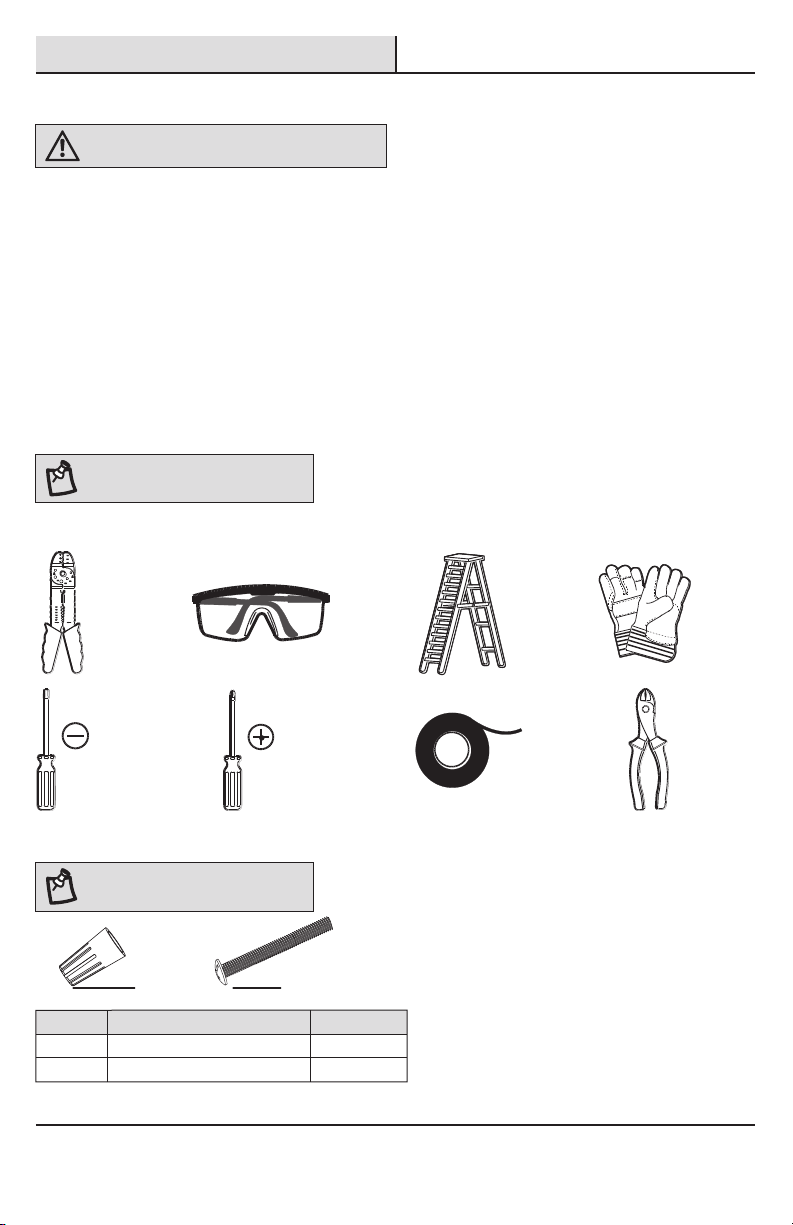
Herramientas necesarias ................... 11
Materiales incluidos........................... 11
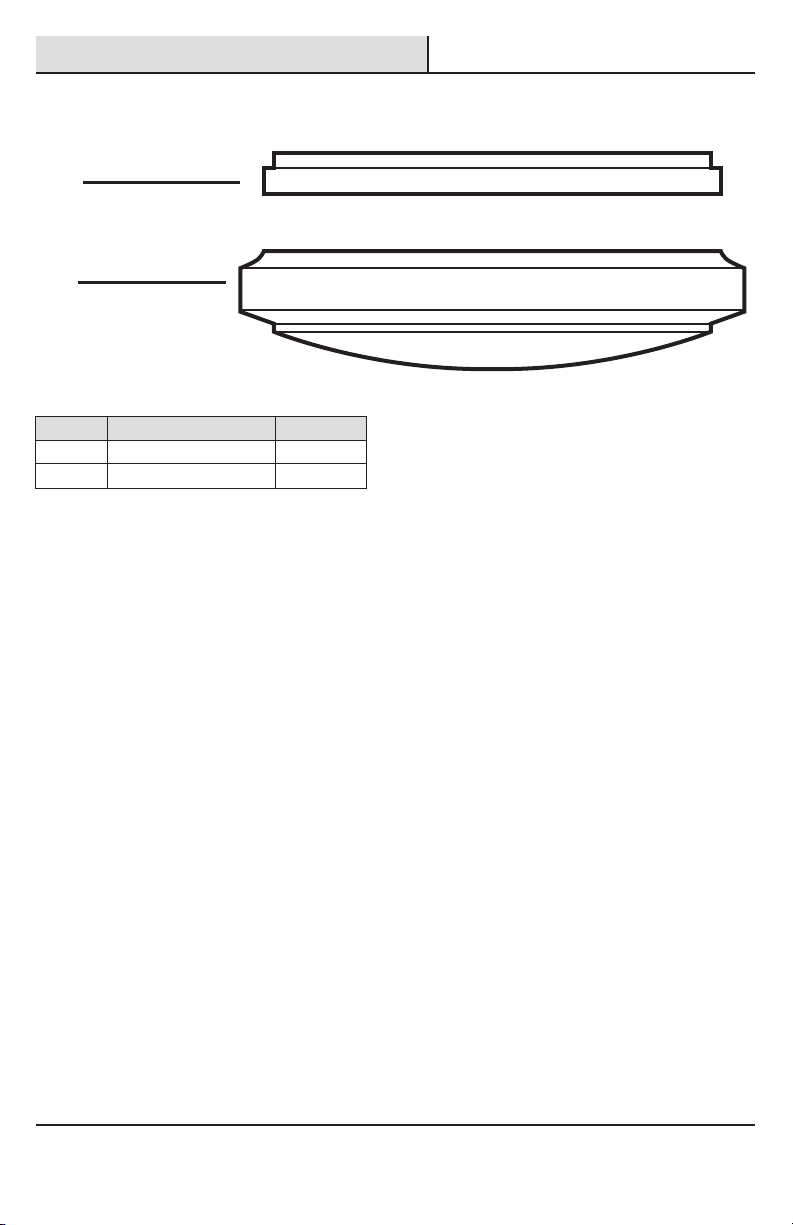
Contenido del paquete ....................... 12
Instalacíon ................................................13
Cuidado y limpieza ...................................14
Solucíon de problemas.............................14
Atenuadores compatibles ........................15
Contenido
Garantía
Informacíon sobre seguridad
ADVERTENCIA: Lea cuidadosamente y comprenda la
información incluida en este manual antes de comenzar el
armado e instalación. No hacerlo, puede provocar descarga
eléctrica, incendio, u otras lesiones que pueden ser
peligrosas o incluso fatales.
ADVERTENCIA: Asegúrese de cortar el suministro
eléctrico en los cables con los que trabajará. Extraiga los
fusibles o apague el cortacircuitos.
ADVERTENCIA: Changes or modifications not expressly
approved by the party responsible for compliance could void
the user’s authority to operate the equipment.
AVISO: El mayor peso de este dispositivo puede provocar
la inestabilidad de un aparato de iluminación portátil de pie.
Este dispositivo no debe utilizarse en salidas de emergencia.
ADVERTENCIA: Este equipo ha sido sometido a prueba y se halló
que cumple con los límites establecidos para la clase B de
dispositivos digitales, conforme a la Parte 15 de las Normas de FCC.
Estos límites se establecen para brindar protección razonable contra
interferencia dañina en una instalación residencial.Este equipo
genera, utiliza y puede irradiar energía de frecuencias de radio y, si
no se instala conforme a las instrucciones, puede provocar
interferencia dañina a las comunicaciones de radio. A pesar de esto,
no existe garantía de que la interferencia no se produzca en una
instalación en particular. Si este equipo produce interferencia dañina
a la recepción de radio o televisión, lo que puede determinarse
encendiendo y apagando el equipo, se insta al usuario a intentar
corregir la interferencia mediante uno de los siguientes métodos:
■Cambie la orientación o ubicación de la antena receptora.
■Aumente la separación entre el equipo y el receptor.
■Conecte el equipo en un enchufe que esté en un circuito diferente
al cual está conectado el receptor.
■Consulte con el representante o con un técnico experimentado en
radio y televisión para solicitar asistencia.
CUBRE
El fabricante garantiza que este aparato de iluminación no tendrá defectos en los materiales o en la mano de obra
por un periodo de cinco (5) años desde la fecha de compra. Esta garantía se aplica sólo al comprador consumidor
original y sólo a los productos que se utilizan y reciben servicio en forma normal. Si se encuentra que este
producto tiene defectos, la única obligación del fabricante, y su exclusiva solución, es reparar o reemplazar el
producto a su entera discreción, siempre y cuando el producto no se haya dañado debido al mal uso, abuso,
accidente, modificaciones, alteraciones, negligencias o mal manejo del mismo.
NO CUBRE
Esta garantía no se aplica a ningún producto que se ha instalado incorrectamente, ajustado o utilizado en una
forma que no concuerde con las instrucciones suministradas junto con el producto. Esta garantía no se aplicará a
fallas del producto como resultado de un accidente, uso incorrecto, abuso, negligencia, alteración, instalación
defectuosa, o ninguna otra falla no relacionada con el material o mano de obra defectuosa. Esta garantía no se
aplica a la terminación en una parte del producto, tales como la superficie o la acción de los elementos, ya que
esto se considera desgaste normal.
El fabricante no garantiza y no acepta responsabilidad, ya sea, expresa o implícita de la idoneidad para un fin
particular, a excepción de la garantía contenida en el presente. El fabricante niega específicamente
responsabilidad y no será responsable por daños o pérdidas indirectas o consecuenciales, e incluye pero no se
limita a los costos de mano de obra, gastos relacionados en el reemplazo o reparación de dicho producto.
Comuníquese con el equipo de Servicio al Cliente al 1-855-HD-HAMPTON o visite www.Hamptonbay.com
10

PLANIFICACÍON DE LA INSTALACÍON
HERRAMIENTAS NECESARIAS
MATERIALES INCLUIDOS
NOTA: Guardar el recibo de compra y estas
instrucciones como prueba de compra.
NOTA: Los materiales no se
ilustran en tamaño real.
Alicates
pelacables
Gafas de
seguridad
Destornillador
de cabeza
plana
Destornillador
Phillips
Cinta
eléctrica
Alicates
cortacables
Escalera Guantes
AA BB
Pieza Descripción Cantidad
AA Terminales para cables (en la bolsa de piezas) 3
BB Tornillo de montaje (1 pulg.) 2
11 HAMPTONBAY.COM
Sírvase comunicarse al 1-855-HD-HAMPTON para recibir asistencia.
El aparato puede no ser compatible con todos los atenuadores. Si no está familiarizado con las instalaciones
eléctricas, le recomendamos que haga que un electricista calificado se ocupe de la instalación.
Retire el aparato que está instalado. Asegúrese de tener un esquema de cómo está cableado el aparato (por color)
o marque los cables con cinta y un lápiz así sabrá cómo volver a conectar los cables de su aparado de luz LED
nuevo.
Este aparato no usa soportes de montaje para asegurarlo en la caja eléctrica, en cambio, se instala a la caja con
unos tornillos especialmente diseñados (se incluyen) para conectar el recinto a una caja eléctrica metálica. Para
una operación segura, use solo los tornillos para la caja eléctrica de que se incluyen en el juego de instalación.
Atorníllelos en la caja eléctrica hasta que quede una distancia de 3/8 de pulgada entre el cielorraso y la parte
inferior de la cabeza del tornillo.
DESCRIPCIÓN DEL PRODUCTO Y CARACTERÍSTICAS
El plafón de luz LED puede instalarse directamente en el cielorraso y ocupa poco espacio. Es de bajo consumo de
energía, ecológico y su uso es para emitir luz suave y de distribución pareja.
Antes de la instalacíon
ADVERTENCIA: Desconecte el suministro eléctrico en el panel
de circuitos o de fusibles antes de sacar el aparato antiguo.

CONTENIDO DEL PAQUETE
B
A
12
Pieza Descripción Cantidad
A Caja del plafón 1
B Difusor del plafón 1
Antes de la instalacíon (continuacíon)

Antes de comenzar el armado, la instalación o antes de operar el producto, asegúrese de que tiene todas las
piezas. Compare las piezas con la lista del contenido en la página anterior. Si falta alguna pieza o si está dañada,
no comience a armar, instalar ni operar el producto. Comuníquese con el servicio al cliente para el reemplazo de
las piezas.
13 HAMPTONBAY.COM
Sírvase comunicarse al 1-855-HD-HAMPTON para recibir asistencia.
Instalacíon
Extracción del difusor
■ Gire el difusor (B) en el sentido contrario
a las agujas del reloj para extraerlo de la
placa de la caja.
1Instalación de los tornillos
de montaje
■ Instale los tornillos de montaje (BB) en la
caja de uniones.
2
3Instalación de la caja a la
caja de uniones
■ Alinee los orificios en la caja (A) con los
tornillos de montaje (BB). Luego gire (A)
para conectarla en forma segura a la caja
de uniones y luego ajuste los tornillos
para fijarla en su lugar.
Conexión de cables
■ Conecte los cables negro y blanco del
aparato a dos cables del mismo color en
la caja de uniones. Asegúrelos con un
conector (AA).
■ Conecte el cable de conexión a tierra del
aparato a uno igual de la caja de uniones.
Asegúrelos con un conector (AA).
4
BB
AA
BB
A

Su luminaria está hecha con materiales de calidad y que durarán por muchos años con un cuidado mínimo. Limpie
el difusor periódicamente o el interior del aparato con un paño suave utilizando un limpiador de vidrios no
abrasivo.
NO use solventes ni limpiadores que contengan agentes abrasivos. Cuando limpie el interior del aparato,
asegúrese de que el suministro eléctrico esté desconectado, y no pulverice limpiadores líquidos directamente en
las luces LED o en los cables LED.
Problema Causa posible Acción correctiva
El suministro eléctrico está cortado. Verifique si el suministro
El aparato no enciende. eléctrico está encendido
Mal conexión de cables. Verifique el cableado.
El Interruptor es defectuoso. Pruebe o cambie el interruptor.
Se quema el fusible o salta el Cables cruzados o el cable de suministro Verifique la conexión de cables.
disyuntor cuando se enciende no está a tierra.
la luz.
Los problemas menores pueden arreglarse sin ayuda de un electricista.
14
Instalacíon (continuacíon)
Guía de solución de problemas
Cuidado y limpieza
PRECAUCIÓN: Antes de limpiar la lámpara, desconecte el
suministro eléctrico hacia ésta apagando el cortacircuitos
o extrayendo el fusible de la caja de fusibles.
ADVERTENCIA: Antes de realizar algún trabajo en
el aparato, desconecte el suministro eléctrico en el
panel de circuitos para evitar descargas eléctricas.
Montaje del difusor a la
placa de la caja
■ Coloque el difusor (B) de forma que
quede apoyado en la placa de la caja
(A). Gire el difusor (B) en el sentido de
las agujas del reloj para asegurarlo.
■ Conecte el suministro eléctrico de la
caja eléctrica. Encienda el interruptor
de la luz para activar el aparato.
5A
B

15 HAMPTONBAY.COM
Sírvase comunicarse al 1-855-HD-HAMPTON para recibir asistencia.
Lista de atenuadores de EE.UU. para lámpara para cielorraso (redondo)
Marca de Home Depot SKU # 1000236597/1000236530 1000236729/1000236705 1000236762
atenuador N.0de fabricante 54074341 / 54643141 54075341 / 54620141 54618241
TBL03 X
6631 X X
IPSD6-1LZ
Leviton IPL10-1LZ X
6683 X X
6672 X X
6674
81000-W X X
RPI06 X
DVCL-153P-WH X X
DVCL-153PR-WH X X
DV-600PR-WH X X
S2-LH-WH X
DVCL-153PD X X X
DVW-603PGH-WH X
LUTRON DV-603PG X
DVWCL-153PH-WH X
CT-600PR-WH X
MACL-153MH-WH X X
TGCL-153P X X
TG-603PR-WH X
SELVB-300PH-WH X X X
SCL-153PH-WH X X X
S-600PR-WH X
TTCL-100LH-WH X X
GL-600H-DK X
Cooper 9530SG-K X
ADTP703TUW4 X X X
Legrand ADWR703HW4 X X X
ASTM2W2 X X X

Preguntas, problemas, piezas faltantes? Antes de devolver el producto a la tienda, llame al
Centro de Atención al Cliente de Hampton Bay en el horario de
8 a.m. – 6 p.m., Hora del Este de EE.UU., de lunes a viernes.
1-855-HD-HAMPTON
HAMPTONBAY.COM
Conserve este manual para uso futuro.
This manual suits for next models
9
Table of contents
Languages:
Popular Work Light manuals by other brands

LED's work
LED's work 0300657 Operation & installation manual

Chicago Electric
Chicago Electric 66274 Set up and operating instructions

Parkside
Parkside PAL 2200 A1 manual

Atexor
Atexor Slam Hornet 1x18W Instructions for safe use

Howard
Howard LWL-36-120 Installation instructions manual

Performance Tool
Performance Tool W2251 owner's manual