manuals.online logo
Brands
  1. Home
  2. •
  3. Brands
  4. •
  5. Harbor Freight Tools
  6. •
  7. Measuring Instrument
  8. •
  9. Harbor Freight Tools 98481 User manual

Harbor Freight Tools 98481 User manual

INSTRUCTIONS AND PRECAUTIONS
Distributed exclusively by Harbor Freight Tools®.
3491 Mission Oaks Blvd., Camarillo, CA 93011
Visit our website at: http://www.harborfreight.com
SAVE THESE INSTRUCTIONS. READ ALL
PRECAUTIONS AND INSTRUCTIONS.
Copyright©2008 by Harbor Freight Tools®. All rights reserved. No portion of this document or any artwork contained
herein may be reproduced in any shape or form without the express written consent of Harbor Freight Tools.
Diagrams within this document may not be drawn proportionally. Due to continuing improvements, actual product
may differ slightly from the product described herein.
For technical questions or replacement parts, please call 1-800-444-3353.
UNPACKING
When unpacking, check to make sure that
the item is intact and undamaged. If any parts are
missing or broken, please call Harbor Freight Tools
at the number shown on the cover of this document
as soon as possible.
IMPORTANT SAFETY
INFORMATION
Assembly Precautions
Assemble only according to these instruc-1.
tions. Improper assembly can create haz-
ards.
Wear ANSI-approved safety goggles and2.
heavy-duty work gloves during assembly.
Keep assembly area clean and well lit.3.
Keep bystanders out of the area during as-4.
sembly.
Do not assemble when tired or when under5.
the inuence of drugs or medication.
Use Precautions
This product is not a toy. Do not allow chil-1.
dren to play with it.
Use for intended purpose(s) only.2.
Inspect before use; do not use if loose or3.
damaged.
Only use in accordance with State, local,4.
Federal and D.O.T. laws and regulations.
Disconnect vehicle battery negative terminal5.
before installation.
Positive and negative connections can not6.
touch. If you are unsure of how to install this
product safely then have a qualied mechan-
ic install the gauge for you.
Insulate connections to prevent re.7.
Maintain product labels and nameplates.8.
These carry important safety information.
If unreadable or missing, contact Harbor
Freight Tools for a replacement.
COOLANT
TEMPERATURE
GAUGE
98481
SKU 98481 For technical questions, please call 1-800-444-3353. Page 2
ASSEMBLY INSTRUCTIONS
Read the ENTIRE IMPORTANT
SAFETY INFORMATION section at the
beginning of this document including
all text under subheadings therein
before set up or use of this product.
Assembly
A round 2-1/16” wide hole with at least 2-1/2”1.
clearance behind is needed to install this
gauge.
At least 18 AWG stranded copper wire must2.
be purchased for the installation of this
gauge.
Disconnect vehicle battery according to3.
manufacturer’s instructions. Some vehicles
with air bags or other systems may require
precautions before disconnecting the battery.
Consult your vehicle’s service manual.
Route and secure wires as needed to attach4.
the Gauge to the desired area; avoid sharp
edges and hot spots.
Wiring:5.
RED• Wire: Connects to a switched 12V
positive source that turns on and off with
vehicle’s ignition switch.
CAUTION: It is recommended that a inline fuse
(1Amp/3AG) be installed before connecting
to the 12V ignition system.
BLACK wire connects to Ground.•
WHITE wire connects to dashboard lights.•
ORANGE wire connects to the 12V posi-•
tive post.
GREEN wire connects to the to the appro-•
priate temperature source (sender).
Install the water temperature sender (send-6.
ers work best if installed near the thermostat
housing). The included sender has 1/8” NPT
threads, if the vehicle has NPT ports that
are bigger (3/8” or 1/2” NPT) an adapter (not
included) will need to be purchased to com-
plete the installation.
Note: Some late model vehicles use electronic
sensors in their pressure and temperature
senders for engine control functions. Before
removing the original sender, it is highly rec-
ommended that you contact your automotive
dealer to be sure no critical functions will be
disrupted.
Attach the bracket onto the back of the meter7.
and tighten. Install the meter into the hole.
Reconnect the battery according to the8.
manufacturer’s instructions. Verify that there
are no short circuits before reconnecting.
Check for loose strands of wire and direct
contact with grounded components. Use a
multimeter with a continuity function to help
verify that there are no shorts to ground.
Start the vehicle and turn the dashboard9.
lights on; LED should light up. Be ready to
disconnect battery if arcing or sparking oc-
curs at the meter.
To change the color of the LED light, push10.
the button on the face of the gauge.
Record Serial Number Here:
Note: If product has no serial number, record
month and year of purchase instead.
Note: No replacement parts.
REV 08j
Other Harbor Freight Tools Measuring Instrument manuals

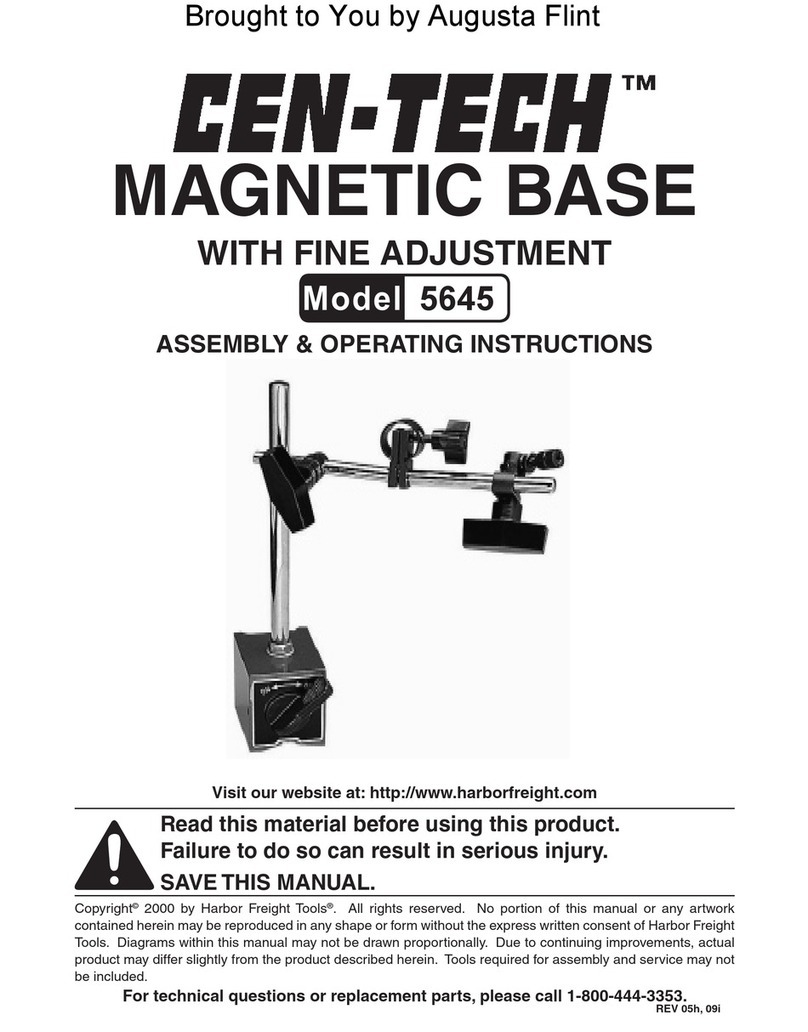
Harbor Freight Tools Cen-Tech 5645 Quick reference guide

Harbor Freight Tools

Harbor Freight Tools Cen-Tech 5645 Quick reference guide

Harbor Freight Tools Pittsburgh 47256 Assembly instructions

Harbor Freight Tools

Harbor Freight Tools Pittsburgh 47256 Assembly instructions

Harbor Freight Tools 90783 User manual

Harbor Freight Tools

Harbor Freight Tools 90783 User manual

Harbor Freight Tools CEN-TECH 41080 Assembly instructions

Harbor Freight Tools

Harbor Freight Tools CEN-TECH 41080 Assembly instructions

Harbor Freight Tools CEN-TECH 94767 User manual

Harbor Freight Tools

Harbor Freight Tools CEN-TECH 94767 User manual

Harbor Freight Tools 91194 User manual

Harbor Freight Tools

Harbor Freight Tools 91194 User manual

Harbor Freight Tools PITTSBURGH 63655 Assembly instructions

Harbor Freight Tools

Harbor Freight Tools PITTSBURGH 63655 Assembly instructions

Harbor Freight Tools 92573 User manual

Harbor Freight Tools

Harbor Freight Tools 92573 User manual

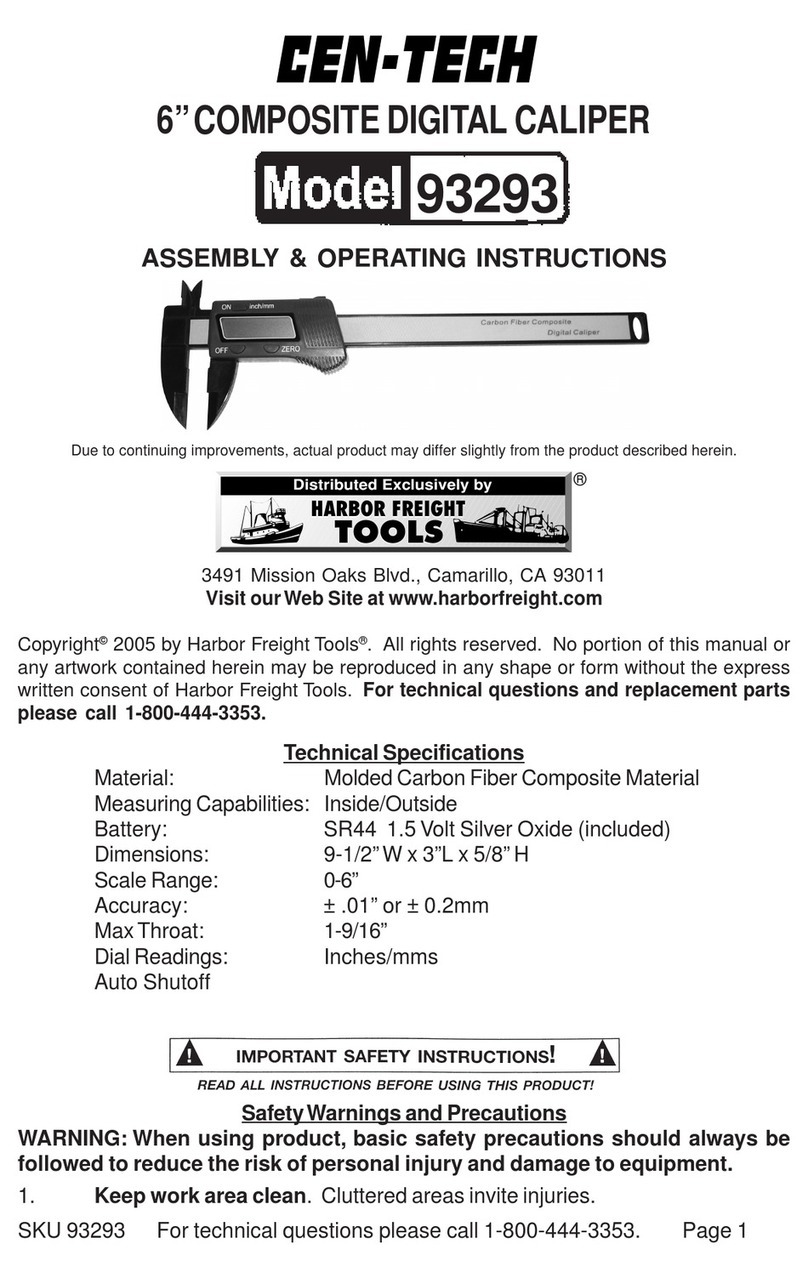
Harbor Freight Tools CEN-TECH 93293 Quick reference guide

Harbor Freight Tools

Harbor Freight Tools CEN-TECH 93293 Quick reference guide

Harbor Freight Tools 90716 User manual

Harbor Freight Tools

Harbor Freight Tools 90716 User manual

Popular Measuring Instrument manuals by other brands

Renkforce GLP-UL001 operating instructions

Renkforce

Renkforce GLP-UL001 operating instructions

Weidmann InsuLogix T product manual

Weidmann

Weidmann InsuLogix T product manual

PRESIDIUM Dial Gauge User handbook

PRESIDIUM

PRESIDIUM Dial Gauge User handbook

ModWeigh MW95A instruction manual

ModWeigh

ModWeigh MW95A instruction manual

PTC Instruments 511A-Type A manual

PTC Instruments

PTC Instruments 511A-Type A manual

BIRD 4308 Instruction book

BIRD

BIRD 4308 Instruction book

Siemens VDO EDM eco Release II operating instructions

Siemens

Siemens VDO EDM eco Release II operating instructions

JENCO 3177M Operation manual

JENCO

JENCO 3177M Operation manual

Hioki 3246-60 instruction manual

Hioki

Hioki 3246-60 instruction manual

Hach LBOD101 user manual

Hach

Hach LBOD101 user manual

Physio Control TrueCPR 80596-000001 Instructions for use

Physio Control

Physio Control TrueCPR 80596-000001 Instructions for use

Konica Minolta CS-2000 brochure

Konica Minolta

Konica Minolta CS-2000 brochure

Leuze AMS 304i Original operating instructions

Leuze

Leuze AMS 304i Original operating instructions

SAT-Kabel SPM 22 PF operating instructions

SAT-Kabel

SAT-Kabel SPM 22 PF operating instructions

ELORA 2440-ETM operation instruction

ELORA

ELORA 2440-ETM operation instruction

Zenner WPD installation manual

Zenner

Zenner WPD installation manual

Emerson Rosemount 2230 quick start guide

Emerson

Emerson Rosemount 2230 quick start guide

Hanna Instruments HI99111 instruction manual

Hanna Instruments

Hanna Instruments HI99111 instruction manual

manuals.online logo
manuals.online logoBrands
  • About & Mission
  • Contact us
  • Privacy Policy
  • Terms and Conditions

Copyright 2025 Manuals.Online. All Rights Reserved.