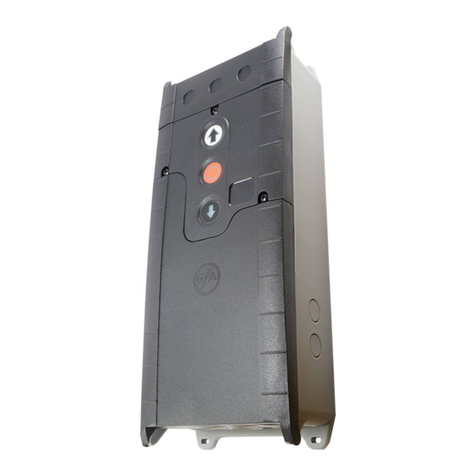
Mount the Pump Starter
A. Assemble the hanger to the back of the case using screw
provided.
El.
Remove the wiring cover and remove the screw from the
voltage plate marked Caution: High Voltage.
C. Mount Pump Starter on a wall or solid surface using hanger.
Secure by installing screws through two holes located in the
lower wiring compartment.
A
cAur/o/v~
W/-/E/v
US//vG
ELfcTRo/v/c
co/vr/7oLLERs.
(I)
the relay should be mounted with a 5 foot (min.) space
between itself and the controller:
(2)
The controller
should be 12 feet (min.) from the pump. (3) The con-
troller should be on a separate power source than that
of the pump (it is a high power user). IF THESE STEPS
ARE NOT TAKEN, MALFUNCTIONS MAY OCCUR.
Connect Pump Starter to power source and pump motor:
IMPORTANT:
To prevent danger of electrical shock,
turn OFF
main
circuit breaker switch before making any
electrical connections.
A. Assemble conduit piping and connect wiring from the elec-
trical junction box (power source) to one set of the Pump
Starter’s power wires, (one set of yellow/blue wires). Attach wires
by using wire nuts as shown in the illustration.
El.
Assemble conduit piping, and connect wiring from the
pump motor to the other set of the Pump Starter’s power
wires, (other set of yellow/blue wires).
C. Carefully set all wires into the wiring cavity making sure
that there are no exposed or loose connections. Replace the
Caution: High Voltage plate.
A
CAUTION: The Pump Starter is meant to control up to
a 2
HP(at
250 VAC) motor
only
(Note., 2HPat 120 VAC
will
exceed the maximum AMP rating.) Do not attach to
larger commercial units, or exceed the contact ratings
as shown below.
Connect Pump Starter to the sprinkler controller/timer:
The two white wires in the lower wiring compartment are to be
attached to your sprinkler controller/timer. Use a controller/timer
that has a maximum of 30 volts to the valves. Do not use with
any timing device that exceeds the maximum operating
requirement to the white wires. It is not necessary to run con-
duit piping from the white relay wires to your controller/timer,
since the same low voltage that controls the sprinkler valves
will also control the relay.
FJI
NOTE:
Use 18-gauge wire for runs up to 800 feet. For
RATINGS:
longer distances (2000 feet maximum), use 14 gauge wire.
Contacts rated:
1”~
et
~~VAC
1
phase
A. Run a single wire from your controller/timer’s
“common”
terminal
to either one of the white wires
in the Pump Starter’s wiring
compartment.
ZHP at
2WAC
1 Phase
2oA
at
2WAC
Coil rating:
24 VAC, 3VA
EL
Run a single wire from your controller/timer “pump” or “mas-
ter” valve terminal to the other white wire.
~~~~~~
Ma;.
3oVAC
When the sprinkler controller/timer activates a control valve,
it
will simultaneously send voltage to the Pump Starter’s
coil/switch, and turn on the pump motor.
