CDM-WBM with Door Brackets – Page 2 of 2
CDM-INSTALL 03-2023
+/- 2-1/8”
3/8”
+/- 3/8”
7/8” 7/8”
VERTICAL
ADJUSTMENT
HORIZONTAL
ADJUSTMENT
TILT
ADJUSTMENT
+1/4”
(organizer unit)
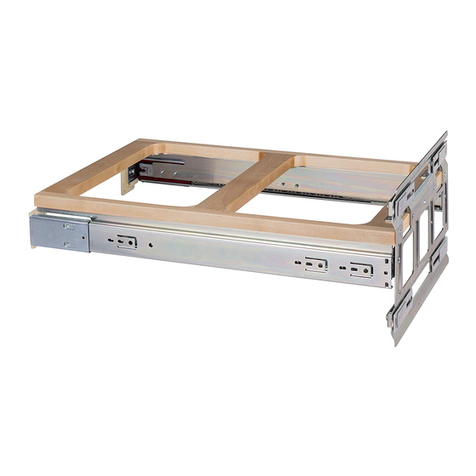
5. Place the organizer onto the secured base
Place the trash organizer onto the undermount slides. Push
the unit into the cabinet until you hear the clips lock into
place. Move the unit in and out of the cabinet to ensure proper
clearances.
6. Attach the cabinet door to the organizer
Adjust door-mounting brackets out to the desired
location. Attach 1 square of double-sided foam tape to
each door bracket. Close the organizer, visually line up
the door and press door rmly against the organizer
so that door sticks to tape on brackets. Open organizer
and secure brackets with provided #6 x 1/2” screws
7. Adjust the cabinet door
Adjust the position of the cabinet door for proper leveling and
spacing. After adjustments are made, rmly tighten all door
and bracket screws.
a. Left/Right: Loosen bracket screws then adjust door.
b. Up/Down: Loosen door screws then adjust door.
c. Tilt: Loosen bracket screw and screw the tilt screw outward
to achieve the desired angle.
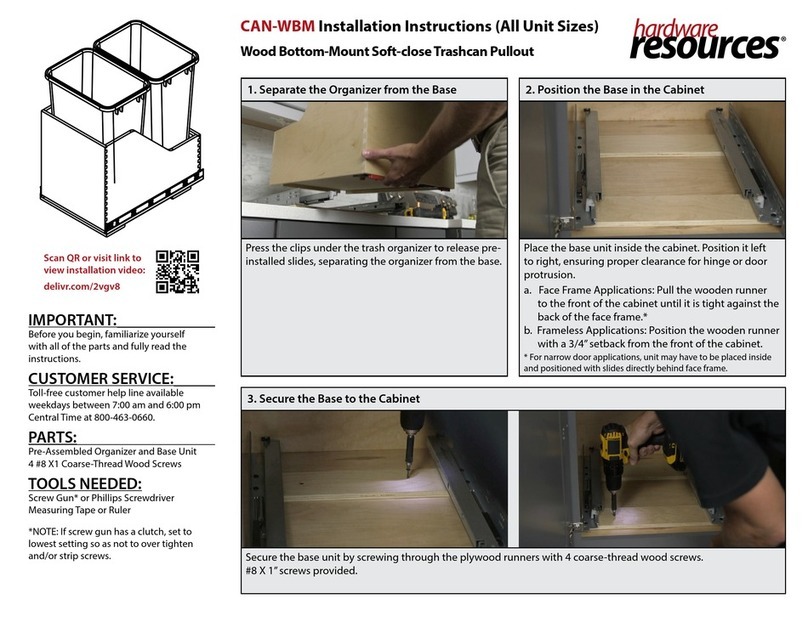
4. Secure the base to the cabinet
Secure the base unit by screwing through the plywood
runners (front & back) with the (4) #8 x 1”coarse-thread
wood screws provided.
5a. Install door mounting brackets
For 21”Trashcan Units: If your cabinet has a single door, skip to step 6.
If the cabinet has double doors, proceed with steps a–c.
a. Lay doors face down on at surface. If desired, to hide any hinge bore
holes, rotate doors 180 degrees so the hinge bore holes are facing inward.
b. Align doors side by side. Based on preference, either align with door
edges touching or gapped to match adjacent doors/drawers.
c. Use the center notch to center door joining brackets between both doors
(see Figure 1). Attach door joining brackets near top and bottom of door
frame with provided #8 x 5/8" screws (4 screws per bracket).
Note: Bracket may be shifted up or down to clear face frame and decorative
hardware screws (decorative hardware screws may be recessed underneath
joining brackets if needed).
Figure 1
