manuals.online logo
Brands
  1. Home
  2. •
  3. Brands
  4. •
  5. HARDWARE RESOURCES
  6. •
  7. Indoor Furnishing
  8. •
  9. HARDWARE RESOURCES WPO2 Series User manual

HARDWARE RESOURCES WPO2 Series User manual

Installation Instructions for WPO2 Series
“No Wiggle”Wall Pullout Organizer
Important:
Before you begin, make sure you familiarize yourself with all
of the parts and fully read the instructions.
Customer Service:
A toll-free customer help line is available weekdays between
7:00 am and 6:00 pm Central Time at 800-463-0660.
Tools Needed: __
Screw gun or Phillips screwdriver and tape measure.
NOTE: If screw gun has a clutch, set to lowest setting so as to not
over tighten and/or strip screws.
Parts Identication:
Step 1: Prepare Organizer for Installation
Remove the Organizer from Slide Base by releasing the
four (4) pre-installed screws. Keep these screws in a safe
place for later use.
Step 2: Slide Base Installation
Install the slide base from the inside of the wall cabinet’s
base panel with the #10 wood screws.
After installation, pull out the slide base upper portion to
test and ensure smooth operation.
To watch the WPO2 installation
video, scan the QR code or visit
the link below:
https://delivr.com/2zu57
A(1 pc.)
“No Wiggle”
Wall Pullout
Organizer Unit
B(1 pc.)
Base Runner
Mechanism
C (1 pc.)
Rear Support
Bracket
D(4 pcs.)
#1/4-20 Truss
Head Machine
Screws
E (4 pcs.)
#1/4 Washer
F (4 pcs.)
#10 x 1/2 Pan
Head Phillips
Wood Screw
G (5 pcs.)
#8 x 5/8” Flat
Head Phillips
Wood Screw
H(3 pcs.)
#8 x 5/8” Pan
Head Phillips
Wood Screw
A
F
B
E
D
H
C
G
WPO2 03-2022-1
Step 3: Mark Rear Mounting Bracket Step 4: Install Rear Mounting Bracket
Peel o the double-sided tape on the rear bracket, and
temporarily secure Organizer to the Slide Base with two
(2) 5/16 machine screws.
Then, slide the Organizer back into the cabinet. Use a tool
to apply inward pressure onto the rear bracket. So, the
rear bracket will rmly attach to the rear panel of the wall
cabinet.
Next, slowly pullout the Organizer and remove it from the
Slide Base.
After removing the organizer from the slide base, the rear
L-Bracket is rmly attached to the back panel.
Use three (3) #8 x 5/8”Pan Head Wood Screws to secure
the rear L-Bracket to cabinet’s back panel.
Then, place the organizer back onto the slide base and
secure with the screws from Step 1, ensuring the top slide
mechanism engages with the rear L-Bracket. Operate the
unit to make sure the slides are working properly.
Step 5: Install Front Mounting Bracket Step 6: Door Installation
Loosen the 8-32 machine screw on the L-Bracket to adjust
its position until it abuts to the face frame. Then, tighten
the L-Bracket to the face frame with #8 wood screw.
Next, re-tighten the 8-32 machine screw. Remember, both
screws must be tightened for the unit to perform properly.
Step 7: Finishing Touch
Cycle the Organizer to ensure smooth operation, and
enjoy.
Peel o the cover of the
double-sided tape
Apply inward force with a
tool
Loosen the screw to adjust
L-Bracket position
Tighten L-Bracket to face
frame then re-tighten
the screw from above
Using a tape measure, determine the mounting location
of the top door mounting brackets. Install the door with
two (2) #8 X 5/8” Flat Head Phillips Wood Screws and make
necessary adjustments following the diagram above.
To adjust the door up or down, loosen door mounting
screws (X). To adjust left or right, loosen both set screws
(Y), adjust and retighten. To adjust tilt, loosen tilt screw (Z),
adjust and re-tighten set screws.
Once the door is in the desired position, rmly secure the
two bottom door mounting screws.
X
Y
Z
This manual suits for next models

1

Other HARDWARE RESOURCES Indoor Furnishing manuals

HARDWARE RESOURCES RSR Series User manual

HARDWARE RESOURCES

HARDWARE RESOURCES RSR Series User manual

HARDWARE RESOURCES BPO2 Series User manual

HARDWARE RESOURCES

HARDWARE RESOURCES BPO2 Series User manual

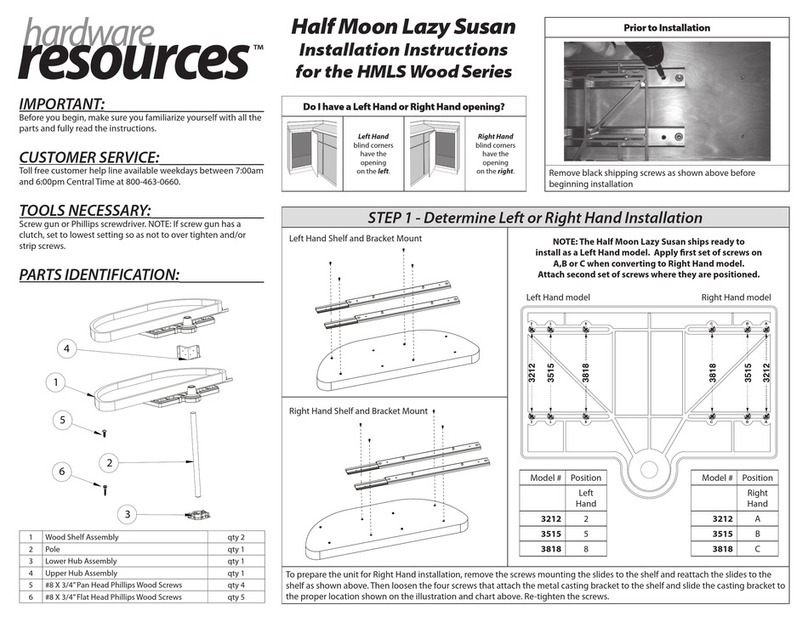
HARDWARE RESOURCES Half Moon Lazy Susan Series User manual

HARDWARE RESOURCES

HARDWARE RESOURCES Half Moon Lazy Susan Series User manual

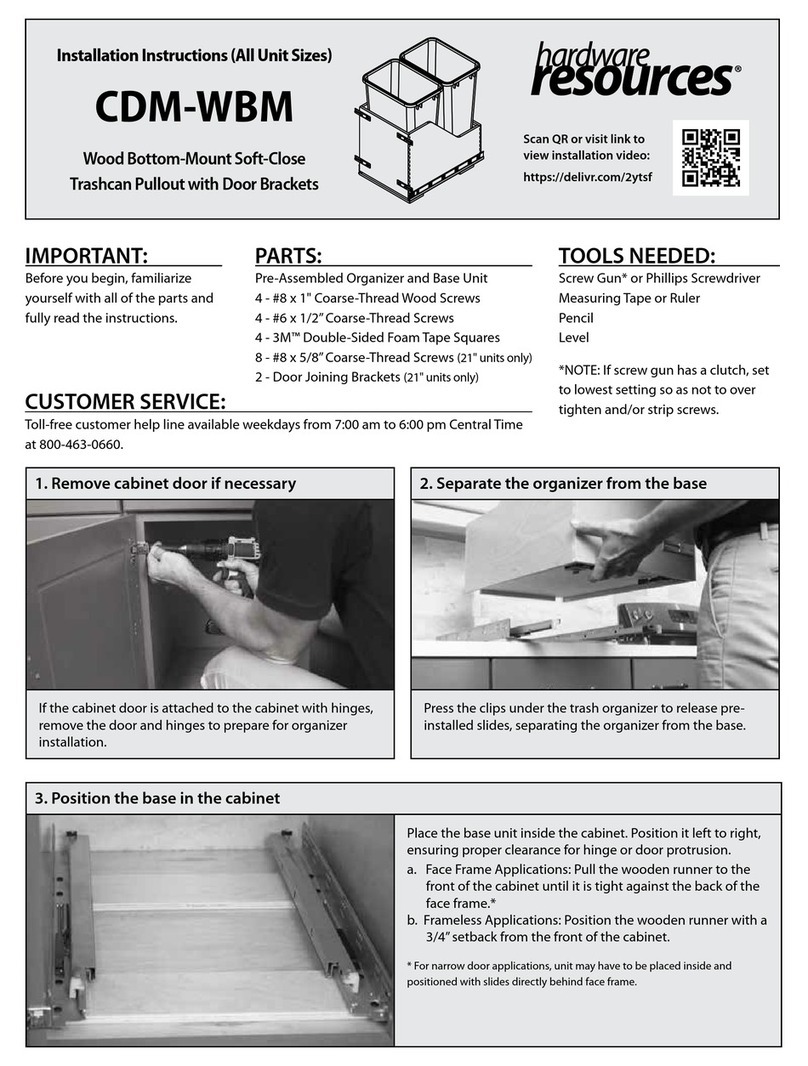
HARDWARE RESOURCES CDM-WBM User manual

HARDWARE RESOURCES

HARDWARE RESOURCES CDM-WBM User manual

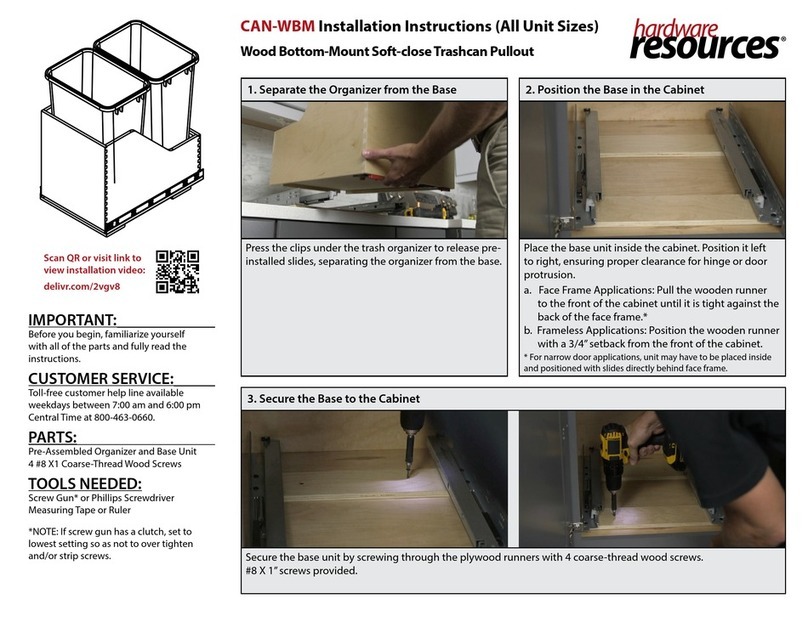
HARDWARE RESOURCES CAN-WBM User manual

HARDWARE RESOURCES

HARDWARE RESOURCES CAN-WBM User manual

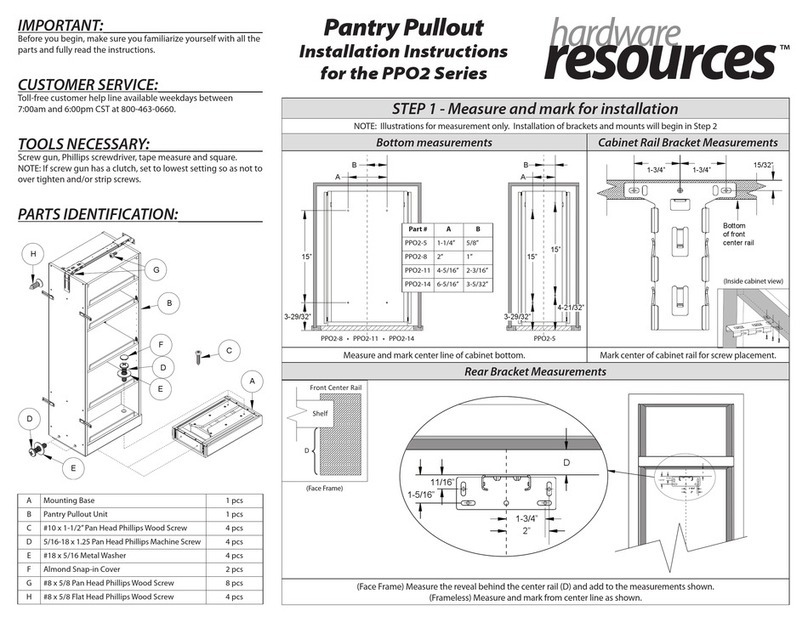
HARDWARE RESOURCES PPO2-5 User manual

HARDWARE RESOURCES

HARDWARE RESOURCES PPO2-5 User manual

HARDWARE RESOURCES 1523SC User manual

HARDWARE RESOURCES

HARDWARE RESOURCES 1523SC User manual

HARDWARE RESOURCES CAN-TMDSC-15 User manual

HARDWARE RESOURCES

HARDWARE RESOURCES CAN-TMDSC-15 User manual

Popular Indoor Furnishing manuals by other brands

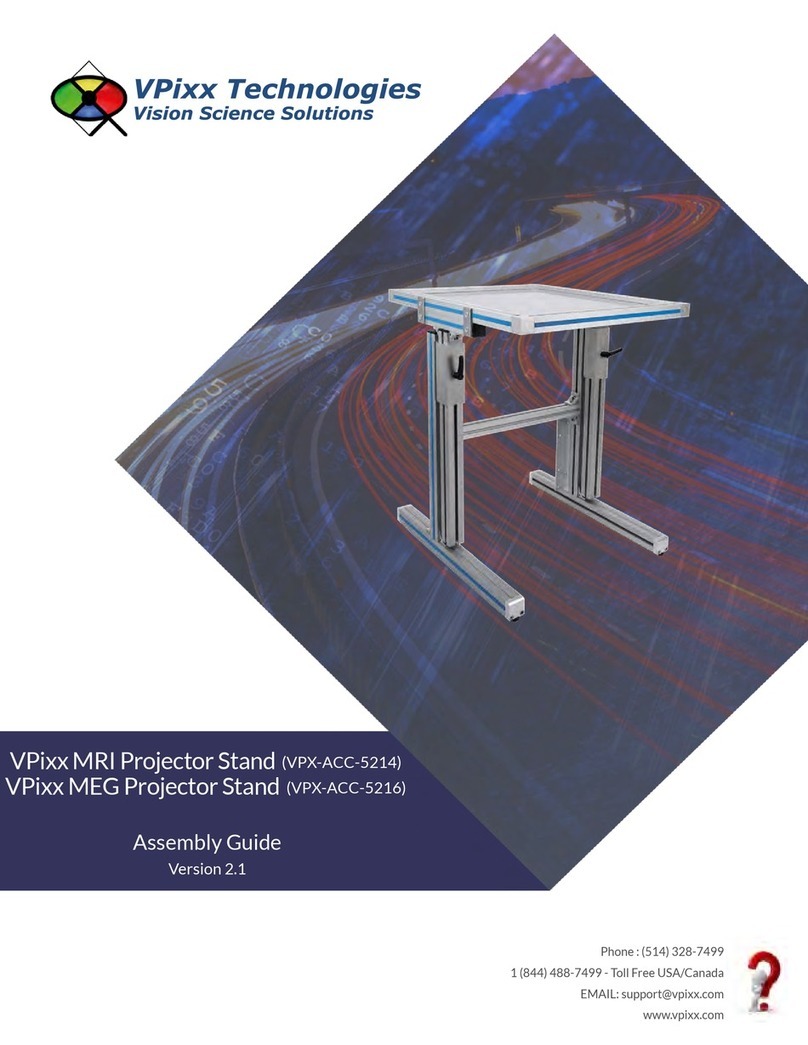
VPixx Technologies MRI Assembly guide

VPixx Technologies

VPixx Technologies MRI Assembly guide

Rauch M2574 Assembly instructions

Rauch

Rauch M2574 Assembly instructions

Sanus CFR1620 instruction manual

Sanus

Sanus CFR1620 instruction manual

Habitat Flavio 820062 quick start guide

Habitat

Habitat Flavio 820062 quick start guide

Swopper CLASSIC Instructions for use

Swopper

Swopper CLASSIC Instructions for use

Manhattan Comfort Mosholu BMU 37 Assembly instructions

Manhattan Comfort

Manhattan Comfort Mosholu BMU 37 Assembly instructions

Cattelan Italia ROGER BISTROT WOOD Assembling instructions

Cattelan Italia

Cattelan Italia ROGER BISTROT WOOD Assembling instructions

atmosphera EDENA 166539 manual

atmosphera

atmosphera EDENA 166539 manual

IKEA MALKOLM manual

IKEA

IKEA MALKOLM manual

Donco 375 manual

Donco

Donco 375 manual

Aqua 39AQ R17 Assembly instructions

Aqua

Aqua 39AQ R17 Assembly instructions

piccalio Mini Chef Convertible Helper Tower Assembly instructions

piccalio

piccalio Mini Chef Convertible Helper Tower Assembly instructions

Forte Jupiter JPTS86T Assembling Instruction

Forte

Forte Jupiter JPTS86T Assembling Instruction

Zanzini 06000201 Assembly instructions

Zanzini

Zanzini 06000201 Assembly instructions

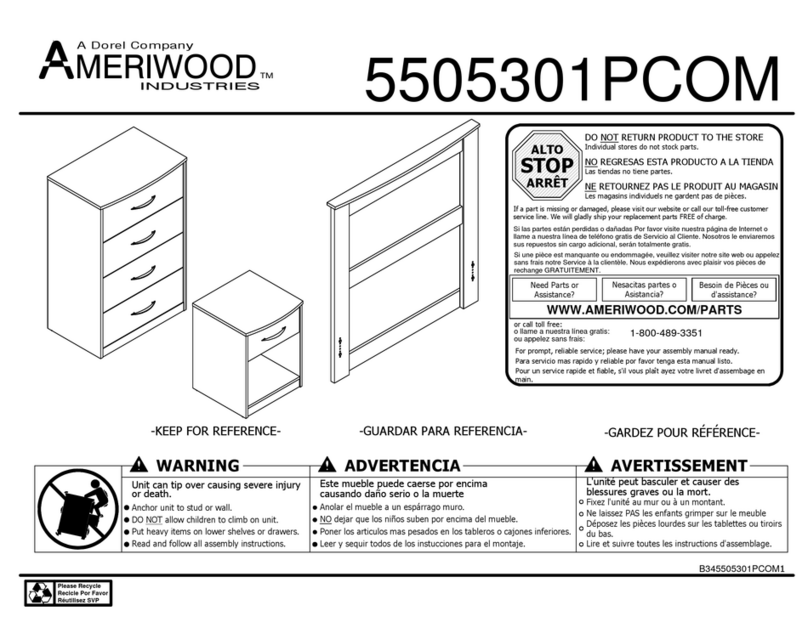
Dorel Ameriwood 5505301PCOM Assembly manual

Dorel

Dorel Ameriwood 5505301PCOM Assembly manual

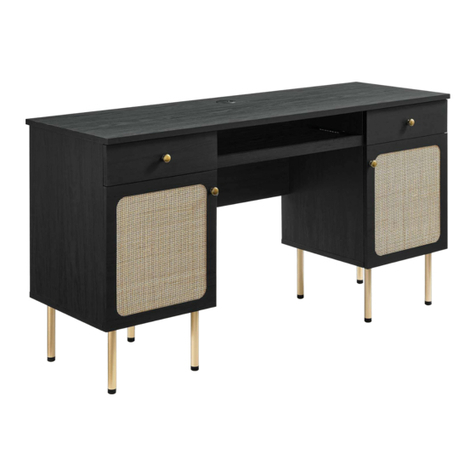
modway EEI-6199 Assembly instructions

modway

modway EEI-6199 Assembly instructions

Classic Exhibits eco systems ECO-2041 Setup instructions

Classic Exhibits

Classic Exhibits eco systems ECO-2041 Setup instructions

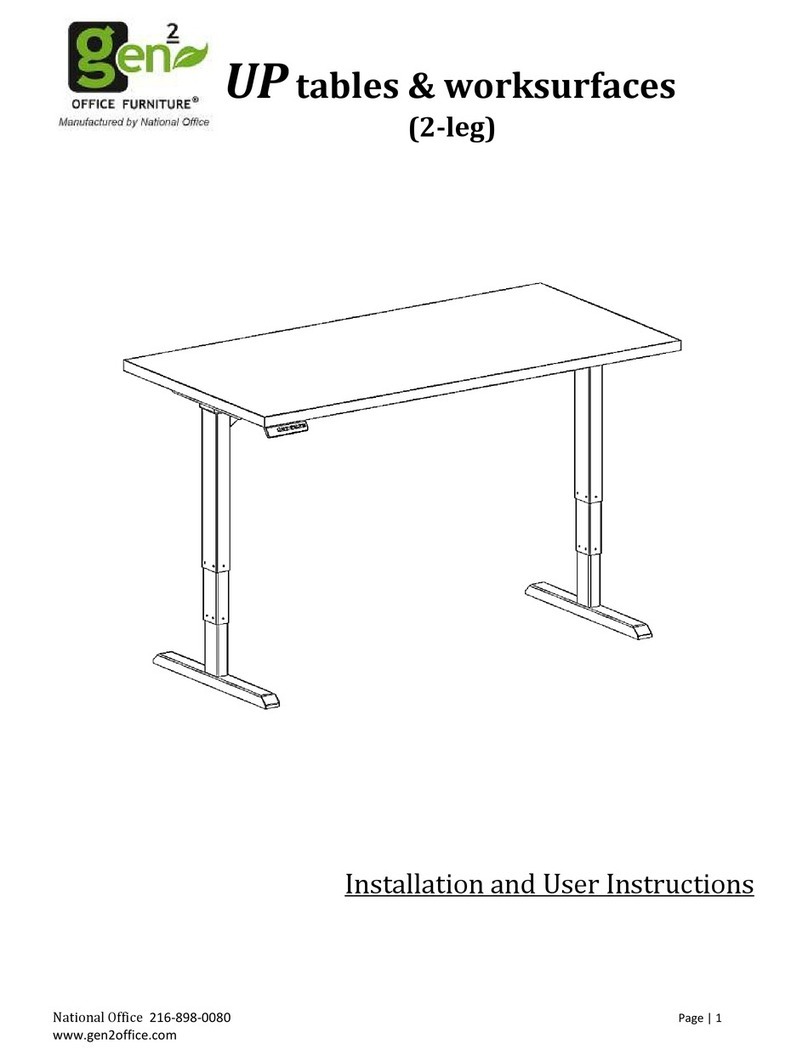
gen2 UP Installation and user instructions

gen2

gen2 UP Installation and user instructions

manuals.online logo
manuals.online logoBrands
  • About & Mission
  • Contact us
  • Privacy Policy
  • Terms and Conditions

Copyright 2025 Manuals.Online. All Rights Reserved.