manuals.online logo
Brands
  1. Home
  2. •
  3. Brands
  4. •
  5. HARDWARE RESOURCES
  6. •
  7. Indoor Furnishing
  8. •
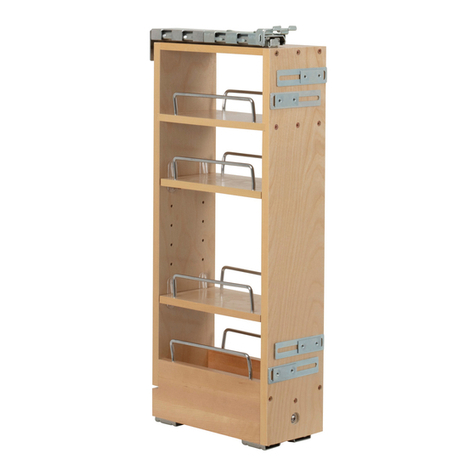
  9. HARDWARE RESOURCES BPO2 Series User manual

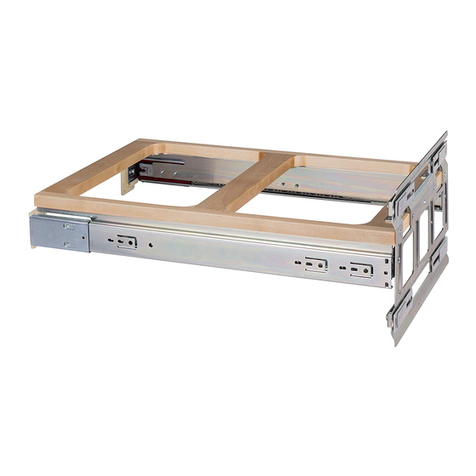
HARDWARE RESOURCES BPO2 Series User manual

Face frame
Front plywood
runner
Bottom Measurements Rear Bracket Measurements
NOTE: Illustrations for measurement only. Installation of brackets and mounts will begin in Step 3
14-1/2”
A
B
2”
A
14-1/2”
1”
2”
2”
B
1-3/16”
11/32”
15/16”
1-3/4”
1-5/32”
STEP 1 - Determine Mounting Location
Place the entire unit into the cabinet. In framed cabinets, center the unit in the opening making sure the front plywood runner is
pulled tight against the back of the face frame. For frameless cabinets, place the unit within 1-1/2”of the left of the cabinet and the
front plywood runner needs to be set back 3/4”. The top of the unit should be ush with the face frame. If the unit is sticking out or is
setback by more than 1/4”, place a shim under either the front or the back plywood runner to make it ush.
IMPORTANT:
Before you begin, make sure you familiarize yourself with all the
parts and fully read the instructions.
CUSTOMER SERVICE:
Toll-free customer help line available weekdays between
7:00am and 6:00pm Central Time at 800-463-0660.
TOOLS NECESSARY:
Screw gun or Phillips screwdriver and tape measure. NOTE: If
screw gun has a clutch, set to lowest setting so as not to over
tighten and/or strip screws.
PARTS IDENTIFICATION:
A Mounting Base 1 pcs
B Base Pullout Unit 1 pcs
C #10 x 3/4” Pan Head Wood Screw 4 pcs
D#8 x 5/8”Pan Head Wood Screw 4 pcs
E#8 x 5/8”Flat Head Wood Screw 4 pcs
Base Pullout
Installation Instructions
for the BPO2 Series
Part # A B
BPO2-5 2-9/16” 2-27/32”
BPO2-8 2-17/32” 1-1/4”
BPO2-11 4-23/32” 2-3/8”
BPO2-14 7-23/32” 3-7/8”
C
A
B
D
E
Front plywood runner
Flush with face frame
BPO2-5BPO2-8 • BPO2-11 • BPO2-14
STEP 2 - Mark Rear Mounting Bracket STEP 3 - Install Rear Mounting Bracket
Once the unit is centered and leveled, mark the base location of the unit. With one hand holding the
undermount slide, carefully pull the organizer partially open to gain access to the upper slide. Firmly grasping
the upper slide, tap it against the back of the cabinet. The rear bracket should make small indentations in the
back of the cabinet.
Taking the unit from the cabinet, remove the rear mounting bracket for installation. Align
the rear bracket prongs with the indentation marks on the rear of the cabinet and secure
with three (3) #8 x 5/8”Pan Head Wood Screws in the slots as shown.
BPO206/16 v.1
Upper slide
STEP 4
Install Base
STEP 5
Install Pullout Unit
STEP 6
Door Mounting Adjustments
Tilt adjustment (up to + 1/4”) Left/Right adjustment (+/- 2-1/2”)
Up/Down adjustment (+/- 1/4”)
Door panel
Door rail
Tilt adjustment
(+/- 1/8”)
Up/down adjustment
(+/- 1/4”)
Left/right adjustment
(+/- 2-1/2”)
E
Attach the door panel and adjust as shown.
(NOTE: four (4) #8 x 5/8 Flat Head Phillips Wood Screws are
provided. Determine door panel rail thickness before using.)
Re-install the unit onto the slides, making sure as you push it in the cabinet, that the top
slide is properly seated into the rear mounting bracket. Operate the unit to make sure the
undermount slides are working properly. Then pull the top front mounting bracket into
position on the side of the face frame allowing for a 3/16” setback (shown left above). Firmly
secure with one (1) #8 x 5/8”Pan Head Wood Screw. Make sure the gap between the unit and
the side of the face frame is equal from top to bottom. Adjust accordingly and then securely
tighten the bracket set screw (shown right above). Operate the unit and make adjustments as
necessary for the slides to operate smoothly.
Remove the base from the unit by releasing
the slide clips. Place the base back into the
cabinet in the previous location. Install
with the four (4) #10 x 1-1/4”Pan Head
Wood Screws provided in the four
pre-drilled holes in the runners.
3/16” Setback Bracket set screw
Pull out
Prongs to make
Indentations
Back of cabinet
Rear mounting bracket
BPO2-5
BPO2-8 • BPO2-11 • BPO2-14
Pull forward
This manual suits for next models

5

Other HARDWARE RESOURCES Indoor Furnishing manuals

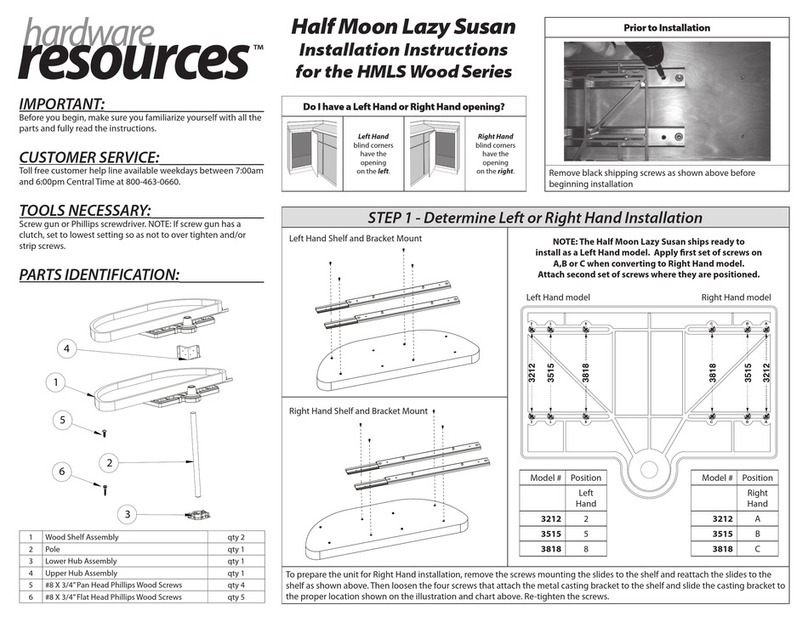
HARDWARE RESOURCES Half Moon Lazy Susan Series User manual

HARDWARE RESOURCES

HARDWARE RESOURCES Half Moon Lazy Susan Series User manual

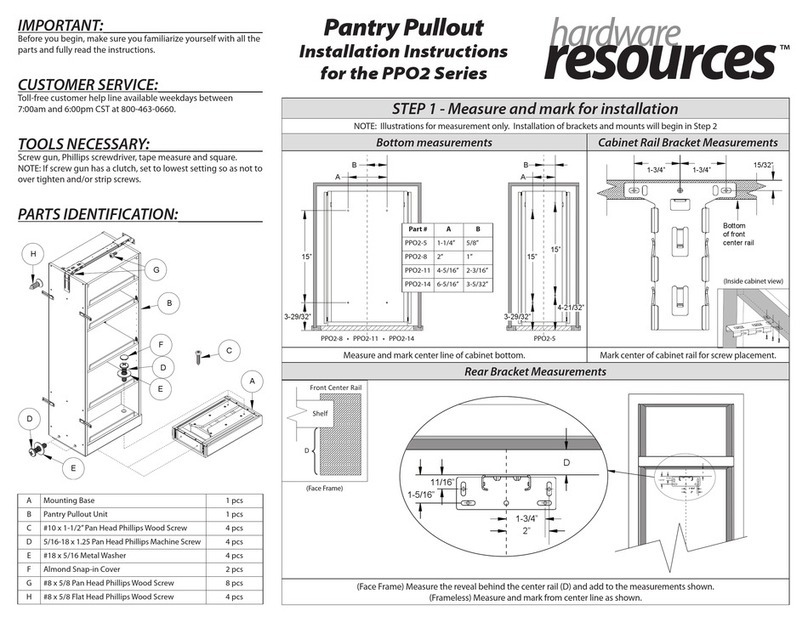
HARDWARE RESOURCES PPO2-5 User manual

HARDWARE RESOURCES

HARDWARE RESOURCES PPO2-5 User manual

HARDWARE RESOURCES 1523SC User manual

HARDWARE RESOURCES

HARDWARE RESOURCES 1523SC User manual

HARDWARE RESOURCES CAN-WBM User manual

HARDWARE RESOURCES

HARDWARE RESOURCES CAN-WBM User manual

HARDWARE RESOURCES RSR Series User manual

HARDWARE RESOURCES

HARDWARE RESOURCES RSR Series User manual

HARDWARE RESOURCES CAN-TMDSC-15 User manual

HARDWARE RESOURCES

HARDWARE RESOURCES CAN-TMDSC-15 User manual

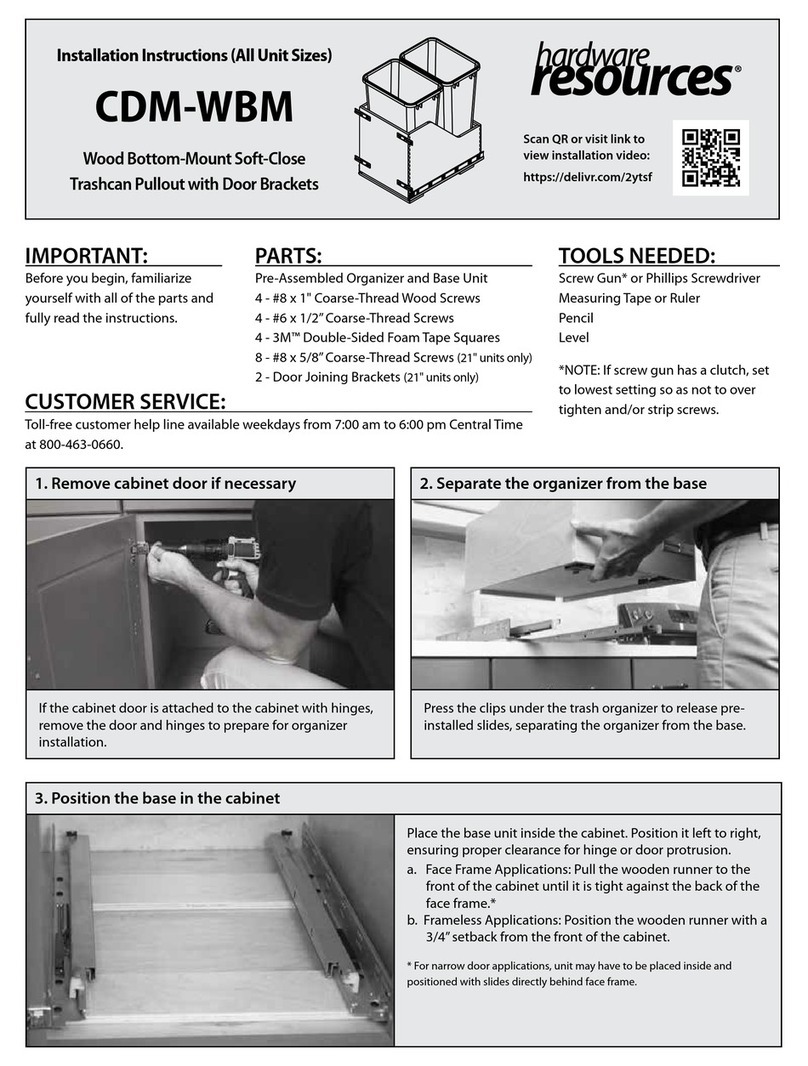
HARDWARE RESOURCES CDM-WBM User manual

HARDWARE RESOURCES

HARDWARE RESOURCES CDM-WBM User manual

HARDWARE RESOURCES WPO2 Series User manual

HARDWARE RESOURCES

HARDWARE RESOURCES WPO2 Series User manual

Popular Indoor Furnishing manuals by other brands

Mocka Avalon Assembly instructions

Mocka

Mocka Avalon Assembly instructions

BluDot Chicago Lowboy Assembly

BluDot

BluDot Chicago Lowboy Assembly

IKEA INGOLF BENCH instructions

IKEA

IKEA INGOLF BENCH instructions

Birlea Aurora Assembly instructions

Birlea

Birlea Aurora Assembly instructions

Schnepel VariC M Mounting instructions

Schnepel

Schnepel VariC M Mounting instructions

Rauch 32532.1000 Assembly instructions

Rauch

Rauch 32532.1000 Assembly instructions

URBAN OUTFITTERS TULIP 65313884 Assembly instructions

URBAN OUTFITTERS

URBAN OUTFITTERS TULIP 65313884 Assembly instructions

Bell'O SP 224 Assembly instructions

Bell'O

Bell'O SP 224 Assembly instructions

FEZIBO 40836584276037 Assembly instructions

FEZIBO

FEZIBO 40836584276037 Assembly instructions

Vivo DESK-TOP1N instruction manual

Vivo

Vivo DESK-TOP1N instruction manual

Kring 160 Assembly instructions

Kring

Kring 160 Assembly instructions

Lifely Levin LVN-3PDS-OTDR-LWNT Assembly instructions

Lifely

Lifely Levin LVN-3PDS-OTDR-LWNT Assembly instructions

Living Spaces ROWAN MINERAL 292534 owner's manual

Living Spaces

Living Spaces ROWAN MINERAL 292534 owner's manual

System 180 Modular furniture system Assembly manual

System 180

System 180 Modular furniture system Assembly manual

Land of Nod 48 inch Horizon Bookcase Assembly instructions

Land of Nod

Land of Nod 48 inch Horizon Bookcase Assembly instructions

VITRA Follow me operating instructions

VITRA

VITRA Follow me operating instructions

Next ELLA 880445 Assembly instructions

Next

Next ELLA 880445 Assembly instructions

Loxley rowe Ari 1646066 installation manual

Loxley rowe

Loxley rowe Ari 1646066 installation manual

manuals.online logo
manuals.online logoBrands
  • About & Mission
  • Contact us
  • Privacy Policy
  • Terms and Conditions

Copyright 2025 Manuals.Online. All Rights Reserved.