manuals.online logo
Brands
  1. Home
  2. •
  3. Brands
  4. •
  5. HARDWARE RESOURCES
  6. •
  7. Indoor Furnishing
  8. •
  9. HARDWARE RESOURCES Half Moon Lazy Susan Series User manual

HARDWARE RESOURCES Half Moon Lazy Susan Series User manual

Do I have a Left Hand or Right Hand opening?
Left Hand
blind corners
have the
opening
on the left.
Right Hand
blind corners
have the
opening
on the right.
Half Moon Lazy Susan
Installation Instructions
for the HMLS Wood Series
IMPORTANT:
Before you begin, make sure you familiarize yourself with all the
parts and fully read the instructions.
CUSTOMER SERVICE:
Toll free customer help line available weekdays between 7:00am
and 6:00pm Central Time at 800-463-0660.
TOOLS NECESSARY:
Screw gun or Phillips screwdriver. NOTE: If screw gun has a
clutch, set to lowest setting so as not to over tighten and/or
strip screws.
PARTS IDENTIFICATION:
1 Wood Shelf Assembly qty 2
2 Pole qty 1
3 Lower Hub Assembly qty 1
4 Upper Hub Assembly qty 1
5 #8 X 3/4” Pan Head Phillips Wood Screws qty 4
6 #8 X 3/4” Flat Head Phillips Wood Screws qty 5
5
1
2
3
4
6
Prior to Installation
Remove black shipping screws as shown above before
beginning installation
STEP 1 - Determine Left or Right Hand Installation
To prepare the unit for Right Hand installation, remove the screws mounting the slides to the shelf and reattach the slides to the
shelf as shown above. Then loosen the four screws that attach the metal casting bracket to the shelf and slide the casting bracket to
the proper location shown on the illustration and chart above. Re-tighten the screws.
NOTE: The Half Moon Lazy Susan ships ready to
install as a Left Hand model. Apply rst set of screws on
A,B or C when converting to Right Hand model.
Attach second set of screws where they are positioned.
Left Hand Shelf and Bracket Mount
Right Hand Shelf and Bracket Mount
Model # Position
Right
Hand
3212 A
3515 B
3818 C
Model # Position
Left
Hand
3212 2
3515 5
3818 8
2 5 8
2 5 8
C B A
C B A
Left Hand model Right Hand model
STEP 3 - Install Lower Hub Assembly
Place the Lower Hub Assembly tight against the back corner of the face frame (the
panel divider in frameless applications) and rmly secure with 4 four #8 X 3/4” Pan
Head Phillips Wood screws provided as shown above.
STEP 6 - Install Upper Shelf Assembly
Slide the Upper Shelf Assembly onto the pole. Securely tighten both hub set screws as shown.
STEP 2 -
Determine upper shelf height
2-11/16
DOOR HINGE
KEEPOUT
REGION
13-3/8
MAXIMUM
UPPER
WOOD
TRAY
ADJUSTABLE
HEIGHT
1-3/32
DOOR HINGE
KEEPOUT REGION
13/16
MINIMUM HEIGHT CLEARANCE
ABOVE THE CABINET FLOOR
17-9/16
MAXIMUM
WOOD
TRAY
SYSTEM
HEIGHT
1/4
MINIMUM
POLE
PROTRUSION
Using the diagram as a guide, determine the desired height position of the upper
shelf and make a light pencil market on the side of the face-frame.
STEP 4 - Install Lower Shelf
Assembly
STEP 5 - Install Upper Hub
Assembly
Place one of the Shelf Assemblies on top of the Lower
Hub Assembly and secure in position by sliding the
pole through the center, pushing rmly until the pole is
at the bottom of the cabinet.
Slide the Upper Hub Assembly onto the pole and
position the bottom of the bracket on the line drawn
previously. Firmly secure with ve #8 X 3/4”Flat Head
Phillis Wood screws provided.
HMLSW08/17 v.1

Other HARDWARE RESOURCES Indoor Furnishing manuals
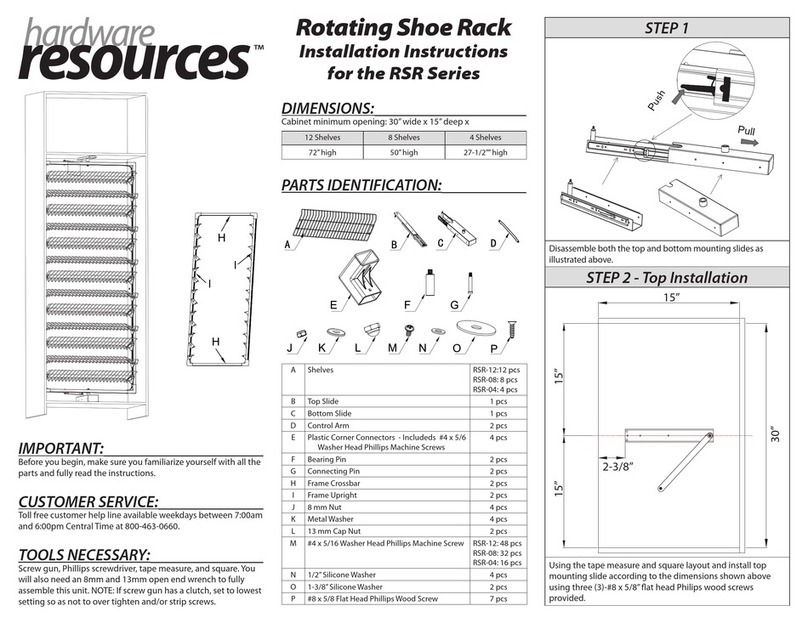
HARDWARE RESOURCES RSR Series User manual
HARDWARE RESOURCES

HARDWARE RESOURCES RSR Series User manual

HARDWARE RESOURCES WPO2 Series User manual
HARDWARE RESOURCES

HARDWARE RESOURCES WPO2 Series User manual

HARDWARE RESOURCES CAN-WBM User manual
HARDWARE RESOURCES

HARDWARE RESOURCES CAN-WBM User manual

HARDWARE RESOURCES CAN-TMDSC-15 User manual
HARDWARE RESOURCES

HARDWARE RESOURCES CAN-TMDSC-15 User manual

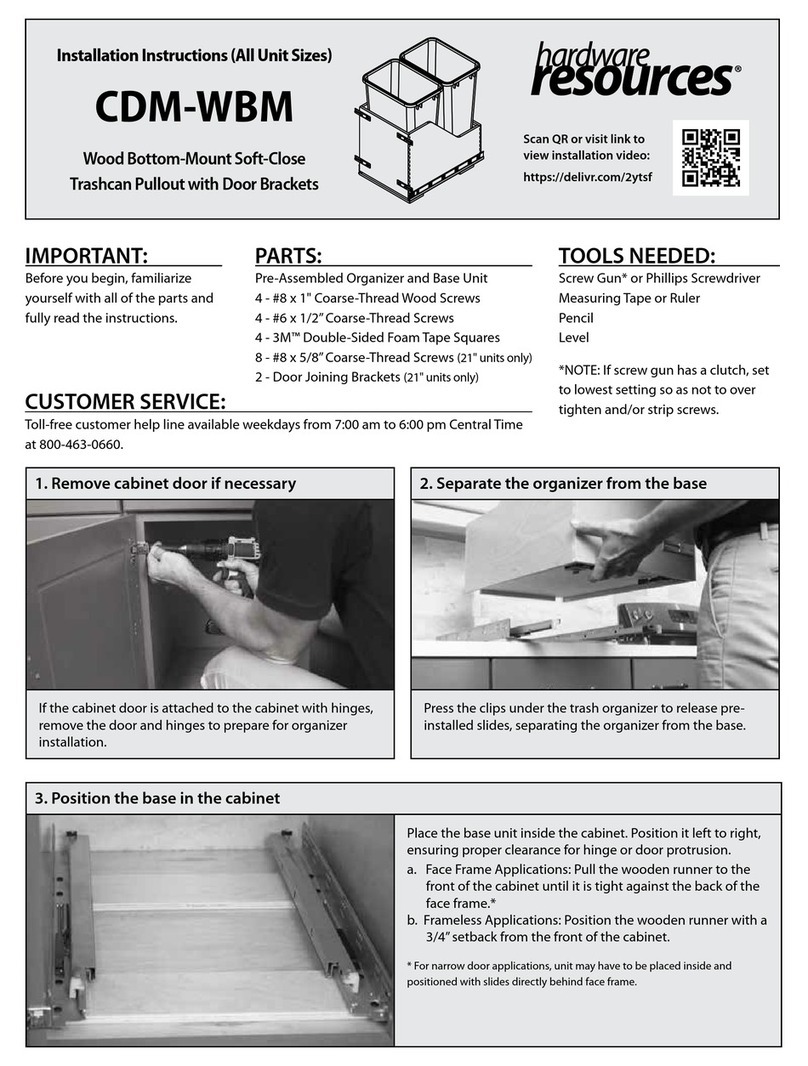
HARDWARE RESOURCES CDM-WBM User manual
HARDWARE RESOURCES

HARDWARE RESOURCES CDM-WBM User manual

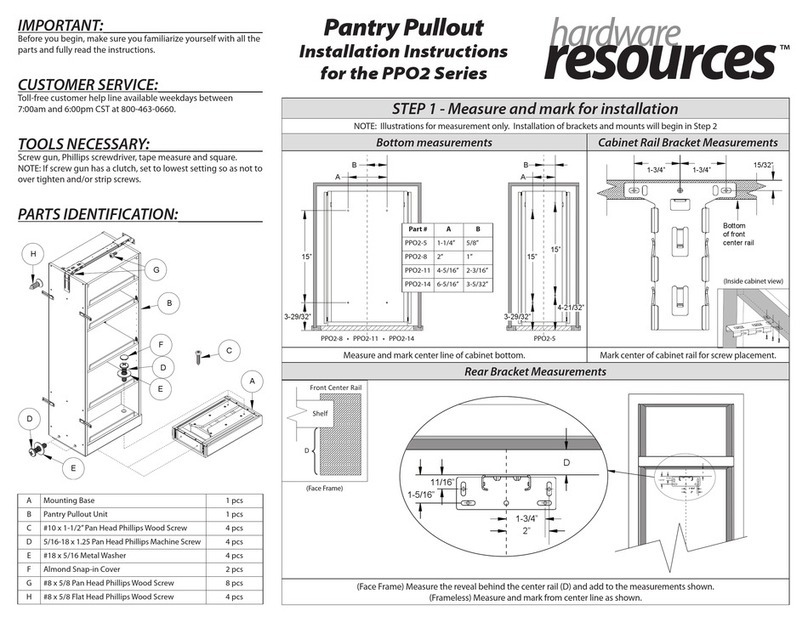
HARDWARE RESOURCES PPO2-5 User manual

HARDWARE RESOURCES

HARDWARE RESOURCES PPO2-5 User manual

HARDWARE RESOURCES BPO2 Series User manual
HARDWARE RESOURCES

HARDWARE RESOURCES BPO2 Series User manual

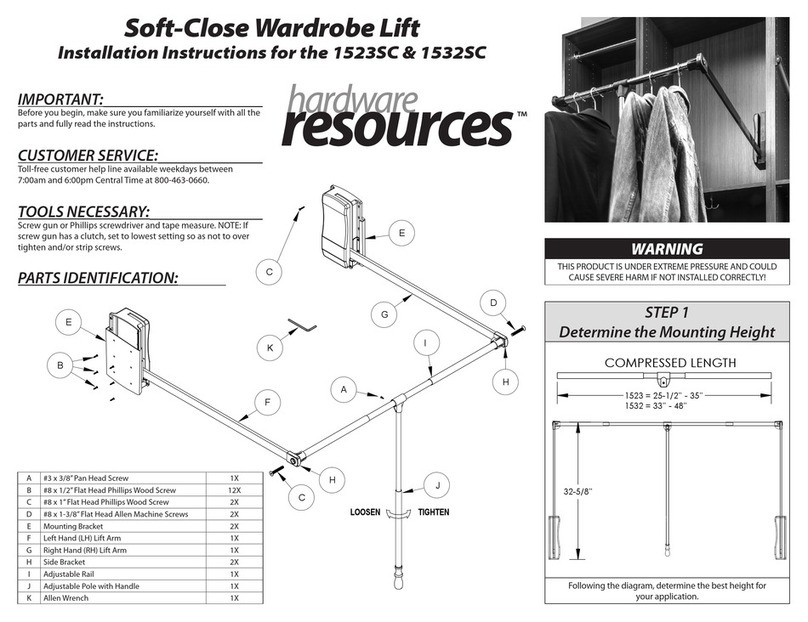
HARDWARE RESOURCES 1523SC User manual

HARDWARE RESOURCES

HARDWARE RESOURCES 1523SC User manual

Popular Indoor Furnishing manuals by other brands

Furniture of America Sheffield CM-AC6177 Assembly instructions
Furniture of America

Furniture of America Sheffield CM-AC6177 Assembly instructions

GFW HAMPTON ACACIA COFFEE TABLE Assembly instructions

GFW

GFW HAMPTON ACACIA COFFEE TABLE Assembly instructions

Next FLEUR 804027 Assembly instructions
Next

Next FLEUR 804027 Assembly instructions

Kesseböhmer CONVOY Lavido Mounting instructions
Kesseböhmer

Kesseböhmer CONVOY Lavido Mounting instructions

Next PARIS STORAGE BED 663843 Assembly instructions

Next

Next PARIS STORAGE BED 663843 Assembly instructions

RIMIKING RIMI-3306 instruction manual

RIMIKING

RIMIKING RIMI-3306 instruction manual

Forte 4055225860 Assembling Instruction

Forte

Forte 4055225860 Assembling Instruction

Habitat Petra 821653 manual

Habitat

Habitat Petra 821653 manual

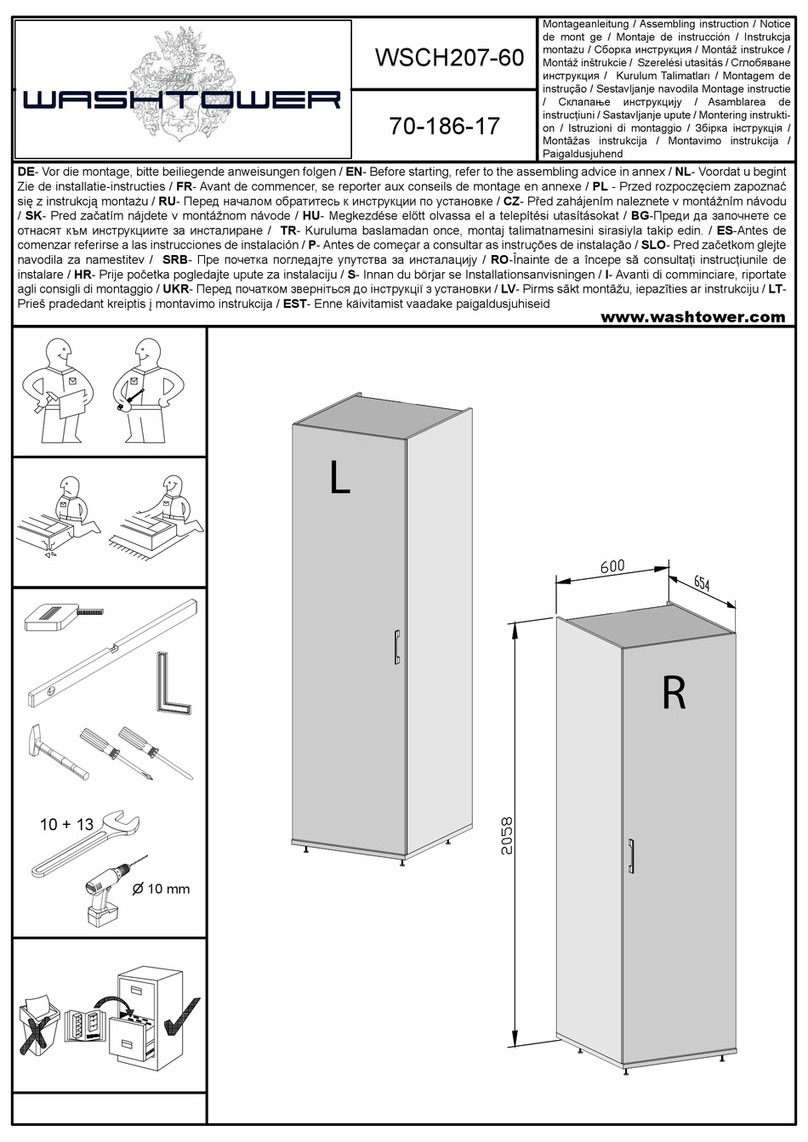
WASHTOWER WSCH207-60 Assembling Instruction

WASHTOWER

WASHTOWER WSCH207-60 Assembling Instruction

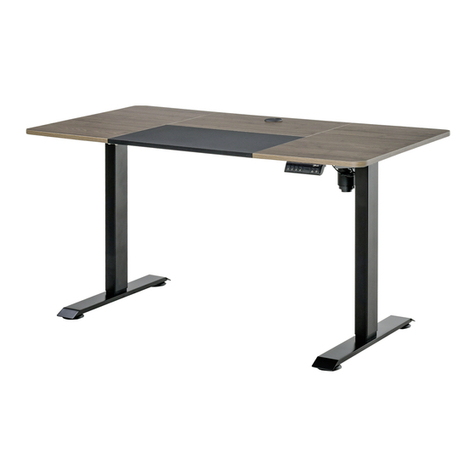
Vinsetto 920-071V70 Assembly & instruction manual

Vinsetto

Vinsetto 920-071V70 Assembly & instruction manual

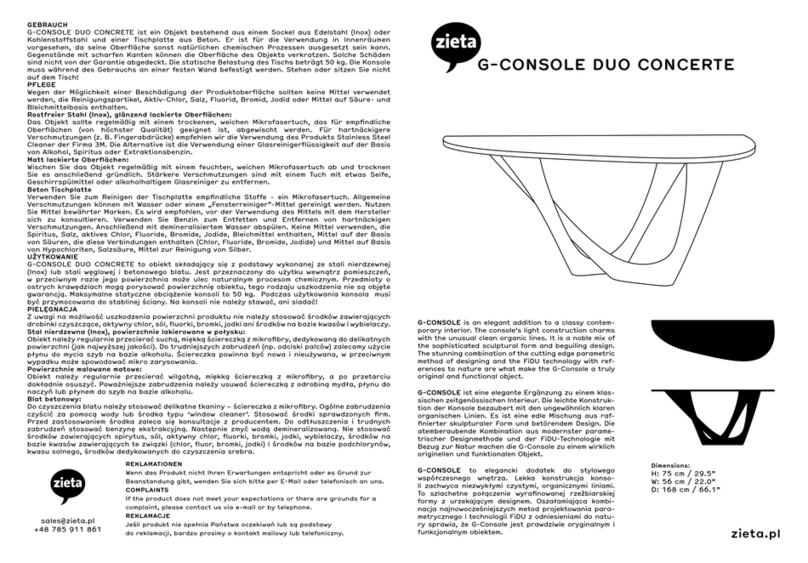
zieta G-CONSOLE DUO CONCERTE quick start guide

zieta

zieta G-CONSOLE DUO CONCERTE quick start guide

Lorell LLR44216 instructions

Lorell

Lorell LLR44216 instructions

MAJA Möbel 1687 Assembling instructions

MAJA Möbel

MAJA Möbel 1687 Assembling instructions

Next HELSINKI 844026 Assembly instructions

Next

Next HELSINKI 844026 Assembly instructions

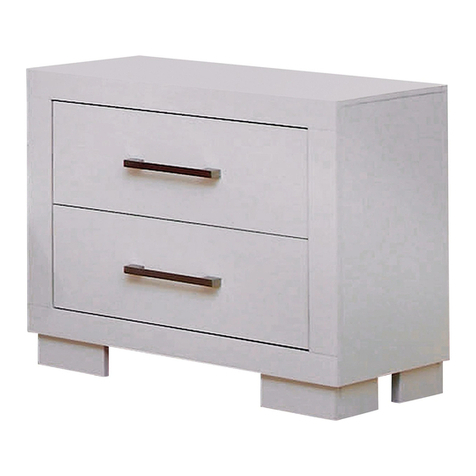
Coaster 202992 Assembly instructions

Coaster

Coaster 202992 Assembly instructions

LOTIE Elin instruction manual

LOTIE

LOTIE Elin instruction manual

Init NT-MG302 user guide

Init

Init NT-MG302 user guide

MAJA Möbel K112-1 Series Assembling instructions

MAJA Möbel

MAJA Möbel K112-1 Series Assembling instructions

manuals.online logo
manuals.online logoBrands
  • About & Mission
  • Contact us
  • Privacy Policy
  • Terms and Conditions

Copyright 2025 Manuals.Online. All Rights Reserved.