(
CONTROL AND FUNCTIONS
Front
Panel
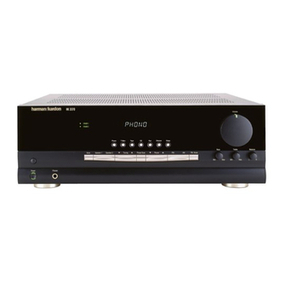
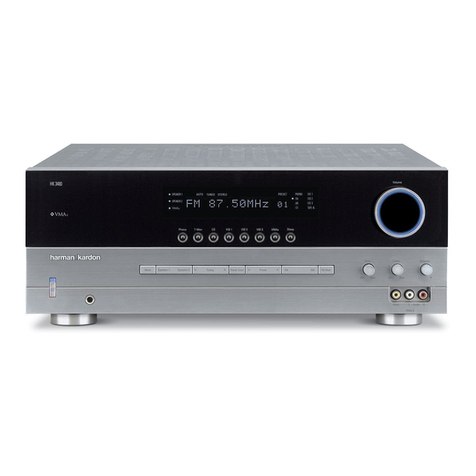
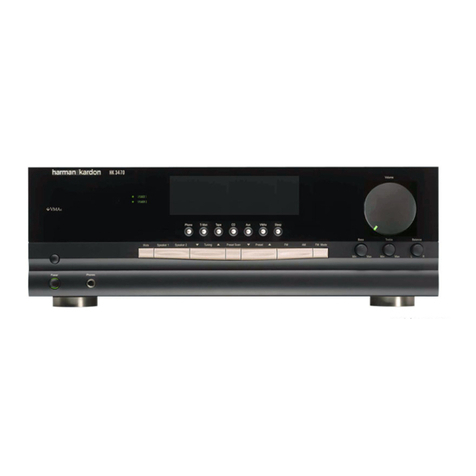
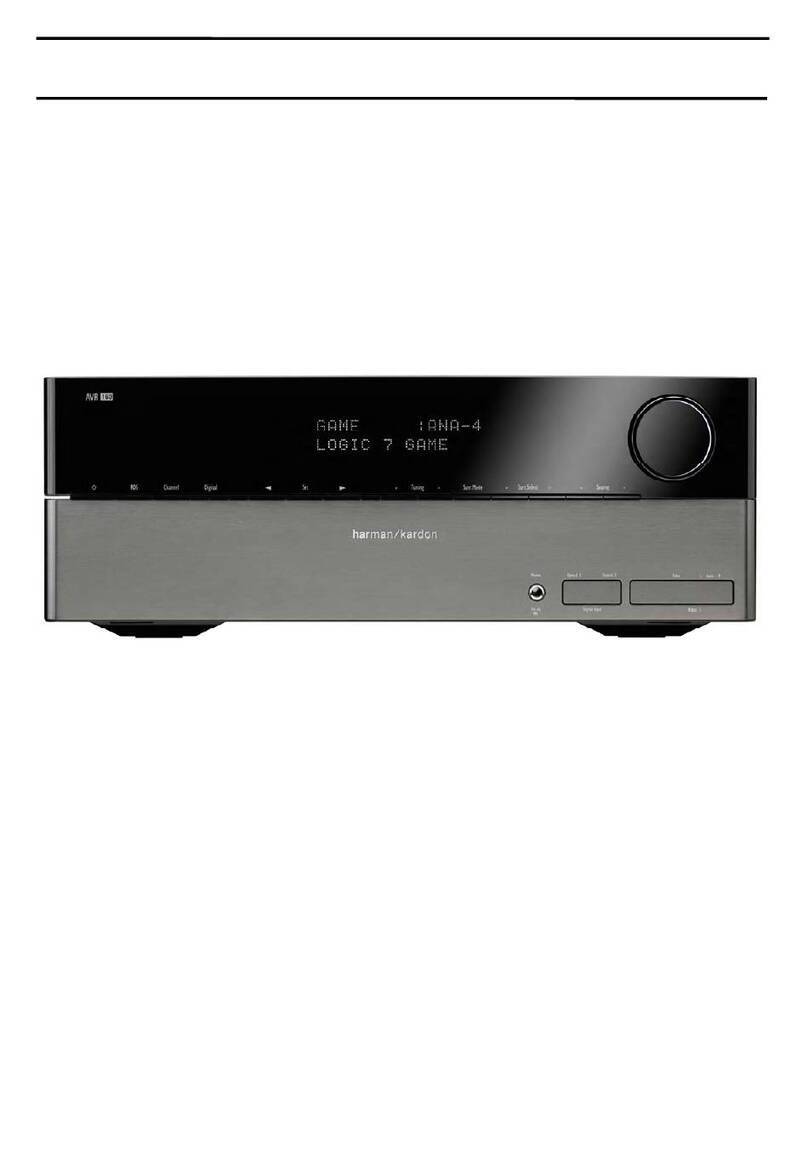
harman/kardon
AVR70
D Information Display: This dis-
play delivers messages and status
indications to help you operate the
receiver. Refer to the separate dia-
gram for a complete explanation of
the
FL
display.
fJ
Remote
Sensor
Window: The
sensor behind this window receives
infrared signals from the remote con-
trol. Aim the remote at this area and
do
not block or cover it unless
an
external remote sensor
is
installed.
m
AM/FM
Tuner Mode Selection:
Press this button once to select the
tuner. Press it again to switch
between
FM,
MW and
LW.
19
CD: Press this button to select
the CD player.
Ill Tape1/Monitor: Press this button
to
select Tape One as the input
source. A red
LED
above the button
will illuminate to indicate that the
Tape Monitor has been selected.
ll'I
Tape2: Press this button to select
Tape
2.
6 Video Sources: Press any of
these buttons to select a video input
source.
E) Aux: Press this button to select
the source connected to the front
panel Aux jacks.
Ii]
Display: Press this button
to
turn off the front panel
FL
display.
The
DISP
indicator will illuminate
to remind you that the unit
is
still
turned on.
II!]
OSD
(On Screen Display):
Press the button briefly·to display a
system status report on your video
screen. Press and hold to change
the video standard.
WDelay: Press this button to
increase the delay to the rear (sur-
round) channels.
OoNLY
ml
Mode: Press these buttons to
scroll up
""'
or down T through the
list
of
available surround modes.
mJ
P-Set: Press these buttons to
manually scroll
up
""'
or down T
through the
FM,
LW
or AM stations
programmed into the receiver's pre-
set memory.
i!J
P-Scan: Press this button to
automatically scan through the
FM
or AM stations preset into the receiv-
er's memory. Press the button again
to stop
the
scan when the tuner
is
at
the desired station.
ml
Tune: Press these buttons to
manually scan up
""'
or down T
through the
FM
or AM bands.
ml
Mute: Press this button to cut the
output
to
the speakers. Press it
again
to
return to the previous vol-
ume level.
i6 Volume Control:
Turn
the knob
clockwise to increase volume, coun-
terclockwise to decrease the vol-
ume. Note that approximately two
revolutions of the knob are required
to
go
from
no output to maximum
volume.
ml
Power:
press this button once to
turn the unit on or off. In order to use
the remote control to turn the unit on
the power switch must be pressed
once, and then the unit must be
turned off via the remote.
The
LED
indicator light surrounding the power
switch
will
glow amber when the unit
is
in
the Standby mode and green
when the unit is on.
ml
Headphone Jack: Plug standard
stereo headphones into this jack for
private listening.
NOTE: When the headphones are
in
use the output to the speakers is
muted and the surround mode is
automatically switched to STEREO.
When the headphones are removed
from the jack, sound to the speakers
is
restored and the unit returns to the
previous sound mode.
Vol"""
Im,]
Memo: The memo button is used
to enter stations to the tuner's preset
memory
in
either the manual or auto-
matic modes. It is also used
in
clear-
ing the memory and entering the
sleep timer period.
f:D
Clear: The clear button
is
used
to cancel tuning, memory input or
when clearing the unit's memories.
PE
FM
Mode: Press this button
to select the tuning mode for
FM
stations.
~
RDS Display: When a station
transmitting
RDS
data
is
tuned,
press this button to view the tuning
frequency.
lmJ
RDS
AF: The button
is
used to
search for stations transmitting a
specific programme type that offers
better reception than the currently
tuned station.
f1ll
RDS
PTV: Press this button to
view the programme type
(PTY)
when an
RDS
station
is
tuned. It
is
also used to initiate a search for
RDS
stations transmitting a specific pro-
gramme type.
p,m
Bass: This knob adjusts the tone
of low frequency sounds.
Turn
it to
the right to boost bass frequencies
or to the left to cut bass frequencies.
ffi
Treble: This knob adjusts
the tone of high frequency sounds.
Turn
it to the right
to
boost high
frequencies or to the left to cut high
frequencies.
Im]
Balance: This knob adjusts the
balance between the front left and
right speakers.
Im]
Front Panel Inputs: Audio or
Video sources connected to these
jacks may be selected by pressing
the Aux button E).
Remote
Control
O Use/Learn: This switch selects
the operation mode of the remote
control. Slide
it
to the left for normal
operation. Slide it to the right when
the remote is being programmed.
8 Main Power: Press these
buttons to turn the unit on or off.
8 Source Selection: Pressing one
of these buttons selects the input
source that will be listened to
through the receiver. When a source
is selected the remote's transport
and numeric number buttons will
also transmit the commands needed
to control that machine.
8 Source Power: Press these but-
tons
to
control power for the last
source device selected.
0 Surround
Mode
Selection:
Press one of these buttons to select
a surround mode for the current lis-
tening session.
0 Main Volume: These buttons
control the unit's volume. Note that
all channels are controlled simulta-
neously.
Learning
O
TV
Volume: These buttons
adjust the volume for
TV
using the
remote control codes programmed
into the remote for a
TV
set or cable
box. These buttons control the
TV
set only, regardless of which source
is selected. This enables you to con-
trol the audio level of a
TV
set even
when the receiver
is
not
in
use.
fi)
Mute: Press this button to tem-
porarily cut the audio output of the
receiver. Press it again to return to
the previous volume level.
Cl) Transport Controls: These
buttons control the tape or disc
motion of the last playback source
selected with the Source Selection
buttons
8.
Use them as you would
the
Play,
Stop, Pause, Reverse Play
and Record buttons on any
VCR,
CD
or
LO
remote control.
ct!)
Tune/Search & Fast Forward:
(These buttons have multiple func-
tions, which vary according to the
input device selected.)
a.
When the TUNER has been
selected, these buttons are used
to manually tune stations.
b.
When CD, LD
or
VCR
is
the input
source, these buttons act as
the Fast Scan Forward
~
or Fast Scan Reverse
~
controls.
4D
Channel/Skip: (These buttons
have multiple functions, which
vary according to the input device
selected.)
a.
When the
TUNER
has been
selected, these buttons will scroll
up
~
or down
~
through
the stations that have been pro-
grammed
in
the preset memory.
b. When TV
or
VCR
is
selected, they
are the channel
up
~
or chan-
nel
down
~
tuning buttons.
c. When CD
or
LD
is
selected these
buttons act as forward and
reverse "Skip" buttons to move to
the
next track or chapter on the
disc.
d. When a compatible Harman
Kardon cassette player has been
selected as Tape 1
or
Tape
2,
these buttons move the tape for-
ward
~
or backwards
~
to the
next selection using the Music
Scan feature.
@ Disc/Deck/Ant: (These buttons
have multiple functions, which
vary according to the input device
selected.)
a.
V}lhen
CD
is
selected and the unit
is
a CD changer, these buttons
will change to the next disc +or
previous disc
-.
b. When Tape 1
or
Tape 2
is
the
input source, and the tape
machine is a compatible Harman
Kardon dual cassette deck, these
buttons will switch between the
"A" and "B" sides.
c. When VCR 1
or
VCR 2 is the input
source, these buttons switch
between
VCR
and
TV
as the unit's
output.
d. When TV
is
the input source,
these buttons may switch
qetween video input sources or
antenna/video, depending on the
TV
model.
e.
When
LD
is
the input source,
these buttons will switch the side
being played from "A" to "B" on
compatible dual side players.
@ Number Keys: These buttons
serve as a ten button numeric key-
pad to enter tuner preset positions.
They are also to be used to select
channel numbers when
TV
has been
selected
on
the remote, or to select
track numbers on a CD or
LO
player,
depending on how the remote has
been programmed. The letters
below the buttons are used to enter
information for tuner station names.
NOTE: The Obutton has a dual func-
tion.
It also serves as the
CLEAR
button for use
in
programming the
tuner or clearing the system memory.
CD
P-Scan: Press this button to
automatically scan through the sta-
tions preset into the tuner memory.
Press
the button again to end the
scan when the tuner stops at the
desired station.
~
Memo: The memo button
is
used
to enter stations to the tuner's preset
memory
in
either the manual or auto-
matic modes.
It
is
also used
in
the
process of clearing the memory.
~
Delay: This button controls the
amount of sound delay to the rear
(surround) channels. Press it to
increase the delay
in
the steps shown
in
the main Information Display or
on-screen graphics.
CD
Menu Controls: These buttons
control the action of the cursor or the
selection of menu items when the
receiver is being configured using
the setup menus.
~
Select: This button enters set-
tings to the receiver's memory dur-
ing system configuration.
@Screen
Display: Press this but-
ton to activate the on screen menu
system.
@!)
Panel Display: Press this button
to turn off all displays and indicators
in
the Information Display except for
a small
DIS
P indication
in
the
lower right corner of the display @
Press the button again to turn the
display back on. Note that the dis-
play will briefly illuminate when a
command
is
sent to the unit from the
front panel or remote, even though
the display
is
turned off.
fD Test Noise: Press this button to
begin calibration of the output level
for each channel. A test signal will
immediately be heard from the left
front speaker and the TEST indica-
tor@
will flash.
@
Speaker
Select: When setting
the system output levels, this button
selects the speaker position being
adjusted. Press it once to advance
to the next speaker after each posi-
tion is adjusted.
@) Level Adjust: When setting the
system output levels, press these
buttons to increase or decrease the
output level.
tl)
Sending LED: This indicator
should flash any time a button
is
pressed to confirm that a command
is
being sent to the receiver or anoth-
er unit. If the light
is
dim or does not
illuminate when a button
is
pressed
the batteries
in
the remote should be
replaced.
@) Learn LED: This indicator will
illuminate when a button
on
the
remote is being programmed with
signals from another remote during
the "learning" mode. The light will
go
out when the signal
is
received and
memorized.
@)
RDS
PTV: Press this button to
view the Programme Type informa-
tion for stations transmitting
RDS
data. This button
is
also used for
PTY
Auto Search functions.
@
RDS
AF: This button initiates a
search of all
RDS
stations to find a
stronger signal for the programme
type currently selected.
5
