Contacting Harmonic:
ProView PVR-8140 Decoder — Quick Start Guide
3. Configuring the Decoder Input & Output
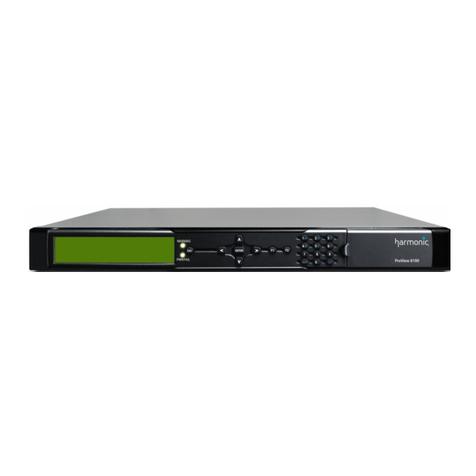
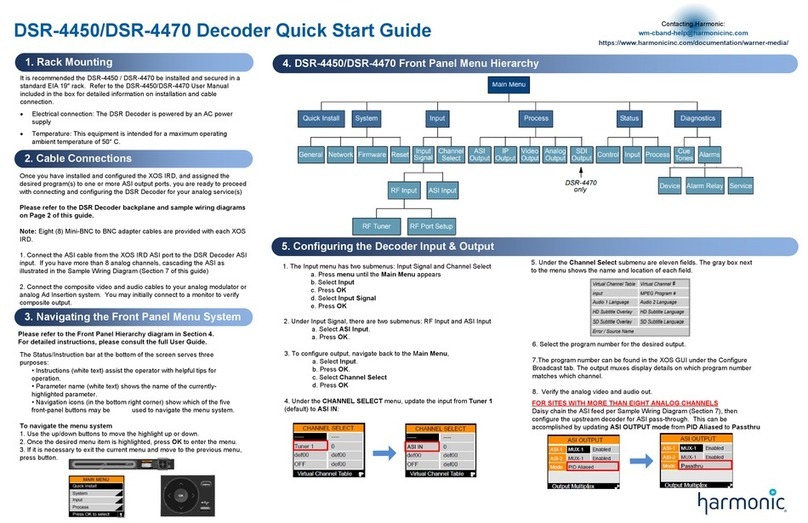
The PVR 8140 can be configured via the front panel (the menu tree is in Section 6)
or remotely through the management IP port and embedded GUI.
The PVR 8140 decoder has two modes:
Multiplex - In Multiplex mode the device generates a new stream and user can
select which programs to pass and also able to modify the bitrate.
Transparent - In transparent mode, the whole output stream is passed to the
output unchanged.
The steps for configuring the PVR 8140 via the front panel are:
1. Navigate to Root > Input > Primary Port Selection.
2. Select ASI as the input port.
3. Navigate to Root > Decoding> Configuration > Program Selection > Service
Mode.
a. Select Program to output.
A list of all input programs received displays.
b. The screen displays the program number (decimal., program
name if the input stream provides an SDT table and the status (CAS/
scrambled or FTA/free to air).
c. Select a program.
d. Verify output video and audio on your monitoring device
If you would like of control the PVR8140 via the IP management interface, please
set up the IP address as described in Section 5 of this guide.
5. OPTIONAL - Setting up Management IP
Address
In order to use the Management IP interface, you will need to first
configure the management IP parameters via the front panel:
1. Press ENTER on the keypad.
The root menu appears.
2. Navigate to Unit > Management Port > IP Configuration
3. Set the IP Address, Subnet Mask, and Default Gateway for the
management port. Make sure that DHCP is set to Disable.
For further details on the management IP interface and its usage, please
refer to user manual on using the embedded GUI.
2. Cable Connections
Once you have installed and configured the XOS IRD, and assigned the desired
program(s. to one or more ASI output ports, you are ready to proceed with
connecting and configuring the PVR 8140
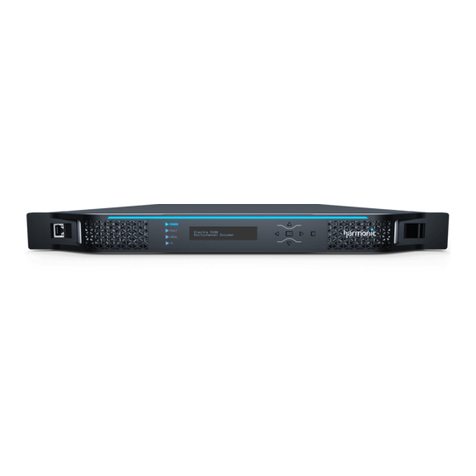
Please refer to the PVR 8140 backplane and sample wiring diagrams on
Page 2 of this guide.
Note: Eight (8) Mini-BNC to BNC adapter cables are provided with each XOS IRD.
1. Connect the ASI cable from the XOS IRD ASI port to the PVR 8140 ASI input..
If you have more than 8 analog channels, cascading the ASI as illustrated in the
Sample Wiring Diagram (Section 8 of this guide).
2. Connect the composite video and audio cables to your analog modulator or
analog Ad Insertion system. You can initially connect to a monitor to verify
composite output.
1. Rack Mounting
It is recommended the PVR 8140 be installed and secured in a standard EIA
19" rack
Electrical connection: The ProView 8140 is powered by an AC power supply.
The PVR 8140 is intended for a maximum operating ambient temperature of
50° C. Please ensure there is enough room for a column of cold air to
circulate on the front of the chassis and a column of hot air to circulate on
the rear of the chassis, from bottom to the top of the rack
6. PVR 8140 Front Panel Menu Heirarchy
If you have an analog ad insertion system and need to set up DTMF tones
on the PVR, Wire the PVR 2nd Audio left output +/- to the DTMF input on the
ad insertion system. Please follow these steps via the front panel to
configure the correct DTMF for each channel (note DTMF may be unique for
each channel..
1. Select Decoding.
2. Select Configuration.
3. Select DPI.
4. Select Trigger (SCTE 35., and set the following parameters:
OON Trigger > GPI3 & DTMF2. Trigger (SCTE 35. >
OON DTMF> Enter up to four DTMF tones (0-9, *)
DTMF Mode - enable
OON DTMF [024*] -
TONE1 - 0
TONE2 - 2
TONE3 - 4
TONE4 - *
RTN Trigger > GPI3 & DTMF2. Trigger (SCTE 35. >
RTN DTMF> Enter up to four DTMF tones (0-9, #)
RTN DTMF [024#] -
TONE1 - 0
TONE2 - 2
TONE3 - 4
TONE4 - #
5. Verify that the Ad Insertion is working.
6. Adjust pre-roll on the PVR for timing adjustments as necessary.
4. OPTIONAL - Setting up DTMF (Cue Tones.
for Analog Ad Insertion
https://www.harmonicinc.com/documentation/warner-media/


