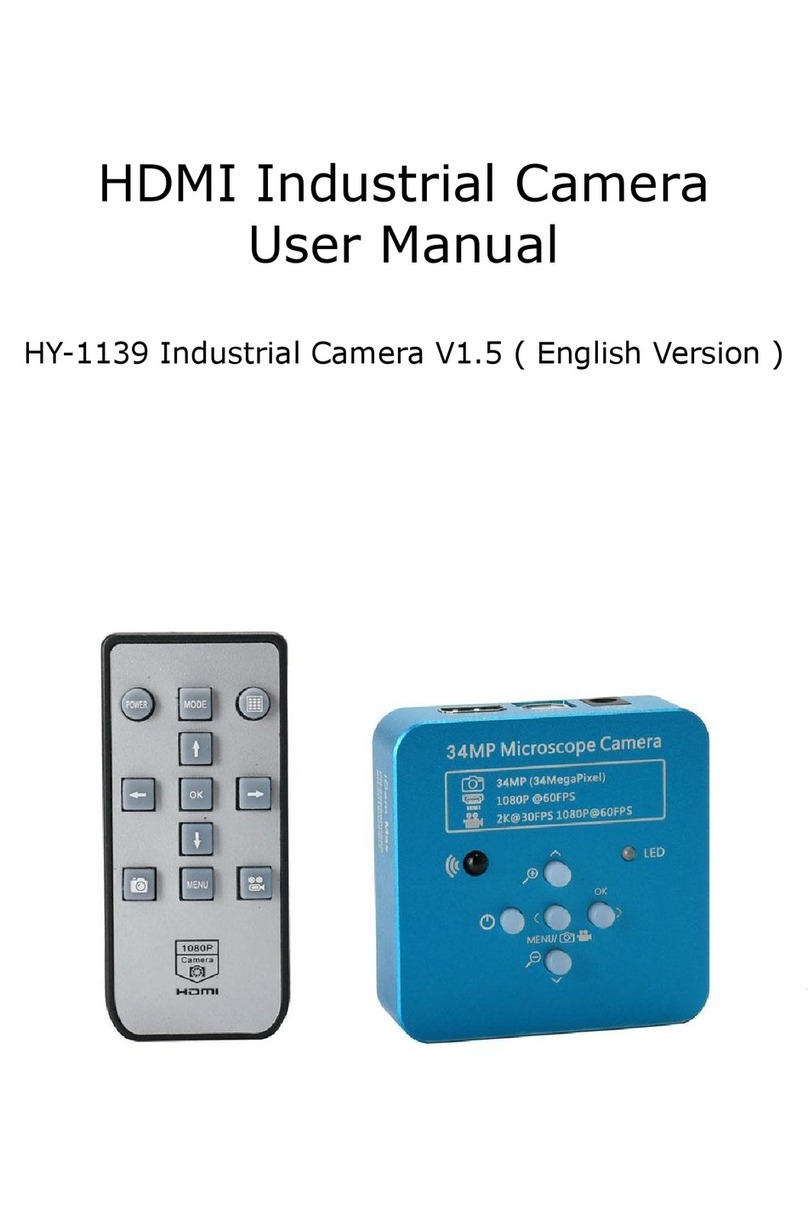
Hayear HY-5299L User manual

HAYEAR
User Manual
HY-5299L Industrial Camera V1.5 ( English Version )

Features
Effective Pixels
SONY CMOS 1/2.33 IMX 4K SENSOR
Resolution
4K/2K/1080P 1080P(USB)
Sensor Size
1/2.33inch
Pixel Size
1.55 × 1.55μm
Image Resolution
4032 × 3024 (12MP)
Frame rate
30@FPS (4K)
Image Format
JPEG
WaveLength[nm]
400nm~700nm
Frame Fate
3840×2160@30FPS(4K); 1080P 120@FPS; 720P 240@FPS
Lens Fype
C / CS
Timing Photo/Record
Support Timing Photo/Record
Storage
TF Card, Max 256G
PC Support
Windows /Mac /Linux System PC Software with Measuring Function
Image Measurement
Support HAYEAR Measurement
Language
EN /FR /ES /Portugues /Deutsch /Italiano /CN/Pyccknn/ JP
Output Interface
HDMI/USB Standard usb2.0 interface (Type B)
Image Scaling
7-Fold zoom
Transverse and vertical line
Support multi-color, 5 pcs of transverse lines/vertical lines, movable
Different color,5 horizontal line , 5 vertical line,any positions
Encode
H.264 /H.265 (High Profile)
Video format
MP4
Input Voltage
DC 12V 1A
Exposure
Auto/Manual, value adjustable
Size
75×60×39mm(LxWxH)

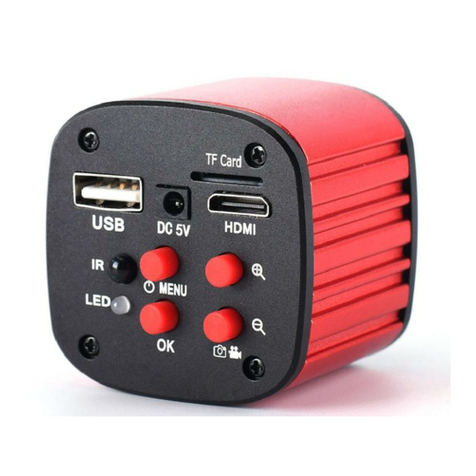
Interface Introduction
Remote Control and Key Operation Instruction
Preparatory work
1:Twist the cover and install the lens.
2:Inset the HDMI cable and DC power, when the LED light turn on yellow the camera is on.
3:When connect the camera with the computer, just plug the USB line is OK ( no need to use
the power supply)
Menu operation instructions

1:Line setting
Cross hair: click on the freeze/capture button to open or close the hair line.
Line: cycle from 1-10-OFF, click on the freeze/capture button to switch the numeric value
Direction: click on the freeze/capture button to switch horizontal/vertical/off
Position: click on the freeze/capture button to adjust, long press can rapidly
increase/decrease, the numeric value smaller, the horizontal line more upper(if you choose
vertical line then it will be more left), the numeric value larger then the horizontal line more
lower(if you choose the vertical line then it will be more right)
Color: click on the freeze/capture button to switch and select the line color,
there are transparency, black, white, red, green, blue and orange to be chosen.
Weight: click on the freeze/capture button to adjust the line weight.
2:Video resolution
Click on the ↑or↓button to switch selection, click on OK to save your option.
3: Image size
click on the ↑or↓button to switch selection, click on OK to save your option,4K Camera only
12MP

4:Timing Photo
Click on the ↑or↓button to select timing photo , click on Off or On to save your option.
5:Picture scale
Click on the ↑or↓button to select 16:9 or 4:3, click on OK to save your option.
6:Mirror contrast
Click on the ↑or↓button to switch selection, click on OK to save your option.
7:Exposure
Click on the ↑or↓button to switch selection, click on OK to save your option, the exposure
value can be only adjusted under auto exposure.
8:White balance

Click on the ↑or↓button to switch selection, click on OK to save your option.
9:Color
Click on the ↑or↓button to switch selection, click on OK to save your option.
10: Language
Click on the ↑or↓button to switch selection, click on OK to save your option.
11: Frequency
Click on the ↑or↓button to select 50Hz or 60Hz, click on OK to save your option.

12: Date/time
After finishing setting click on OK button to save and jumps to next setting, after finishing all
setting click on OK button to save, then click on the MENU button to return back to main
menu.
13: Format
Choose cancel and click OK it will return to main menu, choose confirm and click OK it will be
format.
All data will be deleted after format, make sure there is a copy when use this option.
14:Default setting
Choose cancel and click on OK button it will return to main menu, choose OK and click on OK
it will restore factory setting
15:Version
Model: HY-5299
16:Coding mode
Click on the ↑or↓button to select H.264 or H.265, click on OK to save your option.

17:Electronic amplification and reduction
Press the “freeze” button the image will electronic amplification, the multiple will be showed
on the left of the image, the maximum multiple up to 5 times and image will be vague when
magnification.
After electronic amplification, press on the “capture” button the image will reduction, the
multiple will be shown on the left of the image and it can reduce to the original size
18:Switch photo and video mode
The system default is photo mode, press the “OK” button to take photo.
Press the “MODEL” button to switch video mode, press the “OK” button to start capture and
press “OK” button again to stop recording.
HDMI output
First, make sure the connected monitor is UHD 4K monitor, otherwise the resolution can
not reach 4K 3480x2160P.
Second, power on the microscope and connect it to the hd monitor, make sure there is
power on when using since there is no built-in battery.
Third, turn on the microscope, put the observation on the platform and adjust the working
distance to get a clear image.
Under the HDMI output, the microscope can take picture, but can not record video.
FAQ
1: Why these is no image on the monitor?
Check if all the lines connected properly and power switch is turn on.
2: Why the image vague?
Please adjust the focal distance, lighting angle, check if there is dirt on the lens.
3: Why the remote control can not work?
There is no battery in the package, check if you has installed it.
4: Why there is no image on monitor when playback?
Maybe the video is not kept intact, or the video file is too large, and the system needs run
time.

5: Why isn't the photograph clear?
Please check whether the photo setting is the highest pixel.
6: Why it shows the TF card error?
First make sure it is a certified memory card, then format it and try again.
USB output
S-EYE User Manual
Overview
HAYEAR is an application for imaging a dynamic image processing , has the following
characteristics:
User Interface
1. Toolbar:Take pictures/Recording video/Browse files.
2. Sidebar tab:Switching the rightmost control panels, currently provides camera control
and measurement functions.
3. Control panel:Specific camera control and measurement operations.
4. Status bar:Display camera information, Change user interface view, Toggle measure
result panel.
5. Main menu:Open setting dialog, show software information, etc.
Capture Images
You can capture pictures and videos:
1. Take a picture: Click “Snap” button to take a picture. Click the right arrow beside the

“Snap” button to set picture file format and resolution.
2. Recording:
Click “Record” button to start video recording, Click again to stop recording.
When recording ,there will be an animation indicator over the image.
3. Browse:Click “Browse” button to open the folder where pictures and video stored.
Device Control:
Support different cameras,
preview resolution and output
format.
The highest resolution is
1920x1080.
Exposure and Gain:
If the connected camera can not
support some functions such as
brightness target value, then the
corresponding parameter can not be
set up
White balance:
If the connected camera can not
support some functions such as
brightness target value, then the
corresponding parameter can not be
set up
Red, Green and Blue gain:
If the connected camera can not
support some functions such as
brightness target value, then the
corresponding parameter can not be
set up
Normal camera parameter
adjustment.

Camera Control Measurement
Reset camera parameters.
Open camera property dialog,
generally supported by the
DirectShow cameras
Icon
Function
Description
Move
Move or adjust the measurement tool.
Point
Setup > Video Overlay > Marker
Line
Measure length of a line.
Vertical
Rectangle
Measure perimeter and acreage of a rectangle.
Polygon
Measure perimeter and acreage of a polygon.
Circle
Measure a circle, the circle is determined by
center point and radius.
Two Points
Circle
Measure a circle, the circle is determined by
two points.
Three Points
Circle
Measure a circle, the circle is determined by
three points.
Arc
Measure length of arc.
Angle
Measure angle.
Calibrate
Scale Bar
Text
Delete all measurement tools.
Stitch

MAC System

Installation Guide
Mount the pillar
Tighten the screw after mounting the pillar
Install the fixed ring
Install the adjustment mechanism
Install the adjustment mechanism
Install the objective lens
Install the universal rod fixed cube
(Tighten the fixed ring to prevent it from
sliding down)
Tighten the screw of universal rod fixed
cube
Install the universal rod
、Install the focus holder (up)
Install the focus holder (down)
Install the objective lens

Mount the HDMI Industrial camera
Install light source
Assembled effect
Thanks
Thanks all of you for supporting our products. We hope you enjoy our products, and would be
glad if they can even just slightly make your life better. If you have any question, or any
the best service to you. Our official website is http://www.hayear.com/. We reserve all the
right for the final explanation.
Table of contents
Other Hayear Digital Camera manuals
