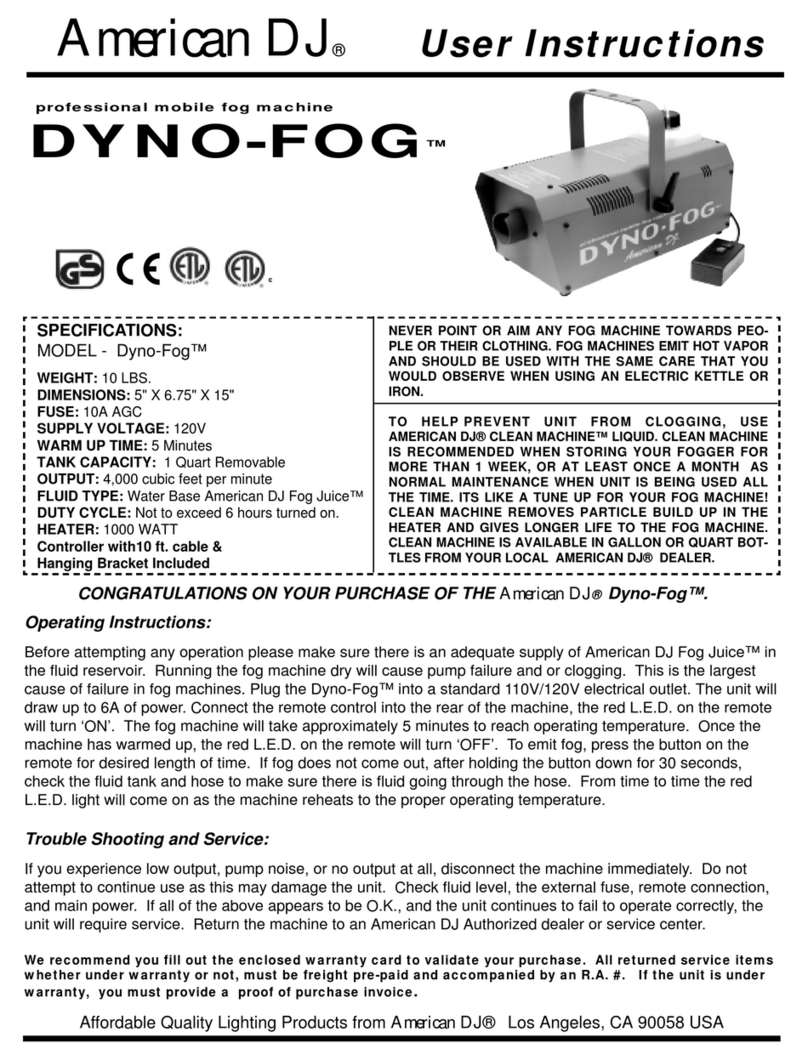
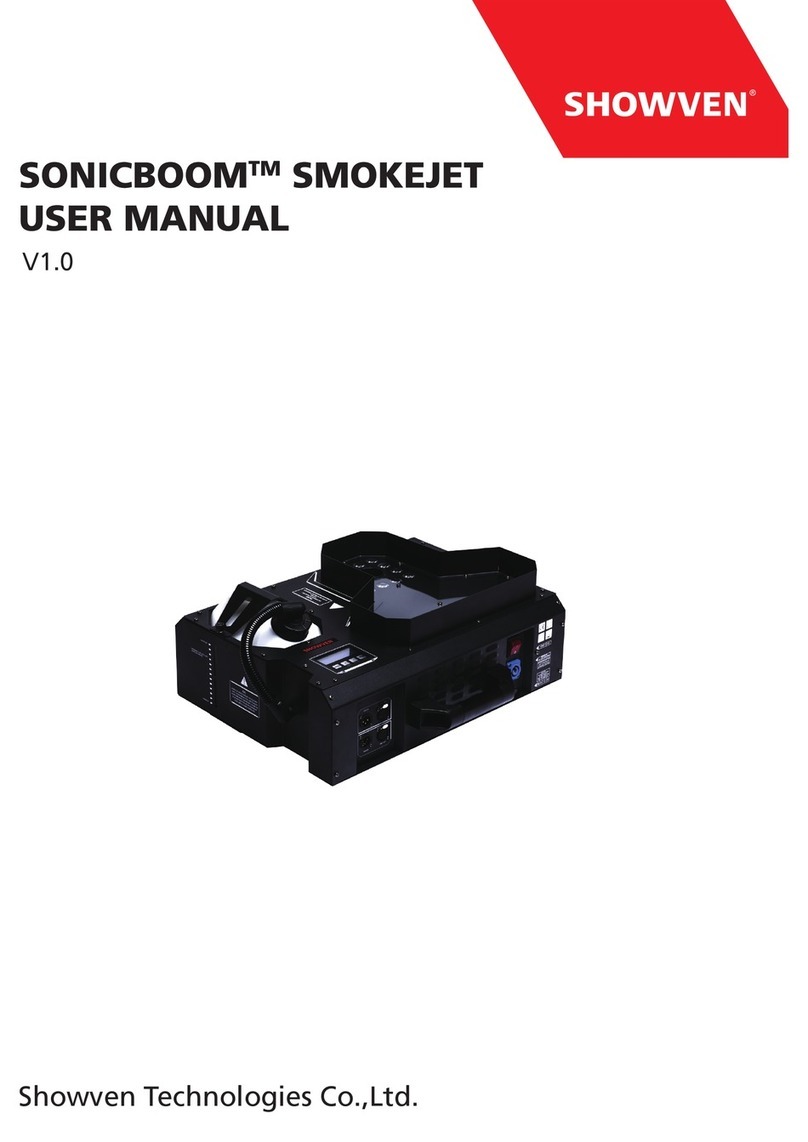
HazeBase Base Low Pro User manual

User manual
base•low•pro
Stargarder Straße 2
30900 Wedemark Germany
Phone: + 49-5130-37 10 05
Fax: + 49-5130-37 10 06
E-Mail: info@hazebase.com
contact
www.hazebase.com

www.hazebase.com 2
English
Index
1. Introduction............................................................................................................................. 3
2. Safety Instructions.................................................................................................................. 3
2.1 Scalding Hazard and General Safety .............................................................................. 3
2.2 Working with CO2.............................................................................................................. 4
3. Commissioning of base•low•pro.......................................................................................... 4
3.3 Connection diagram of the CO2bottles .......................................................................... 4
3.1 Selecting of the location .................................................................................................. 4
3.2 Devicelabeling ................................................................................................................. 5
3.4 First Steps ........................................................................................................................ 6
4.Operating the base•low•pro.................................................................................................. 7
4.1 Overview operating modes .............................................................................................. 7
4.2 Manual Mode .................................................................................................................. 8
4.3 Operation via DMX ........................................................................................................... 9
4.4 Operation via Analog........................................................................................................ 10
4.5 Operation via Ethernet..................................................................................................... 11
4.6 Setting up the IP address ................................................................................................ 12
5. Adjust brightness .................................................................................................................... 13
6. Adjust screensaver ................................................................................................................. 13
7. Show device information ....................................................................................................... 14
8. Factory Reset .......................................................................................................................... 14
9. Scope of Delivery .................................................................................................................... 15
10. Technical data....................................................................................................................... 15
11. Accessories ........................................................................................................................... 16
12. Warranty conditions ............................................................................................................. 17
13. Contact.................................................................................................................................. 18

www.hazebase.com 3
English
1. Introduction
The base•low•pro from hazebase is a CO2low fogger like no other. Create amazing low lying fog when used
with either the hazebase base•highpower foggers.
2. Safety Instructions
A fog machine is not a toy!
Damages are apparent by improper use or non-compliance with the operating instructions in their own
responsibility of the user. Structural changes to safety-critical components on the machine are strictly prohi-
bited. If you open the appliance yourself, so the manufacturers warranty void. Please also see the attached
warnings and instructions on the device. Use of other uids will void the warranty on the parts that come into
contact directly with the uid.
2.1 Scalding Hazard and General Safety
• Very hot steam escapes from the nozzle. Danger of getting burnt. Occasionally very hot droplets of uid
may escape when in operation. Thus never aim at persons directly and keep a minimum distance of 3 m
to the nozzle.
• Never touch the nozzle when in operation. Danger of getting burnt.
• The location for the machine must be non-ammable, non-combustible and not sensitive to heat. It has to
be twice as big as the machine.
• Keep a minimum distance of 60 cm to all ammable, combustible objects and objects sensitive to heat.
• Glycol is a chemical alcohol and burns with a slightly bluish, almost invisible ame. Never point the fog at
strong sources of ignition like re or pyrotechnic effects.
• During operation small amounts of hot uid-drops may emerge Therefore you should make sure, that
these do not become a danger to anyone.
• Do not swallow the fog uid. Keep it away from children. In case of eye contact, rinse with a lot of water.
Consult a doctor should you have accidentally swallowed some uid.
• Never open the machine and leave the machine unattended when connected to a power supply.
• The visibility has to be more than 2 m in rooms where people walk around.
• Fog may activate smoke detectors.
• Spilled uid or splashed uid droplets can cause slip hazard. Mop up the uid and dispose of it according
to regulations. hazebase fog liquid is an enviromentally safe product and it can be recycled biologically.
Articially-made fog can be produced in many different ways. The method used here to produce fog, with a
device which works according to the vaporizer principle, is the most harmless one. No case has so far been
reported in which a human being has been harmed because of using our device to produce articial fog. Ho-
wever, this can only be guaranteed if the professional fog generators are used accordingly, i.e. at the correct
vaporization temperatures as well as with the correctly mixed fog uid.
We recommend: People with health problems or problems of the respiratory tract or with
an inclination for allergies should avoid any contact with articially-made fog!

www.hazebase.com 4
English
2.2 Working with CO2
The handling with CO2carbon dioxide as well as the connection and commissioning is necessarily carried out
by trained technical personnel .
Is the carbon dioxide concentration in the room is too high , threatening suffocation . The maximum allowable
workplace concentration is 5000 ml / m3 MAK value . Please observe the regulations for handling carbon
dioxide could be different in other the country.
The hose supplied is designed 1 1/4“ right - male - threaded for connection to a W x 21.8 . If the CO2bottle
have a different threaded connection , so an appropriate adapter must be used.
3. Commissioning of base•low•pro
3.3 Connection diagram of the CO2bottles
If you need ttings for your CO2 bottle, see chapter 11 for more information about accessories.
3.1 Selecting of the location
The location in which the base•low•pro is to be operated must be dry:
• free from dusty or polluted air
• free from vibrations
• located on an non-ammable place or surface
• Well-ventilated with fog-free air keeping the ambient operating temperature between 5°C and 45°C and
the relative air humidity below 80%
Connection of one CO2bottle Connection of serval CO2bottle
12
2
134
3
1) CO2hose 1.5m
2) Inline Filter
3) CO2 bottle connection Europe
1) CO2hose 1.5m
2) CO2 T-tting
3) Inline Filter
4) CO2 bottle connection Europe

www.hazebase.com 5
English
3.2 Devicelabeling
front view:
rear view:
K
G
H
I
J
G) PowerCon Power-Out J) 3-pin-XLR analog output
H) PowerCon Power-In K) CO2 connection
I) 5-pin-XLR DMX input (DMX512)
AB
C
D
E
F
A) Hose 200mm , mixing chamber D) 5-pin-XLR DMX output (DMX512)
B) Touchscreen operation unit E) 5-pin-XLR DMX input (DMX512)
C) 3-pin-XLR analog output F) Art-Net RJ45 Ethernet

www.hazebase.com 6
English
3.4 First Steps
1. Connect the DMX output of the fog machine via 5 -pin XLR DMX cable (I) of the base•low•pro. If your
fogger has a PowerCon connector exhibit ( max . 3 kW / 1kW for US) you can connect this to the power
output ( G ) of the base•low•pro.
2. Connect the supplied security hose to the CO2 bottle and connect connector ( K ) .
Safety Instructions:
Before connecting the connecting tube check whether all threads and ttings are clean. To ensure that no
CO2 can escape uncontrolled, tighten screw with a suitable tool.
3. Open the valve of the CO2 bottle completely
4. The supplied PowerCon cable to connector ( H ) plug. Is the plug rotating rightward until it snapped.
5. Insert the plug in an sockets connection.
6. In order for proper operation of the base•low•pro make sure that the connected fogger has programed
the DMX start address „001“.
7. Now the base•low•pro is ready to start.
Wait until the connected fogger is fully heated. This takes about 7min at Hazebase foggers. For more informa-
tion, please refer to the manual of your fog machine.

www.hazebase.com 7
English
4.Operating the base•low•pro
4.1 Overview operating modes
The following diagram illustrates the different operating modes of the base•low•pro. These are described in
detail in the following chapters. The manual mode is overwritten by any other . Operation via Ethernet overri-
des everything else and therefore is in the picture at the top.
After turning on the base•low•pro the hazebase logo appears on the display ( B ). The following gure shows
the main menu of the base•low•pro.
L) Display analog input: show the selected mode and
current voltage.
P) Ethernet display: shows which protocol is selected
and whether the base•low•pro is controlled per
over Ethernet.
M) Current CO2 consumption base•low•pro Q) Current output values of fog , air and CO2via you
can change this via MODIFY. (See section 4.2)
N) RESET value of (M) when a new bottle was atta-
ched. This is only a guideline.
R and S) Selection of PRESET in manual mode
O) Display DMX : indicates whether DMX is active
and which address is selected.
T) Open the settings menu
U) Manual start of the fogging process
4.5 Operation via Ethernet
4.4 Operation via Analog 4.3 Operation via DMX 4.2 manual mode
L
M
R
T
O
P
N
Q
S
U

www.hazebase.com 8
English
4.2 Manual Mode
PRESETS
There are 6 presets available. Three xed and three user-denable. The following table shows the pre-dened
presets .
Preset Values effect
1Fog: 35, Air: 20, CO2: 1 ~150m² up to 10cm in 1 min.
2Fog: 45, Air: 30, CO2: 2 ~150m² 15cm in 1 min.
3Fog: 50, Air: 30, CO2: 3 ~150m² 20cm in 30sec.
4
user-denable presets
5
6
To change the manual mode, the values
of fog , air and CO2, click on the main
menu MODIFY.
Press adjust to the PLUS or MINUS to the
desired value.
Then press START ALL to start the machi-
ne with the choosen values . The button
START ALL changes to operate in STOP
ALL and stops the entire fog process
when it is pressed.
Save PRESETS
First, set as described above using
MODIFY the desired values .
To save a preset, click on the main menu
SETTINGS, then select SAVE MANUAL
SETTINGS. There you can assign the valu-
es to a preset . By clicking on the SAVE
button to save the settings.

www.hazebase.com 9
English
4.3 Operation via DMX
DMX channel allocation
The base•low•pro has 4 DMX channels. The exact channel assignment is shown in the following table .
Channel DMX-Values description
10 - 255 Fog by passing on fogger
20 - 255 control air
30 - 64 no CO2 output
65 - 129 1kg/min CO2 output
130 - 194 2kg/min CO2 output
195 - 255 3kg/min CO2 output
40 - 255 Fans will be passed on to the
connected DMX fog machine.
Connect the base•low•pro on your DMX network and control it with your DMX console faders.
From the main menu button DMX or un-
der SETTINGS - > DMX . The right screen
will showing up.
Here the DMX address can be entered.
With DMX ADDRESS SAVE the DMX ad-
dress will be stored. With BACK you going
back to the main menu without saving.

www.hazebase.com 10
English
4.4 Operation via Analog
Press the ANALOG Button top left in the main menu or select SETTINGS to ANALOG button - > ANALOG to
enter the Analog menu .
The analog mode is divided into two modes:
1. DIRECT
This mode is for XLR Remote with input voltages between 1 and 5 V or 5 and 9V which can be selected via
the button DIRECT as a xed Preset.
Press PRESET to 1-5V with + and - to select the 4th line the preset . 5-9V PRESET key to this set analogously.
The lower half of the rotary knob on the XLR-Remote is about 1 and 5V ; 5 and 9V the top
Half.
2. LATCHED
This mode is an on and off by brief voltage pulse. Press PRESET in 3rd line and adjust with + and - set in 4th
line to select values.
With ANALOG SAVE the settings will be stored. With BACK you going back to the main menu without saving.
If the analog output ( 0 to 10V ) of the
base•low•pro above 1V machine to be
controlled via the analog output . Condi-
tion is that no DMX and Ethernet is still
active.
If the latched mode on the base•low•pro is activated you must be disabled in the latched
mode. Switching to another mode is not possible.

www.hazebase.com 11
English
4.5 Operation via Ethernet
ARTNET
Press ETH on the main menu to select a
protocol. You can access this screen from
SETTINGS- > PROTOCOL.
You have the option to adjust the network , subnet and universe with
MODIFY.
Select NET , SUBNET or UNIVERSE to change the value. Press CE and en-
ter the new value. With ARTNET CONFIG SAVE you can save the set valu-
es with BACK to return to the previous screen without saving changes .
According to the standards for DMX and ARTNET is a universe of 512
DMX channels . A subnetwork comprises 16 Universes and a network are
16 subnets. There are 128 networks.
sACN
Select sACN. With PROTOCOL SAVE save
your settings and BACK returns you to the
previous screen .
With MODIFY you have the option to set the universe.
Press the CE button on the keyboard screen and enter the desired universe. With sACN UNIVERSE SAVE you
can save your settings . With BACK you get to save the previous screen without settings .
Make sure that in both cases the base•low•pro has a valid network address and subnet mask congured.
You can check this check SETTINGS- > IP CONFIG and adjust if necessary. A detailed description follows on
page 12

www.hazebase.com 12
English
4.6 Setting up the IP address
To set the IP address and subnet mask for your network , press in Main Menu
SETTINGS- > IP CONFIG.
You can select STATIC or DHCP on the screen IP CONFIGURATION if you want to use a static network address
or a dynamically assigned (DHCP).
To get IP address and subnet mask for your device from a DHCP server in your network select DHCP.
If STATIC is selected , you can set using MODIFY and right keyboard values . If necessary ask your network
administrator which network address to use.
If ARTNET standard is used in your network select rst of all STATIC and then press ARTNET. The IP address
will formed from the immutable and MAC address of the device and an OEM code . The subnet mask is set to
255.0.0.0 .

www.hazebase.com 13
English
5. Adjust brightness
In order to adjust the screen brightness of the base•low•pro click on main menu
SETTINGS - > NEXT - > SETTINGS 2 - > BRIGHTNESS
You can adjust the backlight. Press + or - to change the value .With BRIGHT SAVE save your settings. With
BACK you get back to the previous screen without saving.
6. Adjust screensaver
To set the screen saver of the base•low•pro click on main menu
SETTINGS - > NEXT - > SETTINGS 2 - > SCREENSAVER
Here you can customize the duration of the screen saver. Press + or - to change the value. Click on SAVE to
save your settings. With BACK you get back to the previous screen without saving.

www.hazebase.com 14
English
7. Show device information
To view the device information of the base•low•pro click on main menu
SETTINGS - > NEXT - > SETTINGS 2 - > INFO
Hier erhalten Sie Geräteinformationen des base•low•pro. With FIRMWAREUPDATE the update process can
be released. Please inform yourself on the hazebase website for new rmware versions. With BACK you get
back to the previous screen without saving.
8. Factory Reset
To restore the factory settings of the base•low•pro click on the main menu
SETTINGS - > NEXT - > SETTINGS 2 - > FACTORY RESET
Here you can restore factory settings. With BACK you get back to the previous screen without saving.
RESET performs the restore the factory settings.

www.hazebase.com 15
English
9. Scope of Delivery
You package from hazebase with your base•low•pro has the following items included:
• base•low•pro
• CO2secruityhose 5m
• distributionhose 10m
• base•highpower fog machine
• Amptown Flightcase
For the best results of the base*low*pro we recommend to use the base*S.
• base•S quick smoke liquid
• base•M medium long lasting
• base•L long lasting dust
• base•XL extrem long lasting
10. Technical data
base•low•pro
Procedure: CO2cooling unit for CO2with riser
Power requirement: 70 Watt
Voltage: 90 -240V AC with PowerCon True1
Cooling steps: adjustable in 3 steps
Working period: continuously
CO2 consumption: 1,2 or 3 kg / min
Control: DMX512, 0-10V analog, Ethernet, stand-alone
base•highpower
Procedure: vaporizing fog generator
Power requirement: 2600 Watt
Voltage: 230 V/ 50 Hz
Warm up time: approx. 7 min
Fluid consumption: at max. output 240 ml/min
at cont. output 120 ml/min
Fluid tank capacity: 5 Liter
Fog output adjustable in steps à 1% ( 0-99)
Fogging time: at 100% output approx. 60 sec.
at < 50% output continuous output
Control: DMX 512, 0 - 10 V analog, internal Timer, Stand alone
mode, Radio remote (Option)
For more information of base•highpower please read at the specied manual.

www.hazebase.com 16
English
11. Accessories
The following connection accessories are for CO2 bottles. Please contact hazebase for price information.
Inline Filter
Part No. 59069
material: steel
wrench size: 22
CO2bottle connection
Europe
Part No. 59145
material: steel / brass / PTFE
wrench size: 22
CO2 T-tting
Part No. 50304
material: steel
wrench size: 22
CO2hose 1.5m
Part No. 50298
Schlüsselweite: 22

www.hazebase.com 17
English
12. Warranty conditions
For the fog machine base•low•pro hazebase guarantee is:
1. Free of charge, subject to the following conditions (No. 2 - 6) we will repair any defect or fault in the unit if it
is caused by a proven factory fault and has been advised immediately after appearance and within 24 month
of delivery to the end user. Insignicant deviations of the regular production quality does not guarantee repla-
cement rights, nor do faults or defects caused by water, by generally abnormal environment conditions or force
majeure.
2. Guarantee Service will be done in the following way: Faulty parts will be repaired or replaced (our chioce)
with correct parts. Faulty units have to be brought to us or our service centres or to be sent to us or our service
centres at customer‘s expenses. The invoice and/or receipt showing the purchase date and the serial number
has to come with the faulty unit, otherwise this will not be guarantee service. Replaced parts become
our property.
3. The customer looses all rights for guarantee services, if any repairs or adjustments are not done to the units
by unauthorized persons and/or if spare parts are used which are nor approved by us. The right of guarantee
service is also lost if uids other than Original hazebase uids have been used or if units are sent to us with
full uid bottles. Also non compliance with the instructions in this manual or mistakes by incorrect handling/
treating of the machine will lead to a loss of guarantee and also any faults and damages caused by undue force.
4. Certain parts of the machine are „consumable parts” and are not covered by the warranty.
5. Guarantee services do not cause an extension of the guarantee time or the start of a new guarantee time.
The warranty for replaced parts ends with the guarantee time of the whole unit.
6. If a defect/fault can not be repaired by us in a satisfactory time, we will, within 6 months
after sale of the unit, on choice of the customer, either:
• replace the whole unit for free or
• refund the lesser value or
• take back the whole unit and refund the purchase price, but not more than the usual
market price at the time of the refund.
7. Further claims, especially for damages, losses etc. outside the unit are excluded. Other guarantee regula-
tions may be valid outside Germany. Please check with your dealer!
If you should send the unit for service, do not forget to remove any liquid from the uid bottle.

www.hazebase.com 18
English
13. Contact
hazebase
Inhaberin Uta Raabe
Stargarder Straße 2
30900 Wedemark
Tel: +49 (0) 5130-371005
Fax: +49 (0) 5130-371006
www.hazebase.com
Table of contents
Other HazeBase Fog Machine manuals

