HB Products HBSC2-SSR User manual

Instruction manual switches with large electronic unit 05 March 2021
Instruction manual
HB switches with large electronic unit
Covers: HBSC2-SSR, HBSR-SSR, HBSO-SSR
Functionality
The switches are used for detecting liquid in gas or air (HBOR detect oil in liquid ammonia). The mechanical elements have
different design because they are optimized to different liquids. The switches use the capacitive measuring principle and react to
the difference in dielectric constant between liquid and gas.
The switches have different calibration and parameter settings in the electronic unit. The basic electronic unit exist in two
versions 24 V and 90-240 V, and it must match the mechanical part.
Standard switches available from HB-products
Switches from HB-products are suited for different fluids, different temperature ranges and supply voltages. There is a special
program for oil switches. The two tables show the recommended products.
Oil switches

Instruction manual switches with large electronic unit 05 March 2021
Liquid switches
What can happen if the switch is installed outside the recommended
temperature range
The HB-products web page has temperature specifications for the switches, and these will be different from the recommended
temperature specifications. The switches will operate outside the recommended range but will not be optimal. For oil switches
the switch point will change with temperature and this means there is a risk that the switch will not detect oil or detect without
oil. For sensors installed in low temperatures condensation might occur and water run into the connection between the
mechanical and electrical unit. This might disturb the measurement. Sensors designed for low temperatures has treaded union
which is waterproof.
Labelling:
The switches are delivered as NO/NC. The switches setting is printed on the small silver label on the switch together with the
type code. On the same label you find a combined version number and manufacturing date and in second row a unique
production number.
VERSION:VU10 DATE:080319 DDMMYY
Production no. 400000

Instruction manual switches with large electronic unit 05 March 2021
Safety Instructions
CAUTION! Read the instruction manual before commencing work! Heed all warnings. Installation of HBSR requires technical
knowledge of both refrigeration and electronics. Only qualified personnel should work with the product. The technician must be
aware of the consequences of an improperly installed sensor and must be committed to adhering to the applicable local
legislation.
If changes are made to type-approved products, this type approval becomes void. The product's input and output as well as its
accessories may only be connected as shown in this guide. HB Products assumes no responsibility for damages resulting from
not adhering to the above.
Intended use, conditions of use. The switch is manufactured to detect liquid. If the switch is to be used in a different way or for
another purpose, and if the operation of the product in this function is determined to be problematic, prior approval must be
obtained from HB Products.
Prevention of collateral damage. Make sure that qualified personnel assess any faults and take necessary precautions before
attempting to make replacements or reparations, to avoid collateral damage.
Disposal instructions: The switch is built so the modules can easily be removed and sorted for disposal.
Electrical connection
The switch exists in two versions one supplied with 24V AC/DC and one with 90-240V AC. The switch is delivered as NO
(normally open) or NC (normally closed) and this refers to the contact in the switch in dry conditions. The 24 V version switch
can be changed between NO and NC –this is described in a later section. The switch is connected to the power source on pin1
and pin 2. The contact is potential free relay and it is connected to pin 3 and pin 4
24 V
90-240 V
LED indication
Male M12
1 Brown +24 VDC or 24 V AC
2 White - common or 24 V AC
3 Blue Output potential free
4 Black Output potential free
5 Grey Communication
1 Brown 90-240 V AC
2 White 90-240 V AC
3 Blue Output potential free
4 Black Output potential free
3x green LED´s indicate liquid detection
Yellow LED “RELAY” or “ON” indicates closed contact between pin 3 and pin4
Green LED “POWER” indicate power is connected and switch is active when
flashing
Irrespective of the output function NO/NC, the three LEDs are activated
when liquid is detected.
Some switches have a LED labeled “ALARM” which is not in use.

Instruction manual switches with large electronic unit 05 March 2021
Mechanical installation
The switch is installed in a vessel or compressor, using Teflon tape or liquid sealant, for those with NPT thread. Switches with a
straight tread is delivered with a washer kept in place by an O-ring or a plastic spring. These two should be removed before
installation.
Switches installation in ammonia, water and alcohol has a mechanical element covered with PTFE. This is a part of the switch
and should remain on when installed.
All switches can be installed horizontally except for switches in cold conditions, where the liquid has high viscosity. For these
switches, make sure liquid can drain from the switch. This can be done by sloping the switch 1- 5 degrees downwards
Long weld adapters should be avoided because gas pockets can build up and disturb the measurement
Switches pointing upwards can collect liquid which disturb the measurement.
Apply Teflon or liquid gasket on sensors with a conical thread.
For other thread types, solid gasket is used.
Fasten the mechanical part with a suitable spanner
(tightening torque 80-150 Nm, depending on thread type).
Mounting the electronic unit
The electronic unit is mounted with either a threaded union or with two set of screws in a V-track. The threaded union is mainly
used for switches operating in cold conditions. The set screws are tightened with a torque of 5 Nm and the threaded union is
tightened firmly by hand or by using pliers to secure a good electrical connection. For cold installations where condensation
occur the treaded union should be used to avoid poor contact between electrical contact between mechanical and electrical
unit.
Disconnect the electronic unit by loosening the
treaded union or the two set screws
In cold conditions the switches can be installed
with a downward slope

Instruction manual switches with large electronic unit 05 March 2021
Electrical specifications
Supply AC/DC 24V ± 10 % or 90-240V AC
Connector: M12 IEC 61076-2-101
•5 pin A type for 24 V
•4 pin B type for 90-240 V
Relay output
•24 V current max 1A
•90-240 V max 40 W
Changing from NO to NC and NC to NO
Setting up the switch
The HB tool has two pages of settings. Most fields
will be shown in grey when they are not
relevant/active with the setting chosen. Detailed
explanations of the individual fields will show up
when the mouse is moved over the field. Only the
latest version of the tool has this feature.
To change the sensor from NO to NC or opposite
you connect the switch to a pc using the USB cable
Under basic settings you can change the “alarm
output signal” in the dropdown menu. After
changing the value, you store the data by clicking
“save to sensor”. The data is then saved and stored
in the sensor and remains there even when the
power supply is disconnected.
Connecting the sensor
All sensors are connected to a PC using an USB/M12
cable
Here you select NO or NC
Other parameters can be
changed if needed

Instruction manual switches with large electronic unit 05 March 2021
Fault detection
In case of fault, it is normally enough to replace the electronic part.
Fault
Possible Reason
Correction of fault
No LED is on when the sensor is
in the medium.
No supply to the sensor or defective
cable/plug.
Check the power supply or replace
the power supply cable.
Output and 3xLEDs are
constantly activated, even
though liquid is not in contact
with the sensor.
Water or moisture shortcut the
sensor between the mechanical and
electrical part
Use a sensor with treaded union or
dry the parts and make a suitable
cover against water
Sensor repair:
The sensor electronics are completely embedded and can therefore not be repaired.
In case of faults with the sensor, it will typically only be necessary to replace the electronics.
If you have a faulty product, please contact the HB Products dealers/distributors.
Their complaints procedures must be followed before returning the sensor.
Further information
For further information, please visit our website, www.hbproducts.dk, or send an email to: supp[email protected].
This manual suits for next models
2
Table of contents
Other HB Products Switch manuals

HB Products
HB Products HBSC2 User manual
HB Products
HB Products HBSC2 User manual

HB Products
HB Products HBSC2-SSR User manual

HB Products
HB Products HBOC User manual

HB Products
HB Products HBOR User manual
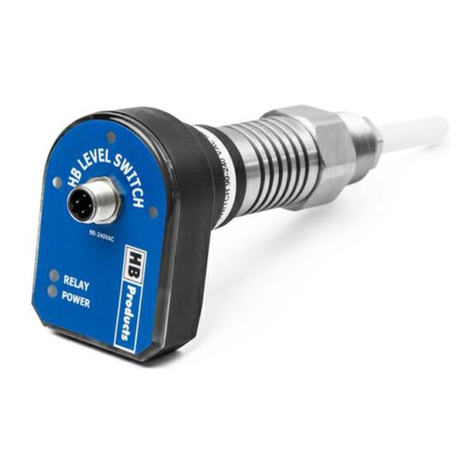
HB Products
HB Products HBSC2 User manual
HB Products
HB Products HBSR User manual
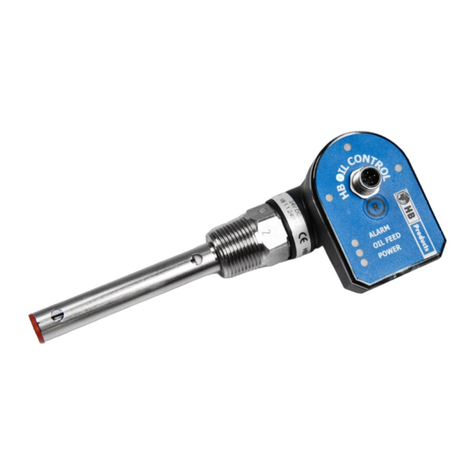
HB Products
HB Products HBOC/C User manual
Popular Switch manuals by other brands

KTI Networks
KTI Networks KS-2240 installation guide
Castelle
Castelle Office Connect user guide

Monroe
Monroe 636 instruction manual

Network Technologies
Network Technologies PWR-RMT-RBT Installation and operation manual
Leviton
Leviton Powerswitch MDS30-AX installation instructions
AMX
AMX Multi Preview Operation/reference guide
