HDanywhere XTND4K14140TPC User manual
Revision 1: 28/08/20
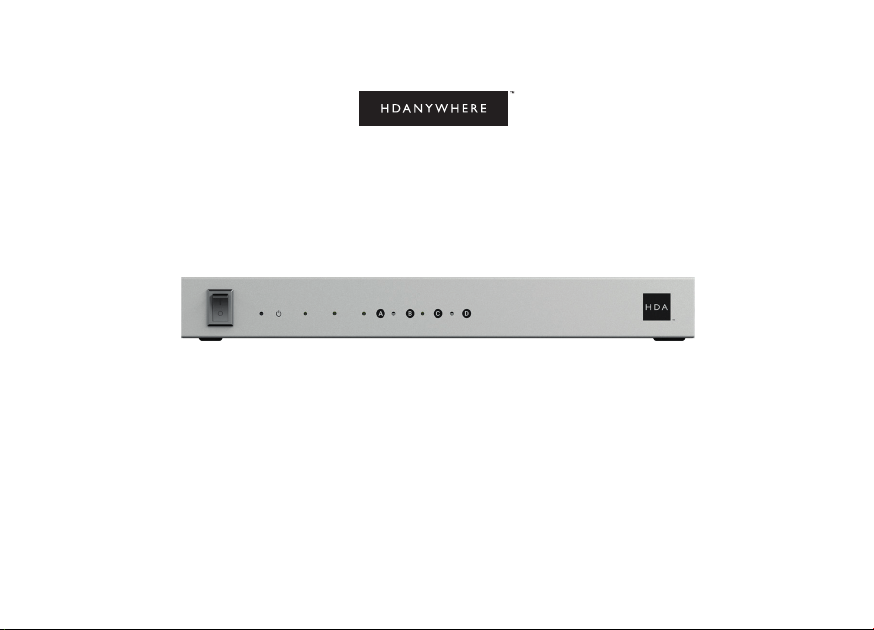
XTND 4K (40) TPC Splitter (1x4+1)
CODE: XTND4K14140TPC
Product Guide (English UK)

2
Contents
Contents, Glossary of terms 2-3
In the box, Features 4-5
Specications 6-7
XTND 4K (40) TPC Splitter (1x4+1) transmitter description 8-9
XTND 4K (40) TPC Splitter (1x4+1) receiver description 10-11
EDID switch positions & connecting over USB 12-13
IR (Infrared) control, Testing IR works 14-15
Cabling 16-17
Example wiring diagram, Power up sequence 18-19
2 Year Product Guarantee 20-21
Conformity, Hire a HDA Pro 22-23

3
Glossary of terms
Extended Display Identication Data
(EDID)
EDID comes from your display and is bundled in with HDMI picture and audio data. EDID tells
the HDMI source what resolution the display can handle and what audio format it can play. EDID
is not normally an issue when connecting a source directly to display. However, in distributed
XTND environments, the XTND device can receive different EDID messages from the displays it
is connected to. To x EDID see page 12.
IR RX & IR TX Infrared (IR) Receiver (RX) and Transmitter (TX). The RX ‘receives’ a signal from another remote
control and the TX ‘transmits’ it. (See page 14)
Tipping Point Compression (TPC) HDA makes transmission of 18Gbps content possible using TPC. Visually lossless, TPC only
becomes active if the source output threshold is breached, hence the term tipping point.
XTND transmitter Part of the XTND pair. The XTND transmitter takes a HDMI signal and converts it into a format
which can be carried over Cat cable. The transmitter is installed at the source end of the setup.
XTND receiver Part of the XTND pair. The XTND receiver takes the signal made by the XTND transmitter and
converts it back to HDMI so that it can be connected to a display.

4
x1 XTND 4K (40) TPC Splitter (1x4+1) Transmitter
x4 XTND 4K (40) TPC Splitter (1x4+1) Receiver
x1 Infrared Transmitter cable (1.5m) (IR TX)
x4 Infrared (20-60Khz) Receiver cable (1.5m) (IR RX)
x1 12V 2.5A Power Supply with adapters (UK,EU,US,AU)
x5 Mounting Kits
x1 User Manual
Name: XTND 4K (40) TPC Splitter (1x4+1)
Product code: XTND4K14140TPC
In the boxIMPORTANT
For optimum performance and safety, please read these instructions
carefully before connecting, operating or conguring this product.
Please keep this manual for future reference.
Surge protection is recommended
This device contains sensitive electrical components that may
be damaged by electrical spikes, surges, electric shock, lightning
strikes, etc. The usage of surge protection systems is recommended
in order to protect and extend the life of your system.

5
Features
Supports 18Gbps bandwidth and video picture formats up to 4K@60Hz (4:4:4) including HDR and Dolby Vision*
Includes local HDMI loop out
4K up to 40m (131ft)
Digital audio support up to and including Dolby Atmos and DTS:X
Audio extraction over coax & stereo (source audio only - no downmix).
Backwards IR
EDID management
Power over Cable
*Only Dolby Vision Low Latency Mode is supported at 60Hz
Table of contents
Other HDanywhere Media Converter manuals


Popular Media Converter manuals by other brands


H&B
H&B TX-100 Installation and instruction manual

Bolin Technology
Bolin Technology D Series user manual

IFM Electronic
IFM Electronic Efector 400 RN30 Series Device manual

GRASS VALLEY
GRASS VALLEY KUDOSPRO ULC2000 user manual

Linear Technology
Linear Technology DC1523A Demo Manual

Lika
Lika ROTAPULS I28 Series quick start guide

Weidmuller
Weidmuller IE-MC-VL Series Hardware installation guide

Optical Systems Design
Optical Systems Design OSD2139 Series Operator's manual

Tema Telecomunicazioni
Tema Telecomunicazioni AD615/S product manual

KTI Networks
KTI Networks KGC-352 Series installation guide

Gira
Gira 0588 Series operating instructions

Lika
Lika SFA-5000-FD user guide