manuals.online logo
Brands
  1. Home
  2. •
  3. Brands
  4. •
  5. Heat Demon
  6. •
  7. Motorcycle Accessories
  8. •
  9. Heat Demon 210008 User manual

Heat Demon 210008 User manual

Instructions for Thumb Warmer Kit
Part Numbers: 210008
Items Required for Installation
• Drill with a 13/16" Bit
Need technical support? Email us at [email protected],
or visit YouTube.com/HeatDemon for instructional videos.
www.HeatDemon.com
Switch Installation
1. Disconnect the battery leads, negative rst.
2. Drill a 13/16” hole in the chosen location for the switch.
3. Route the thumb warmer wire along the handlebar and secure.
4. Attach the female crimp-on connectors to the blue and white wires.
5. Connect the wires to the switch as shown, then clip into the hole.
Note: Placing the high/low switch in a vertical orientation is
preferred, in order for water to properly drain from inside.
Hi
Off
Low
Round
Rocker
Switch
12VDC
Power
Wire
Red-tap
connector
Blue
White
Red
Ground
Wire
Red-tap
connector
Red 18” Wire
ATV Thumb Warmer Installation
1. Peel the release paper from the thumb warmer and adhere it to the
throttle, facing the rider.
2. Slide the heat shrink tubing over the thumb warmer and
throttle. Use a heat gun to shrink the tubing. Be careful not to
burn it.
3. Use one cable tie to secure the wires to the throttle. If using
additional cable ties to secure the wires to the handlebar, be sure
to provide a strain relief so the throttle does not strain the wires
when in the full open position.
Snowmobile Thumb Warmer Installation
1. Peel the release paper from the thumb warmer and adhere it to the
throttle, facing the rider.
2. Peel the release paper from the foam wind pad and place it over
the thumb warmer.
3. Use one cable tie to secure the wires to the throttle. If using
additional cable ties to secure the wires to the handlebar, be sure
to provide a strain relief so the throttle does not strain the wires
when in the full open position.
1
This Heat Demon product has a ve year limited warranty.
The warranty does not cover:
• Products worn by use;
• Tampering or misuse of the product, including operation outside of design specications;
• Damages made to products installed incorrectly, including shorting or pinched wires;
• Damages caused by crashes or natural disasters.
Because Heat Demon does not have any control over the connection and use of the product, or
any other related electronics, no liability will be assumed nor accepted for damage resulting
from the use of the product. In no case shall liability exceed the product’s original cost.
Warranty & Damage
Seat Heaters Grip HeatersSteering Wheel
Visit www.HeatDemon.com for more Heat Demon products.
Electrical Connections
1. Connect the red 18” wire to a 12V keyed-power wire.
2. Connect the red wires from the thumb warmer to a ground wire.
Note: Do not ground the electrical system to the vehicle frame.
3. Reconnect the battery leads. With the vehicle and controller on,
you should start to feel heat in approximately 5-10 minutes.
Red 18″ Wire
2Instructions: 909288_C
Updated: November 30, 2017

Other Heat Demon Motorcycle Accessories manuals

Heat Demon 211075 User manual

Heat Demon

Heat Demon 211075 User manual

Heat Demon 210171 User manual

Heat Demon

Heat Demon 210171 User manual

Popular Motorcycle Accessories manuals by other brands

Crivit ES-1656 Instructions for use

Crivit

Crivit ES-1656 Instructions for use

MOTOAIRBAG S64S instruction manual

MOTOAIRBAG

MOTOAIRBAG S64S instruction manual

BEROTEC HUSQVARNA 701 user guide

BEROTEC

BEROTEC HUSQVARNA 701 user guide

hepco & becker 6613528 01 01 manual

hepco & becker

hepco & becker 6613528 01 01 manual

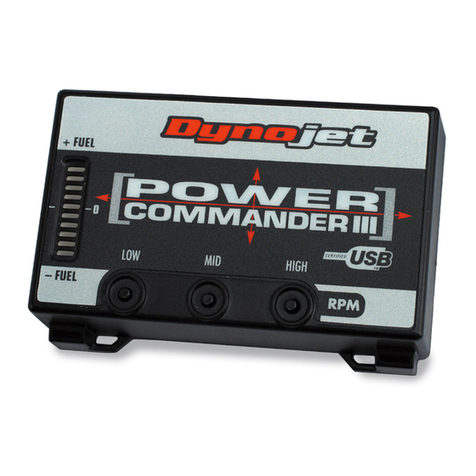
Dynojet Power Commander III USB Ignition Module installation instructions

Dynojet

Dynojet Power Commander III USB Ignition Module installation instructions

AGV GP TECH Owner's instructions

AGV

AGV GP TECH Owner's instructions

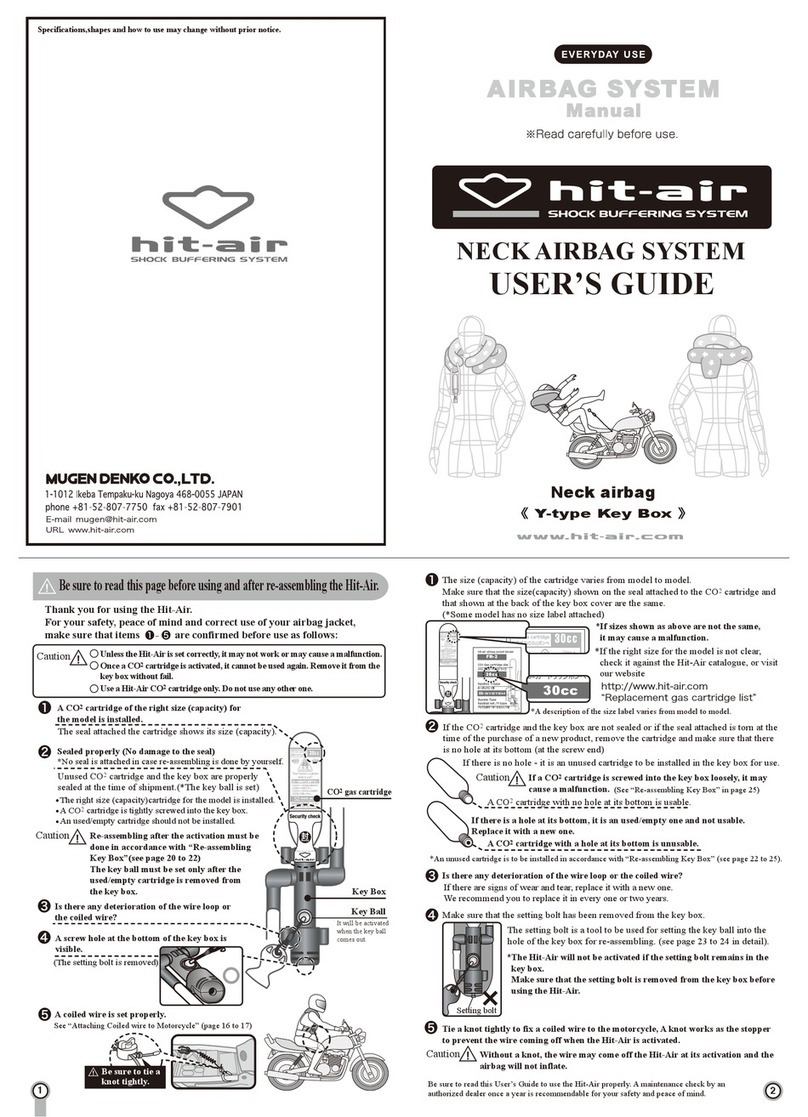
Mugen Denko hit-air user guide

Mugen Denko

Mugen Denko hit-air user guide

Custom Dynamics CD-FORK-BCM-AB installation instructions

Custom Dynamics

Custom Dynamics CD-FORK-BCM-AB installation instructions

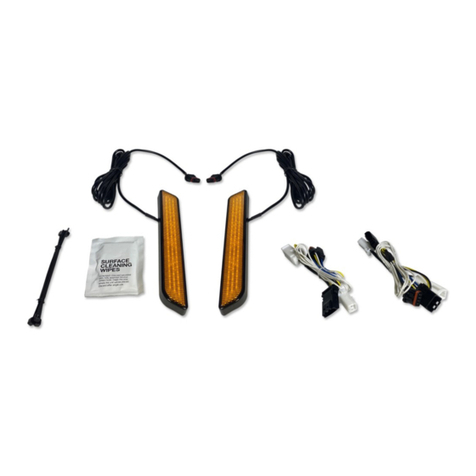
Custom Dynamics Street Magic Amber Brightsides Install instructions

Custom Dynamics

Custom Dynamics Street Magic Amber Brightsides Install instructions

Sharper Image 207559 user guide

Sharper Image

Sharper Image 207559 user guide

Pekatherm U20P operating instructions

Pekatherm

Pekatherm U20P operating instructions

hepco & becker 651652 00 22-00-40 quick start guide

hepco & becker

hepco & becker 651652 00 22-00-40 quick start guide

Airoh SV55S instructions

Airoh

Airoh SV55S instructions

Cobra POWRPRO Fi2000 instruction manual

Cobra

Cobra POWRPRO Fi2000 instruction manual

Ducati 96981071A manual

Ducati

Ducati 96981071A manual

STAMOS X-METAL user manual

STAMOS

STAMOS X-METAL user manual

Acewell ACE-3200 Series user manual

Acewell

Acewell ACE-3200 Series user manual

Dynojet Power Commander III installation instructions

Dynojet

Dynojet Power Commander III installation instructions

manuals.online logo
manuals.online logoBrands
  • About & Mission
  • Contact us
  • Privacy Policy
  • Terms and Conditions

Copyright 2025 Manuals.Online. All Rights Reserved.