Helmholz TB20 User manual

Helmholz GmbH & Co. KG | Hannberger Weg 2 | D-91091 Großenseebach
Phone +49 9135 7380-0 | Fax +49 9135 7380-110 | info@helmholz.de | www.helmholz.com
TB20 – ModbusTCP Coupler
Manual
Version 3 / 18.02.2020
for HW 1-1 & FW 1.20 and higher


TB20 ModbusTCP Coupler | Version 3 | 18.02.2020 3
Notes
All rights reserved, including those related to the translation, reprinting, and reproduction of this
manual or of parts thereof.
No part of this manual may be reproduced, processed, duplicated, or distributed in any form
(photocopy, microfilm, or any other methods) - even for training purposes or with the use of
electronic systems - without written approval from Helmholz GmbH & Co. KG.
All rights reserved in the event of the granting of a patent or the registration of a utility model.
Copyright © 2020 by
Helmholz GmbH & Co. KG
Hannberger Weg 2, 91091 Großenseebach, Germany
To download the latest version of this manual, please visit our website at
www.helmholz.de.
We welcome all ideas and suggestions.
Trademarks
Windows is a registered trademark of Microsoft Corporation.
Revision Record
Version Date Change
1 15.05.14 First version
2 - Not released
3 13.02.20
Corrections technical data and pictures
Introductory chapter updated
LED description improved
Layout update
ToolBox V2 update

TB20 ModbusTCP Coupler | Version 3 | 18.02.2020 4
Table of Contents
1. General......................................................................................7
1.1. Target audience for this manual ..............................................................................................7
1.2. Safety instructions...................................................................................................................7
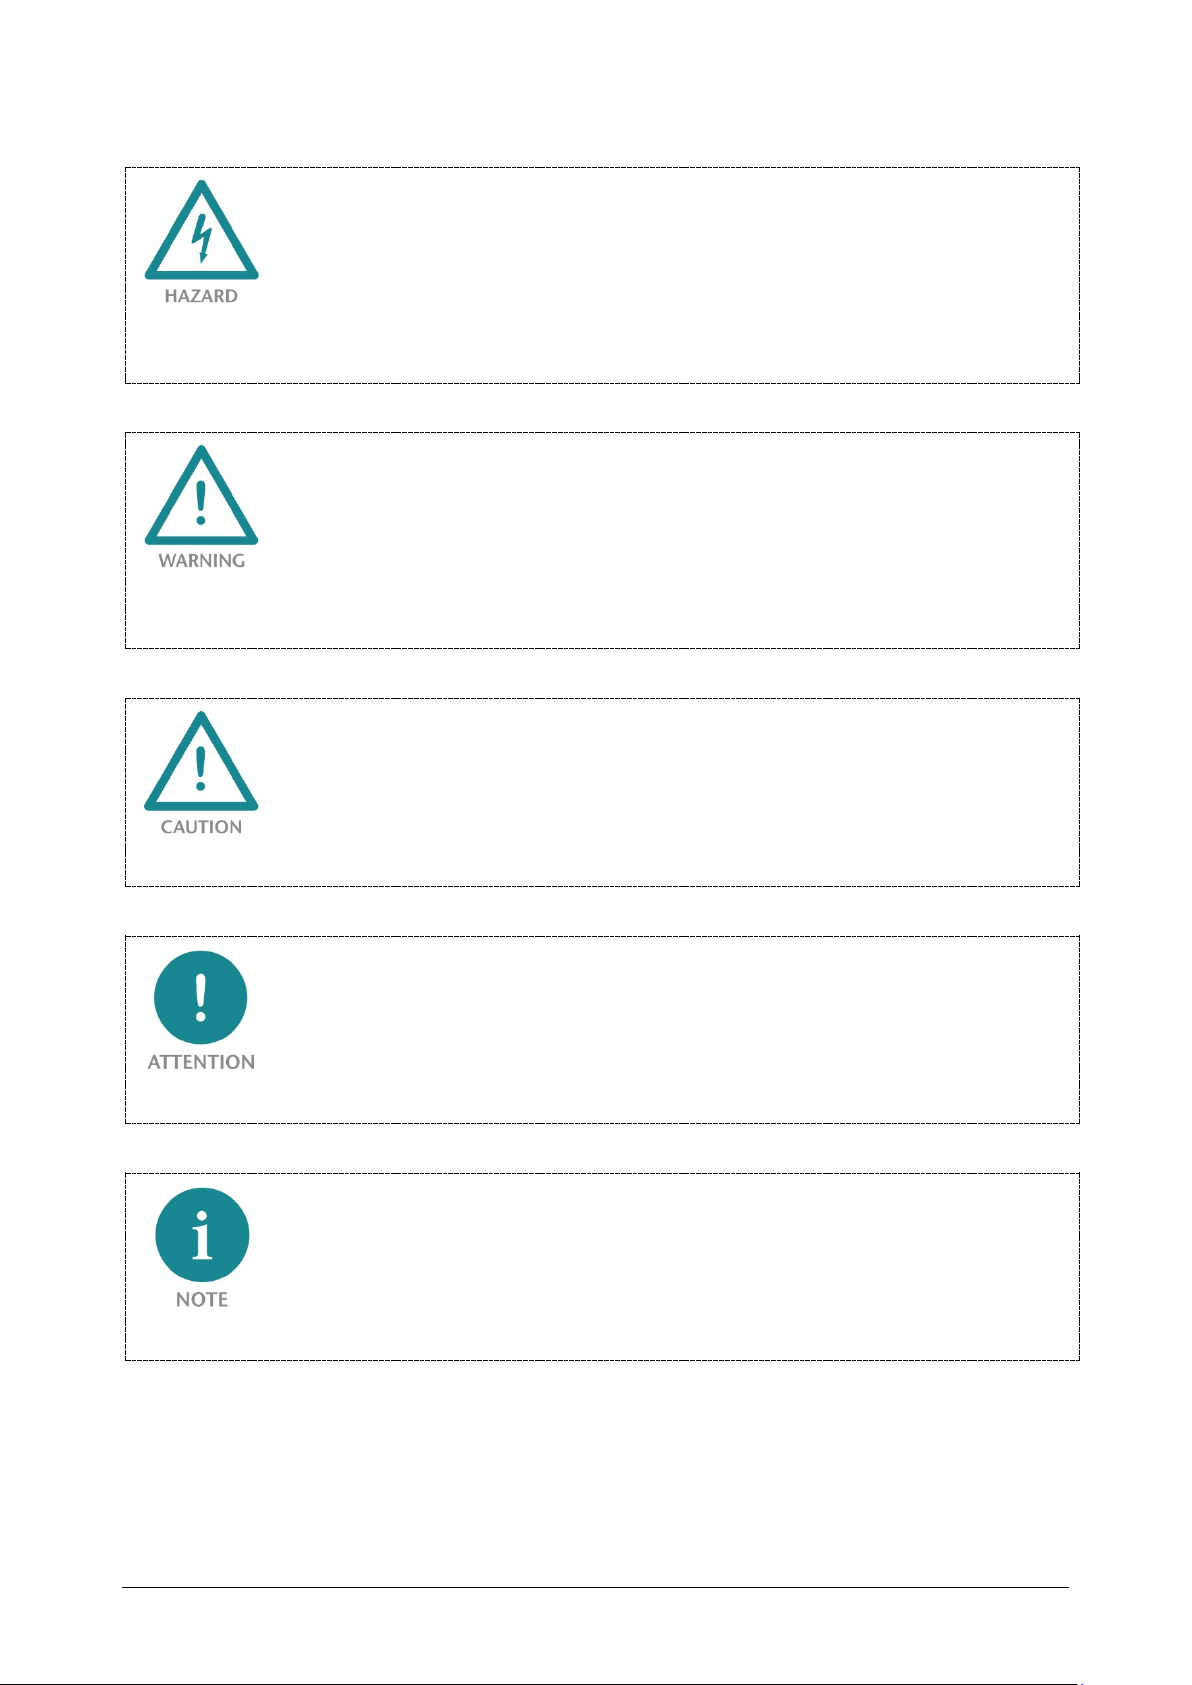
1.3. Note symbols and signal words in the manual ........................................................................8
1.4. Intended use............................................................................................................................9
1.5. Improper use ...........................................................................................................................9
1.6. Installation ............................................................................................................................10
1.6.1. Access restriction...............................................................................................................10
1.6.2. Electrical installation ........................................................................................................10
1.6.3. Protection against electrostatic discharges........................................................................10
1.6.4. Overcurrent protection .....................................................................................................10
1.6.5. EMC protection.................................................................................................................10
1.6.6. Operation..........................................................................................................................10
1.6.7. Liability.............................................................................................................................11
1.6.8. Disclaimer of liability........................................................................................................11
1.6.9. Warranty...........................................................................................................................11
1.6.10. Recycling / WEEE ..............................................................................................................11
2. System overview......................................................................12
2.1. General ..................................................................................................................................12
2.2. The components that make up the TB20 I/O system.............................................................12
2.2.1. Bus coupler........................................................................................................................12
2.2.2. Peripheral modules ...........................................................................................................12
2.2.3. Power and isolation module .............................................................................................13
2.2.4. Power module ...................................................................................................................14
2.2.5. Final cover.........................................................................................................................15
2.2.6. Components in a module .................................................................................................15
2.2.7. Module Coding .................................................................................................................16
3. Installation and removal..........................................................17
3.1. Installation position ..............................................................................................................17
3.2. Minimum clearance ..............................................................................................................17
3.3. Installing and removing peripheral modules ........................................................................18
3.3.1. Installation........................................................................................................................18
3.3.2. Removal ............................................................................................................................19
3.4. Replacing an electronic module ............................................................................................22
3.5. Installing and removing the coupler .....................................................................................26

TB20 ModbusTCP Coupler | Version 3 | 18.02.2020 5
3.5.1. Installation........................................................................................................................26
3.5.2. Removal ............................................................................................................................27
3.6. Installing and removing the final cover ................................................................................29
3.6.1. Installation........................................................................................................................29
3.6.2. Removal ............................................................................................................................29
4. Setup and wiring .....................................................................30
4.1. EMC/safety/shielding............................................................................................................30
4.2. Front connectors ...................................................................................................................31
4.3. Wiring the coupler ................................................................................................................32
4.4. Using power and isolation modules ......................................................................................33
4.5. Separate power supply segments for the coupler and the I/O components...........................34
4.6. Using power modules ............................................................................................................35
4.7. Electronic nameplate.............................................................................................................36
4.8. Fusing ....................................................................................................................................36
5. ModbusTCP Coupler Characteristics........................................37
6. Setup and Use..........................................................................38
6.1. Configuration with the TB20 ToolBox ..................................................................................38
6.2. Installation of TB20-ToolBox ................................................................................................38
6.3. Start and create a new project ("Home") ................................................................................38
6.4. Configurator..........................................................................................................................39
6.5. Diagnostic .............................................................................................................................40
6.5.1. Load project from the coupler ("Download") ....................................................................41
6.5.2. Simulation ........................................................................................................................41
6.6. Startup Flow...........................................................................................................................42
6.7. Hot Swap ...............................................................................................................................43
6.8. Factory Reset (Restoring the Coupler to Its Factory Settings).................................................43
6.9. LED-Based Diagnosis .............................................................................................................44
6.9.1. ModbusTCP Coupler LEDs................................................................................................44
6.9.2. Module LEDs.....................................................................................................................45
7. ModbusTCP .............................................................................46
7.1. Introduction..........................................................................................................................46
7.2. General Frame Format ...........................................................................................................46
7.3. Communications Management ............................................................................................46
7.4. ModbusTCP function codes ..................................................................................................47
7.5. Sample Frames.......................................................................................................................47

TB20 ModbusTCP Coupler | Version 3 | 18.02.2020 6
8. Registers ..................................................................................48
8.1. Inputs / Outputs ....................................................................................................................49
8.1.1. Section: Diagnostic Status Bits ..........................................................................................51
8.1.2. Section: Module Status Bits ...............................................................................................51
8.1.3. Section: Coupler Control Bits ...........................................................................................51
8.1.4. Section: Module Parameters..............................................................................................52
8.1.5. Section: Diagnostic Status .................................................................................................52
8.1.6. Section: Coupler Parameters .............................................................................................53
8.1.7. Section: Coupler Status .....................................................................................................54
8.1.8. Section: Module List..........................................................................................................54
8.1.9. Section: Mapping Information .........................................................................................55
9. Technical Specifications ..........................................................56
10. Dimensions..............................................................................57
11. Spare Parts...............................................................................58
11.1. Base Modules .........................................................................................................................58
11.1.1. 14 mm-Width Standard Base Module ...............................................................................58
11.1.2. 25 mm-Width Base Module ..............................................................................................58
11.1.3. Power and Isolation Base Module .....................................................................................58
11.1.4. Power Base Module ...........................................................................................................59
11.2. Front Connectors ..................................................................................................................59
11.2.1. 10-Terminal Front Connector...........................................................................................59
11.2.2. 20-Terminal Front Connector...........................................................................................59
11.3. Electronic Modules................................................................................................................60
11.4. Final Cover ............................................................................................................................60

TB20 ModbusTCP Coupler | Version 3 | 18.02.2020 7
1. General
This operating manual applies only to devices, assemblies, software, and services of Helmholz GmbH
& Co. KG.
1.1. Target audience for this manual
This description is only intended for trained personnel qualified in control and automation
engineering who are familiar with the applicable national standards. For installation, commissioning,
and operation of the components, compliance with the instructions and explanations in this
operating manual is essential.
Configuration, execution, and operating errors can interfere with the proper operation of the TB20
devices and result in personal injury as well as material or environmental damage. Only suitably
qualified personnel may operate the TB20 devices!
Qualified personnel must ensure that the application and use of the products described meet all the
safety requirements, including all relevant laws, regulations, provisions, and standards.
1.2. Safety instructions
The safety instructions must be observed in order to prevent harm to persons and living creatures,
material goods, and the environment. The safety instructions indicate possible hazards and provide
information on how hazardous situations can be prevented.

TB20 ModbusTCP Coupler | Version 3 | 18.02.2020 8
1.3. Note symbols and signal words in the manual
If the hazard warning is ignored, there is an imminent danger to life and health of people from electrical
voltage.
If the hazard warning is ignored, there is a probable danger to life and health of people from electrical
voltage.
If the hazard warning is ignored, people can be injured or harmed.
Draws attention to sources of error that can damage equipment or the environment.
Gives an indication for better understanding or preventing errors.

TB20 ModbusTCP Coupler | Version 3 | 18.02.2020 9
1.4. Intended use
The TB20 I/O system is an open, modular, and distributed peripheral system designed to be mounted
on a 35 mm DIN rail.
Communication with a higher-level control system takes place via a bus system / network through a
TB20 bus coupler. Up to 64 modules from the TB20 range can be set up on a bus coupler. The bus
couplers support hot plug for replacing modules during ongoing operation.
All components are supplied with a factory hardware and software configuration. The user must carry
out the hardware and software configuration for the conditions of use. Modifications to hardware or
software configurations which are beyond the documented options are not permitted and nullify the
liability of Helmholz GmbH & Co. KG.
The TB20 devices should not be used as the only means for preventing hazardous situations on
machinery and equipment.
Successful and safe operation of the TB20 devices requires proper transport, storage, installation,
assembly, installation, commissioning, operation, and maintenance.
The ambient conditions provided in the technical specifications must be adhered to.
The TB20 systems have a protection rating of IP20 and must have a control box/cabinet fitted to
protect against environmental influences in an electrical operating room. To prevent unauthorized
access, the doors of control boxes/cabinets must be closed and possibly locked during operation.
TB20 devices can be equipped with modules that can carry dangerously high voltages. The voltages
connected to the TB20 devices can result in hazards during work on the TB20 devices.
1.5. Improper use
The consequences of improper use may include injury of the user or third parties, as well as property
damage to the control system, the product, or environment. Use TB20 devices only as intended!

TB20 ModbusTCP Coupler | Version 3 | 18.02.2020 10
1.6. Installation
1.6.1. Access restriction
The modules are open operating equipment and must only be installed in electrical equipment rooms,
cabinets, or housings.
Access to the electrical equipment rooms, cabinets, or housings must only be possible using a tool or
key, and access should only be granted to trained or authorized personnel.
1.6.2. Electrical installation
Observe the regional safety regulations.
TB20 devices can be equipped with modules that can carry dangerously high voltages. The voltages
connected to the TB20 devices can result in hazards during work on the TB20 devices.
1.6.3. Protection against electrostatic discharges
To prevent damage through electrostatic discharges, the following safety measures are to be followed
during assembly and service work:
•Never place components and modules directly on plastic items (such as polystyrene, PE film) or
in their vicinity.
•Before starting work, touch the grounded housing to discharge static electricity.
•Only work with discharged tools.
•Do not touch components and assemblies on contacts.
1.6.4. Overcurrent protection
To protect the TB20 and the supply line, a slow-blowing 8 A line protection fuse is required.
1.6.5. EMC protection
To ensure electromagnetic compatibility (EMC) in your control cabinets in electrically harsh
environments, the known rules of EMC-compliant configuration are to be observed in the design and
construction.
1.6.6. Operation
Operate the TB20 only in flawless condition. The permissible operating conditions and performance
limits must be adhered to.
Retrofits, changes, or modifications to the device are strictly forbidden.
The TB20 is an operating means intended for use in industrial plants. During operation, the TB20 can
carry dangerous voltages. During operation, all covers on the unit and the installation must be closed
in order to ensure protection against contact.

TB20 ModbusTCP Coupler | Version 3 | 18.02.2020 11
1.6.7. Liability
The contents of this manual are subject to technical changes resulting from the continuous
development of products of Helmholz GmbH & Co. KG. In the event that this manual contains
technical or clerical errors, we reserve the right to make changes at any time without notice. No claims
for modification of delivered products can be asserted based on the information, illustrations, and
descriptions in this documentation. Beyond the instructions contained in the operating manual, the
applicable national and international standards and regulations must also in any case be observed.
1.6.8. Disclaimer of liability
Helmholz GmbH & Co. KG is not liable for damages if these were caused by use or application of
products that was improper or not as intended.
Helmholz GmbH & Co. KG assumes no responsibility for any printing errors or other inaccuracies that
may appear in the operating manual, unless there are serious errors about which Helmholz GmbH &
Co. KG was already demonstrably aware.
Beyond the instructions contained in the operating manual, the applicable national and international
standards and regulations must also in any case be observed.
Helmholz GmbH & Co. KG is not liable for damage caused by software that is running on the user’s
equipment which compromises, damages, or infects additional equipment or processes through the
remote maintenance connection and which triggers or permits unwanted data transfer.
1.6.9. Warranty
Report any defects to the manufacturer immediately after discovery of the defect.
The warranty is not valid in case of:
•Failure to observe these operating instructions
•Use of the device that is not as intended
•Improper work on and with the device
•Operating errors
•Unauthorized modifications to the device
The agreements met upon contract conclusion under “General Terms and Conditions of Helmholz
GmbH & Co. KG” apply.
1.6.10. Recycling / WEEE
The company Helmholz GmbH & Co. KG is registered as a manufacturer with the HELMHOLZ brand
and the device type "Small devices of information and telecommunications technology for exclusive
use in households other than private households" as well as the following registration data:
Helmholz GmbH & Co. KG,
Location / Headquarters: 91091 Großenseebach,
Address: Hannberger Weg 2,
Name of authorized representative: Carsten Bokholt,
Registration number: DE 44315750.
The electrical devices described in this document are to be recycled. According to
Directive 2012/19 / EU on waste electrical and electronic equipment (WEEE), they must not be
disposed of by municipal waste disposal companies.

TB20 ModbusTCP Coupler | Version 3 | 18.02.2020 12
2. System overview
2.1. General
The TB20 I/O system is an open, modular, and distributed peripheral system designed to be mounted
on a 35mm DIN rail.
It is made up of the following components:
•Bus couplers
•Peripheral modules
•Power and isolation modules
•Power modules
By using these components, you can build a custom automation system that is tailored to your specific
needs and that can have up to 64 modules connected in series to a bus coupler. All components have a
protection rating of IP20.
2.2. The components that make up the TB20 I/O system
2.2.1. Bus coupler
The system’s bus coupler includes a bus interface and a power module. The bus interface is responsible
for establishing a connection to the higher-level bus system and is used to exchange I/O signals with
the automation system’s CPU.
The power module is responsible for powering the coupler’s electronics and all connected peripheral
modules.
2.2.2. Peripheral modules
The system’s peripheral modules are electronic components to which peripheral devices such as
sensors and actuators can be connected. A variety of peripheral modules with different tasks and
functions are available.
Example: Peripheral module with 10-pin front connector

TB20 ModbusTCP Coupler | Version 3 | 18.02.2020 13
Example: Peripheral module with 20-pin front connector
2.2.3. Power and isolation module
The system’s bus coupler provides the supply voltage for the communications bus (5 V, top) and for
external signals (24 V, bottom). These voltages are passed from module to module through the base
modules.
Power and isolation modules make it possible to segment the power supply for external signals into
individual power supply sections that are powered separately. On the other hand, the
communications bus signals and supply voltage for the communications bus are simply passed
through, in contrast to the way they are handled in the power modules (see section 2.2.4).
Power and insulation modules have a lighter body color.

TB20 ModbusTCP Coupler | Version 3 | 18.02.2020 14
2.2.4. Power module
The system’s bus coupler provides the supply voltage for the communications bus (5 V, top) and for
external signals (24 V, bottom). These voltages are passed from module to module through the base
modules.
Power modules make it possible to segment the power supply for both external signals and the
communication bus into individual power supply sections that are powered separately.
Power modules deliver all necessary power to the peripheral modules connected after them and, if
applicable, all the way to the next power module or power and isolation module. A power module is
required whenever the power supplied by the coupler alone is not sufficient, e.g., when there are a
large number of modules with high power requirements. The “TB20 ToolBox” configuration program
can be used to determine whether power modules are needed, as well as how many of them will be
needed.
Power modules have a lighter body color.

TB20 ModbusTCP Coupler | Version 3 | 18.02.2020 15
2.2.5. Final cover
The final cover protects the contacts on the last base module from accidental contact by covering its
outer right-hand side.
2.2.6. Components in a module
Each module consists of three parts:
•A base module
•An electronic module
•A front connector

TB20 ModbusTCP Coupler | Version 3 | 18.02.2020 16
2.2.7. Module Coding
Electronic modules and base modules feature coding elements meant to prevent the wrong spare
electronic modules from being plugged in during maintenance and repairs.
These coding elements consist of a coding plug on the electronic module and a coding socket on the
base module (see following figure).
The coding plug and coding socket can each be in one of eight different positions. Each of these eight
positions can be used for a specific type of module (Digital In, Digital Out, Analog In, Analog Out,
Power). It will only be possible to plug an electronic module into a base module if the position of the
coding plug and the position of the coding socket match. If the positions differ, the electronic module
is mechanically blocked.

TB20 ModbusTCP Coupler | Version 3 | 18.02.2020 17
3. Installation and removal
TB20 modules can carry lethal voltage.
Before starting any work on TB20 system components, make sure to de-energize all components and
the cables supplying them with power! Carrying out work when the system is live poses the risk of fatal
electrocution!
Installation must be carried out according to VDE 0100/IEC 364 and in accordance with applicable
national standards. The TB20 IO system has protection rating IP20. If a higher protection rating is
required, the system must be installed in a housing or control cabinet. In order to ensure safe operation,
the ambient temperature must not exceed 60 °C.
3.1. Installation position
The TB20 I/O system can be installed in any position.
Optimal ventilation and thus the maximum ambient temperature can only be achieved in the
horizontal installation layout.
3.2. Minimum clearance
It is recommended to adhere to the minimum clearances specified when installing the coupler and
modules. Adhering to these minimum clearances will ensure that:
•the modules can be installed and removed without having to remove any other system
components
•there will be enough space to make connections to all existing terminals and contacts using
commercially available accessories.
•there will be enough space for potentially necessary cable management systems.
The minimum clearances for mounting TB20 components are: 30 mm on the top and on bottom and
10 mm on each side.

TB20 ModbusTCP Coupler | Version 3 | 18.02.2020 18
3.3. Installing and removing peripheral modules
3.3.1. Installation
Installing an assembled peripheral module
Place the assembled module on the DIN rail by moving it straight towards the rail. Make sure that the
module engages the upper and lower guide elements of the previous module. Then push the upper
part of the module towards the DIN rail until the rail fastener fastens into place on the inside snaps
with a soft click.
Installing the individual parts of a peripheral module one after the other:
Place the base module on the DIN rail from below in an inclined position. Then push the upper part of
the base module towards the rail until the module is parallel to the rail and the rail fastener on the
inside snaps into place with a soft click.
Place an electronic module with matching coding (see “Module Coding” in section 2.2.7) on the base
module in a straight line from above and then gently push it onto the base module until both modules
are fully resting on top of one another and the module fastener snaps into place with a soft click.
Finally, place the front connector on the electronic module from below in an inclined position and
then gently push it onto the electronic module until the front connector fastener snaps into place with
a soft click.

TB20 ModbusTCP Coupler | Version 3 | 18.02.2020 19
3.3.2. Removal
To remove a peripheral module, follow the four steps below:
Step 1: Remove the front connector
To remove the front connector, push the tab above the front connector upwards (see the picture
below). This will push out the front connector, after which you can pull it out.

TB20 ModbusTCP Coupler | Version 3 | 18.02.2020 20
Step 2: Remove the electronic module
To do so, use your middle finger to push on the lever from above and then use your thumb and index
finger to pull out the electronic module while holding the lever down (see the picture below).
Other manuals for TB20
5
Table of contents
Other Helmholz Adapter manuals

Helmholz
Helmholz 700-158-3DP02 User manual

Helmholz
Helmholz PN MQTT User manual

Helmholz
Helmholz SSW7-USB User manual

Helmholz
Helmholz 700-159-3MB01 User manual

Helmholz
Helmholz 700-159-3MB02 User manual

Helmholz
Helmholz SSW7-RK512/RS422 User manual

Helmholz
Helmholz 700-162-3MQ02 User manual

Helmholz
Helmholz SSW7-RK512 User manual
Popular Adapter manuals by other brands

Allied Telesis
Allied Telesis AT-2712FX Installation and user guide

Metrohm
Metrohm Spectrosense manual

Renesas
Renesas PROM Programming Adapter PCA7435FPG02 user manual

Eaton
Eaton xComfort CDAP-01 Series Assembly instructions

NETGEAR
NETGEAR PowerLINE 1000 Series user manual

Asoka
Asoka PlugLink PL9667-B3 user guide