Henco UFH-THERM24V-WD User manual

UFH-THERM24V-WD

2

3
USER GUIDE GB
Digital Thermostat 24V4-15
GUIDE UTILISATEUR F
Thermostat Digital 24V16-27
HANDLEIDING NL
Digitale thermostaat 24V 28-40
BEDIENUNGSANLEITUNG D
LCD Raumthermostat 24V 41-54
MANUALE D’USO I
Termostato 24V 55-66

4
PRESENTATION
- Electronic thermostat with LCD display specially
designed for water floor heating systems controlled
by actuators.
- External pilot wire for night reduction.
- Three functioning modes:
oComfort / Reduction / Clock mode
- Possibility to regulate either the floor or room
temperature, or combined. (In this case, the floor
sensor is used as temperature limiter)
- Silent (Triac output), to be connected directly to
actuators (see connecting drawing on the
installation sheet) or to our UFH-ZONE24V-W
system. (In this case please refer to the connecting
box datasheet.)

5
KEYBOARD
Navigation key left and minus key (-◄)
Validation key and mode key (OK)
Navigation key right and plus key (►+)

6
DISPLAY
1: Operating mode menu (active mode is framed).
2: Heating demand indication.
3: Cooling demand indication.
4: If symbol is displayed the measured
temperature is shown (position 5)
5: Measured temperature or set temperature
6: °C or °F indicator
7: Title for installation parameters (JO, CLr…)
7
6
5
1
2
3
4

7
MODE DESCRIPTION
Use the (OK) key to change the mode in the
Operating mode menu. (The active mode is framed)
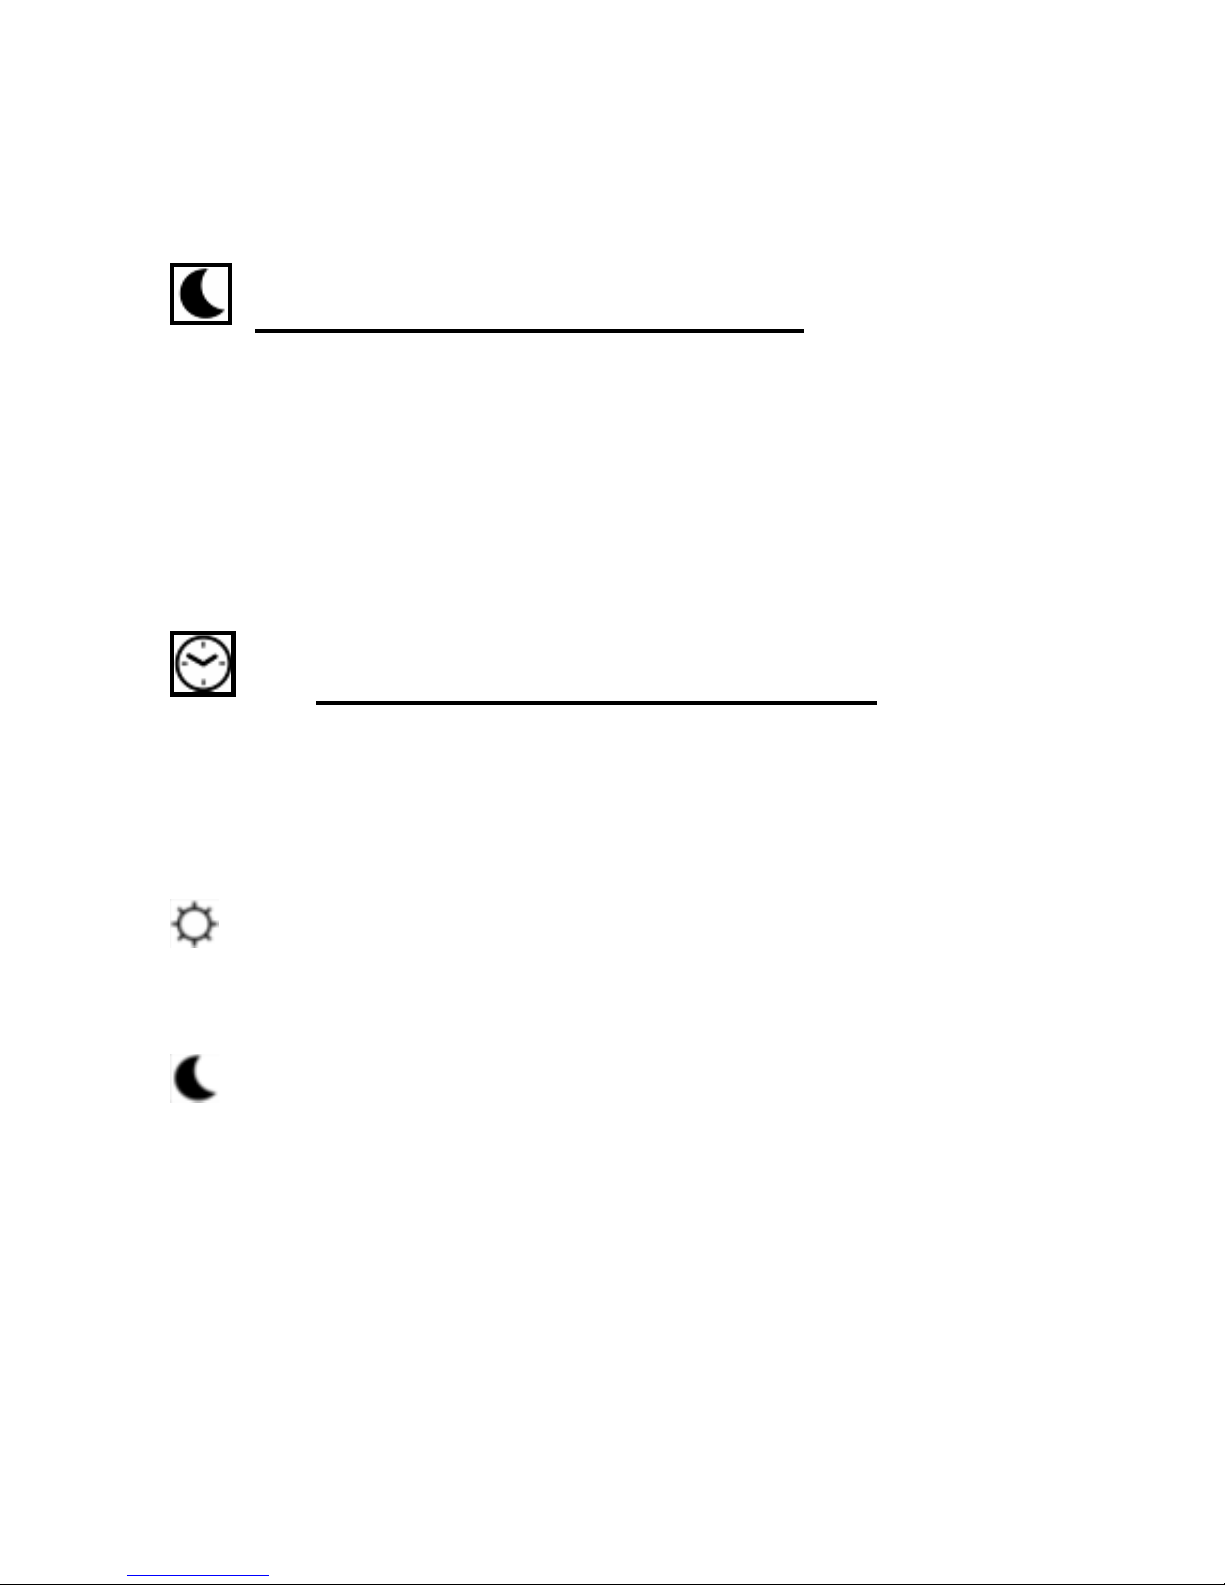
OFF mode:
Use this mode if your Heating installation needs to
be turned OFF. The display is blank. (Careful in this
mode your installation can freeze.) Parameters are
saved.
COMFORT operating mode:
Force comfort temperature operation indefinitely. By
pressing (-◄) or (►+) keys, the comfort
temperature starts to blink and can be adjusted.
The measured (OK) temperature reappears after a
few seconds.
8
REDUCED operating mode:
Force reduced temperature operation indefinitely.
By pressing (-◄) or (►+) keys the comfort
temperature starts to blink and can be adjusted.
The measured temperature (OK) reappears after a
few seconds.
External PILOT WIRE mode:
The thermostat will follow the working mode
received on the PILOT WIRE line (A/B).
Blinks to indicate the Comfort mode
(The Comfort setting temperature will be followed)
Blinks to indicate the Reduced mode
(The Reduced setting temperature will be followed)

9
INSTALLATION PARAMETERS MENU
Press the (OK) key during 5 seconds, then use (-◄)
or (►+) to select the installation parameter to be
adjusted.
Press (OK) to toggle the parameter setting or edit
the value.
If the value starts to blink you can use (-◄) or (►+)
keys to adjust this value.
Press (-◄) or (►+) keys at the same to reset this
value to the factory default value. Once you have
adjusted the value press (OK) to validate this
parameter value. When you have finished, use (-◄)
or (►+) keys to go to “End” display and then press
(OK) key to exit installation parameter menu.

10
PARAMETERS DESCRIPTION
Default value & other possibilities
JO: Type of degrees displayed
°CCelsius
°FFahrenheit
J1: Regulation mode:
Hot for heating application.
CLd for cooling application.
J4: Type of actuator managed.
Nc: For Normally closed
NO: For Normally open
J5: Anti-lock braking function of the pump when
the pump hasn’t worked on a particular day, start it
up for one minute each day:
Pmp Function activated
no Function deactivated

11
J6: Selection of the sensor used for the regulation:
Air:Room sensor only or room sensor with
floor limitation if the external sensor is
connected.
Flr: External sensor only, without
limitation
A0: Calibration of the internal sensor
The calibration must be done after 1 day working
with the same setting temperature in accordance
with the following description:
Put a thermometer in the room at 1.5M distance
from the floor (like the thermostat) and check the
real temperature in the room after 1 hour.
When you enter on the calibration parameter “no”
is displayed to indicate no calibration has made.
To enter the value read on the thermometer press
on the (OK) key, the actual value “xx.x” must be

12
blink, now enter the real value with the keys (-◄)
or (►+) and valid your adjustment by pressing the
(OK).
The message “Yes” should be display, the value
will be stored in the internal memory.
If you need to remake the calibration, enter once
again on the installation menu, and press on the
(OK) key when the message “Yes” is displayed,
then the actual value “xx.x” should be blink.
The old value will be erased if you enter a new
value. You could also erase the calibration by
pressing (-◄) & (►+) when the value blinks, the
message “no” must be display.
* Pay attention:
Only the heating element managed by the
thermostat must be run during the complete step
of the calibration.
F0: Calibration of the external sensor.

13
The calibration must be done same as described
above if the external sensor is connected and
used like an external ambiance sensor.
If the external sensor is used as floor sensor, the
thermometer should be put on the floor.
FL: Lower limitation of the floor temperature. Only
effective if the external sensor is connected and
selected:
5°CAdjustable From 5°C to „FH“
FH:Upper limitation of the floor temperature. Only
effective if the external sensor is connected and
selected:
28°CAdjustable From „Fl“ to 37°C
J7: Selection of regulation type:
rEg: Proportional band (PWM)
hys: Static differential of 0.3°K
CY: Proportional Integral regulation time cycle:
14
15:minutes
On: Minimal starting time in minutes
02: Adjustable From “0”to T cy/2
Of: Minimal resting time between 2 heating
cycles in minutes
02: Adjustable From “0”to T cy/2
Bp: Proportional Integral regulation band
amplitude value in degrees °Cor °F:
2.0 °C/ 3.6°F
Cp: Value of the compensation in °C:
0.0°CAdjustable 1°C to 8°C
* This value must be adjusted by a specialist.
Clr: All parameters are reloaded with default
setting values.
End: Press (OK) key to exit installation parameter

15
menu and return to normal operation.

16
TECHNICAL CHARACTERISTICS
Measured temperature
precision
0.1°C
Operating temperature
0°C - 50°C
Setting temperature
range
5°C –37°C by 0.5°C step
Regulation
characteristics
Proportional Integral
regulation (PWM) (adjustable
see installation menu).
Electrical Protection
Class II - IP30
Power Supply
24 VAC +/- 10%
Output
TRIAC output 24 VAC,
15max.
(4 actuators WATTS 22C
type)
External Floor sensor
UFH-SENSOR

17
PRESENTATION
- Thermostat électronique équipé de sonde de sol
et d’ambiance destiné à la régulation de plancher
chauffant à circulation d’eau.
- Fil pilote externe pour un abaissement de -4°C
- 3 modes de fonctionnement :
oHorloge / Confort / Eco
- Régulation sur sonde interne, externe ou les deux
combinées. Dans ce cas là la sonde de sol
(externe) est généralement utilisée en limitation de
température de la dalle.
- Thermostat à commande silencieuse (TRIAC). Il
peut piloter directement une ou plusieurs
électrovannes. Il peut aussi être raccordé à un de
nos systèmes de connexion (UFH-ZONE24V-W)
pour plancher chauffant.

18
CLAVIER
Navigation touche gauche et touche - (-◄)
Touche de validation et touche mode (OK)
Navigation touche droite et touche + (►+)

19
AFFICHEUR
1 : Mode de fonctionnement (mode activé
encadré)
2 : Indicateur de chauffe
3 : Indicateur de refroidissement
4 : Si le symbole est présent, la température
ambiante est affichée en (5)
5 : Montre la température ambiante ou la consigne
6 : Température en °C ou °F
7 : Titre des paramètres d’installation (J0,
Clr…)
7
6
5
1
2
3
4

20
MODE DESCRIPTION
- Votre thermostat est équipé d’une touche (OK)
pour changer de mode de fonctionnement (le mode
actif est encadré):
Mode ARRET :
Utiliser ce mode si votre chauffage doit être coupé.
(Attention ce mode ne maintient pas une
température de Hors Gel). L’afficheur est alors
éteint. Les températures réglées sont
sauvegardées.
Mode CONFORT:
Le thermostat suit la température de confort
indéfiniment. Pour ajuster la température de confort
utiliser les touches (-◄) ou (►+). La température
ambiante (OK) est de nouveau affichée après
quelques secondes.
Table of contents
Languages:
Other Henco Thermostat manuals


Popular Thermostat manuals by other brands

Honeywell Home
Honeywell Home CT230-GA installation guide

Charmeg
Charmeg MP-TM user manual

Tekmar
Tekmar tekmarNet 2 House Control 406 Installation & operation manual

White Rodgers
White Rodgers EMERSON BLUE 1F98EZ-1421 Homeowner user guide

Hunter
Hunter Set & Save 47350A owner's manual

Honeywell
Honeywell TH401 owner's guide


