Lecco
Technical Data
NEW
Technical information
Testing and Operating Pressures
Henrad Lecco has been independently tested to ensure
these radiators perform to a maximum workin
pressure of 4.0 bar.
Finish
Stainless Steel.
Water Treatment
Installation of the system should be properly flushed
and fitted in accordance with the British Code of
Practice for the Treatment of Water in Domestic Hot
Water Central Heatin Systems.
Warranty
Henrad Lecco comes with a 5 year manufacturer’s
warranty.
Henrad (UK) Limited, Marriott Road,
Mexborou h, South Yorkshire S64 8BN.
Telephone: 0844 543 6200 Facsimile: 0844 543 6300
www.henrad.co.uk
Henrad Lecco
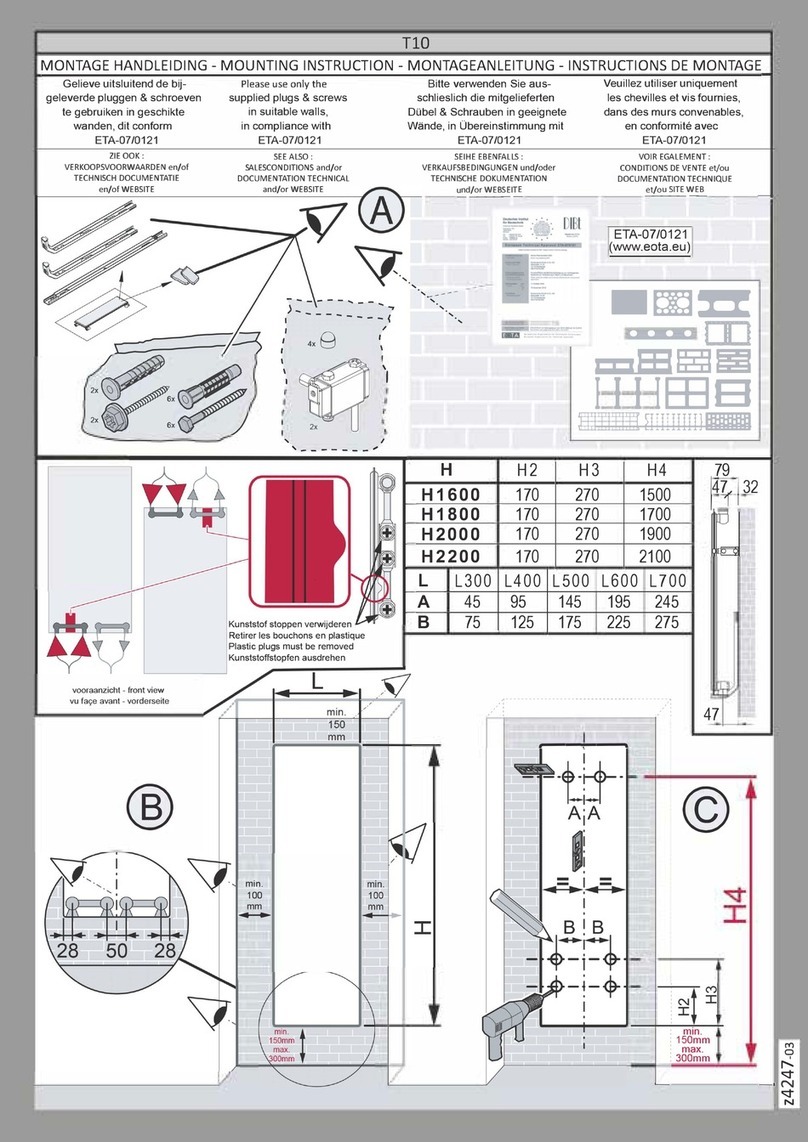
Wall Mounting Information
All dimensions in mm.
Place your radiator at least 12.5cm above the floor.
Provide insulation by wrappin PTFE tape on the treads before
installin the valves.
Apply silicone seal fluid to all treated parts containin o-rin s.
Connect your radiator to the utilities after followin all the installation
steps in the manual.
After connectin to the utilities, do not for et to dischar e the trapped
air inside the radiator.
Decorative Cap (x2)
(Only for mirror finished products)
Wall Mounting
Screw (x4)
Wall Mounting
Bracket (x4)
Wall Plug (x4)
Setscrew (x4)
1- Adjust the hei ht of your radiator by
usin a metric ruler.
2- Set the location of your radiator as
desired, ali n with the round by
usin a spirit level and mark the
position of the wall mountin brackets.
1- Drill holes (Ø 10mm) into the spots
you have marked.
2- Nail the wall plu s (E) in the holes
by usin a hammer.
3- Screw the wall mountin brackets all
the way to the holes with the help of
a screwdriver.
1- Place your radiator into the wall
mountin brackets.
2- Insert the setscrews (F) into the slots
on the mountin brackets (D), adjust
the distance between the wall and
your radiator then ti hten the
setscrews by usin an Allen key (M3).


