manuals.online logo
Brands
  1. Home
  2. •
  3. Brands
  4. •
  5. Henri Studio
  6. •
  7. Outdoor Fountain
  8. •
  9. Henri Studio 4946F1 User instructions

Henri Studio 4946F1 User instructions

SETTING UP THE
4946F1
1) Prepare a suitable location for your new fountain. Set the
fountain in place with the pump reservoir facing away from your preferred viewing point.
2) Unwind the power cords for the three lights. If barbed fittings are attached under the light
rings, remove them. Insert the power cord of one light into the open hole in the center of the
lowest dish. Push most of that cord through the hole, pulling it back into the pump reservoir.
3) Repeat step 2 in the middle dish to slip another light into place in the center of the dish. Open
the slit in the small stopper and place the light power cord inside the groove in the stopper. This
should be within two or three inches of
the light. Close the stopper over the
power cord. Firmly press the
stopper into place in
the same hole.
4) Slip the remaining
light cord through the
side hole in
the center
of the
upper
dish. Seal
this hole with
another small stopper
just as you did in the middle
dish, making this dish
water-tight. In this case, you will want
about five inches of power cord to remain inside the dish between the stopper and the light.
5) Thread the clear standpipe down into the top dish’s center hole. Position the light in the low
space in front of the standpipe.
6) Use silicone sealant to affix the three copper spill plates. They should overhang the edge
perhaps about 3/16” or so to help the water break freely downward.
7) From behind the fountain, gather the three light power cords. For orderliness, you may want to
wind each of them up and fasten with a tie wrap. Plug all three of them into the wide side of the
light cord adapter, making sure to turn the locking nut snug but not to strip it. This locking nut
allows the adapter to be placed underwater if it is clean and tight.
8) To the remaining opening in the light cord adapter attach one end of the 5 meter long light
extension cord and tighten the nut. Then push the other end of the extension cord down the large
hole in the pump reservoir. Run it out from under the back of the fountain through the power cord
exit notch, which is immediately behind the exit hole.
9) Set your pump down in the reservoir as shown and run its power cord down and out as you did
with the light extension cord. Open the slit in the large two-hole stopper. Line the pump cord up
through the larger hole and the light extension cord through the smaller hole. Close the stopper up
and press it firmly, down into the hole in the floor to make the fountain water-tight
.
Make sure to place your fountain on a firm
area which will not settle. Note: Always
follow local electrical codes and use a
110V GFCI protected outlet.
10) Thread the smaller
barbed adapter into the
top of the pump.
Thread the
remaining,
larger
barbed
adapter into the
back wall of the
highest dish as
shown. Push
the water tube
onto both barbed
adapters
.
11) Read your
pump and light
instructions.
Fill the bottom bowl with water. Then plug in the pump and connect to the light transformer to
enjoy your fountain. If the pump does not immediately begin working, there may be an “airlock”
within the impeller chamber. Simply unplug and plug in a few times and it should start
.
csd 9/2020
IMPORTANT – WINTER CARE
Winter ice build-up can cause damage to concrete statuary. Follow
these tips to reduce winter weathering to your fountain:
* Disconnect power to pumps and lights.
* Remove plugs/stoppers/standpipes in all fountain bowls to open
drains and let all moisture out. Keep drains open throughout winter.
* Cover with a Henri fountain cover. Keep tight and do not let snow
or water collect in sagging areas.
* Do not allow snow or ice to build up on or against the concrete.
Remove snow before it turns to ice. Do not use antifreeze, salt or
chemical ice removers as these may damage concrete.
Online Resources
Products: www.henristudio.com/products
FAQs: www.henristudio.com/faq
Warranty: www.henristudio.com/warranty
Contact :
www.henristudio.c
om/contact
us
Caution: The use of Chlorine or Chlorine Bleach or water
coloring additives may damage the finish of your fountain.

Other Henri Studio Outdoor Fountain manuals

Henri Studio Large Rock Falls Fountain User manual

Henri Studio

Henri Studio Large Rock Falls Fountain User manual

Henri Studio 5661F User manual

Henri Studio

Henri Studio 5661F User manual

Henri Studio 5452F Quick start guide

Henri Studio

Henri Studio 5452F Quick start guide

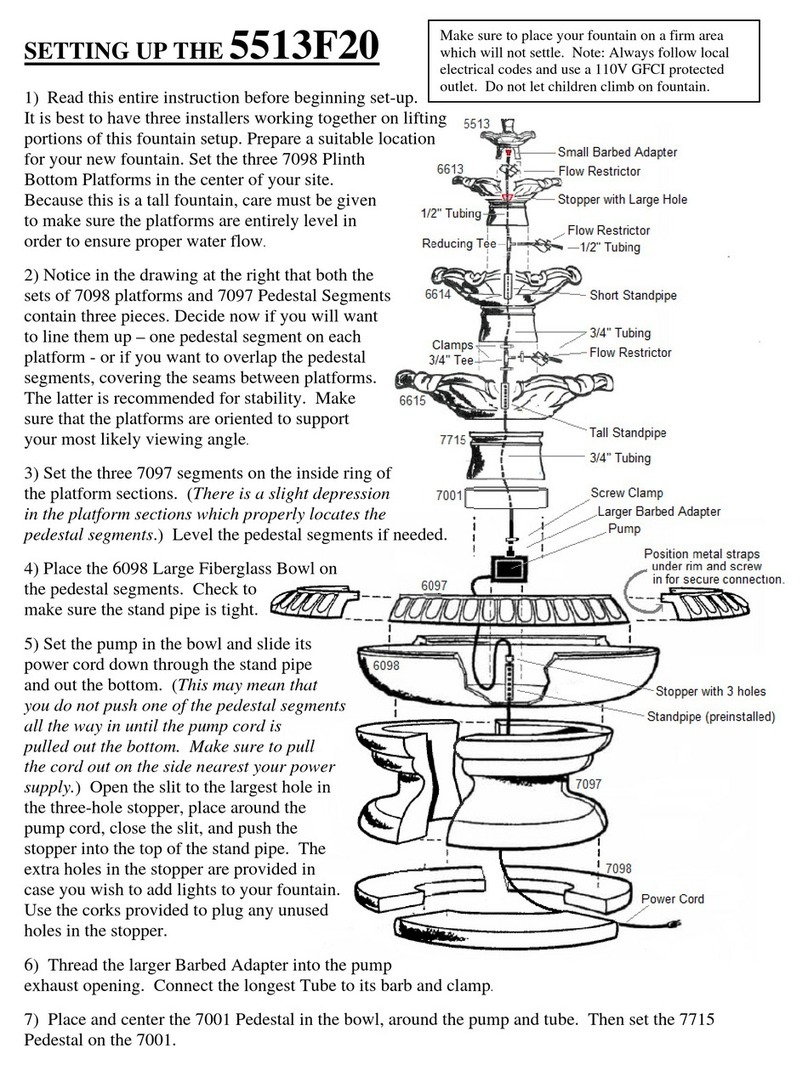
Henri Studio 5513F20 User instructions

Henri Studio

Henri Studio 5513F20 User instructions

Henri Studio 4012F2 User manual

Henri Studio

Henri Studio 4012F2 User manual

Henri Studio 5705F7 User manual

Henri Studio

Henri Studio 5705F7 User manual

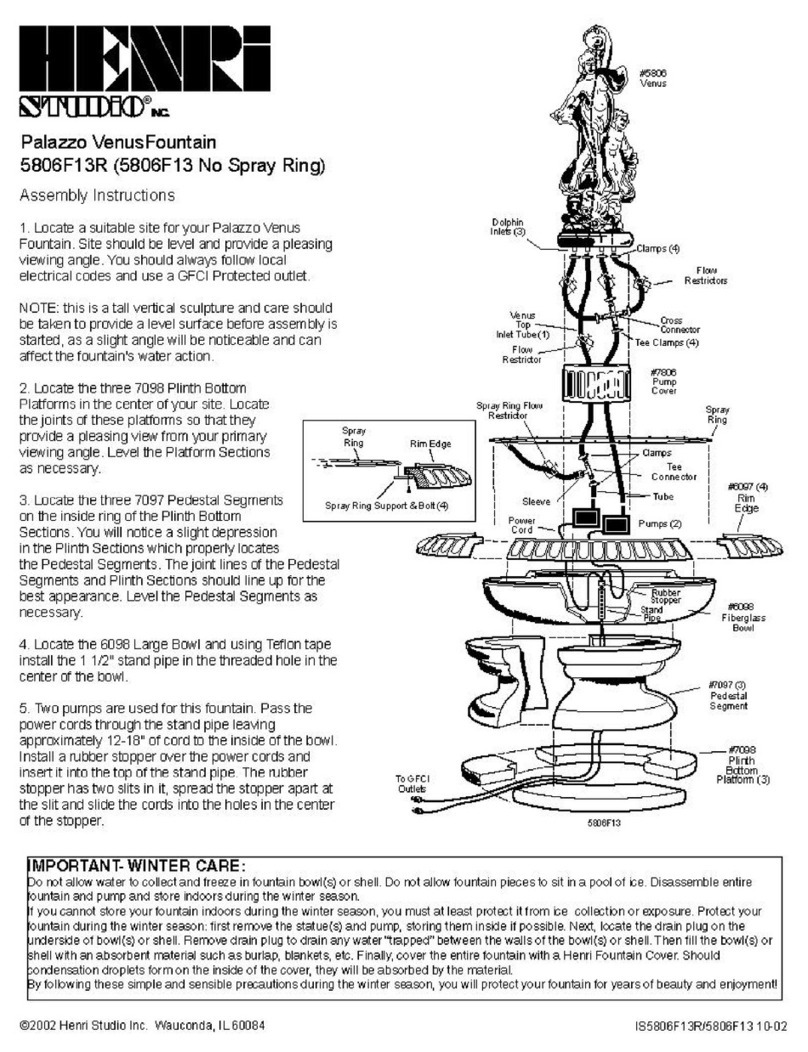
Henri Studio Palazzo Venus User manual

Henri Studio

Henri Studio Palazzo Venus User manual

Henri Studio Rock Falls 5887F2 User manual

Henri Studio

Henri Studio Rock Falls 5887F2 User manual

Henri Studio 4875A Manual

Henri Studio

Henri Studio 4875A Manual

Henri Studio 4006F17 User instructions

Henri Studio

Henri Studio 4006F17 User instructions

Henri Studio 5887F3 User instructions

Henri Studio

Henri Studio 5887F3 User instructions

Henri Studio 4005F3 User instructions

Henri Studio

Henri Studio 4005F3 User instructions

Henri Studio 5501F6 User instructions

Henri Studio

Henri Studio 5501F6 User instructions

Henri Studio 5701F2 User manual

Henri Studio

Henri Studio 5701F2 User manual

Henri Studio 5649F15 User manual

Henri Studio

Henri Studio 5649F15 User manual

Henri Studio 5231F21 User instructions
Henri Studio

Henri Studio 5231F21 User instructions

Henri Studio 5595F14 User instructions
Henri Studio

Henri Studio 5595F14 User instructions

Popular Outdoor Fountain manuals by other brands
Smart Solar 1180020RL instructions

Smart Solar

Smart Solar 1180020RL instructions

Bernini CATANZARO owner's manual

Bernini

Bernini CATANZARO owner's manual

Campania International Chatsworth FT-141 Assembly instructions

Campania International

Campania International Chatsworth FT-141 Assembly instructions

Haws 3121 Installation, operation & maintenance instructions

Haws

Haws 3121 Installation, operation & maintenance instructions

Sunnydaze Decor FC-73650 manual

Sunnydaze Decor

Sunnydaze Decor FC-73650 manual

Murdock A152-VR-BF4 Series Installation & maintenance instructions

Murdock

Murdock A152-VR-BF4 Series Installation & maintenance instructions

Urban CF200 Installation, operation and maintenance instructions

Urban

Urban CF200 Installation, operation and maintenance instructions

BENITO Urban Petrus UM565 Assembly instructions

BENITO

BENITO Urban Petrus UM565 Assembly instructions

Campania International FT-159 quick start guide

Campania International

Campania International FT-159 quick start guide

Alpine GIL1482 quick start guide

Alpine

Alpine GIL1482 quick start guide

Astonica 40200112 instruction manual

Astonica

Astonica 40200112 instruction manual

BENITO TREVI Assembly instructions

BENITO

BENITO TREVI Assembly instructions

Haws 7611 Installation, operation & maintenance instructions

Haws

Haws 7611 Installation, operation & maintenance instructions

Profi-pumpe WALD-ZAUBER operating instructions

Profi-pumpe

Profi-pumpe WALD-ZAUBER operating instructions

Sunnydaze Decor LZH-131 quick start guide

Sunnydaze Decor

Sunnydaze Decor LZH-131 quick start guide

Campania FT-248 quick start guide

Campania

Campania FT-248 quick start guide

Angelo Decor AD92035 quick start guide

Angelo Decor

Angelo Decor AD92035 quick start guide

MELINERA HG00214A Operation and safety notes

MELINERA

MELINERA HG00214A Operation and safety notes

manuals.online logo
manuals.online logoBrands
  • About & Mission
  • Contact us
  • Privacy Policy
  • Terms and Conditions

Copyright 2025 Manuals.Online. All Rights Reserved.