manuals.online logo
Brands
  1. Home
  2. •
  3. Brands
  4. •
  5. Henri Studio
  6. •
  7. Outdoor Fountain
  8. •
  9. Henri Studio Palazzo Venus User manual

Henri Studio Palazzo Venus User manual

IS5806F13R/5806F13-10-02
Henri Studio Inc. Wauconda, IL 60084IS 5806F13R/5806F13 10-02
The rubber stopper supplied with this fountain has several holes in it. Each of these
is capable of accepting a cord. This can be useful for multiple pump applications,
under water lighting or other electrical connection. There are several small corks
provided to plug any unused holes.
6. Locate the Large Bowl on the Pedestal Segments. Pass the power cordsthrough the center
of the Pedestal Segments and through the groove between any two of the Plinth Bottom
Platforms. It may be necessary to slightly separate the sections to properly locate the cords.
If you moved the Plinth Platforms to locate the power cords, realign them as necessary
before proceeding. Be sure that the cords exit the Sections closest to your GFCI protected
outlet. Level as necessary.
7. One pump will provide water to the three spouting Dolphins in the base of the Venus figure.
Connect one of the Barb Adapters over one of the pump outlets. Connect one of 18” X 1/2’
NKT (No Kink Tubing) to the pump outlet. Add a 1/2” Cross Tee to the open end of the NKT
using a hose clamp. Slide a Flow Restrictor on two of the 18” X ½” NKT and one of the 6” X
½” NKT approximately 4-6” from the end. Connect these NKT to the open legsof the Cross
Tee with clamps and lay over the top edge of the Pump Cover.
8. The second pump will provide water flow to the top of the Venus figure and the spray ring.
Connect a Barb Adapter over the pump outlet. Connect one of 18” X 1/2’ NKT (No Kink
Tubing) to the pump outlet. Add a ½” Tee to the open end of this NKT with a clamp. Connect
an 18” X ½” piece of NKT to the top leg of the Tee using a clamp. Add a flow restrictor to the
open end of this NKT approximately 4-6” from the end and lay over the top of the Pump
Cover. Connect the 2” X ½” clear tube to the base leg of the Tee. Slide aflow restrictor over
the end of the 48” X ¾” clear tube so that it is approximately 4-6” from the end. Slide the end
closest to the flow restrictor of the 48” X ¾” clear tube over the clear tube adapter on the
base leg of the Tee. This clear tube will pass out of the Pump Cover through the access hole
in the bottom of the cover and into the Bowl. It will be connected to the spray ring in a later
step.
Connection for Fountains without Spray Ring
The second pump will provide water flow to the top of the Venus figure. Connect a Barb
Adapter over the pump outlet. Connect one of 18” X 1/2’ NKT (No Kink Tubing) to the pump
outlet and pass it over the edge of the pump cover. Add a flow restrictor approximately 4-6”
from the end of this tubing.
9. Carefully lift the 5806 Venus statue and rest it on the edge of the pump cover while allowing
access to the pipe connections in the bottom of the statue. The edge of the pump cover and
the bottom of the statue should be protected from accidental damage by placing a piece of
burlap or other cushioning material between the pump cover edge and statue bottom before
resting the statue on the pump cover. NOTE: THE VENUS STATUE IS A LARGE AND
HEAVY PIECE, BE CERTAIN THAT YOU HAVE SUFFICIENT HELP TO SAFELY LIFT AND
HOLD IT WHILE MAKING THESE CONNECTIONS! Connect the four pieces of NKT to the
pipes in the statue bottom. For the best water action and flow, we recommend that the NKT
tubing from the pump that the supplies the spray ring be connected to the pipe that supplies
water to the top of the statue. Center the statue on the pump cover and orientate so that the
statue is facing towards your primary viewing angle. Level as necessary.
10. Fasten one Spray Ring Support to the bottom of each Rim Edge using the washers and bolts
provided. Lay one of the 6097 Rim Edge on the outside edge of the Large Bowl and locate it
in its positioning notch. Add the remaining three Rim Edges and align them as necessary.
Place the Spray Ring inside the Rim Edges and on the Spray Ring Supports. Connect the ¾”
clear tube to the Spray Ring.
NOTE: Spray Ring nozzles are adjustable and can be directed for the most pleasing flow.
Connection for Fountains without Spray Ring
For fountains without Spray Rings, omit the Spray Ring Supports, washers and bolts.
11. Add water to the fountain and start the pumpswhen there is sufficient water to cover the
pumps. Adjust the flow restrictorsfor a pleasing flow from the three Dolphins, the top of the
Venus statue and the Spray Ring. The final level of the water is generally recommended to
be 1” below the edge of the fiberglass bowl.
IS5806F13R/5806F13-10-02
Henri Studio Inc. Wauconda, IL 60084IS 5806F13R/5806F13 10-02
If apump does not start on the first attempt, unplug the pump and plug it in again. Sometimes an
airlock can occur and this simple restart most frequently clears the lock.
5806F13R(*Not Required for 5806F13)
Connection Kit Parts List
2Pump
11 ½” X 10 Standpipe
1Rubber Stopper
5#0SL Corks
1Teflon Tape
23/8” X ½” Barb Adapter
1½” Tee
1½” Cross Tee
26” X ½” NKT
418” X ½” NKT
10 Snap Clamps
12” X ½” Clear Tube*
4Flow Restrictors
51” Tee*
19” X 1” NKT*
21” X 1” Barb Adapters*
16” X 1” Clear Tube*
148” X ¾” Clear Tube*
3SS Clamps*
4Spray Ring Hangers*
43/8” X 1” SS Tap Bolts*
43/8” SS Washers*
1LD6098 Spray Ring*

This manual suits for next models

2

Other Henri Studio Outdoor Fountain manuals

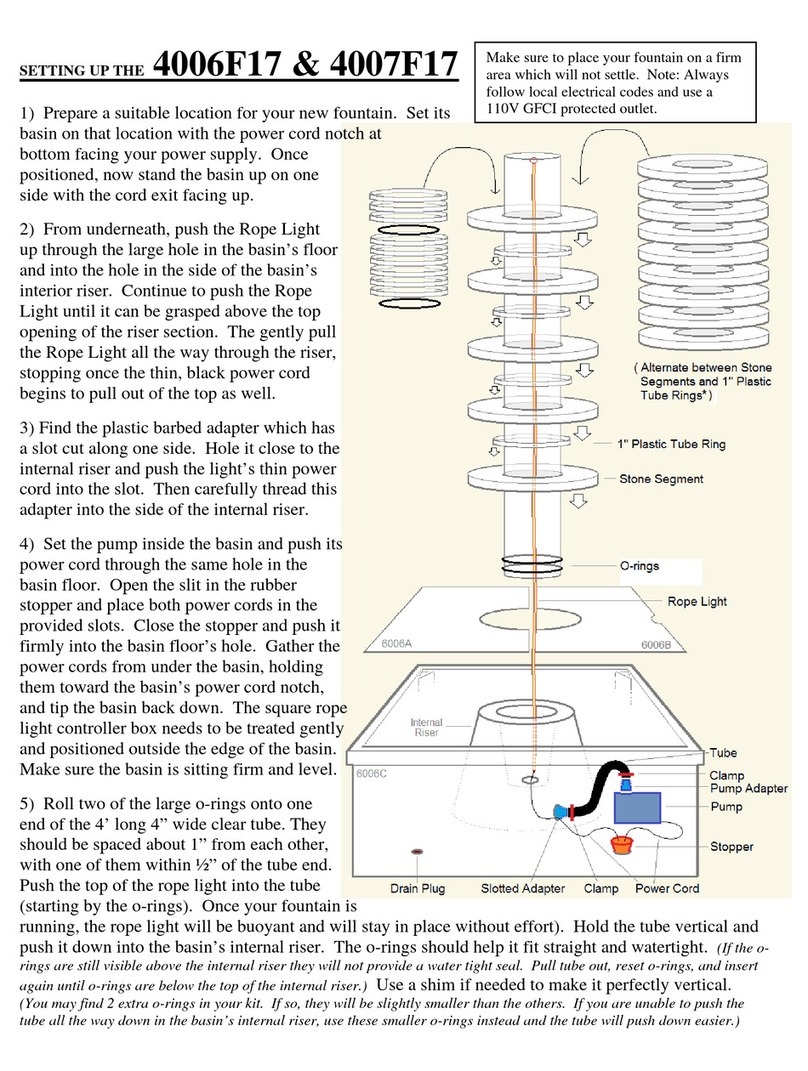
Henri Studio 4006F17 User instructions

Henri Studio

Henri Studio 4006F17 User instructions

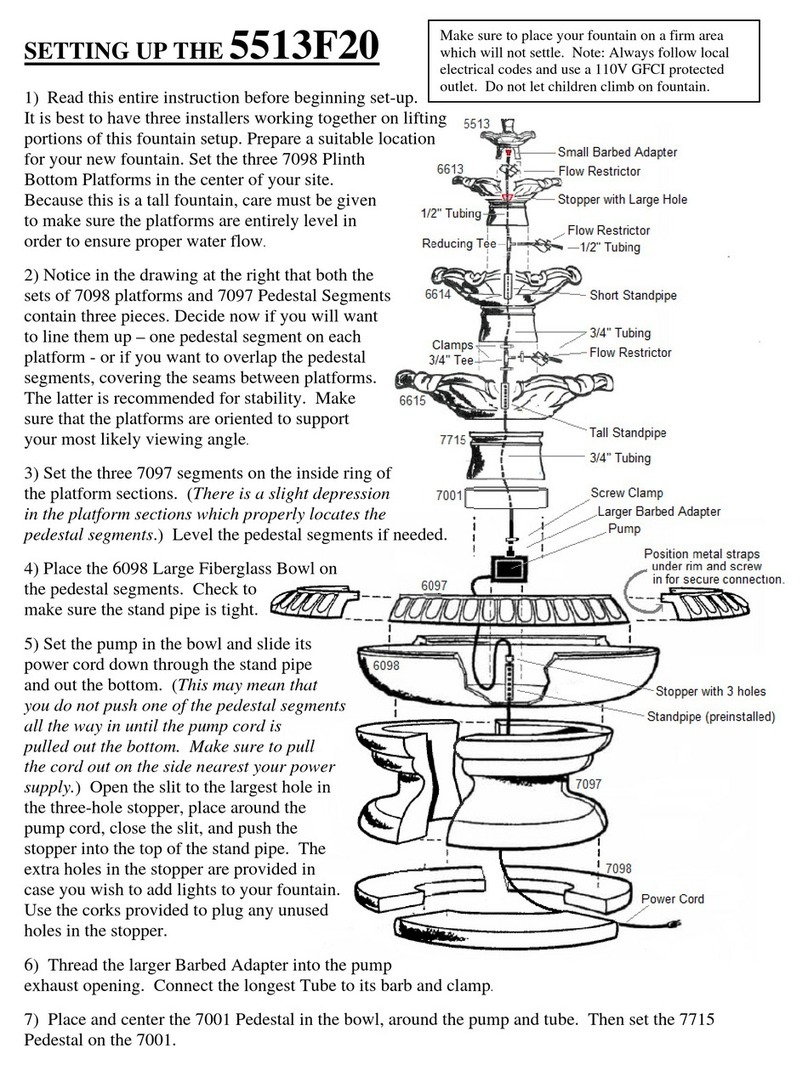
Henri Studio 5513F20 User instructions

Henri Studio

Henri Studio 5513F20 User instructions

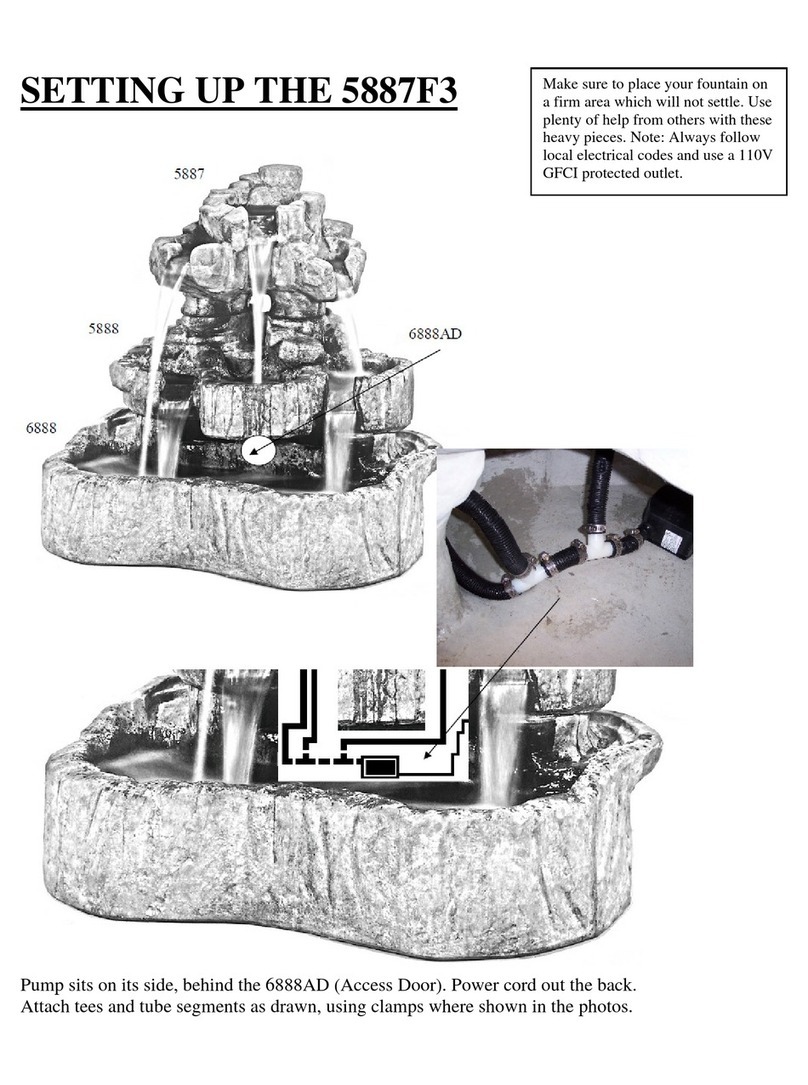
Henri Studio 5887F3 User instructions

Henri Studio

Henri Studio 5887F3 User instructions

Henri Studio 5231F21 User instructions

Henri Studio

Henri Studio 5231F21 User instructions

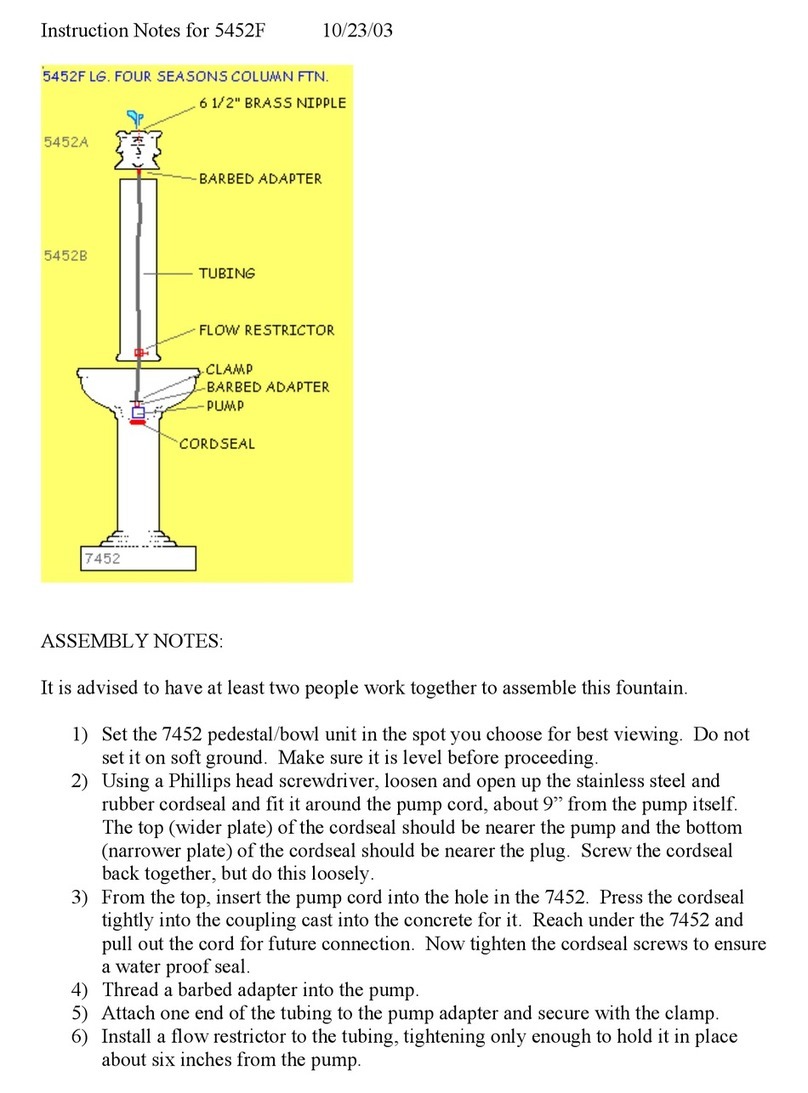
Henri Studio 5452F Quick start guide

Henri Studio

Henri Studio 5452F Quick start guide

Henri Studio 5701F2 User manual

Henri Studio

Henri Studio 5701F2 User manual

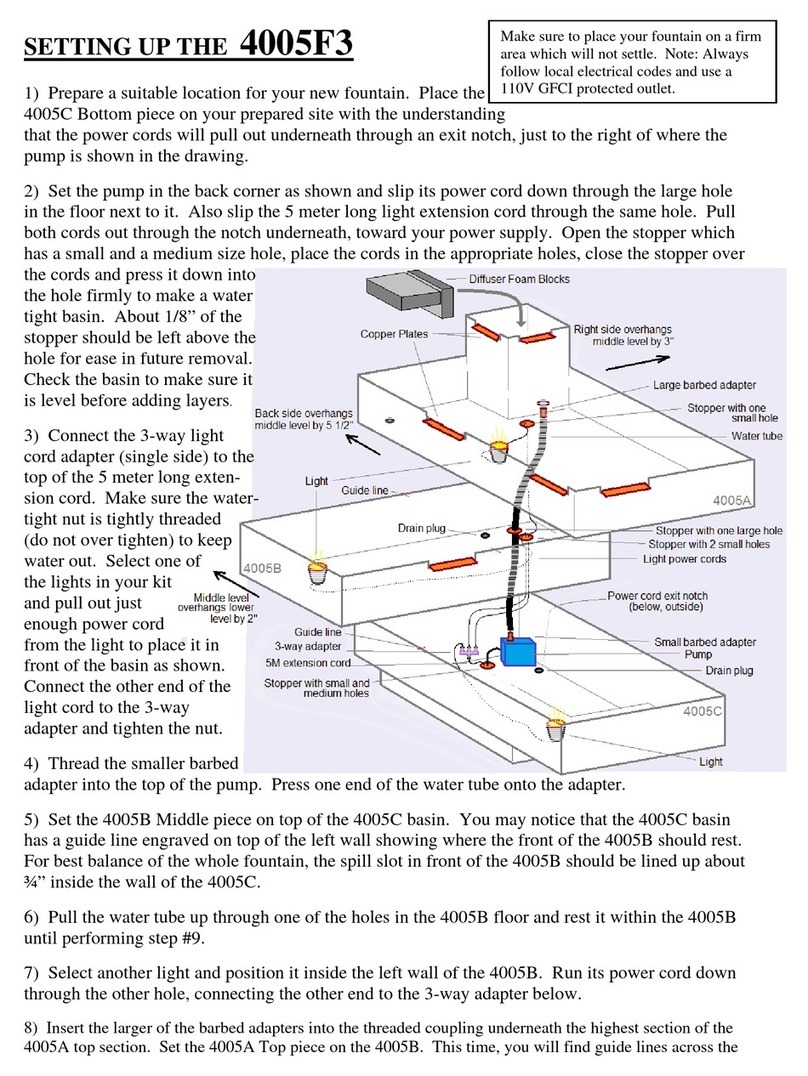
Henri Studio 4005F3 User instructions

Henri Studio

Henri Studio 4005F3 User instructions

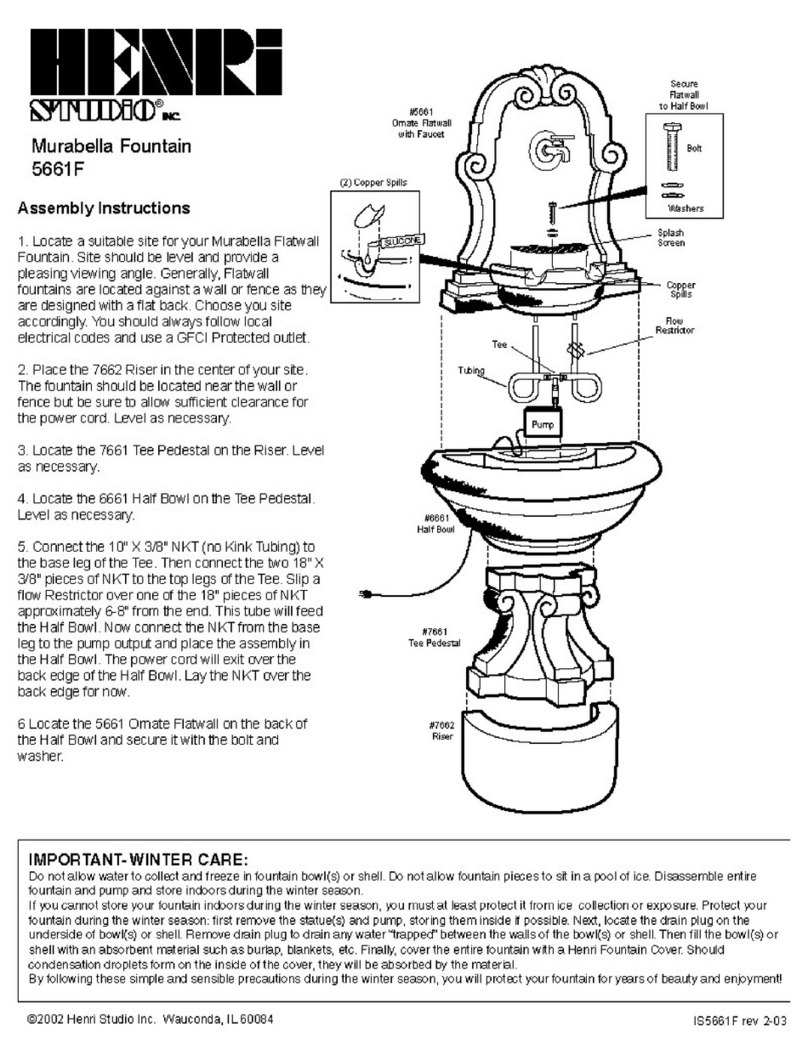
Henri Studio 5661F User manual

Henri Studio

Henri Studio 5661F User manual

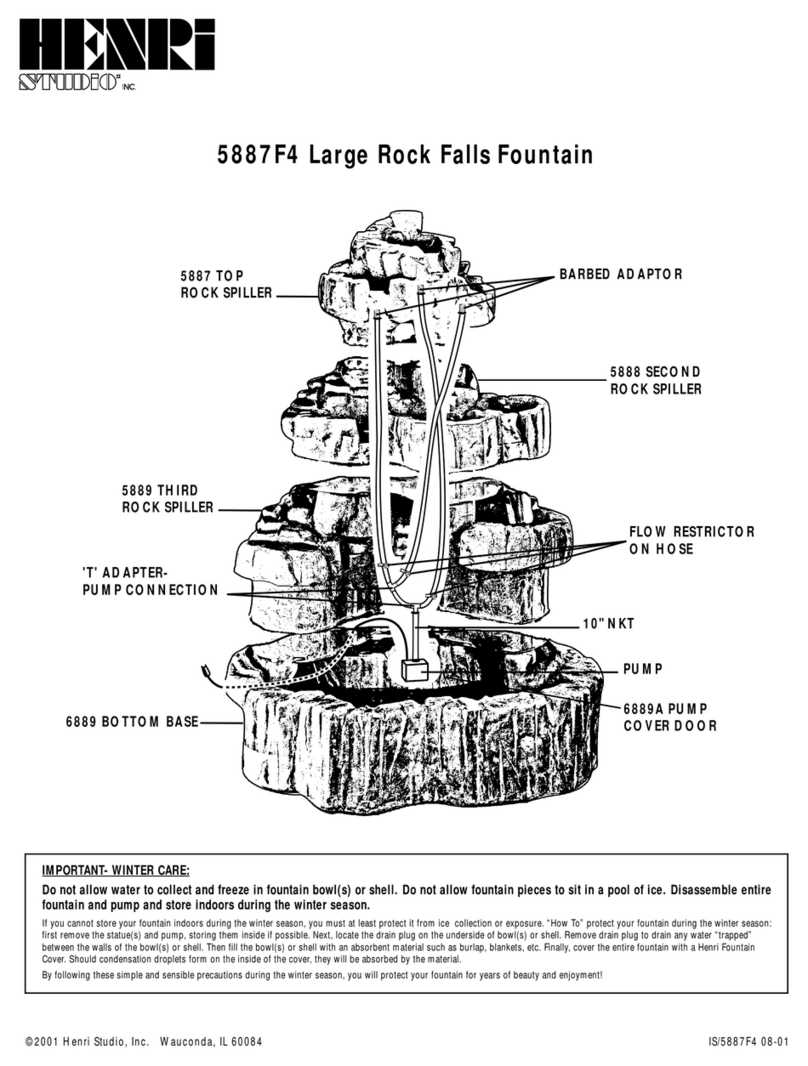
Henri Studio Large Rock Falls Fountain User manual

Henri Studio

Henri Studio Large Rock Falls Fountain User manual

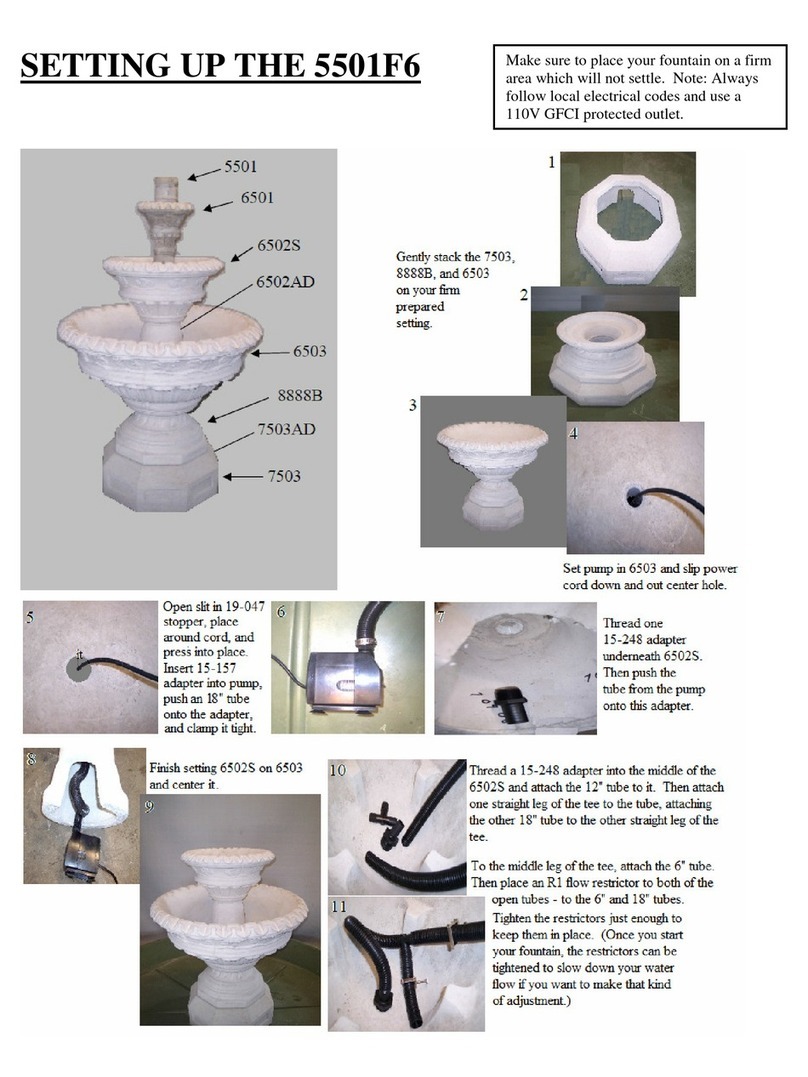
Henri Studio 5501F6 User instructions

Henri Studio

Henri Studio 5501F6 User instructions

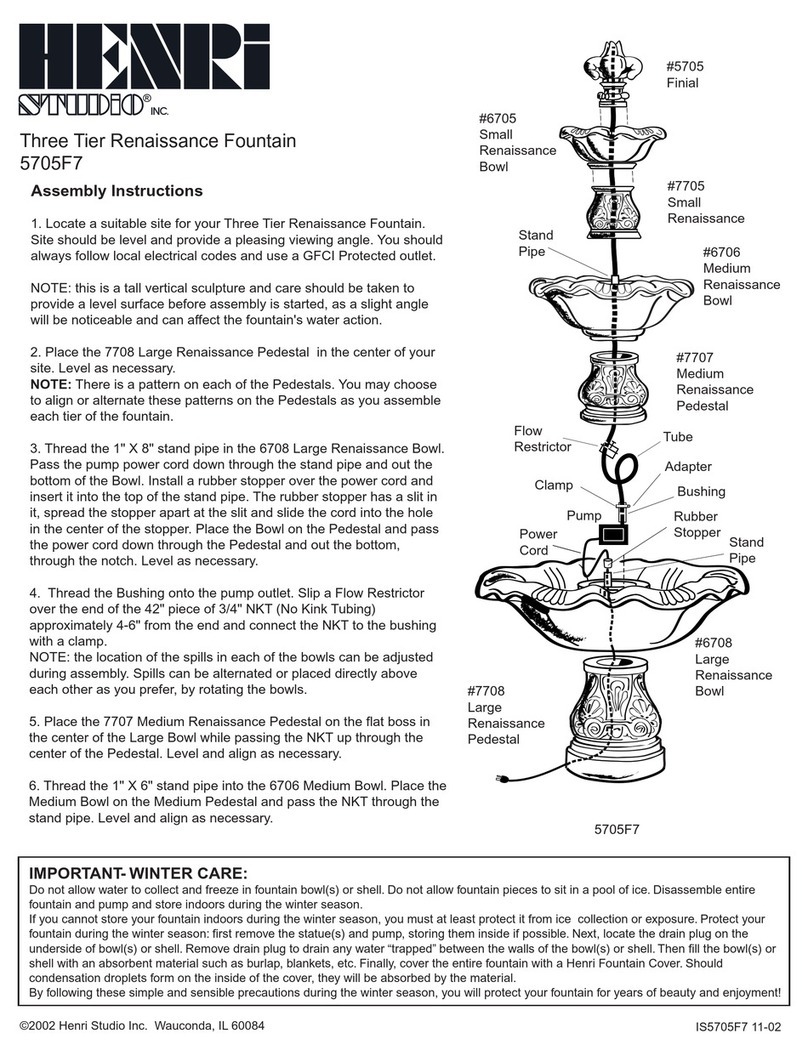
Henri Studio 5705F7 User manual

Henri Studio

Henri Studio 5705F7 User manual

Henri Studio 5649F15 User manual

Henri Studio

Henri Studio 5649F15 User manual

Henri Studio 4946F1 User instructions

Henri Studio

Henri Studio 4946F1 User instructions

Henri Studio 4012F2 User manual

Henri Studio

Henri Studio 4012F2 User manual

Henri Studio Rock Falls 5887F2 User manual

Henri Studio

Henri Studio Rock Falls 5887F2 User manual

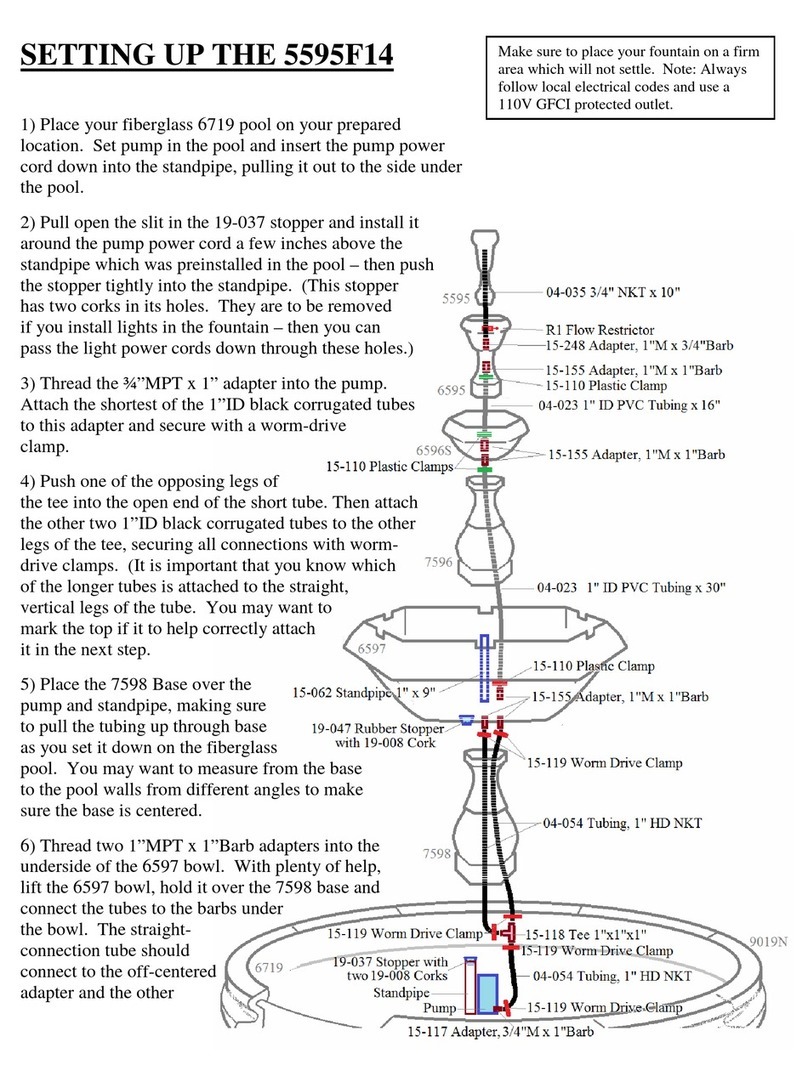
Henri Studio 5595F14 User instructions

Henri Studio

Henri Studio 5595F14 User instructions

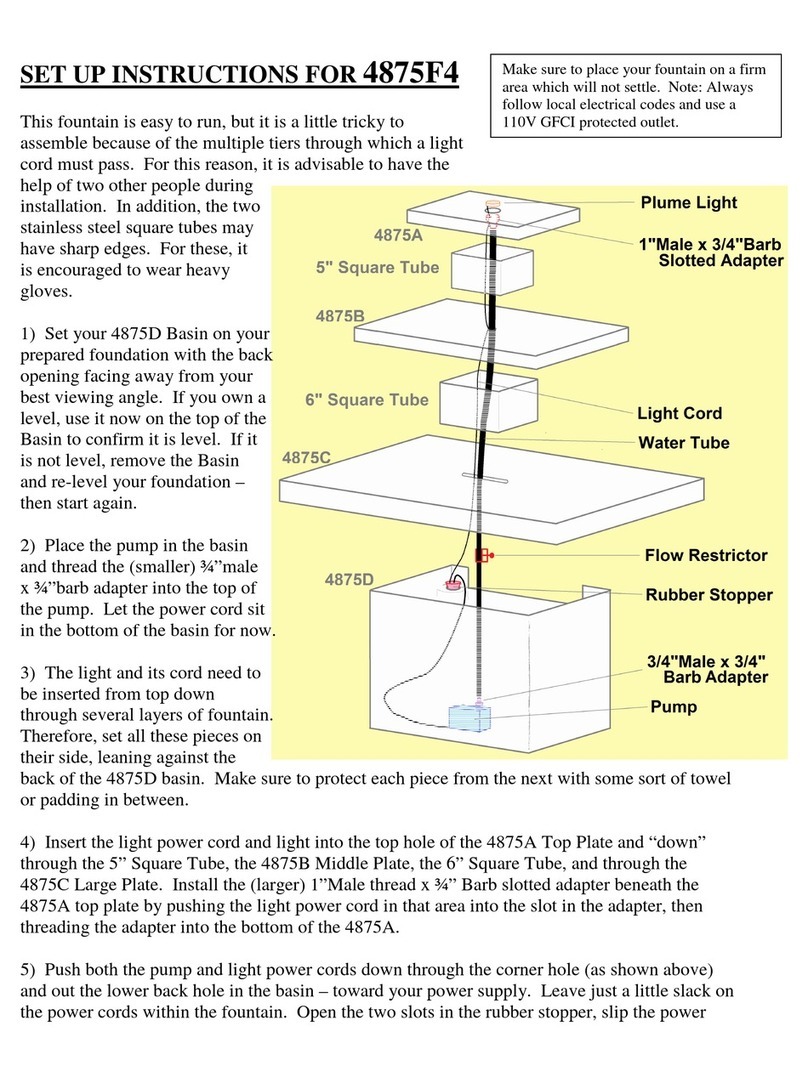
Henri Studio 4875A Manual

Henri Studio

Henri Studio 4875A Manual

Popular Outdoor Fountain manuals by other brands

Profi-pumpe FELS-ZAUBER operating instructions

Profi-pumpe

Profi-pumpe FELS-ZAUBER operating instructions

Hasley Taylor 2501A owner's manual

Hasley Taylor

Hasley Taylor 2501A owner's manual

Sunnydaze Decor XSS-578 Assembly instructions

Sunnydaze Decor

Sunnydaze Decor XSS-578 Assembly instructions

Campania International Bibendum FT-400 Assembly instructions

Campania International

Campania International Bibendum FT-400 Assembly instructions

Elkay FLEXI-GUARD EFHA8 1M Series Installation, care & use manual

Elkay

Elkay FLEXI-GUARD EFHA8 1M Series Installation, care & use manual

S.R.Smith Color Light Stream 2CLSLBK instructions

S.R.Smith

S.R.Smith Color Light Stream 2CLSLBK instructions

Hozelock Cyprio Cascade 1500 Installation and operating instructions

Hozelock Cyprio

Hozelock Cyprio Cascade 1500 Installation and operating instructions

Campania International Juliet Fountain quick start guide

Campania International

Campania International Juliet Fountain quick start guide

Alpine WIN732 quick start guide

Alpine

Alpine WIN732 quick start guide

Campania International FT-320 Assembly instructions

Campania International

Campania International FT-320 Assembly instructions

Kelkay Easy Fountain Rustic Windmill instructions

Kelkay

Kelkay Easy Fountain Rustic Windmill instructions

Alpine WIN258 manual

Alpine

Alpine WIN258 manual

GardenWize SWGSL230 quick start guide

GardenWize

GardenWize SWGSL230 quick start guide

EasyPro Tranquil Décor HBB39 installation instructions

EasyPro

EasyPro Tranquil Décor HBB39 installation instructions

Campania International Girona FT-102A Assembly instructions

Campania International

Campania International Girona FT-102A Assembly instructions

Campania International FT-271 quick start guide

Campania International

Campania International FT-271 quick start guide

Campania International Bilbao GFRCFT-1111 Assembly instructions

Campania International

Campania International Bilbao GFRCFT-1111 Assembly instructions

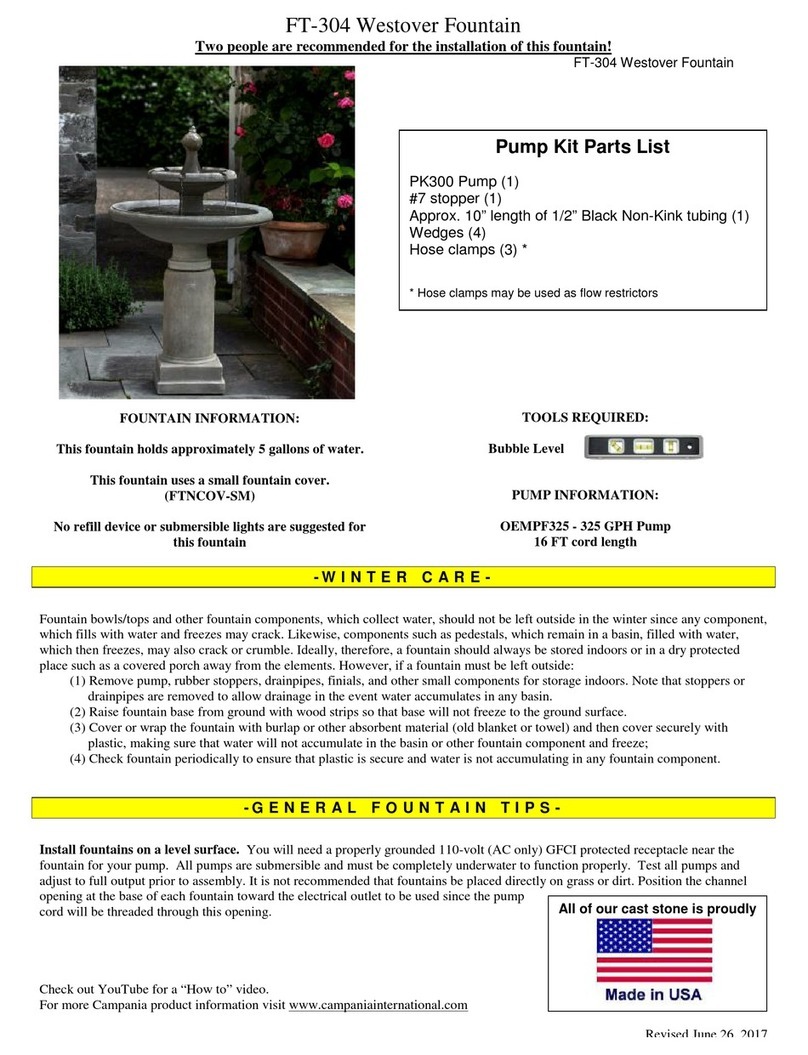
Campania International Westover manual

Campania International

Campania International Westover manual

manuals.online logo
manuals.online logoBrands
  • About & Mission
  • Contact us
  • Privacy Policy
  • Terms and Conditions

Copyright 2025 Manuals.Online. All Rights Reserved.