manuals.online logo
Brands
  1. Home
  2. •
  3. Brands
  4. •
  5. Herz
  6. •
  7. Controllers
  8. •
  9. Herz clever&smart Control Box Clima User manual

Herz clever&smart Control Box Clima User manual

Instruction Manual
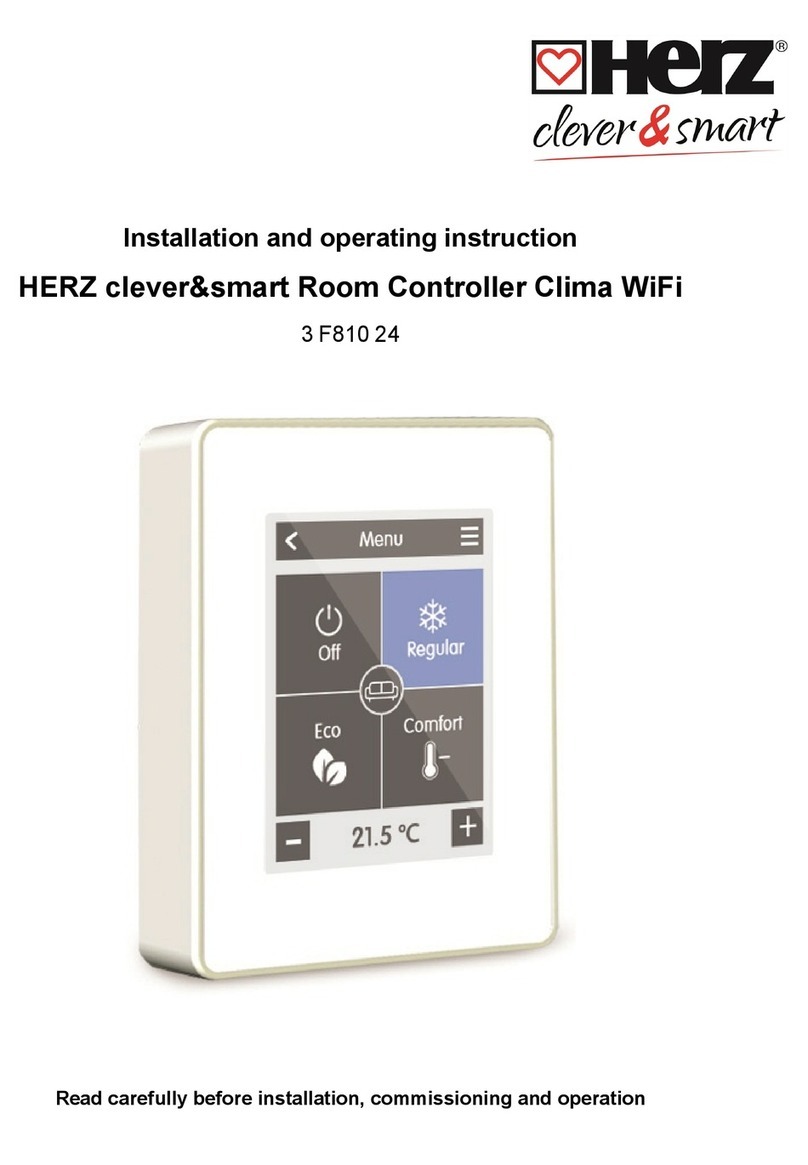
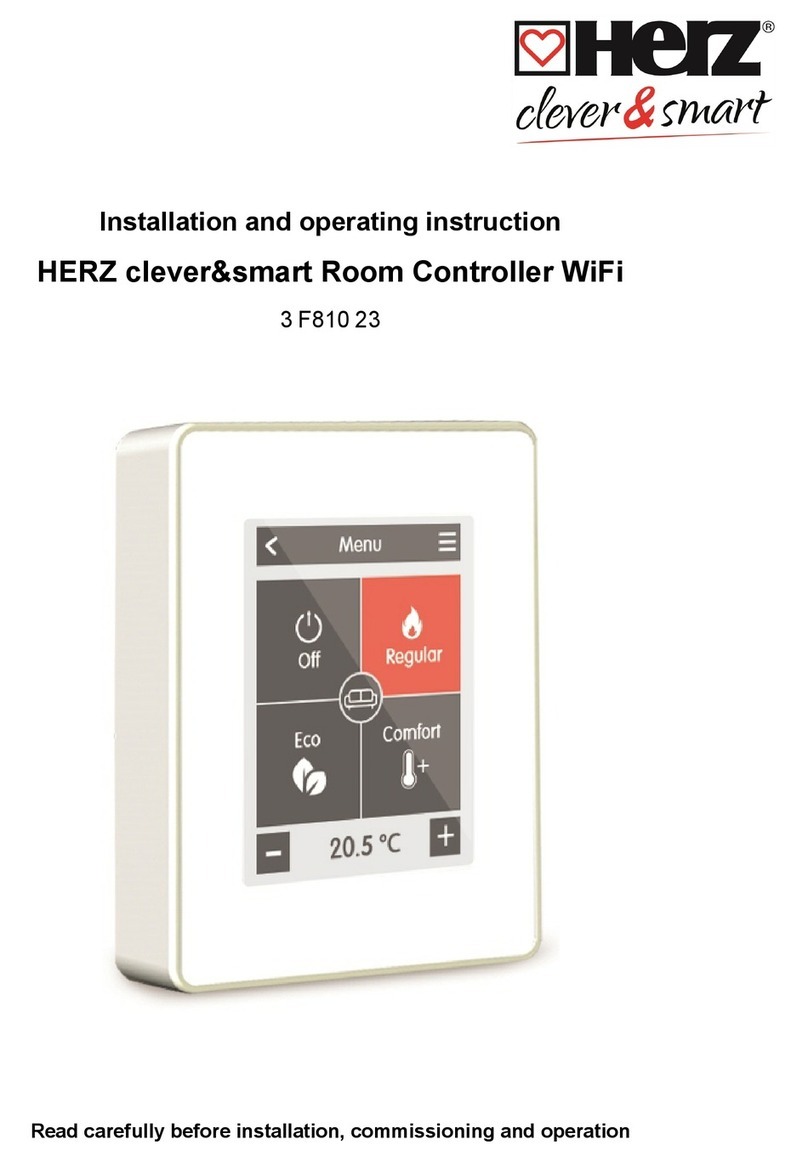
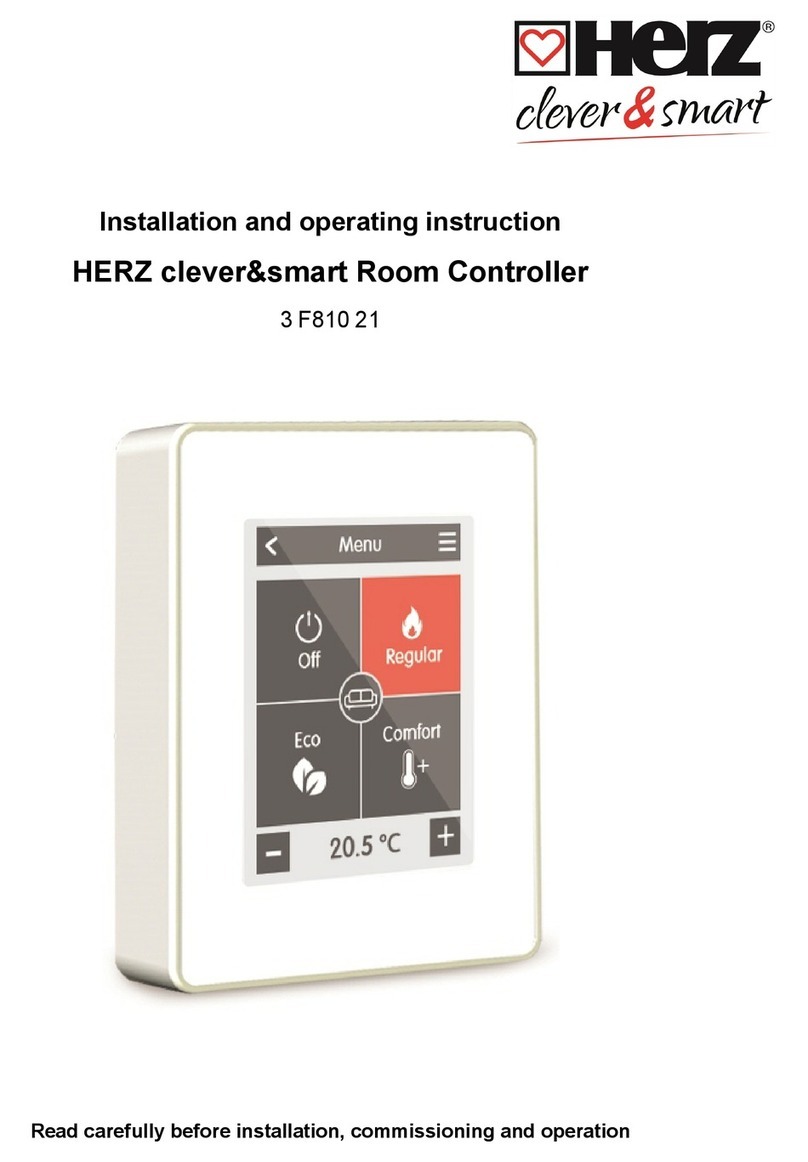
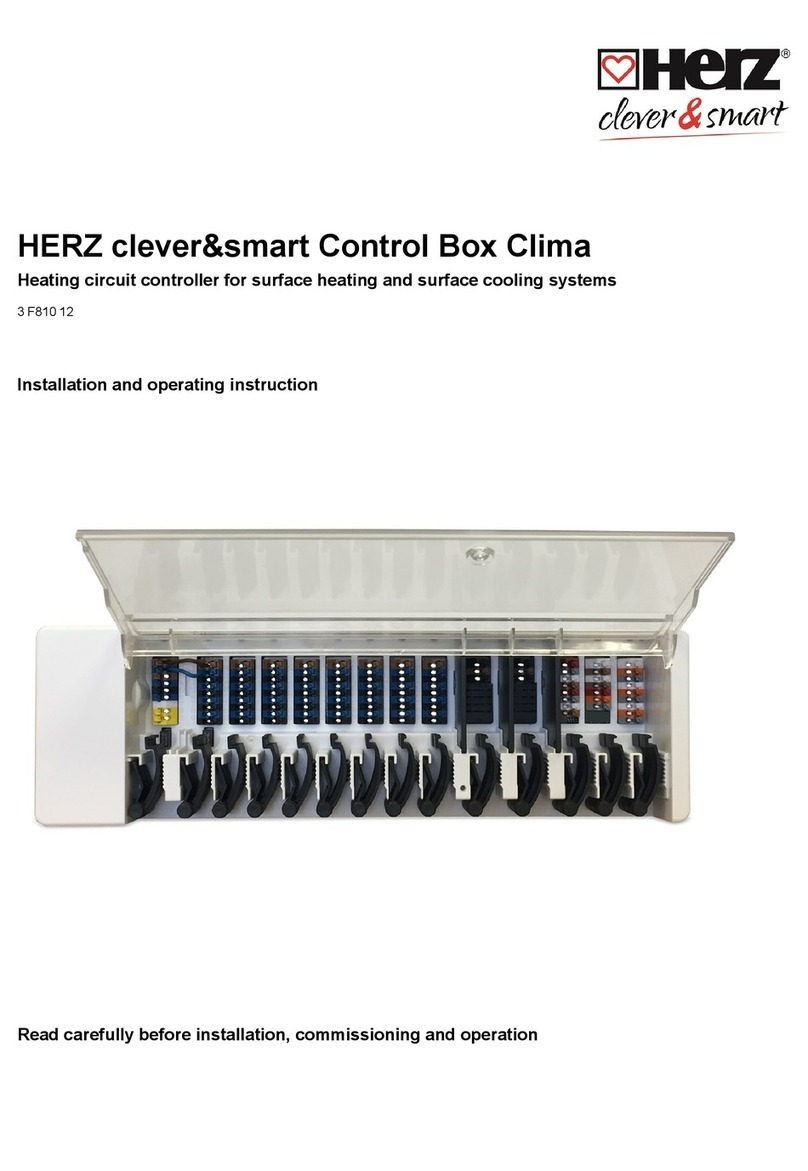
HERZ clever&smart Control Box Clima
3 F810 12
Detailed instruction
SCAN ME
Scope of delivery
lHERZ clever&smart Control Box Clima
l2 spare fuses, 1 x 2 AT, 1 x 4 AT
lAdditional separation wall
lDIN rail H= 35 mm L= 280 mm
l2 screws 3.5 x 35 mm and 2 dowels S6
lHERZ clever&smart Control Box Clima instruction manual
> www.herz-armaturen.at/solutions/clever-and-smart/manuals
General notes
This manual contains basic instructions and important information about safety, installation and operation. Before
commissioning and operation, the installer / specialist and the operator of the system have to read the manual
completely. It is an automatic electric temperature controller for household and similar applications. In addition,
observe the accident prevention regulations applicable in the respective countries, the applicable standards and
regulations and the installation and operating instructions for additional system components. Installation, electrical
connection, commissioning and maintenance may only be carried out by specialists who possess the appropriate
training. Users: Make sure that the specialist gives you detailed information on the function and operation of the
controller.
Technical Data
Model HERZ clever&smart
Control Box Clima Individual room control system for surface heating and cooling
Electrical specifications
Power supply 230 VAC (+/- 5 %), 50-60 Hz
Power consumption / standby 0,5 - 2,5 W/ 0,5 W
Internal fuse 1 1 (Pos. A, left) 2 A slow blow 250 V Fuse protection for terminal
area A and electronics
Internal fuse 2 1 (Pos. B, right) 4 A slow blow 250 V Fuse protection for terminal
area B - I
Protection Class IP 20
Protection class / overvoltage category II / II
Inputs / Outputs
Inputs Quantity Measuring range / design
1-Wire temperature sensor powered < 20 pieces (incl.
max. 8
LEDcontroller)
- 55 °C ... 125 °C (3 pole version)
PWM inputs 2 (N2, N5)
Outputs
Switching relay outputs 11
Relay heat pump 1 230 VAC, 4 A, (AC1 920 VA, AC3 185W)
Relay actuator 8 230 VAC, 4 A, (AC1 920 VA, AC3 185W)
Relay additional function 2 Potential-free max. 4 A
PWM output 3 (N1, N4, N8) for 10 kΩ working resistance 1 kHz, level 10 V
of which 0-10 V / PWM switchable 2 (N1, N4)
+ Voltage output 24 VDC 3 total max. 12 W for external devices e.g. HERZ clever&smart
Room Controller or mixer motor
Max. cable length
1-Wire Sensors Up to 50 m parasitic, up to 100 m powered,
Use twisted pair cable (LIYCY 2 x 2 x 0.75 mm²)
Especially when using HERZ clever&smart LEDcontroller,
ensure sufficient conductor cross-section to avoid impermissible
voltage drop.
CAN
< 3 m; for ≥ 3 m, use a shielded twisted pair cable (2 x 2 x 0.22
mm²) . Connect the shielding to the protective conductor on one
side. Max. cable length of the complete system 200 m.
0-10 V / PWM < 3 m
24 VDC < 30 m
mechanical relay < 30 m
Interface
Field bus 2x CAN bus, separate building CAN bus and private CAN bus
Permissible Ambient Conditions
for controller operation 0 °C - 40 °C, max. 85 % rel. humidity at 25 °C
for transport / storage 0 °C - 60 °C, no moisture condensation permitted
Other Specifications and Dimensions
Housing design multi-part ABS
Installation methods DIN rail mounting or wall mounting on DIN rail
Overall dimensions 95 mm x 303 mm x 57 mm
Light diode 14 x LED green
Real Time Clock RTC with 24 hour power reserve
Operation via HERZ clever&smart Room Controller
LED status
LED A Lights up if mains voltage is present and relay A is switched.
LED B - K Lights up if relays B - K are switched
LED L Lights up if the private CAN bus is active.
Flashes at 1 Hz (60 x / minute) if there is an error in the private CAN bus.
LED M
Lights up if the building CAN bus and the 1-wire bus are active.
Flashes at 1 Hz (60 x / minute) if there is an error in the building CAN.
Flashes at 3 Hz (180 x / minute) if there is an error in the 1-Wire connection. EXCEPTION: If the building CAN
bus remains unused, a flashing of the LED M is normal and does NOT mean that there is a error.
LED N Lights up if outputs V1, V2 or V3 are active.
System structure
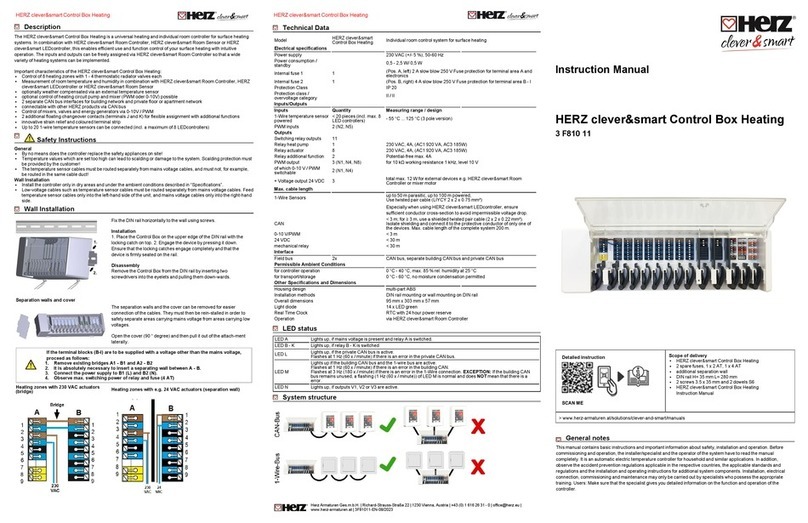
Description
The HERZ clever&smart Control Box Clima is a universal heating and zoning controller for Surface heating and cooling
systems. In conjunction with HERZ clever&smart Room Controller, HERZ clever&smart Room Sensor or HERZ
clever&smart LEDcontroller, this enables efficient use and function control of your surface heating and surface cooling
with intuitive operability. The inputs and outputs can be freely assigned via HERZ clever&smart Room Controller Clima,
so that different heating and cooling systems can be implemented.
Important characteristics of the HERZ clever&smart Control Box Clima:
lControl of 8 heating and cooling zones with 1 - 4 thermoelectric actuators each
lDetection of room temperature and humidity in conjunction with HERZ clever&smart Room Controller,
HERZ clever&smart LEDcontroller or HERZ clever&smart Room Sensor
lOptional: Weather compensated via an external temperature sensor
lOptional: Dew point dependent via room humidity measurement
lOptional: Control heating circuit pump and mixer (PWM oder 0-10V) possible
l2 separate CAN bus interfaces for building network and private floor or apartment network
lConnectable with other HERZ products via CAN bus
lControl of mixers, valves and energy generators via 0-10V / PWM
l2 additional floating changeover contacts (terminals J and K) for flexible assignment with additional functions
lInnovative strain relief and coloured terminal strip
lUp to 20 1-Wire temperature sensors can be connected (incl. a maximum of 8 LEDcontroller)
Safety Instructions
General
lBy no means does the controller replace the safety appliances on site!
lTemperature values which are set too high can lead to scalding or damage to the system. Scalding protection must
be provided by the customer!
lThe temperature sensor cables must be routed separately from mains voltage cables, and must not, for example,
be routed in the same cable duct!
Wall Installation
lInstall the controller only in dry areas and under the ambient conditions described in “Specifications”.
lLow-voltage cables such as temperature sensor cables must be routed separately from mains voltage cables. Feed
temperature sensor cables only into the left-hand side of the unit, and mains voltage cables only into the right-hand
side.
Wall Installation
Fix the DIN rail horizontally to the wall using screws.
Installation
1. Place the Control Box on the upper edge of the DIN rail with the
locking catch on top. 2. Engage the unit by pressing it down. Ensure
that the locking catches engage completely and that the unit is firmly
seated on the rail.
Disassembly
Remove the Control Box from the DIN rail by inserting two
screwdrivers into the eyelets and pulling them down-wards.
Separation walls and cover
The separation walls and the cover can be removed for easier
connection of the cables. They must then be reinstalled in order to
safely separate areas carrying mains voltage from areas carrying
low voltages.
Open the cover (90 ° degree) and then pull it out of the attachment
laterally.
If the terminal blocks (B-I) are to be supplied with a voltage other than the mains voltage,
proceed as follows:
1. Remove existing bridges A1 - B1 and A2 - B2
2. It is absolutely necessary to insert a separating wall between A - B.
3. Connect the power supply to B1 (L) and B2 (N).
4. Observe max. switching power of relay and fuse (4 AT)
Heating zones with 230 VAC actuators
(bridge) Heating zones with e.g. 24 VAC actuators (separation wall)
Herz Armaturen Ges.m.b.H. | Richard-Strauss-Straße 22 | 1230 Vienna, Austria | +43 (0) 1 616 26 31 - 0 | [email protected] |
www.herz-armaturen.at | 3F81012-EN-08/2023
HERZ clever&smart Control Box Clima HERZ clever&smart Control Box Clima
EU-Conformity
By affixing the CE mark to the unit, the manufacturer declares that the HERZ clever&smart Control Box Clima conforms to
the following relevant safety regulations:
lEU EU low voltage directive 2014/35/EU
lEU electromagnetic compatibility directive 2014/30/EU
lEU RoHS Directive 2011/65/EU
lEU WEEE Directive 2012/19/EU (Reg.nr. DE 23479719)
Conformity has been verified and the corresponding documentation and the EU-declaration of conformity are kept on file
by the manufacturer.
Changes to the Unit
lChanges, additions to or conversion of the unit are not permitted without written permission from the manufacturer.
lIt is likewise forbidden to install additional components that have not been tested together with the unit.
lIf it becomes clear that safe operation of the unit is no longer possible, for example because of damage to the housing,
turn the Unit off immediately.
lAny parts of the unit or accessories that are not in perfect condition must be exchanged immediately.
lUse only original spare parts and accessories from the manufacturer.
lMarkings made on the unit at the factory must not be altered, removed or made illegible.
lOnly the settings described in these instructions may be set using the Unit.
Changes to the unit can compromise the safety and function of the unit or the entire system.
Warranty and Liability
The Unit has been manufactured and tested with regard to high quality and safety requirements. It is subject to the
statutory guarantee period of two years from the date of sale. The warranty and liability shall not include, however, any
injury to persons or material damage that is attributable to one or more of
the following causes:
lFailure to observe these installation and operating instructions.
lImproper installation, commissioning, maintenance and operation.
lImproperly executed repairs.
lUnauthorized structural changes to the unit.
lUse of the unit for other than its intended purpose.
lOperation above or below the limit values listed in the ‚Specifications‘ section.
lForce majeure.
Disposal and Pollutants
The unit conforms to the European RoHS 2011/65/EU for the restriction of the
use of certain hazardous substances in electrical and electronic equipment.
Under no circumstances may the unit be disposed of with the normal household waste. Dispose of the unit
only at appropriate collection points or ship it back to the seller or manufacturer.
Electrical Connection
lBefore working on the unit, switch off the power supply and secure it against being switched on again!
Check that there is no power flowing! Electrical connections may only be made by a specialist and in
compliance with the applicable regulations. The unit may not be put into operation if there is visible
damage to the housing, e.g. cracks.
lThe customer must provide an all-pole disconnecting device,
e.g. an emergency heating switch.
lLow-voltage cables such as temperature sensor cables must be routed separately from mains voltage
cables. Feed temperature sensor cables only into the left-hand side of the unit, and mains voltage cables
only into the right-hand side.
lWire ferrules made of brass can be difficult to clamp due to their asymmetric crimping shape. In this
case, remove the wire ferrule. The plug-in terminals are also suitable for flexible cables.
The strain reliefs are suitable for flexible cables with
a cable sheath diameter of 5 mm to 8 mm, primarily
using the lower strain relief (as shown).
The cables must be checked for firm placement.
Solid, thicker and thinner cables must always be laid
firmly and must be fixed on the installation side.
Solid cables or wires with special wire end ferrules
can simply be pushed into the terminals.
For other wires, the terminal must first be completely
pressed on with a screwdriver as shown.
Setup wizard
The commissioning wizard in the HERZ clever&smart Room Controller starts automatically when the unit is commissioned for
the first time and guides you through the necessary basic settings in the correct order. Press the arrow keys in the upper
right/left corner to return to the next or previous setting.
Commissioning must also be completed on all other HERZ clever&smart Room Controller in the network.
The HERZ clever&smart Control Box Clima is configured exclusively on a HERZ clever&smart Room Controller.
The setup wizard is restarted via the "Factory settings" menu item.
Tips
Interface
mode
Menu > Expert > Settings > Interface mode
Provides the option to restrict the menu against unintentional use, for example, by hotel guests or children.
Download
system
update via
WiFi
In addition to the possibility of carrying out a firmware update specifically for individual Room Controllers or
Control Boxes after prior selection in the unit menu, a system update can also be carried out in which all
Control Boxes / Room Controllers visible in the network are supplied with the latest firmware.
Menu -> Expert ->Settings ->Service values ->System update -> Firmware
It is recommended to check for the availability of system updates from HERZ clever&smart Room Controller
and Control Box during installation.
Insulation
factor
Menu > Expert > Settings > Control Box > Heating circuit > Insulation factor
Provides the option to adapt the flow temperature to the insulation of your building.
Dew Point
protection
Menu > Expert > Settings > Control Box > Heating circuit > Dew point monitoring
Provides the option to monitor temperature and humidity to prevent mold.
Additional
functions
1. Menu > Expert > Settings > Control Box
Overview of all available additional functions (on the HERZ clever&smart Room Controller configuring the
Control Box, all Control Box functions are displayed, on all other HERZ clever&smart Room Controller only
local functions of the HERZ clever&smart Room Controller are displayed).
3. For further setting options for the selected function.
4. Select function and free switching output to activate function.
HERZ
clever&smart
App
Offers the possibility to operate the HERZ clever&smart Room Controller via HERZ clever&smart App.
1-Wire ID Overview
For systems in which 1-Wire HERZ clever&smart Room Sensor /
HERZ clever&smart LEDcontroller are used, it is helpful for
commissioning and service purposes to enter their 1-Wire IDs in
combination with the respective installation location (room name) in
the following table.
The 1-Wire ID can be found inside the sensor on the type plate (1)
and on the supplied sticker (2). We recommend to insert the sticker
into the following table.
(1)
(2)
Location 1-Wire ID Location 1-Wire ID
Ex. Bathroom 1053f67c0308009e 11
112
213
314
415
516
617
718
819
920
10 21
Terminal diagram for electrical connection
1 L' -- L' L' L' L' L' L' L' L' NC NC 24
VDC
CAN
high
0-10V/
PWM
2N' -- N' N' N' N' N' N' N' N' C C GND CAN
low PWM In
3 L L' L' L' L' L' L' L' L' NO NO CAN
high
CAN
high GND
4 N N' N' N' N' N' N' N' N' CAN
low
CAN
low
0-10V/
PWM
5L L' L' L' L' L' L' L' L' 24
VDC VDD PWM In
6 N N' N' N' N' N' N' N' N' GND DQ GND
7 --- L' L' L' L' L' L' L' L' CAN
high GND 24 VDC
8 PE N' N' N' N' N' N' N' N' CAN
low PWM
9 PE L' L' L' L' L' L' L' L' GND
Example Wiring of Terminal Blocks
Mains connection heating circuit pump Actuators for the heating zones
Potential-free switching contacts for additional functions HERZ clever&smart Room Controller in private CAN bus
Building CAN bus and 1-Wire sensors 0-10 V/PWM outputs for additional functions
HERZ clever&smart Control Box Clima HERZ clever&smart Control Box Clima HERZ clever&smart Control Box Clima

Other manuals for clever&smart Control Box Clima
1

This manual suits for next models

1

Other Herz Controllers manuals

Herz F 7713 01 User manual

Herz

Herz F 7713 01 User manual

Herz clever&smart Room Controller User guide

Herz

Herz clever&smart Room Controller User guide

Herz clever&smart Control Box Clima User guide

Herz

Herz clever&smart Control Box Clima User guide

Herz 7708 Series User manual

Herz

Herz 7708 Series User manual

Herz clever&smart Room Controller WiFi User guide

Herz

Herz clever&smart Room Controller WiFi User guide

Herz clever&smart Control Box Heating User manual

Herz

Herz clever&smart Control Box Heating User manual

Herz clever&smart Control Box Heating User guide

Herz

Herz clever&smart Control Box Heating User guide

Herz clever&smart Room Controller Clima WiFi User guide

Herz

Herz clever&smart Room Controller Clima WiFi User guide

Popular Controllers manuals by other brands

Danfoss EKC 347 instructions

Danfoss

Danfoss EKC 347 instructions

EFI E-35A Installation and service guide

EFI

EFI E-35A Installation and service guide

Deep Sea Electronics Plc DSE4510 Installation instructions and use

Deep Sea Electronics Plc

Deep Sea Electronics Plc DSE4510 Installation instructions and use

Adaptec AAR-2420SA Read me

Adaptec

Adaptec AAR-2420SA Read me

KT-Elektronik SOL3-1 Installation and operating manual

KT-Elektronik

KT-Elektronik SOL3-1 Installation and operating manual

Fireye NEXUS NX6100 series manual

Fireye

Fireye NEXUS NX6100 series manual

birddog Studio NDI user guide

birddog

birddog Studio NDI user guide

hager RTQ520X manual

hager

hager RTQ520X manual

Permobil R-net user manual

Permobil

Permobil R-net user manual

YASKAWA JEPMC-CP3201-E instructions

YASKAWA

YASKAWA JEPMC-CP3201-E instructions

Burkert 8792 operating instructions

Burkert

Burkert 8792 operating instructions

Mitsubishi Electric Q Series Programming manual

Mitsubishi Electric

Mitsubishi Electric Q Series Programming manual

Anilam 5000M CNC manual

Anilam

Anilam 5000M CNC manual

3Ware 9650SE-8LPML-SGL manual

3Ware

3Ware 9650SE-8LPML-SGL manual

Omron NX-ILM400 user manual

Omron

Omron NX-ILM400 user manual

Allen-Bradley CompactLogix 5380 installation instructions

Allen-Bradley

Allen-Bradley CompactLogix 5380 installation instructions

Siemens GGA Series Mounting instructions

Siemens

Siemens GGA Series Mounting instructions

Roger H70/200AC Instruction and warnings for the installer

Roger

Roger H70/200AC Instruction and warnings for the installer

manuals.online logo
manuals.online logoBrands
  • About & Mission
  • Contact us
  • Privacy Policy
  • Terms and Conditions

Copyright 2025 Manuals.Online. All Rights Reserved.