HG Feeder 900 User manual

1
H E D E N S T E D G R U P P E N A / S
H G F E E D E R
9
90
00
0
-
-
1
12
20
00
0
Vejlevej 15, DK-8722 Hedensted
Tlf. 0045 75891244 Fax 0045 75891180
USERS MANUAL
Read and understand this Users Manual before
operating the machine

2
Feeder 900/1200
The manual covers the models Feeder 900 and 1200
Page
1. Precautions 3 - 5
2. Operation controls 6 - 15
3. Precautions before starting 16-20
4. Driving / Feeding 21-24
5. Maintenance 25-29
6. Trouble shooting 30
7. Hydraulic- and electricity diagrams 31-34
8. Tecnical data 35
10. Guarantee regulations 36
3
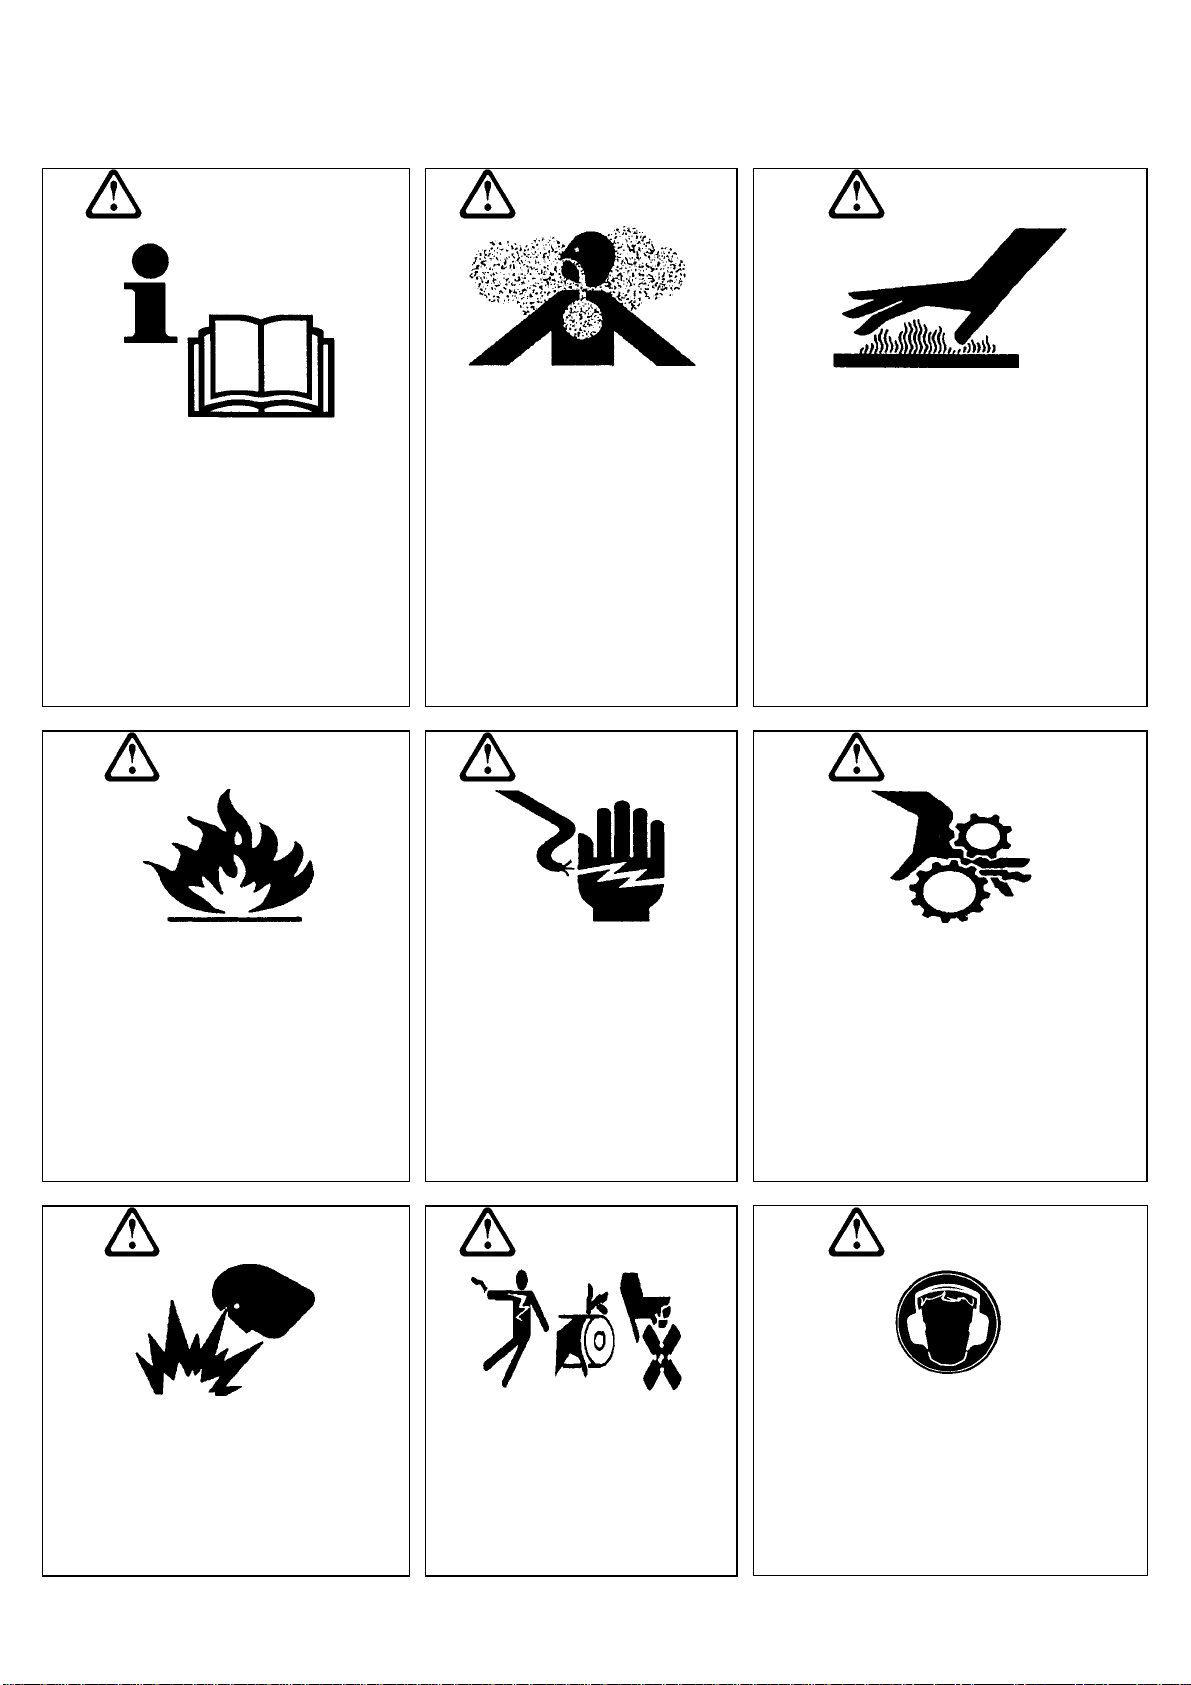
1. Precautions
Instruction in safe use of the feeding machine
IMPORTANT! WARNING! WARNING!
READ THE MANUAL CARBON MONOXID HOT PARTS
It is very important to read this manual in
order to avoid dangerous situations.
Read the manual carefully. If other persons
use the machine let them read the manual
too.
Dangerous carbon monoxide from
the exhaust can cause serious
sickness, faint and death.
Do not use this machine in closed
and limited rooms.
Hot parts can cause serious burns.
Do not touch the engine or the exhaust during
the operation or immediately after stopping the
engine.
WARNING! WARNING! WARNING!
FIRE RISK HIGH VOLTAGE ROTATING PARTS
Explosive fuel can cause fire and serious
burns.
Always switch off the engine and let it cool
before refueling
The engine generates high voltage
which can cause body injuring or
death
Do not touch the wires while the
engine is running
Rotating parts can cause serious damage.
Keep hands, feet, hair and cloths away from
all moveable parts. Never use the machine
without the delivered shields.
WARNING! WARNING! WARNING!
EXPLOSIVE GAS! DANGER! NOISE!
Explosive gas from the battery can cause
fire and serious corrosive damages.
Only charge the battery in a ventilated
place. Keep away all sources of open fire.
Sudden start can cause serious
damage and death
By servicing the machine or by par-
king, the machine has to be switched
off and the ignition key removed
Long stay in noise damages the hearing.
Always use ear protection…

4
1.1. Education
• Read the instructions carefully. You ought to have knowledge to operation grips and correct use of the
equipment.
• Do not let children or persons, who have no knowledge of the instructions, use the feeding machine.
The law can state an age limit for persons, who can use the feeding machine.
• Remember that the driver is responsible for accidents or situations of danger that can happen toward
human beings or their property.
• The driver must be instructed carefully in using the feeding machine. These instructions should put
emphases on following:
- The need of being carefully and concentrated by operating automotive machines.
- Have a comprehensive view of what happens in front and behind the vehicle, especially during
feeding, where other people can appear.
The most important causes to accidents are:
1. Driving too fast, especially with a filled up feed tank.
2. Swinging in high speed, especially with feed in the tank.
3. Lack of comprehensive view.
4. The knowledge of the driver of the vehicle is insufficient.
5. The ground conditions are to steep.
1.2. Preparation
• By driving make sure not to wear clothes, that are too loose, it can be caught on nest boxes or
doorways. You ought to use nonslip shoes in order to operate the pedals safe.
- Keep the fuel in cans approved to the purpose and out of reach of children and unauthorized persons.
- Only refuel outdoors. Smoking by refuel is forbidden.
- Refuel before starting the engine. Never take off the filler cap or refuel, while the
engine is running or hot.
- If you waste fuel do not try starting the engine, instead move the machine away from the spot, where
the fuel were wasted in order to avoid ignition of the fuel.
. If you waste fuel on the exhaust or on the engine, wait until it is evaporated, or else a fire could arise.
- If you get gasoline, diesel or engine oil on your skin, wash your skin thoroughly with soap.
- Inhaling of gasoline, steam or oil mist are damaging to your health.
- Consuming fuel or oil is highly dangerous.
5
1.3. Operation
• Do not let the engine run in small closed rooms, where dangerous carbon monoxide can mount up.
• WARNING: Inhaling carbon monoxide can cause poisoning and possible death.
• Do not use the machine in places with inflammable dust or explosive gases or where the exhaust can get
in touch with flammable material.
• If it is possible only use the feeding machine in daylight or a good artificial lightning.
• When you start the engine your feet must not rest on the pedal, they have to be placed on the running
board.
• Do not drive on slopes that surpass 15 degrees.
• Be aware that the driving quality of the machine is changed considerable from empty to full tank,
because a filled tank moves up the center of gravity.
• With a full tank pay attention to the fact that the machine can tip over, if you drive too fast in curves,
or on slopes with more than 15 degrees tilt.
• You can achieve pleasant driving by operating the driving pedal with soft movements with the food.
Remember that the driving speed increases proportional with the movement of the driving pedal. This is
valid both forward and backwards.
• When you leave the machine, the ignition key has to be removed from the dashboard.
The ground must not slope more than 15o
1.4. Maintenance
• By visual control the following has to be checked after every fill up:
- That there are no leaks in the hydraulic system at the hoses, the tank and so on.
- That there are no leaks in the fuel system at the hoses, filters, the tank and so on.
- That all bolts and nuts are securely tightened.
- Check that the silencer is dense.
- That the admission of air under the seat and the rotating flywheel are free of wool.
- That there is no wasted engine oil around the filler cap.
- Check the air pressure in the tires once a week.
- That the driving pedal easily goes to center position in slow speed (that the machine stands still, when
you let go of the driving pedal).
Max..15°
6
2. Operation controls
The position of the operation parts Feeder 900/1200
1. Feeding pedal.
2. Revcounter and hour meter.
3. Speeder (hand).
4. Speeder (food) pedal.
5. Ignition switch.
6. Regulation of water.
7. Regulation af speed for feed pump.
8. Handle for setting of seat.
9. Inspection glass for water tank.
10. Water refill.
11. Driving pedal.
12. Hydraulic filter and oil level gauge.
13. Feeding computer, extra equipment, look section 9.
14. On and off contact for screw.
15. Temperature meter.
16. Refuel/Tank meter
17. Speed and direction selector.
18. Main switch.
19. Refill cooling water / expansion tank
20. Air filter.
21. Light indicators.
22. Water pump contact.
23. Fuse box (not illustrated)
24. Filter manometer (not illustrated)
3
13
15
4
1
7
12
11
10
9
3
5
19
16
22
20
18
2
14
6
8
1
7
21

7
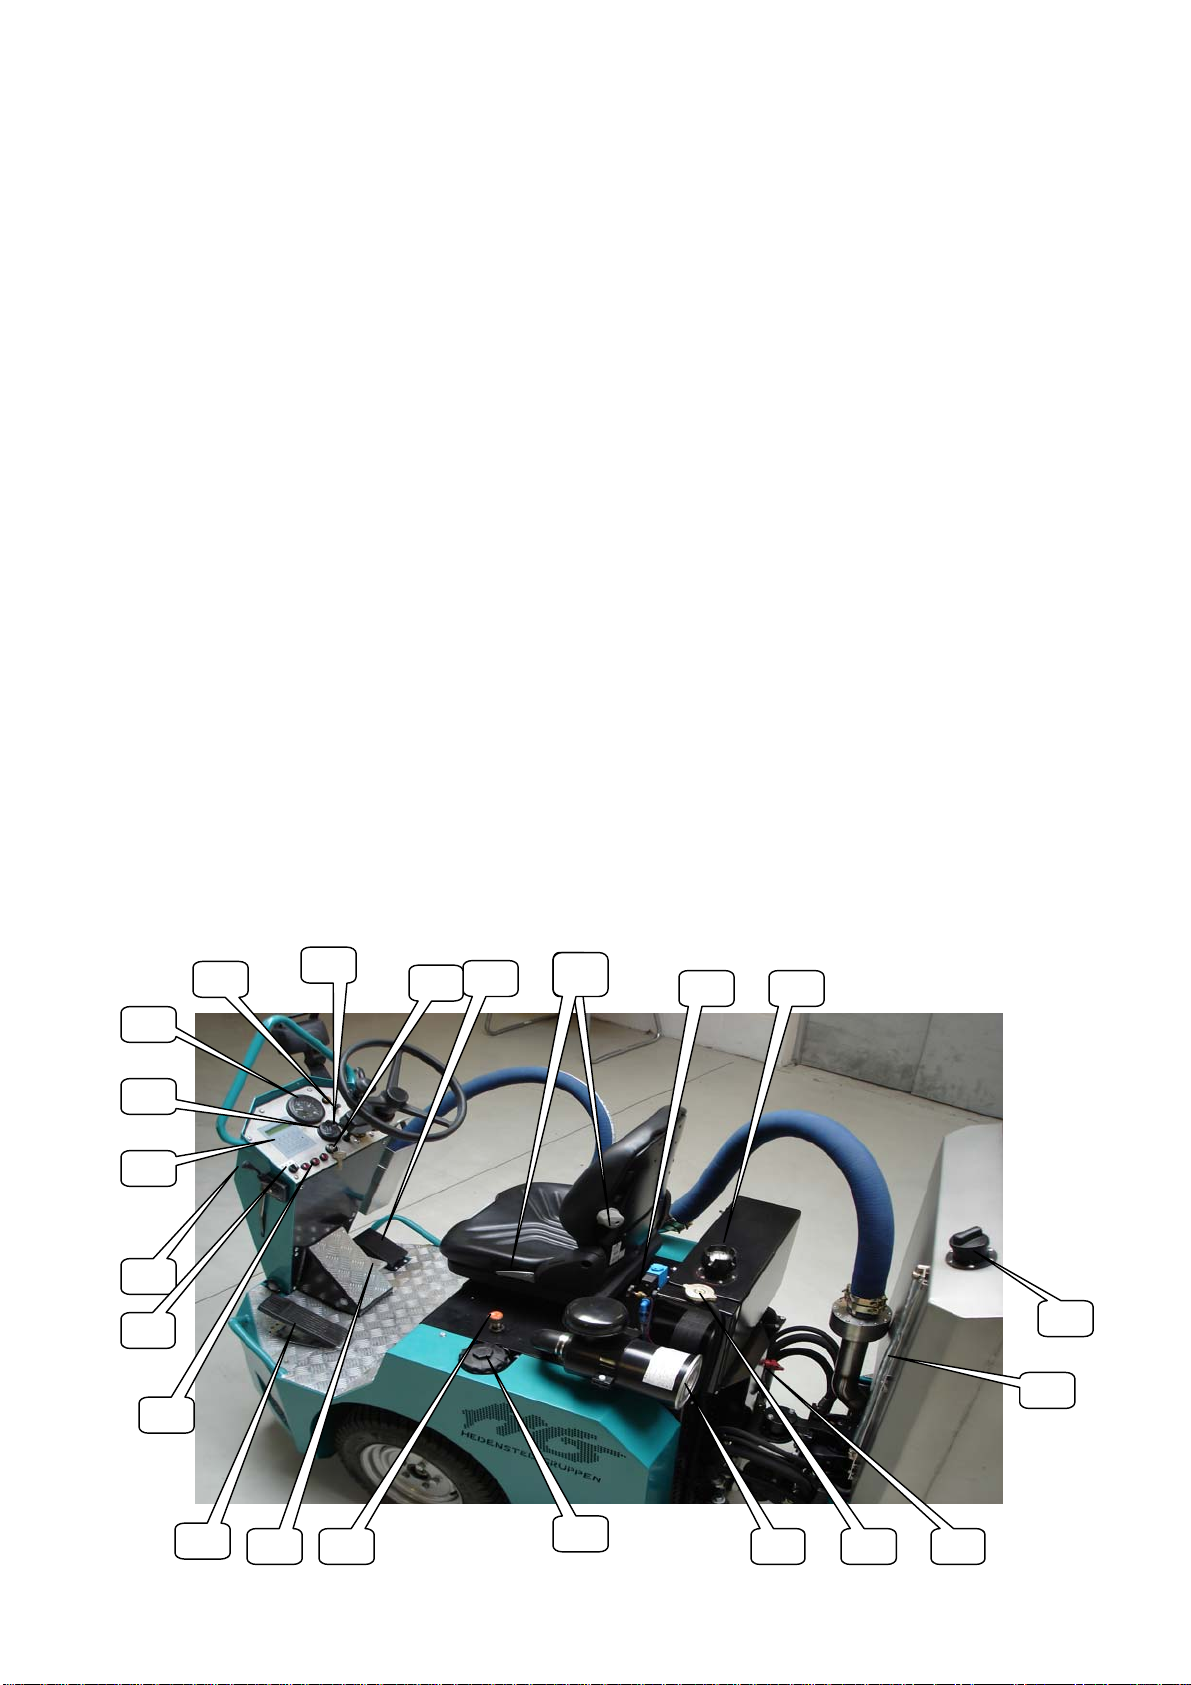
2.1. Feed pedal
Feeding pedal is placed outer right on the
machine.
The pedal must be activated every time you pump
out feed.
Feeding pedal
2.2. Hour meter and revolution counter.
The hour meter indicates how many hours the
machine has operated.
If this instrument stops working, repair it
immediately, or else there is no indication of time
for changing oil and so on.
Notice that this instrument counts as long as
the machine runs, so remember to switch off
the ignition and remove the key, when you
leave the machine.
Hour meter and revolution counter
2.3. Speed (hand)
Handle for speed (hand) is placed on the left side
of the steering column
Speed (hand)

8
2.4. Speed (food) pedal.
Speed (food) pedal is placed on the right side,
between the feed pedal and the central bracket.
Speed (food) pedal
2.5. Ignition switch.
The key activates the ignition switch.
The ignition switch has 3 steps
1. Ignition
2. Preheating
3. Start
Ignition switch
2.6. Regulation of water.
With the water regulation you can decide the
amount of water that is mixed in the feed, when
you activate the feed pump.
Placed at the left side by the back of the seat.
Adjust the amount of water by turning the tap:
Clockwise less water.
Anticlockwise more water.
Regulation of water.

9
2.7. Regulation of speed on feed pump.
The feed pump regulator adjusts the circulation
speed for the feed pump, so that more or less feed
can be pumped out at regular intervals.
You will find the indication for adjustment under
the regulators.
Regulation of water pump
2.8. Seat adjustments.
1 Longitudinal adjustment of seat.
2 Weight/hardness adjustments.
3 Seat adjustments.
4 Backrest adjustments
Adjustment handle for seat
2.9. Inspection glass for water tank.
2.10. Water filling up/Emptying.
Inspection glass / Water filling up. Drainplug watertank. Water dosing pump.
1
2
3
4
10
2.11. Driving pedal.
The driving pedal is placed on the left outer side
of the machine.
Notice: The pedal must be activated carefully,
since the speed of the machine is proportional
with the effect on the pedal. Furthermore the
driving will be more pleasant, when you operate
the pedal with gentle movements.
Driving pedal.
2.12. Hydraulic filter and oil level.
You refill hydraulic oil by removing the big
screw cap.
Dipstick for hydraulic oil.
Hydraulic filter and oil level dipstick.
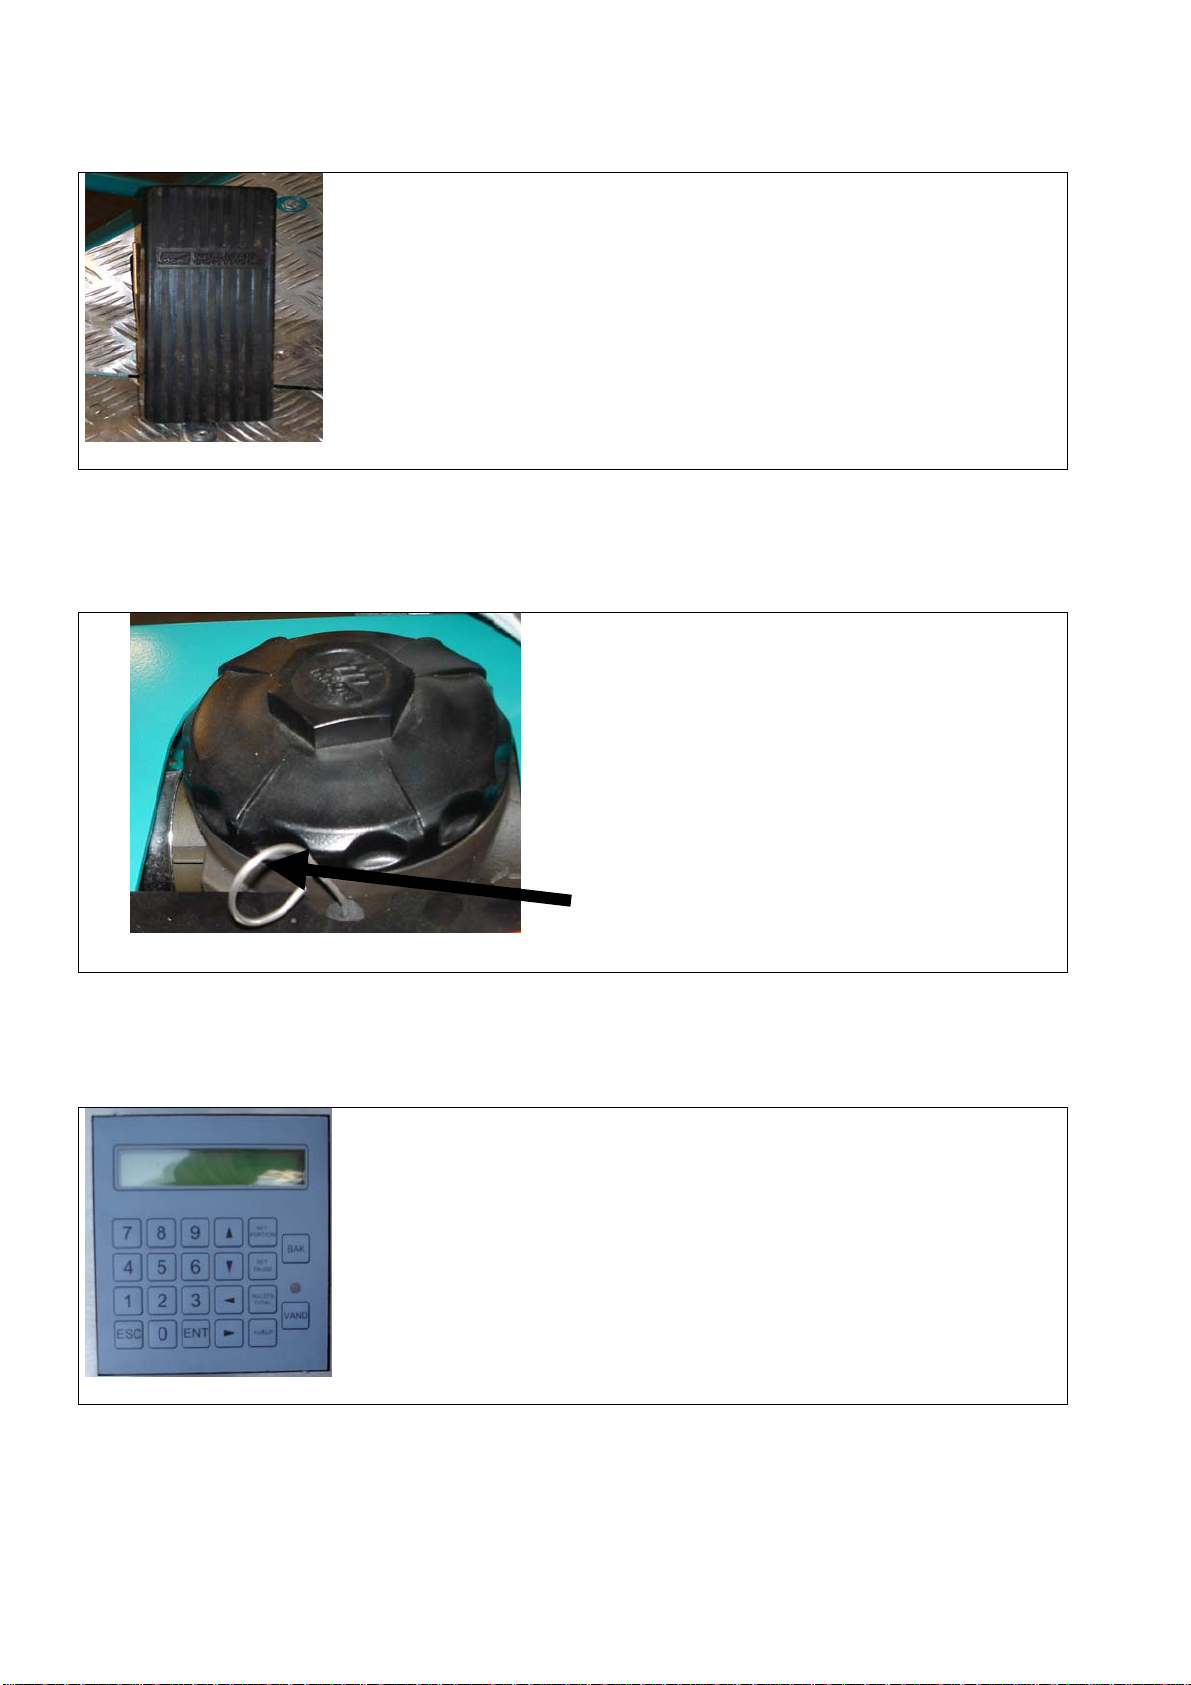
2.13. Feed computer (EXTRA EQUIPMENT).
Feed computer controls that the amount of feed
gets regular.
Feed computer.
11
2.14. Switch for screw in feed container.
Start of feed screw pull the knob up.
Stop of feed screw press the knob down.
Switch screw.
2.15. Water temperature. Light indicator.
Temperature meter
IMPORTANT!!
Keep an eye on the temperature.
If the indicator lights STOP the
machine IMMEDIATELY.
Water temperature /Light indicator.
2.16. Filling up fuel and amount of fuel.
Unscrew the filler cap and refuel with diesel oil.
The amount of fuel can be read by looking down
into filler cap.
Filling up fuel.
12
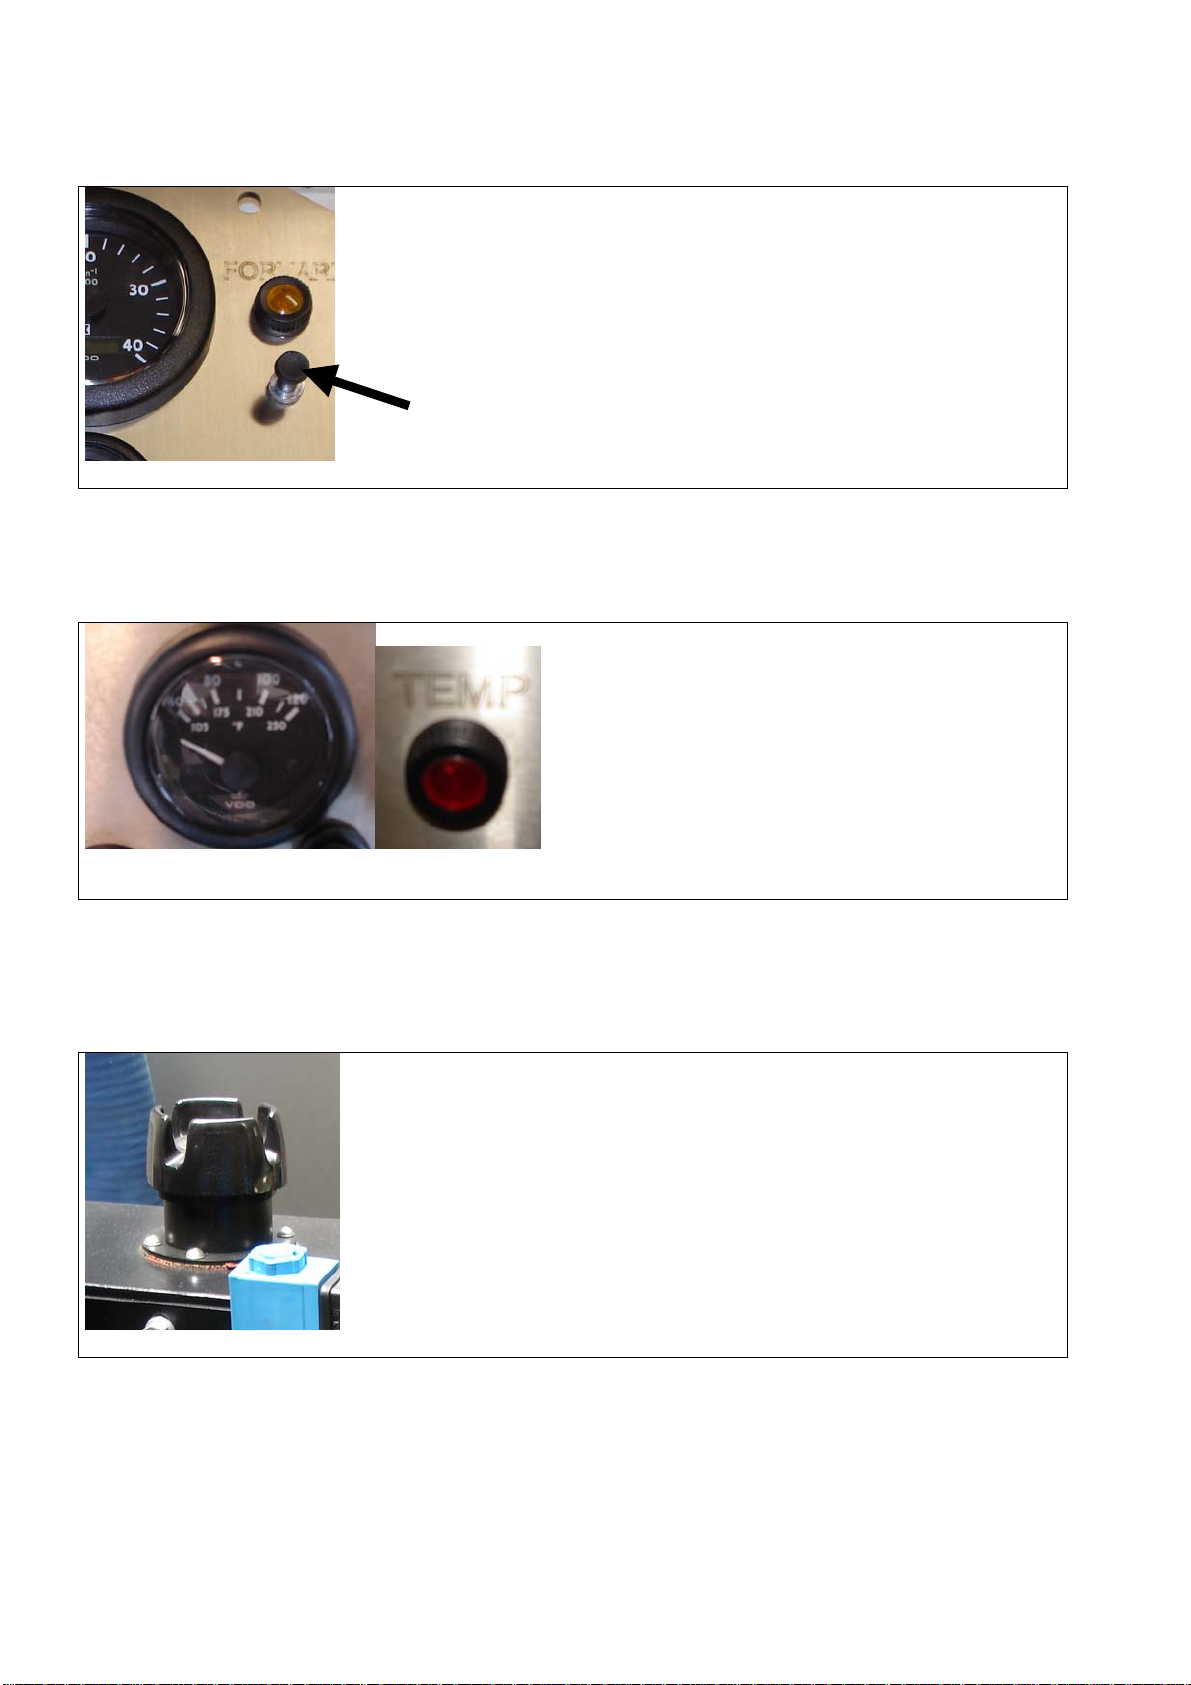
2.17. Speed and direction selector.
Change of running direction:
Forward push the handle forward.
Reverse pull the handle back.
Change of speed:
Low speed pull the handle against the wheel.
High speed push the handle away from the
wheel.
Speed and direction selector.
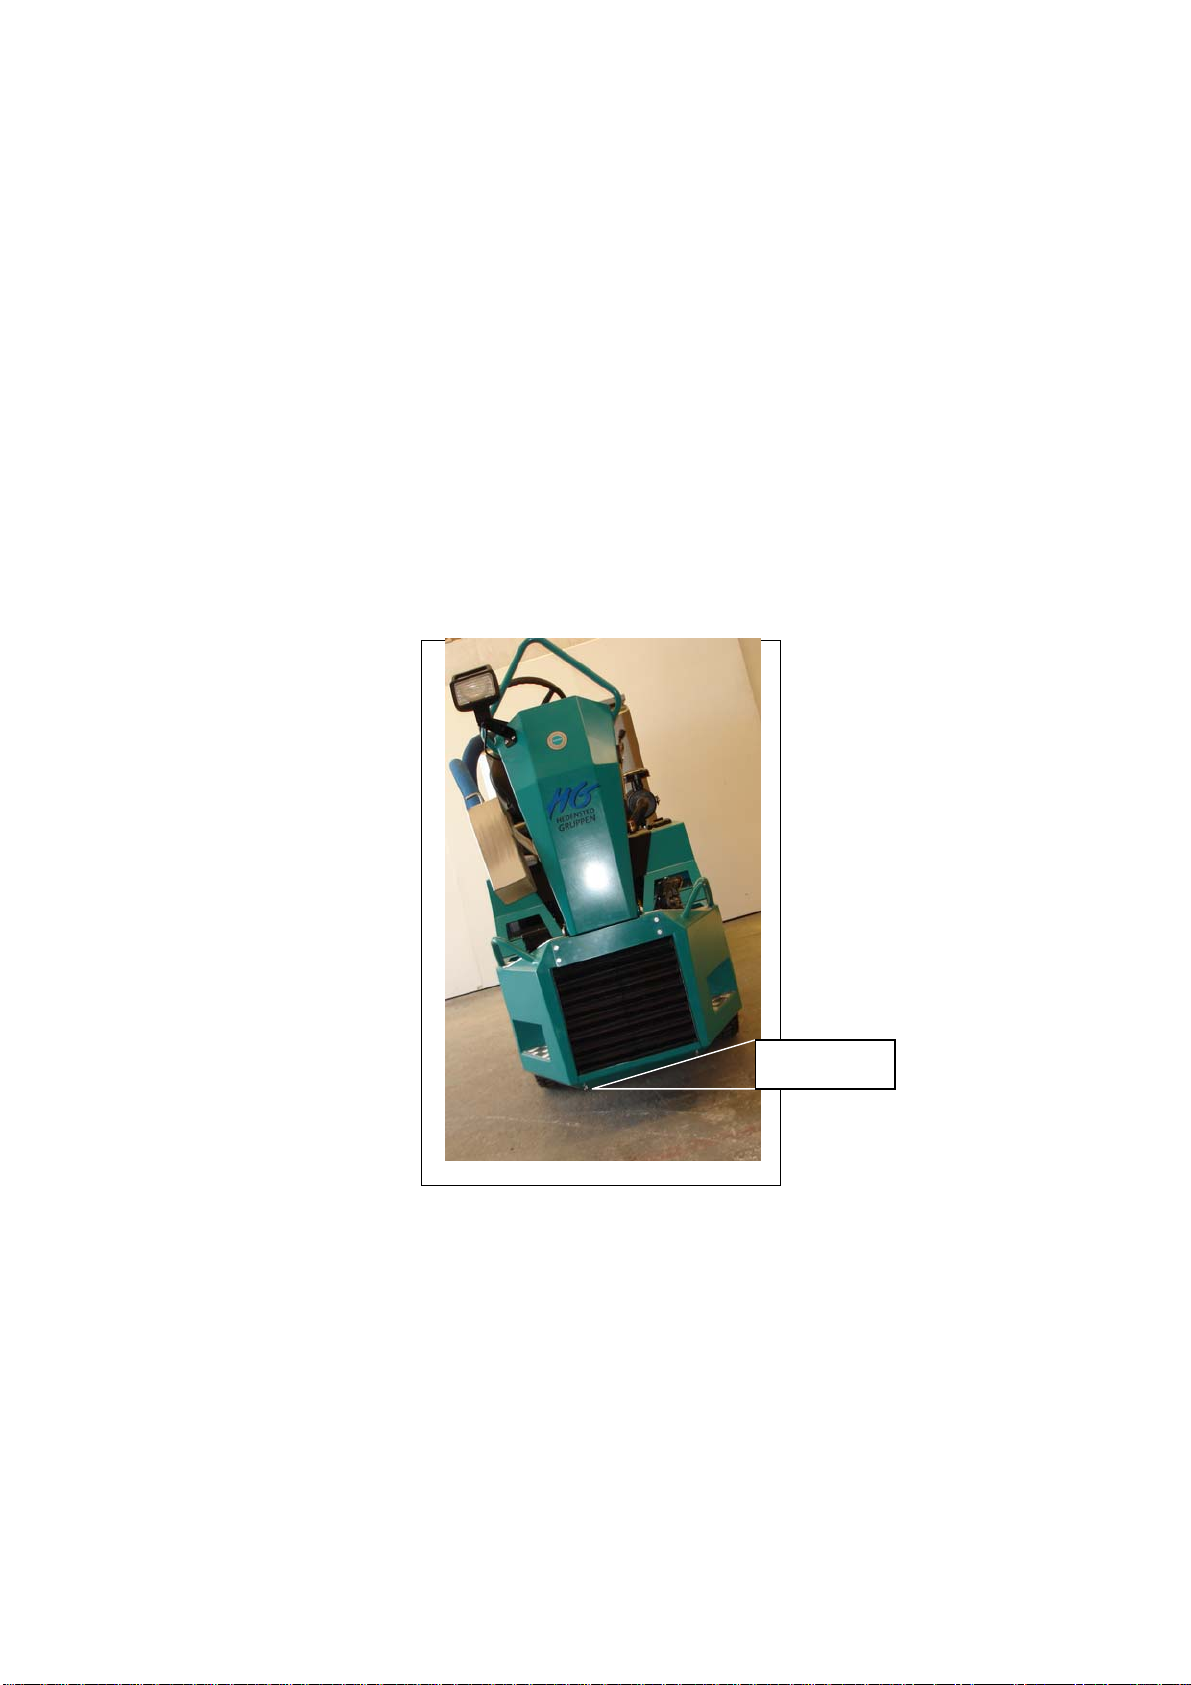
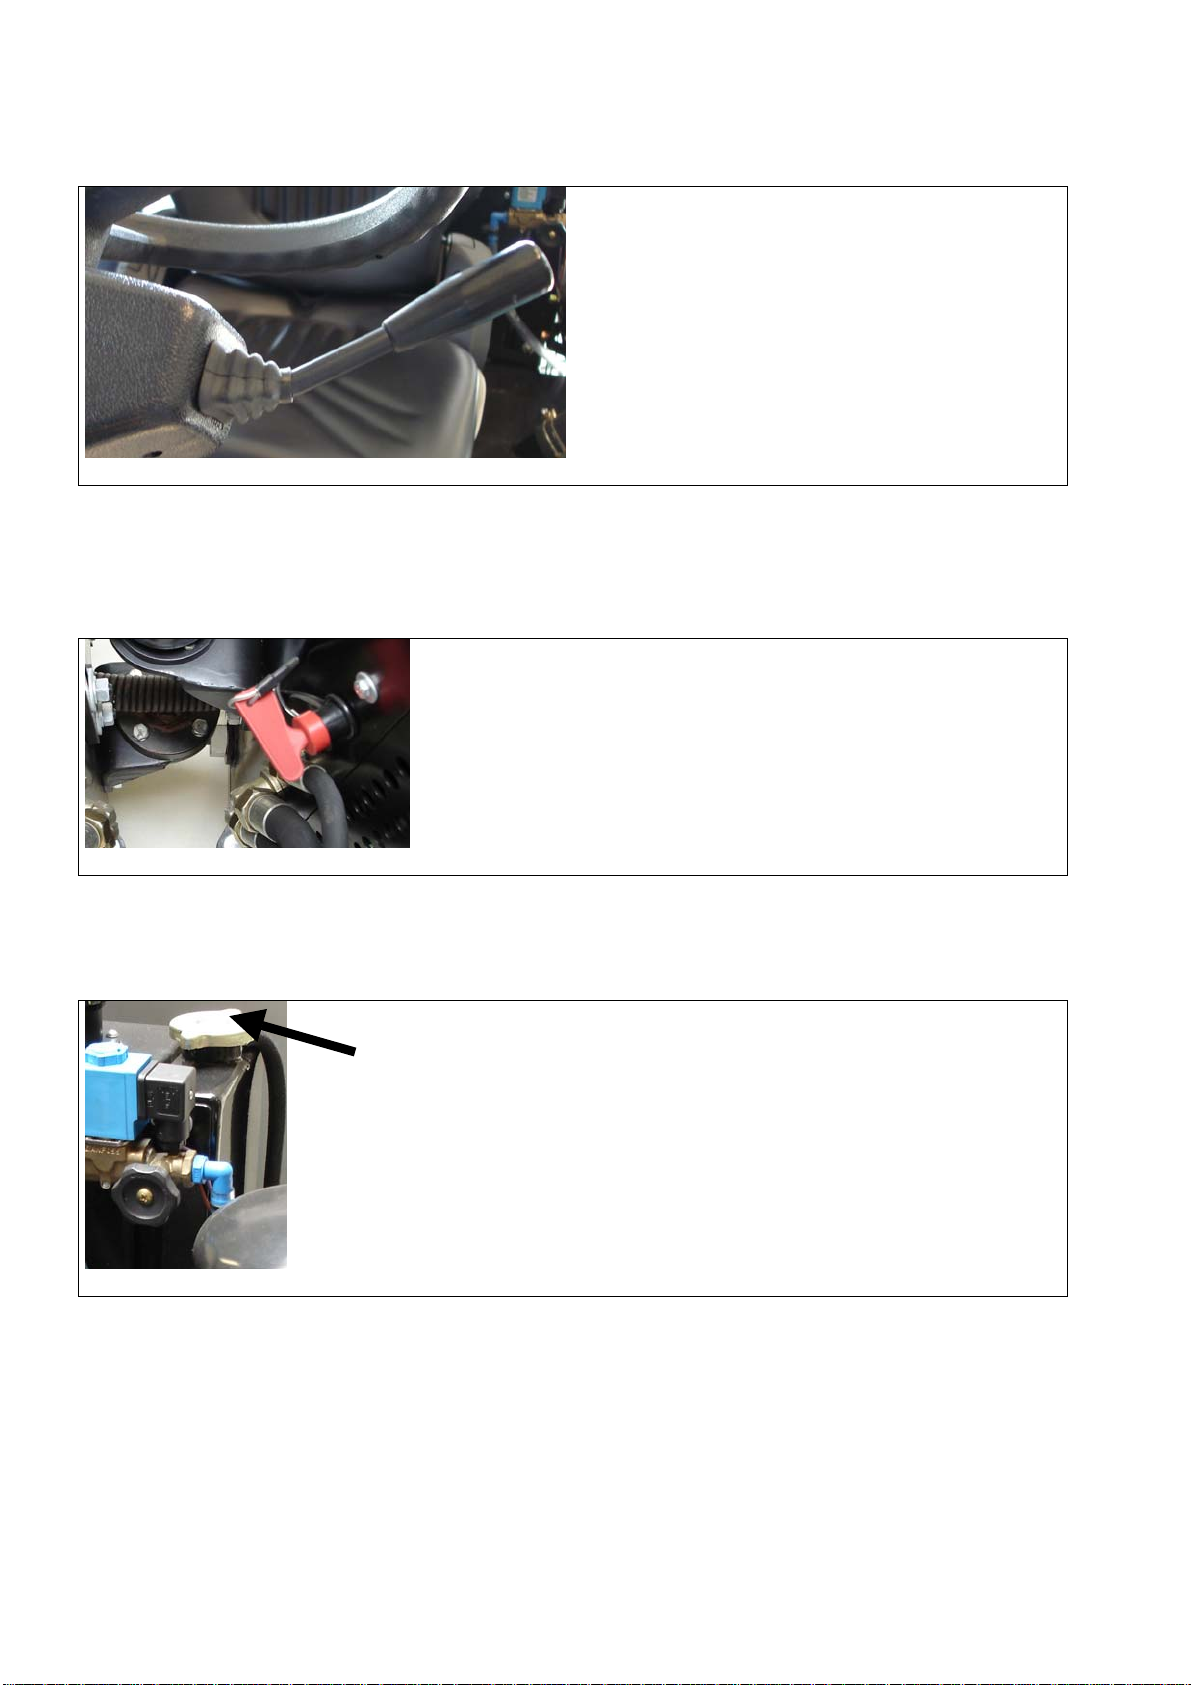
2.18. Main switch.
The main switch is placed at the back of the fore
carriage.
Main switch
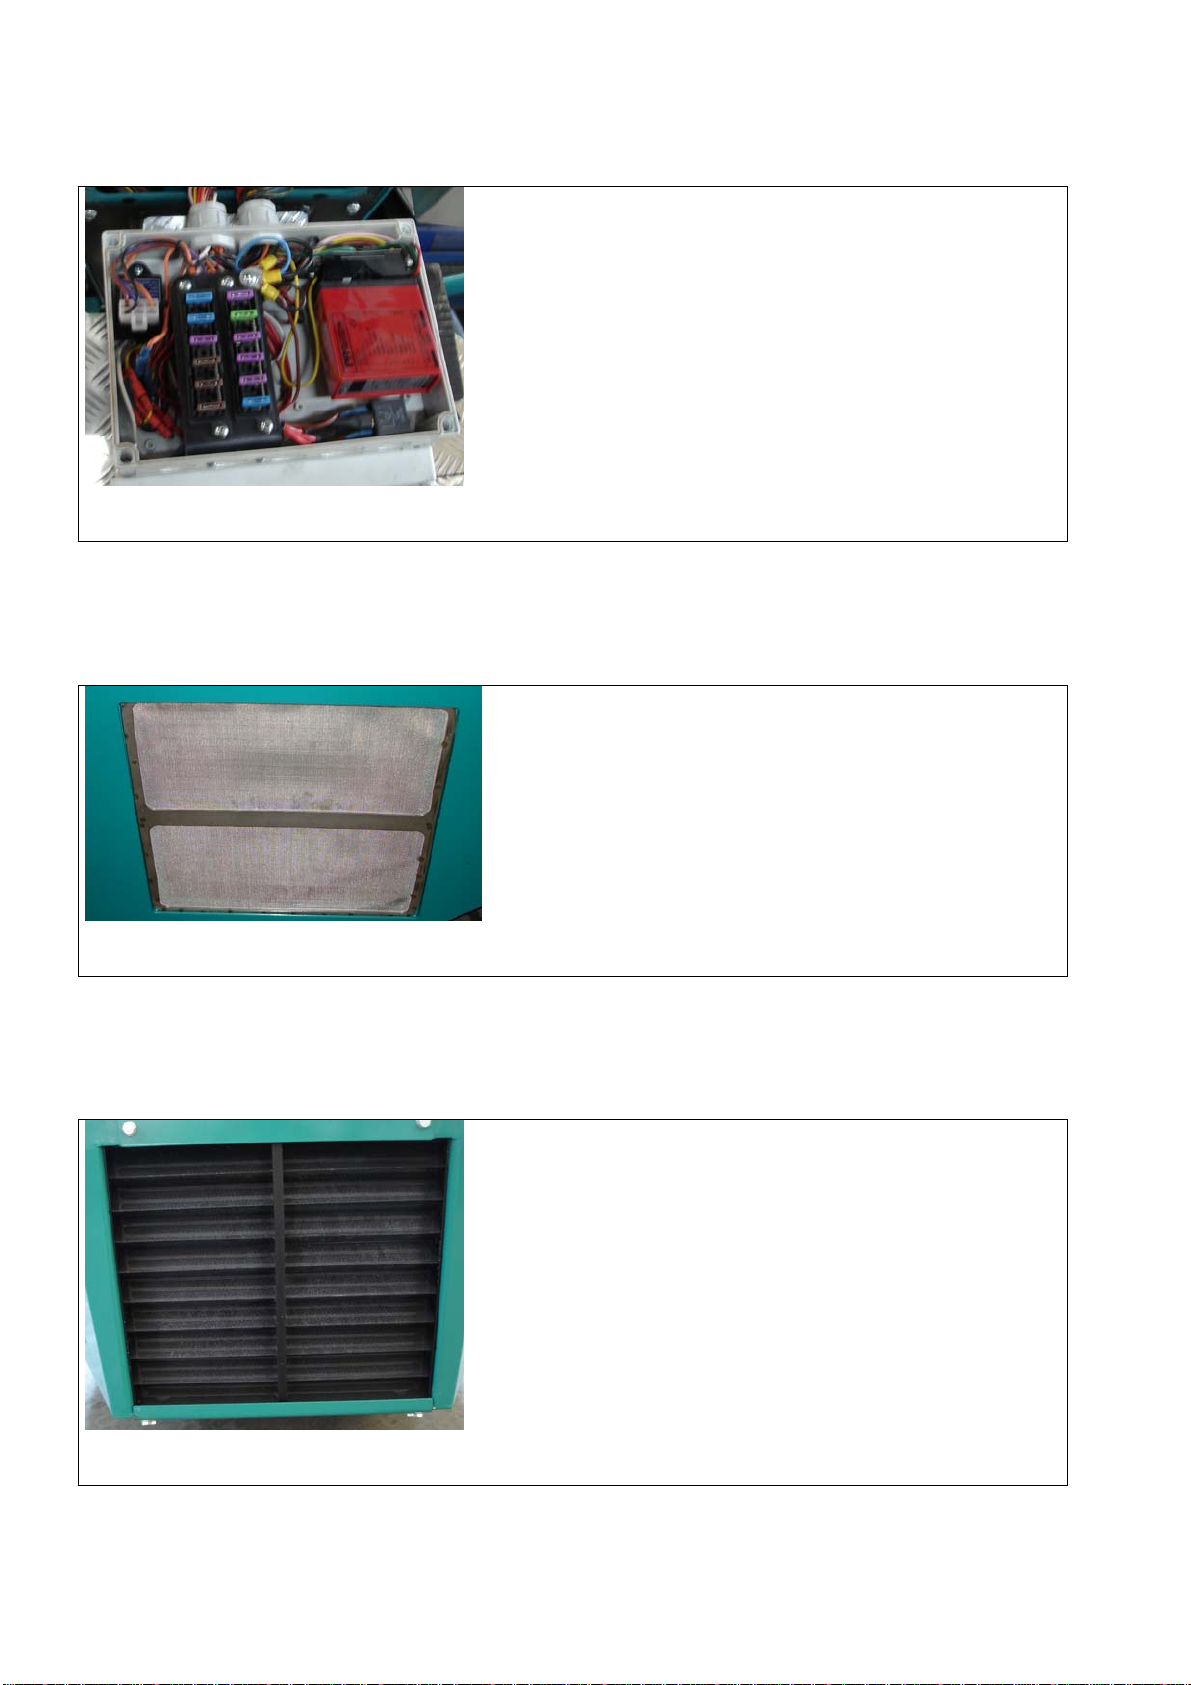
2.19. Filling up cooling water / expansion tank
Refill cooling water.
IMPORTANT
Do not take of the cap before the engine is
cold.
Risk for scalding.
Refill cooling water / expansion tank.

13
2.20. Air filter.
Air filter
Change of filter insert.
Remove end cover and pull out insert.
Air filter.
2.21. Light indicator.
Light indicators.
Light indicators
1. Oil lamp (must switch off after app.
2 seconds – if not turn off the
engine immediately)
2. Temperature light indicator
switches on when the engine is
overheated(if the lamp turns on –
switch off the engine immediately)
3. Charging lamp ( If lamp turns on
while engine runs, the machine do
not charge)
2.22. Switching contact feed computer.
Contact is placed outer at left on the
dashboard.
M: Manual
A: Automatic
K: Constant
Water pump contact.
14
2.23. Fuse box.
The fuse box is placed behind a plate under
the wheel.
By changing fuses (Never replace the
earlier fuse with a bigger fuse).
Fuse box.
2.24. Particle filter for oil cooler.
Placed on the right side of the machine over
wheel.
Lift up and pull out, the bottom first
Particle filter oil cooler
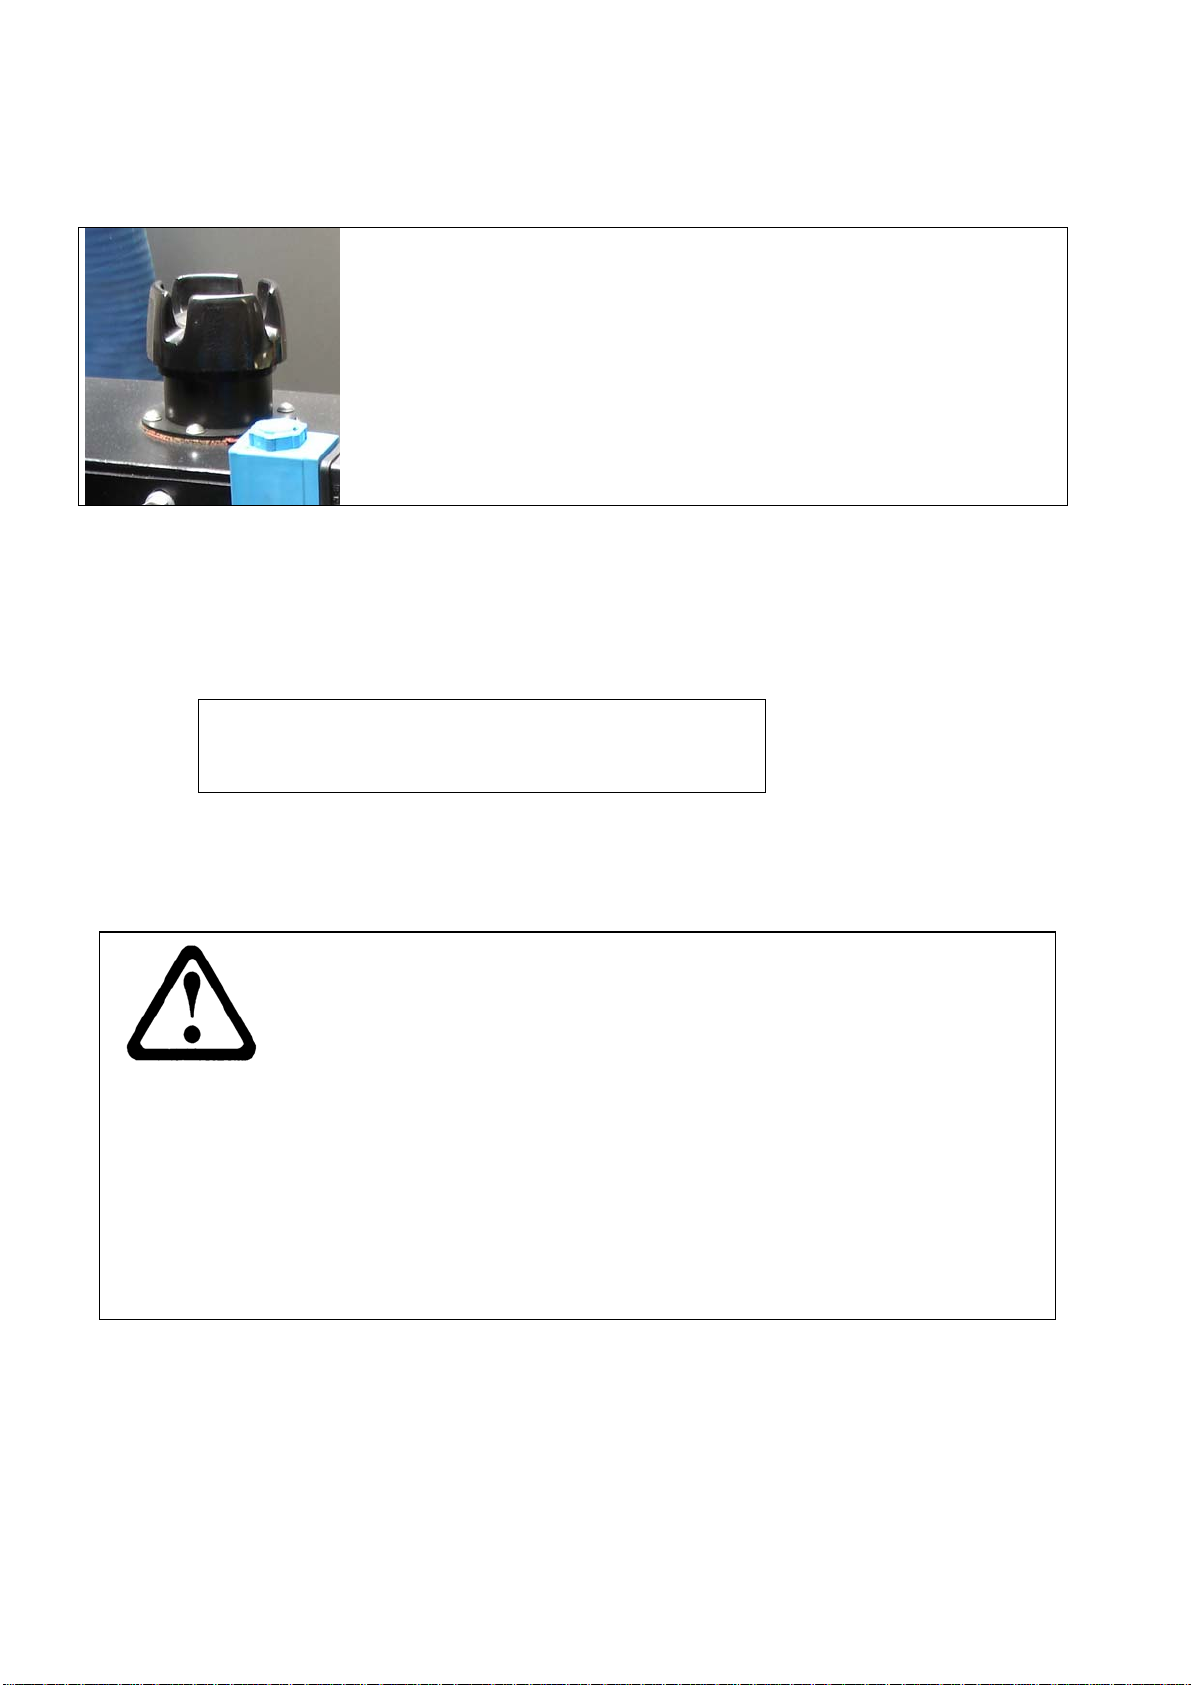
2.25. Particle filter for water cooler.
Placed in front of the feed machine.
Lift up and pull out, the bottom first
Particle filter water cooler.

15
2.26. Accumulator.
The accumulator is placed behind the right
for wheel.
Always keep the accumulator clean on top,
otherwise a discharge of the accumulator
can happen.
Accumulator

16
3. Precautions before start.
3.1. Oil level engine.
The oil level ought to be checked before start, every time you use the machine. The machine has to be
placed horizontal, when you check the oil. Pull out the oil dipstick, wipe it off with a cloth, put it back,
redraw the oil dipstick and read the oil level. If the oil level is under level or right over you have to refill
to max.
Refill oil
Oil dipstick
Oil dip stick / Oil fill up.
3.2. Oil level hydraulic.
You can read the level of hydraulic oil by pulling up the oil dipstick, if the oil level stands by the minimum
mark you have to refill.
Oil dipstick
17
3.3. Refuel.
Unscrew the filler cap and refuel with diesel oil.
You can read the amount of fuel by looking down
into the filler cap.
Feeder 900/1200 engines use ordinary diesel oil.
Normally diesel oil is frost-proofed to about – 21° C, but during strong frost, paraffin is made in diesel oil.
To avoid this you can add petroleum after following table:
At temperaturs under -10° C add 10 % petroleum
At temperaturs under -20° C add 25 % petroleum
At temperaturs under -30° C add 40 % petroleum
At temperaturs under -40° C add 55 % petroleum
To be sure of how frost-proofed your diesel oil is, ask your diesel supplier about the specifications of your
diesel oil.
WARNING
Fuel is very flammable. Display great caution, and always refuel in the
open.
Never smoke during refuel.
Never refuel with a hot engine! Wait minimum 10 minutes.
Do not overfill the fuel tank, fuel can expand and ran over.
Make sure that the tank cap is firmly screwed after refueling.
Keep the gasoline on a cool place in a container, which is made for the
purpose.
The gasoline tank and hoses have to be checked often for leaks.

18
3.4. Air filter.
Keep the air filter clean. A dirty and clogged air filter lowers the effect of the engine and increases the fuel
consumption and the wear on the engine.
Cleaning/change of air filer.
Remove the wingnut in the end of the air filter
house, and pull out the filter.
3.5. Admission of air for engine cooling.
Admission of air cooling water.
Admission of air is placed in front of the
machine.
Important:
You MUST keep the radiator grille clean.
You can take of the filter, lift up the filter and
pull out the bottom.
3.6. Admission of air for cooling the hydraulic oil.
Admission of air is placed on the right side of
the machine.
Important:
You must keep the radiator grille clean.
You can take of the filter, lift up the filter and
pull out the bottom.

19
3.7. Accumulator.
•Check that the acid level is about 10 mm over the plates. Refill with distilled water if the acid level
is too low.
Too high acid level can cause that the acid runs over and causes corrode damages on the machine.
.
WARNING
SMOKING FORBIDDEN!
The accumulator gives off explosive gas. Keep sparks, flames or
cigarettes away. By ignition an explosion, fire and a spread of dangerous
acid over a large area.
Notice that the concentration of explosive gas is extra large by charging.
At starting help with another accumulator, connect the negative pole at
last. Connect the negative pole from the jumb lead to the frame on the
engine, never on the accumulator! When you remove the jump lead
again, remove the negative pole from the engine first.
Never charge on a frozen accumulator!
•Notice: if you use ordinary water for refilling of acid level, then you shorten the lifetime of the
accumulator.
Accumulator.
WARNING
IN CASE OF CONTACT WITH ACID!
-If the acid gets on your skin (External) you have to rinse thoroughly wit
water.
-If the acid is consumed (Internal) you have to drink a huge amount of
water or milk, then more milk with mixed egg or vegetable oil and call
for a doctor immediately.
-If the acid gets into your eyes, then rinse thoroughly with water,
minimum 15 minutes, and visit a doctor as soon as possible.

20
3.8. Tyre pressure.
•Check that the tyre pressure is correct, an incorrect tyre pressure can make the machine
unstable and the maneuver quality will be unpredictable.
Max.
65 PSI
Lawn tyre (std.) nr.:474765. Wheel complete 7,00x12
This manual suits for next models
1
Table of contents
Other HG Farm Equipment manuals


Popular Farm Equipment manuals by other brands

M K Martin Enterprise
M K Martin Enterprise PULSAR 120 Operator and parts manual

Buhler
Buhler 360 user manual

AKO-Agrartechnik
AKO-Agrartechnik Easy Gate 446517 user guide

Toro
Toro 31526 installation instructions

MacDon
MacDon M155 Unloading and assembly instructions

HighLine
HighLine NT Series Operator's manual


